01
Background
After completing my Masters Degree from Worcester Polytechnic Institute, I spent some time working as a property manager for our family's business. I completely renovated an 850 square foot apartment that hasn't been touched for ~30 years. The scope of this job included the following goals
1. Completely removing everything from the Kitchen and the Bathroom
2. Tearing down the Kitchen/Bathroom common wall to upgrade plumbing and electric.
3. Replace all doors with new pre-hung doors, upgrade all electric fixtures, replace all outlets and light switches.
4. Install a new tub, toilet, vanity and fixtures.
5. Install kitchen cabinets and countertops.
6. Install tile in bathroom and kitchen backsplash.
7. Sand down original hardwood floors and seal them with a polyurethane sealer.
8. Cut and install new window casings, door casings, and floor moldings.
9. Replace thermostats, install forced hot air covers, and apply fresh coat of paint throughout.
Here is the final result if you're not interested in scrolling through the whole process.
02
How to Renovate an Apartment:
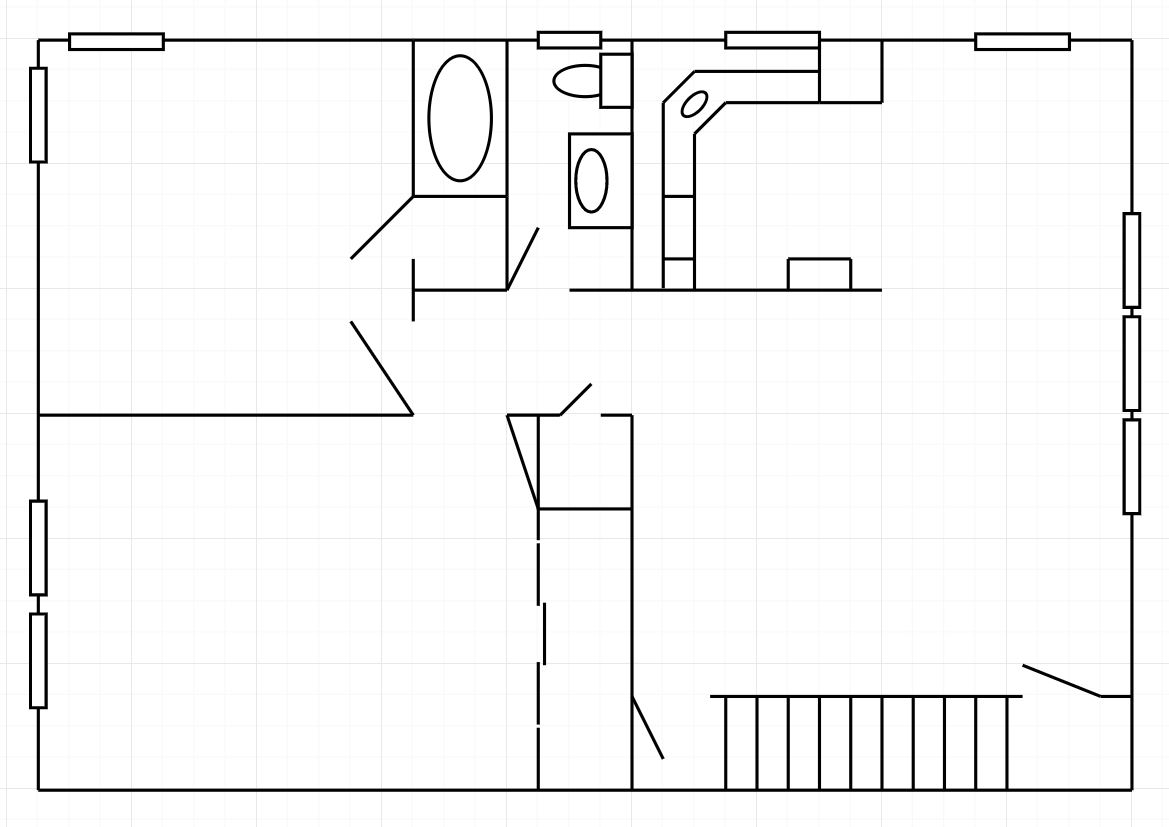
The first picture is the layout of the final apartment. For the remaining photos, please refer to the descriptions on the left side of each photo for more information.
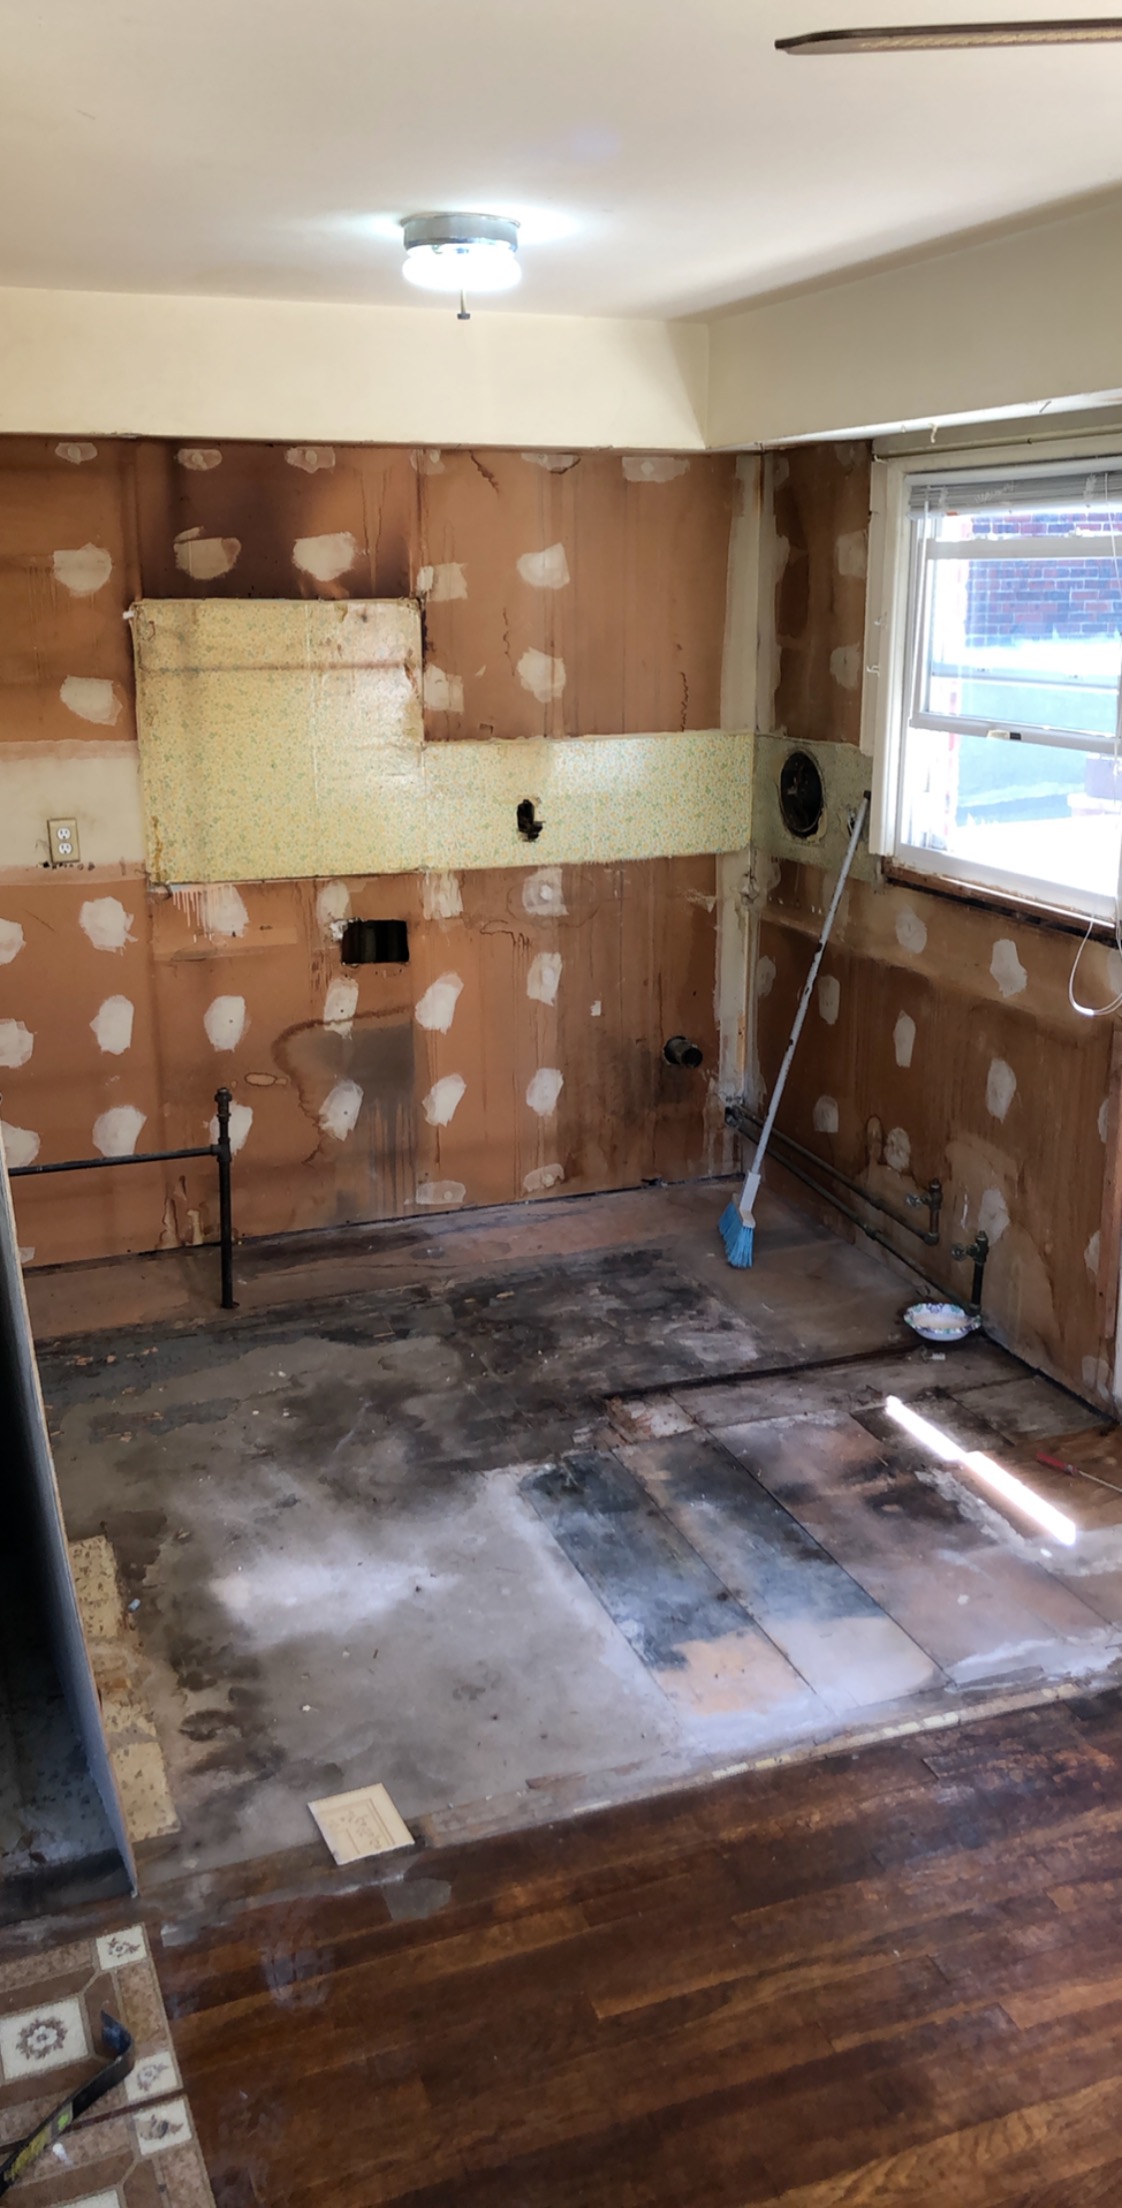
First step was to remove the old appliances, cabinets, plumbing, and flooring.
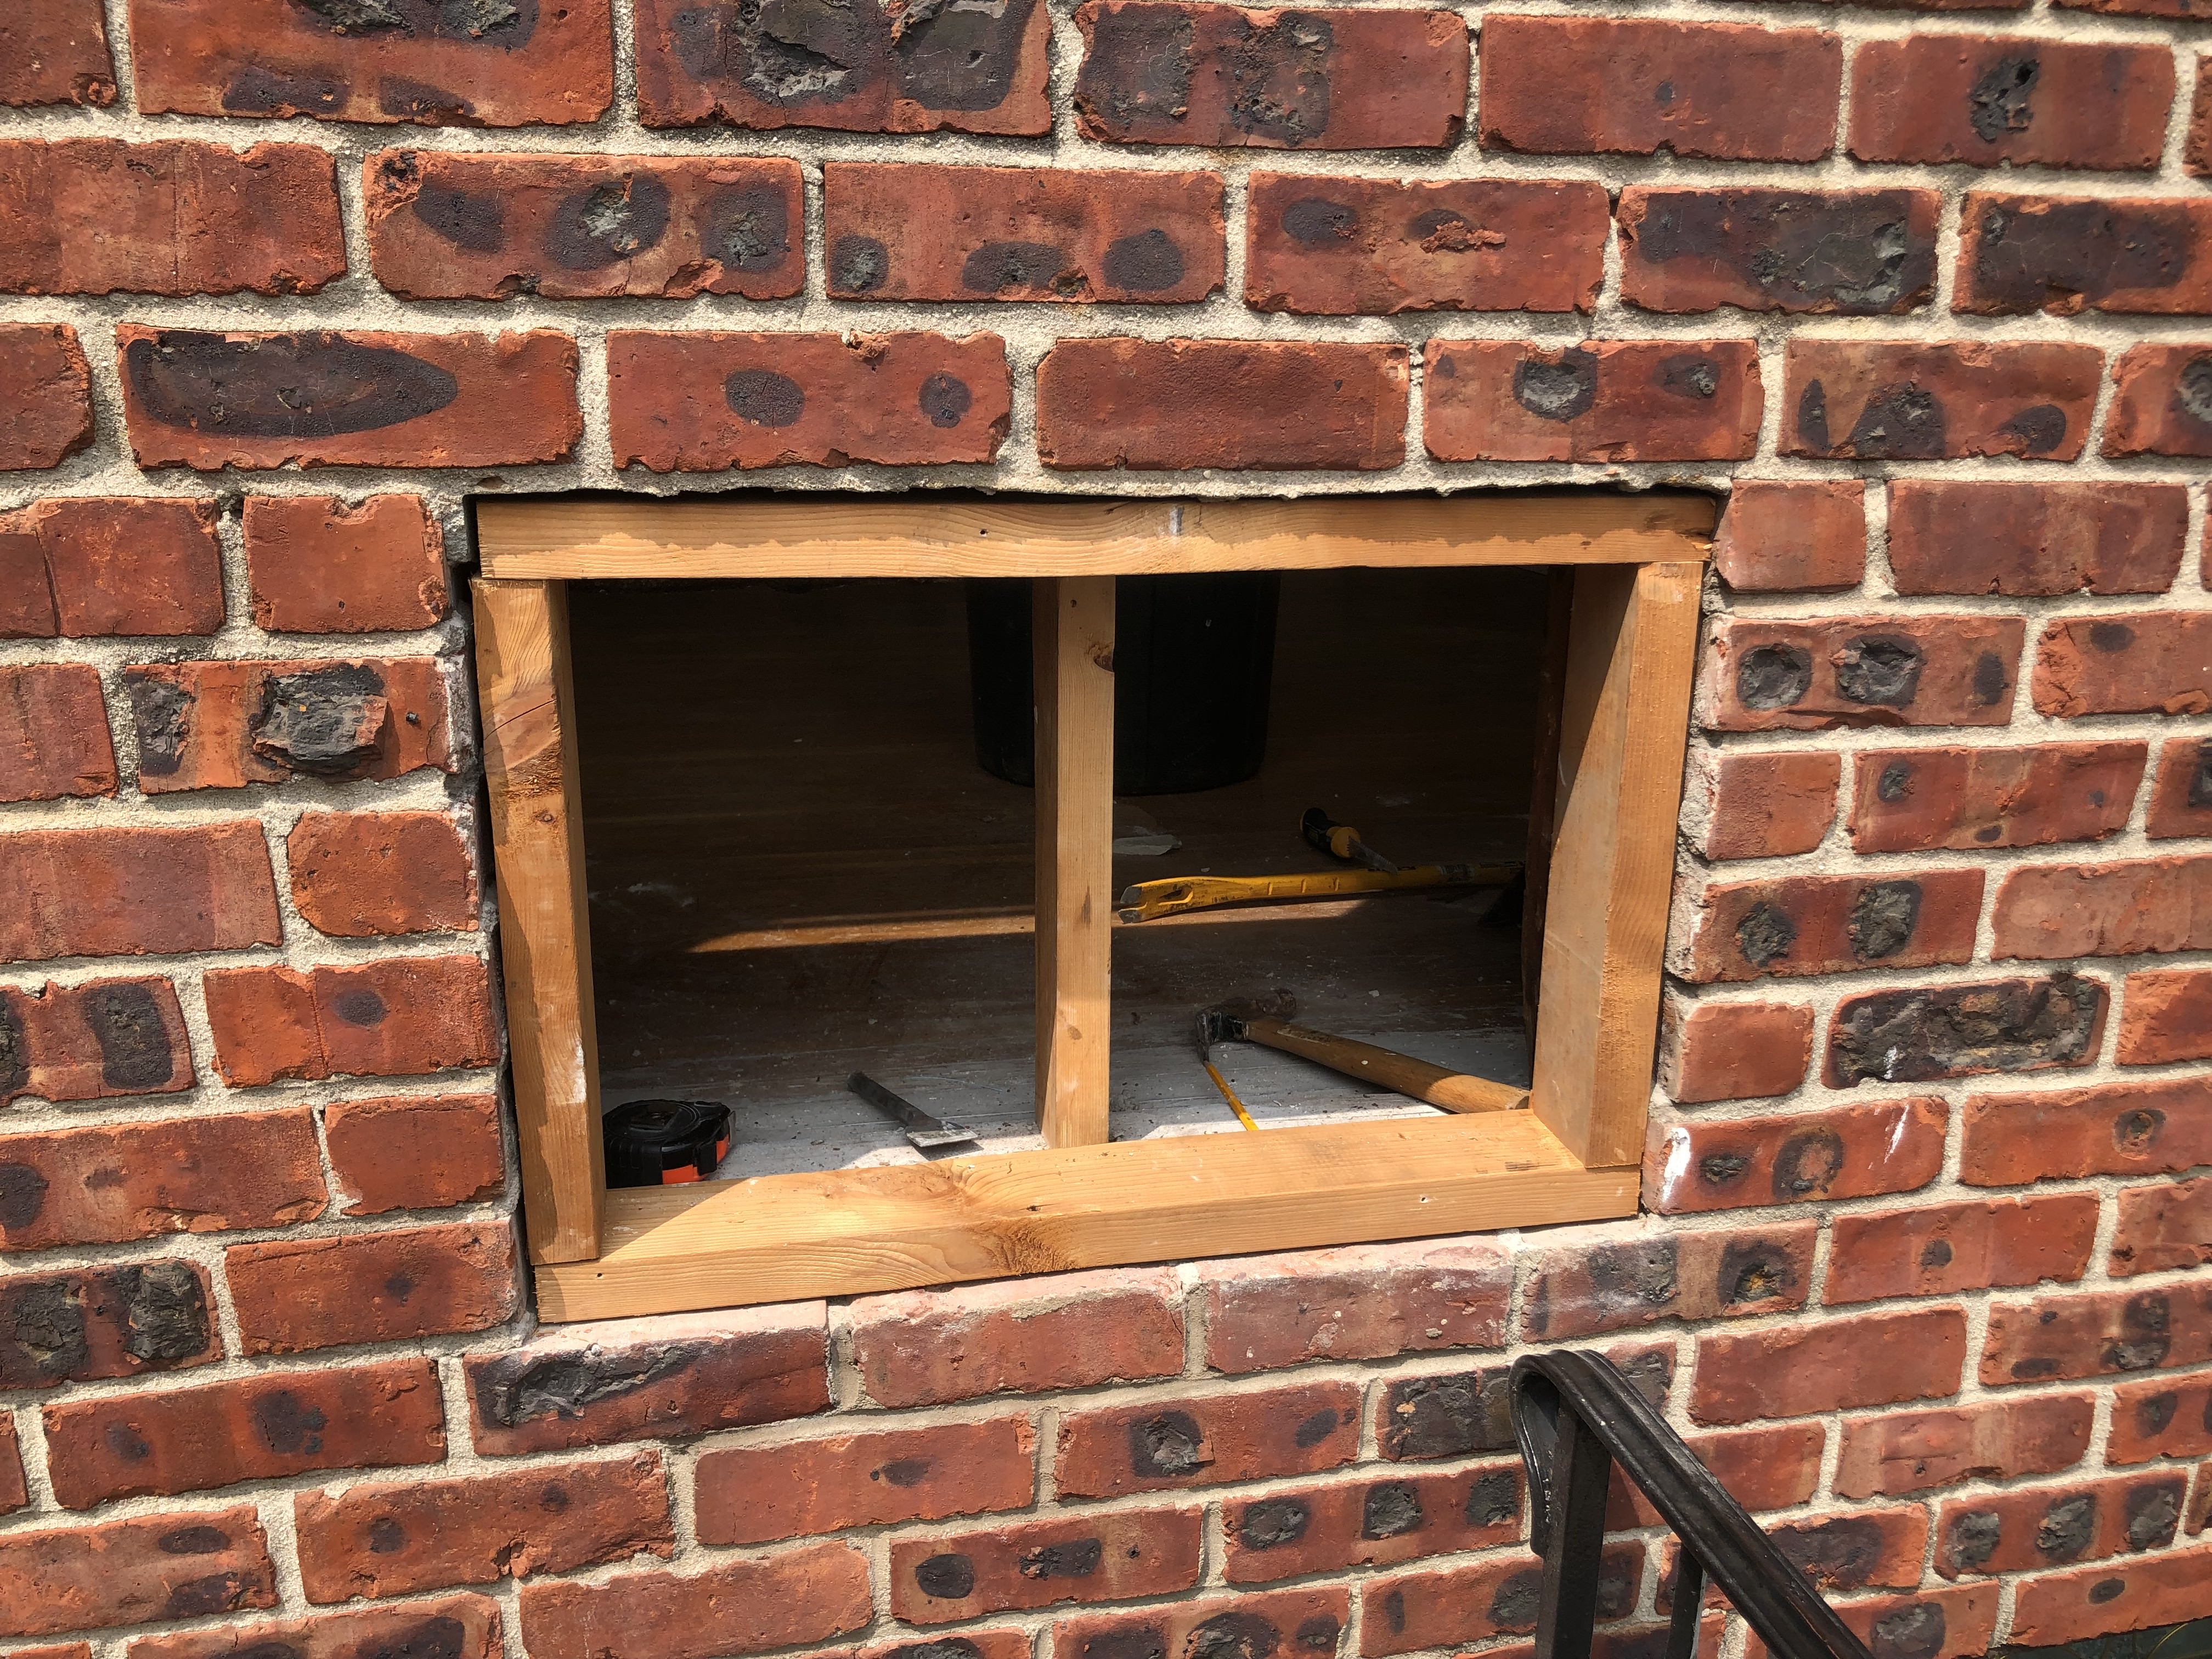
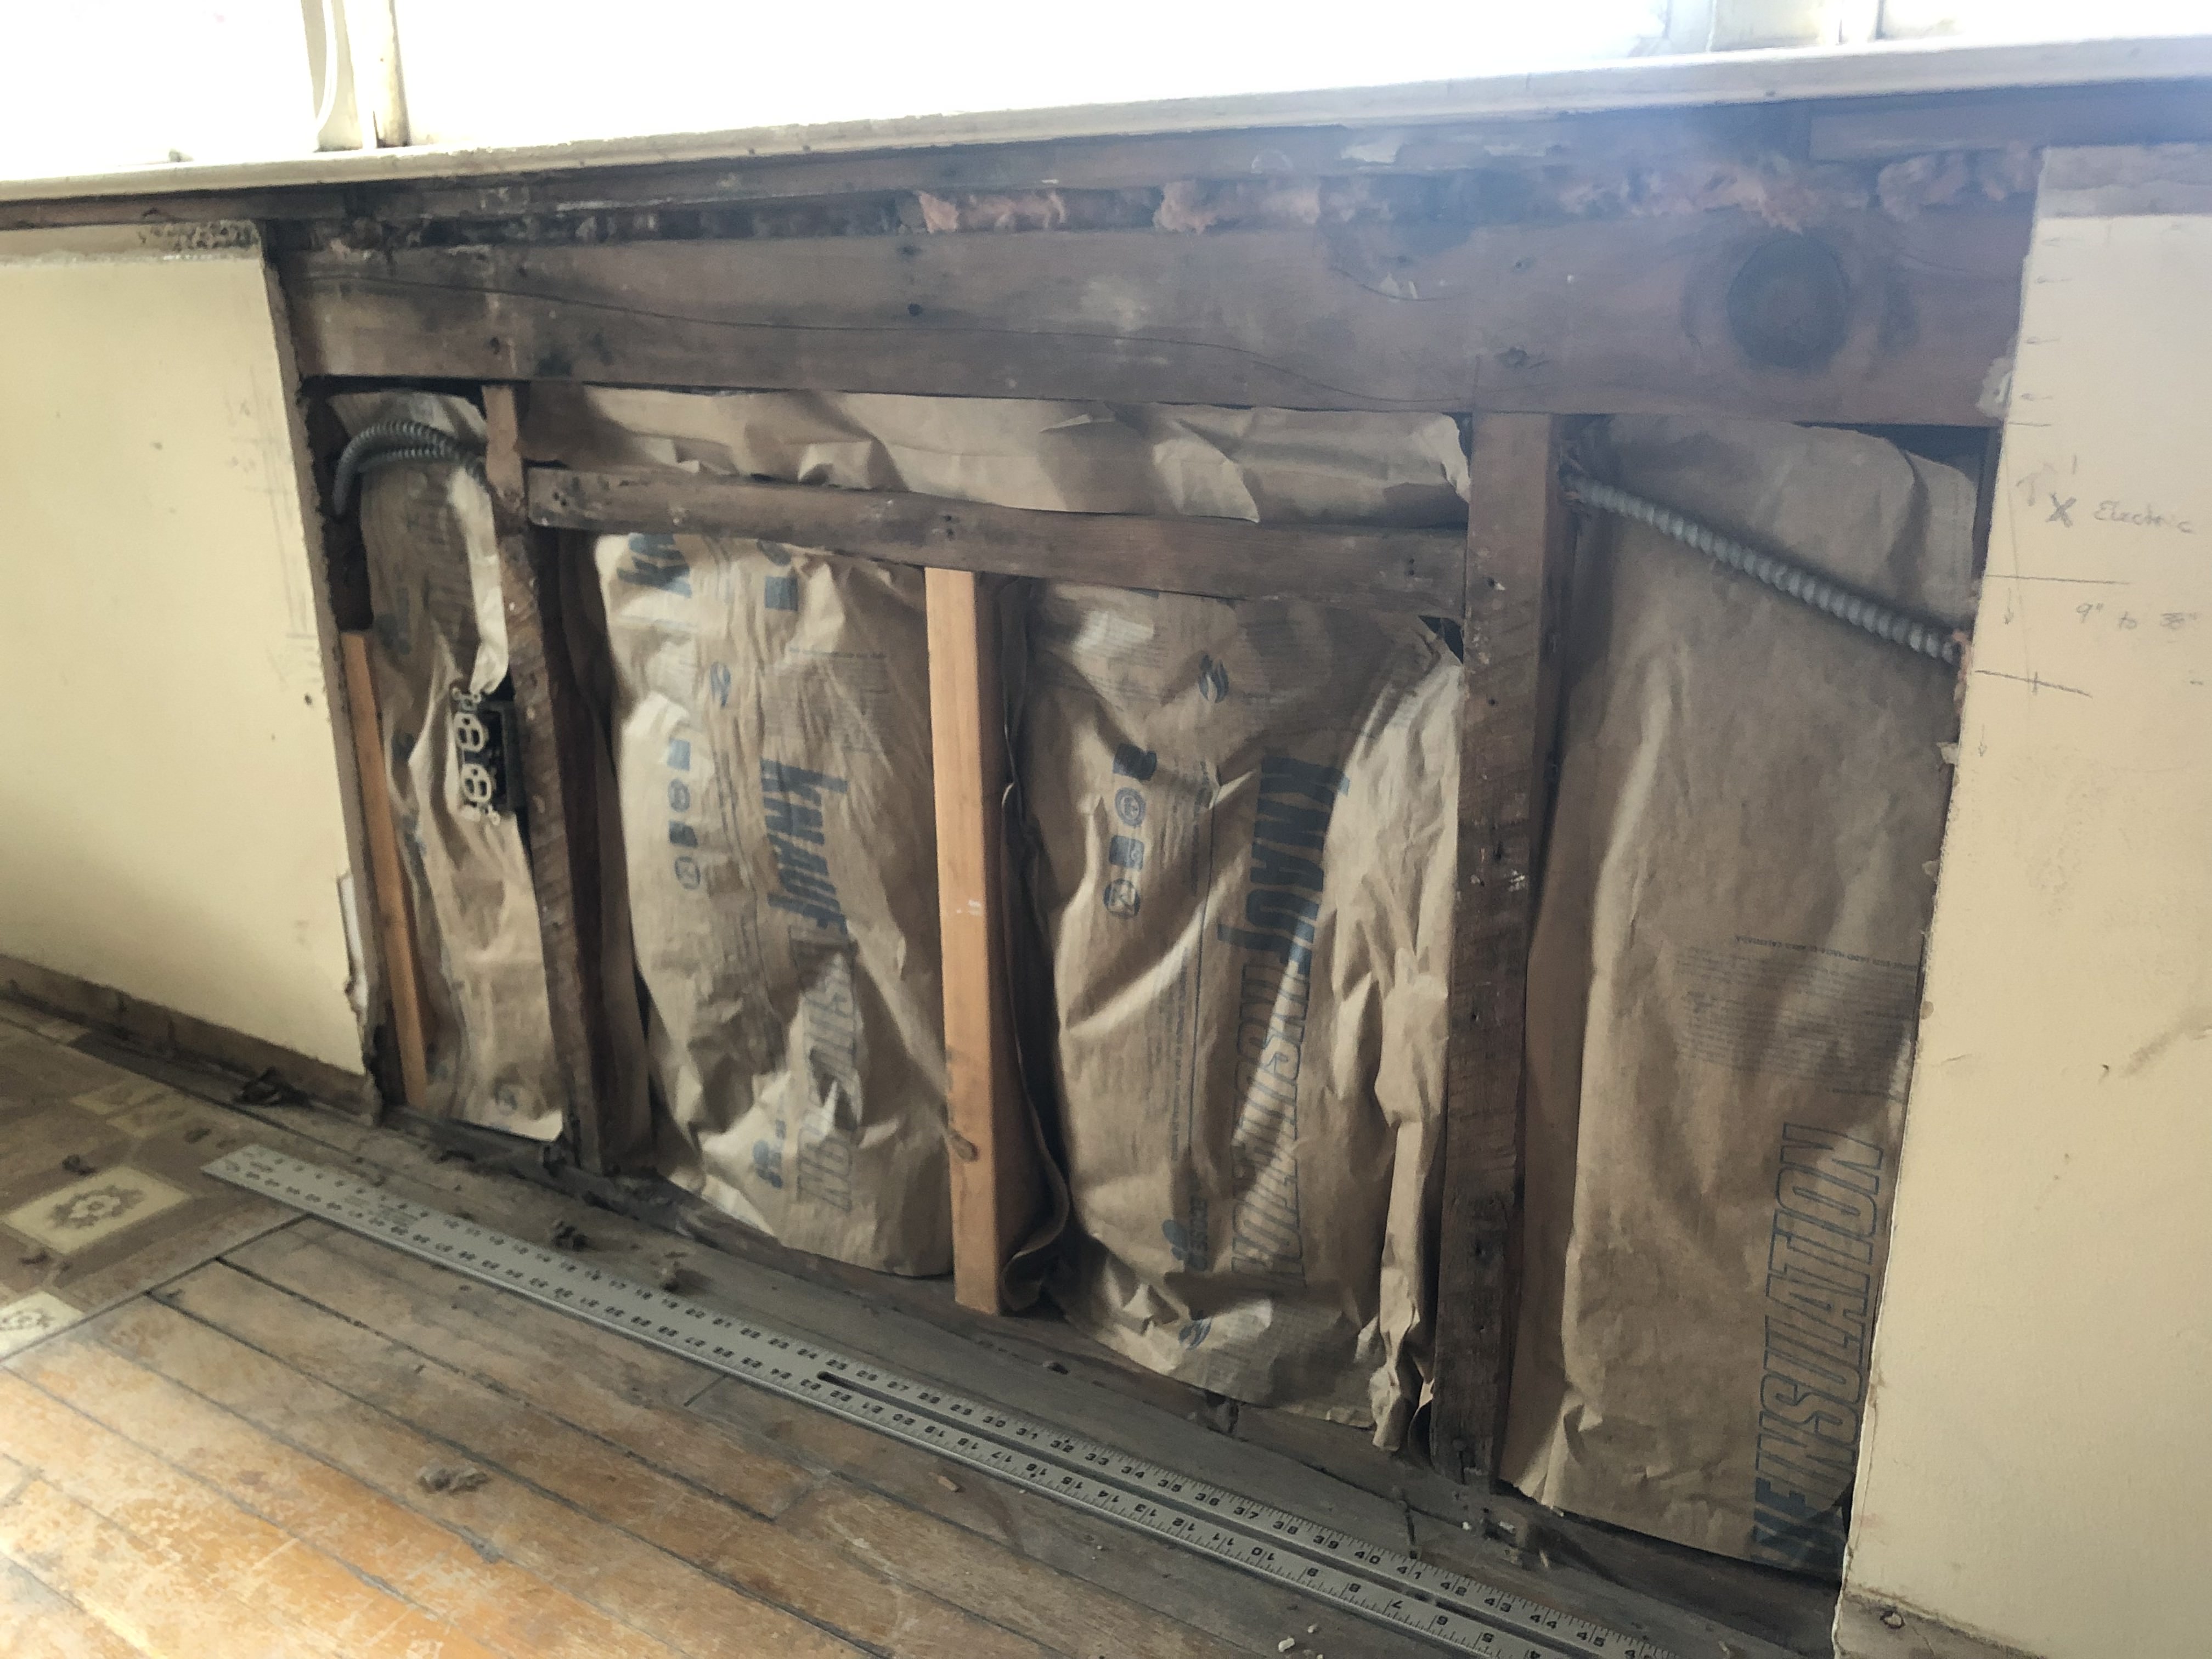
Next we removed the old air conditioning sleeves that were originally below the window. Window units are easier to remove for the winter months and make replacing much easier than the ones installed in sleeves.
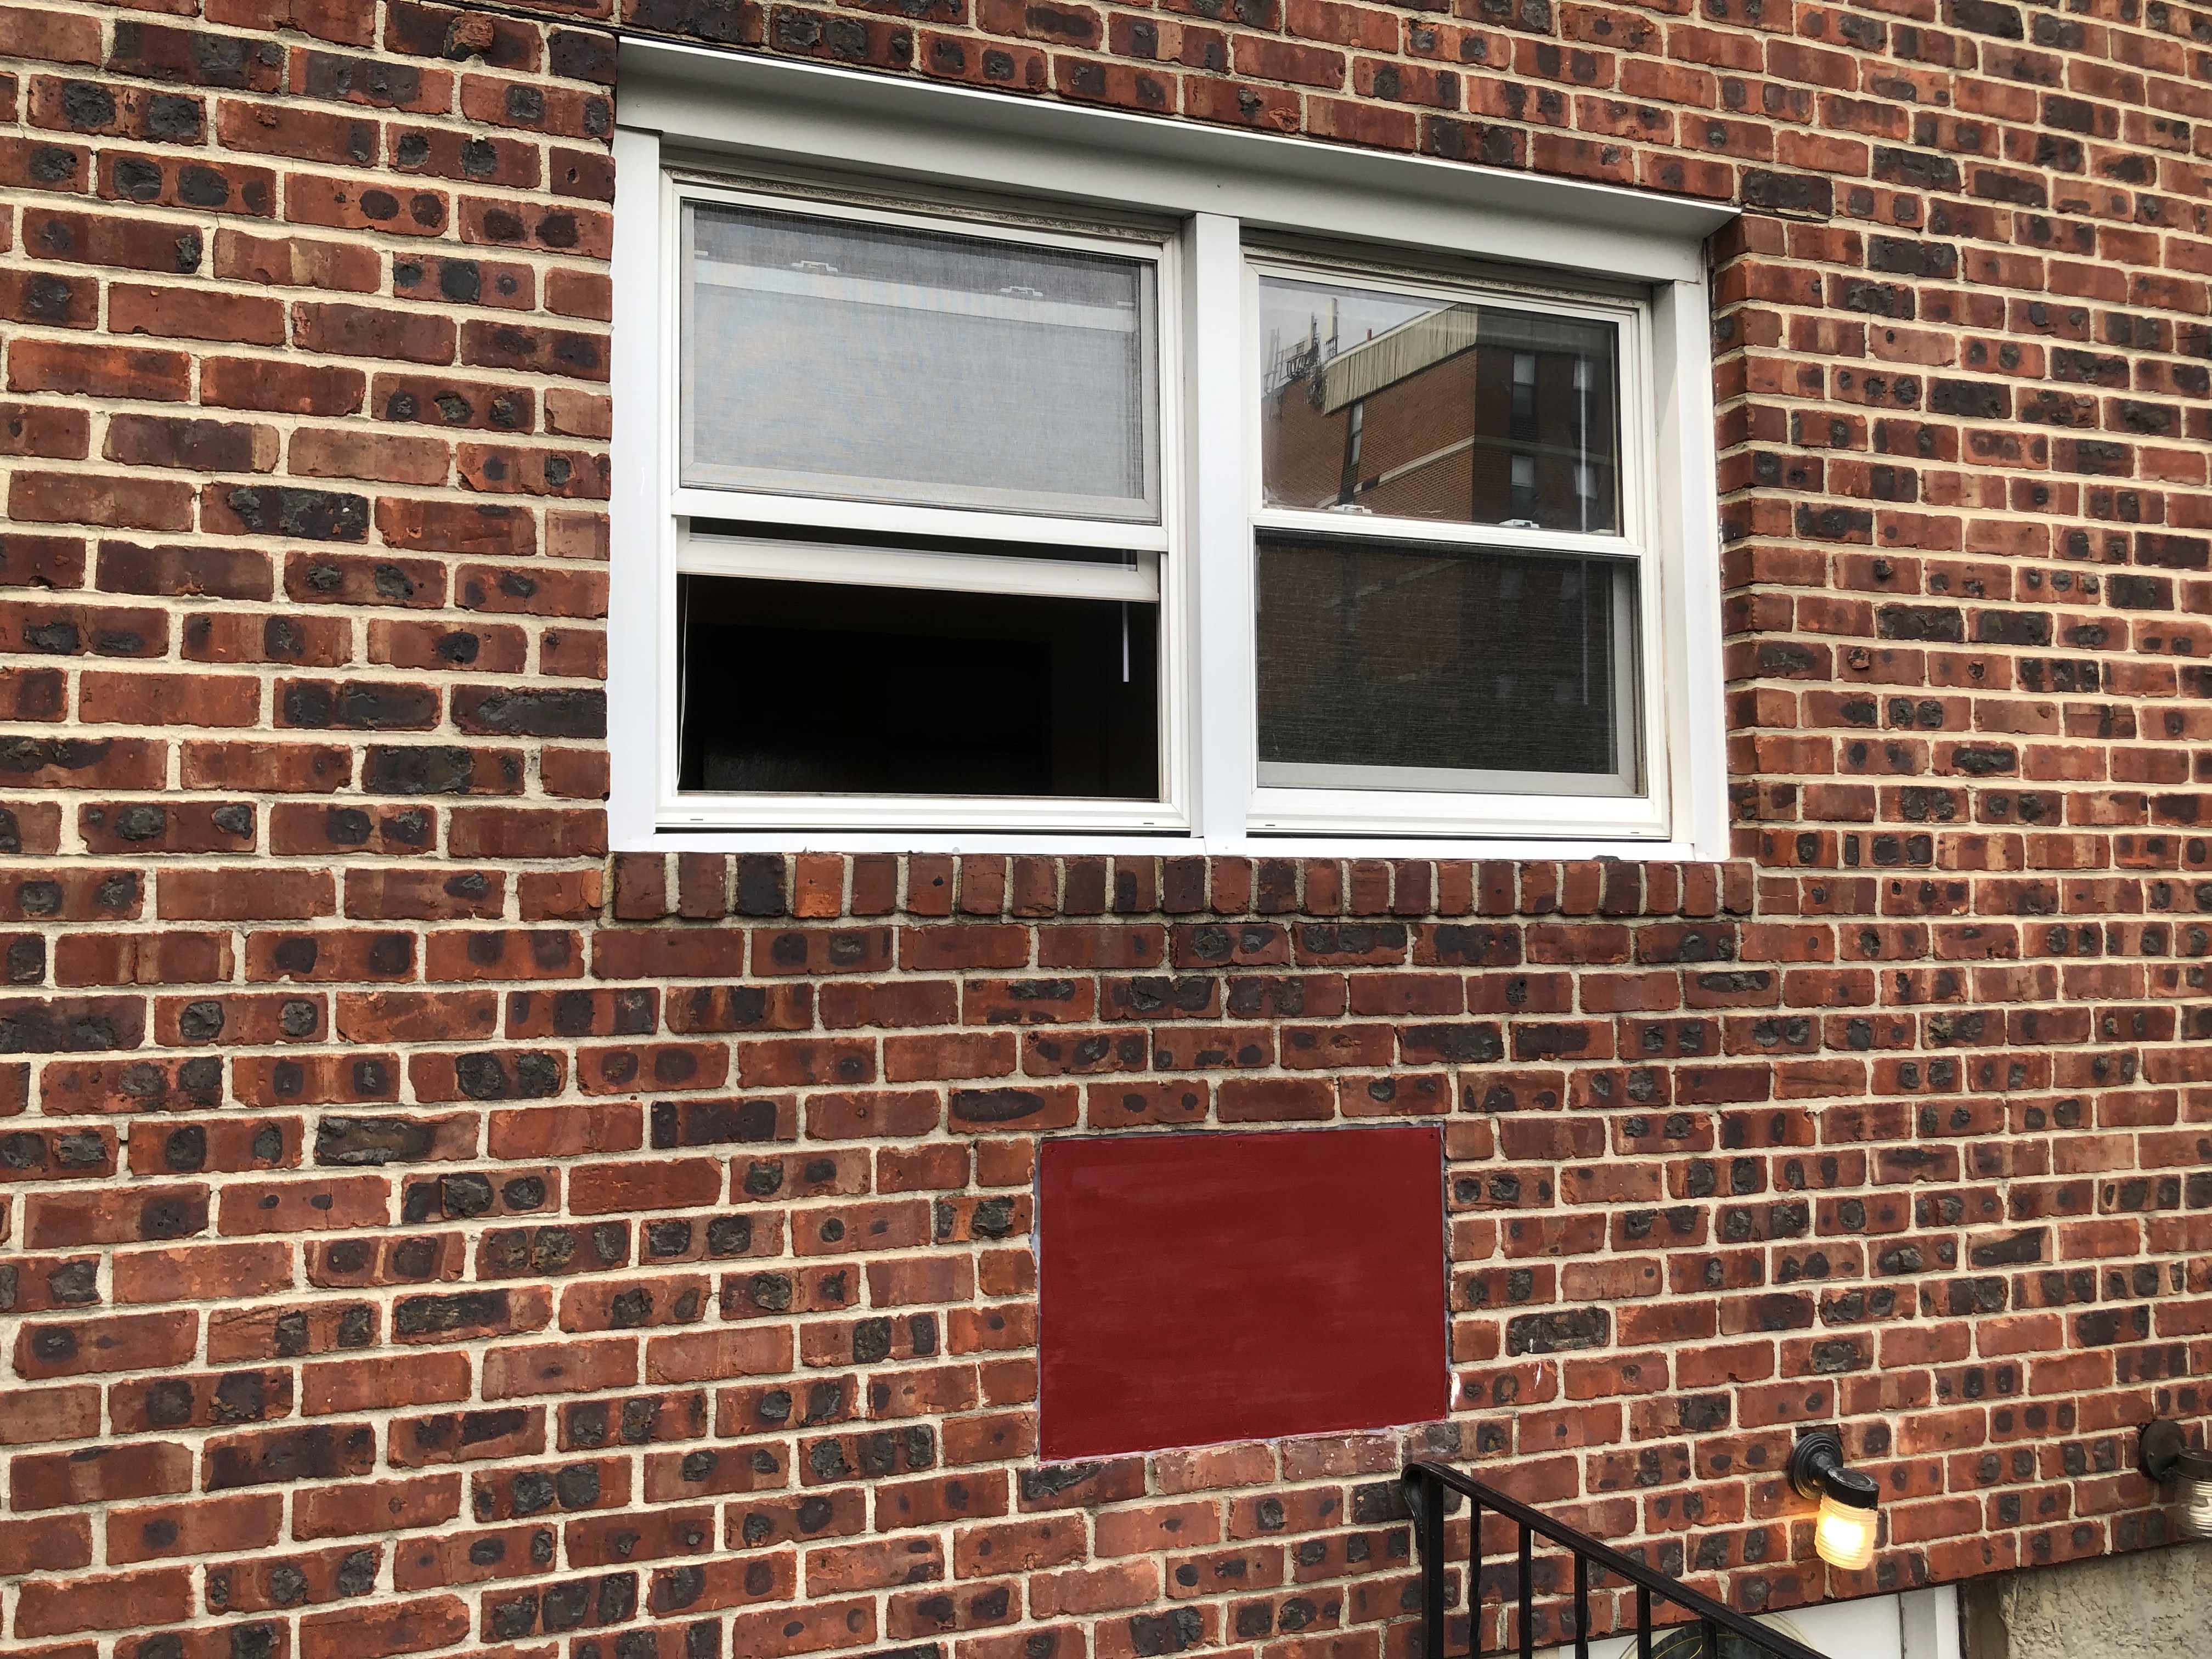
Once the framing was secured with cement screws, we put a painted plywood panel over it to blend into the brick exterior.
Behind that plywood panel, we filled the cavity with insulation to promote better temperature control.
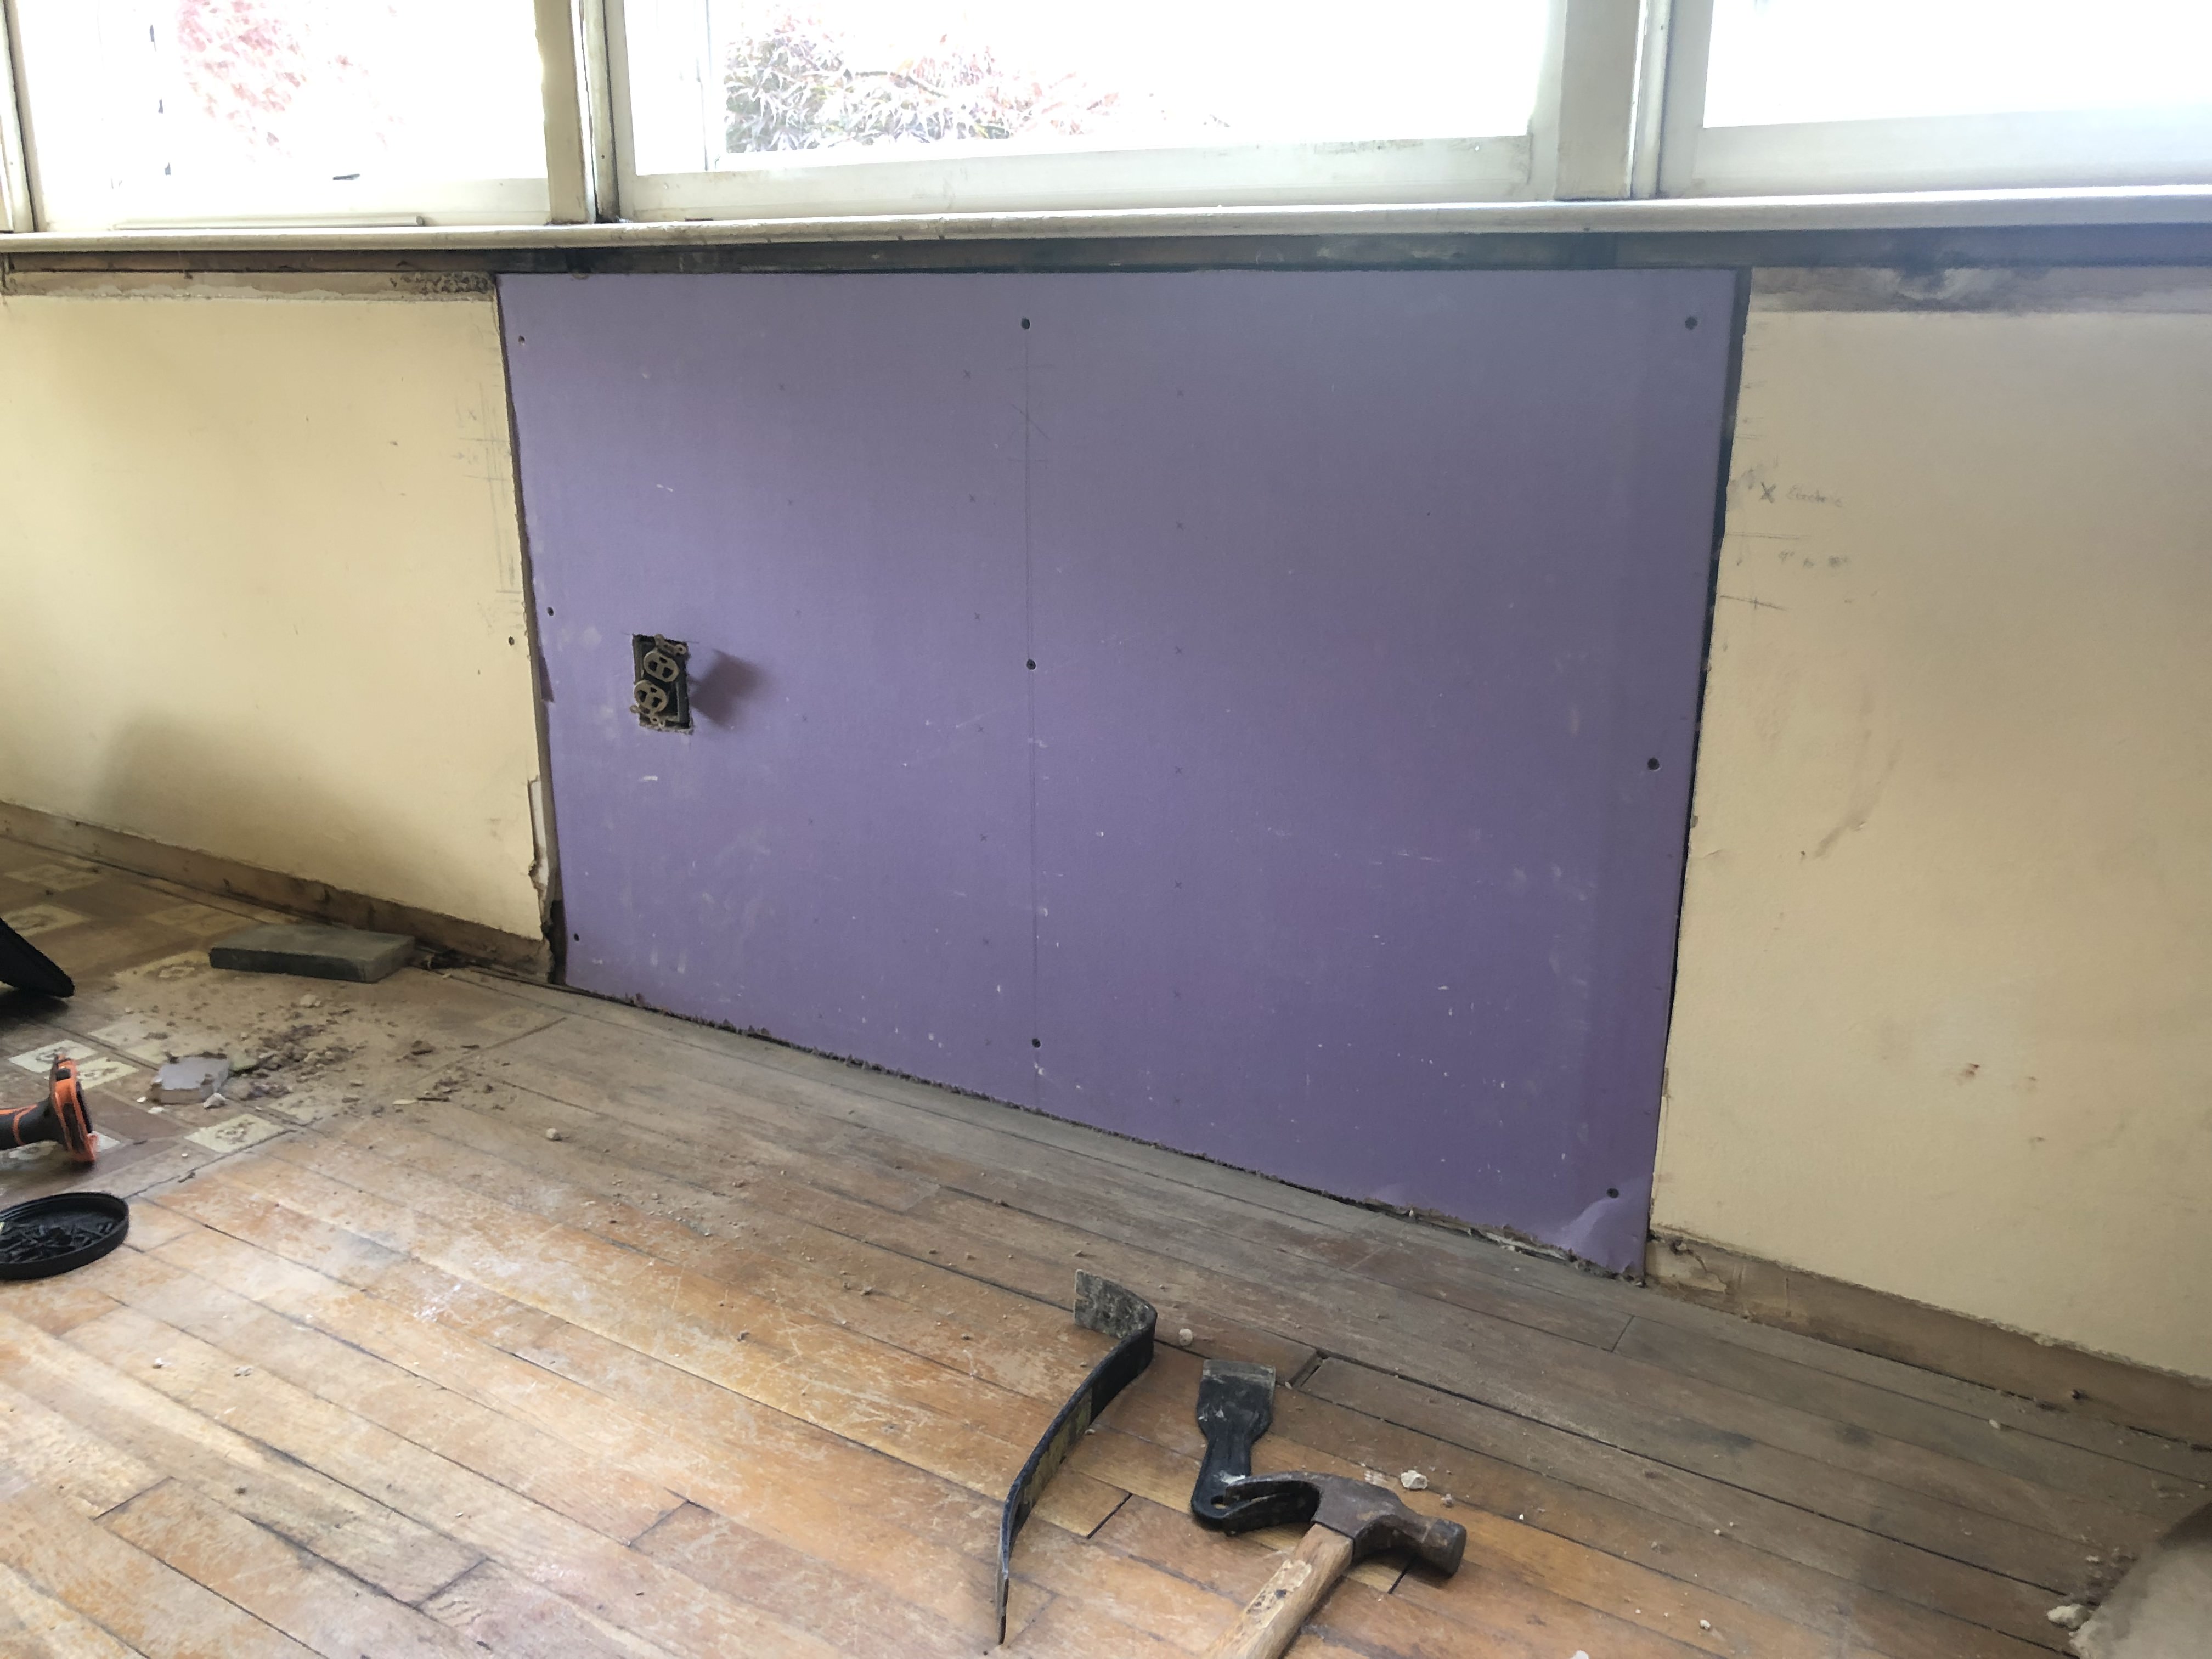
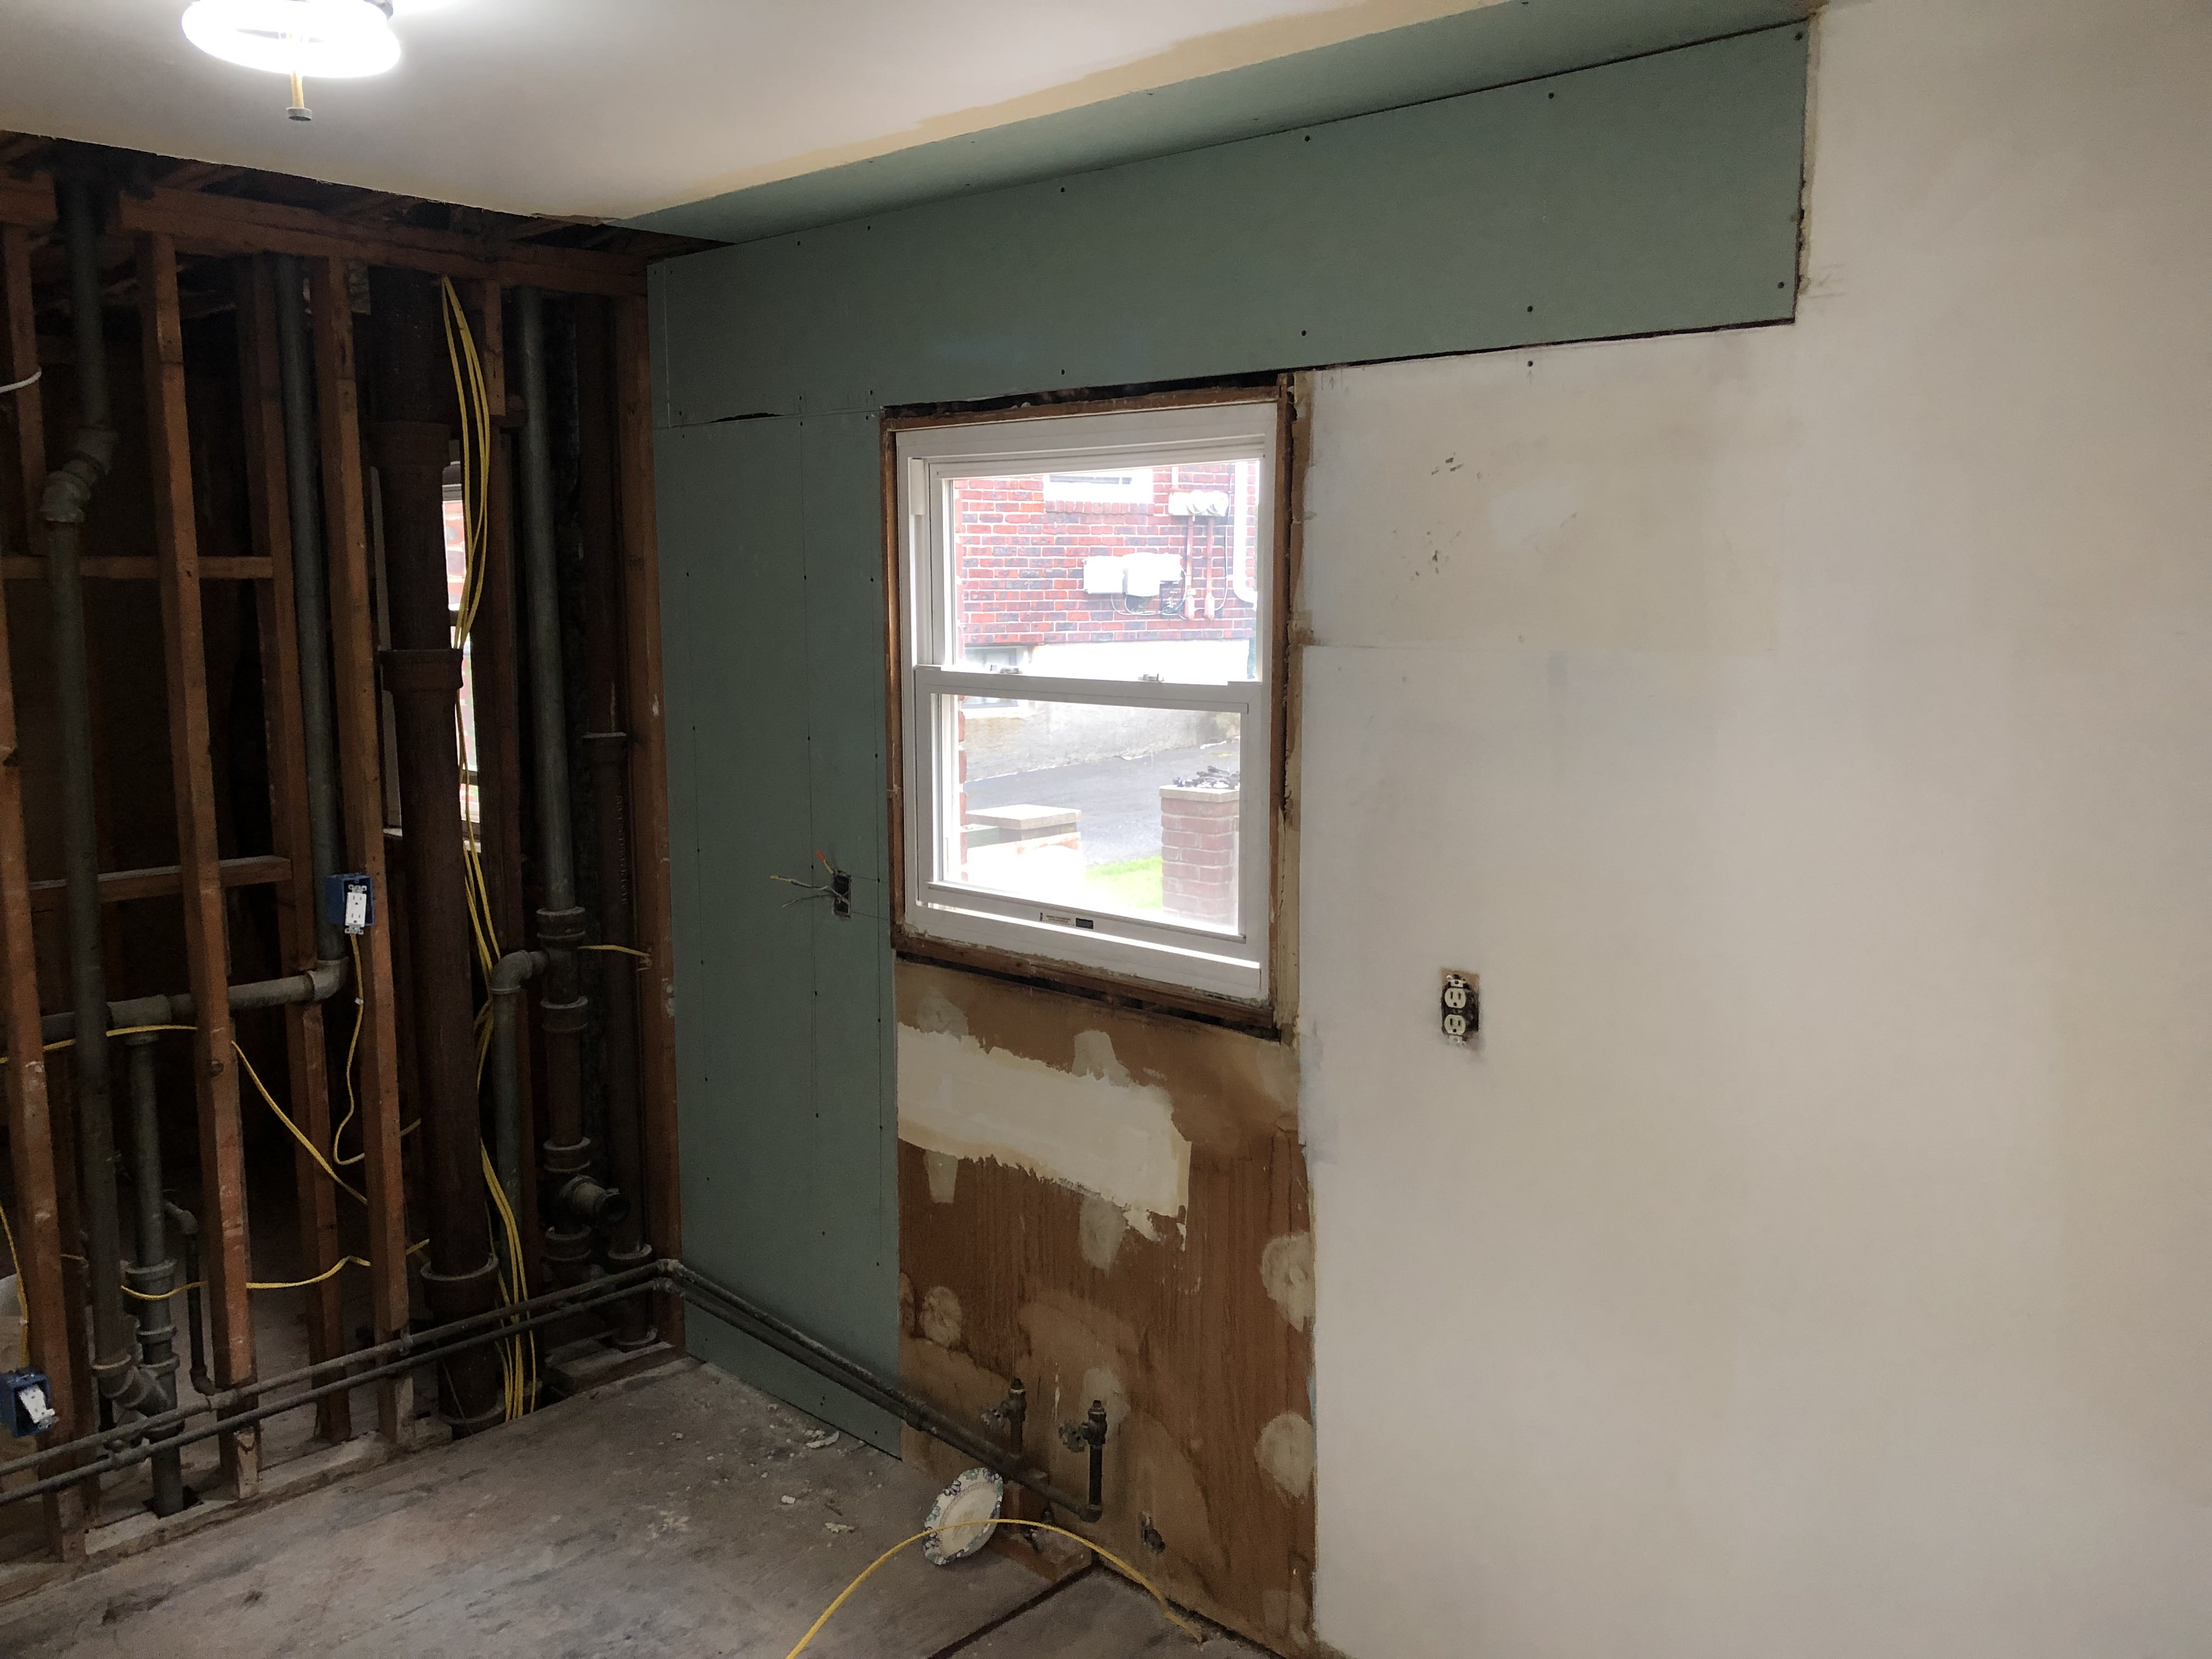
We then cut and installed a piece of drywall to cover the hole where the air conditioning sleeve was.
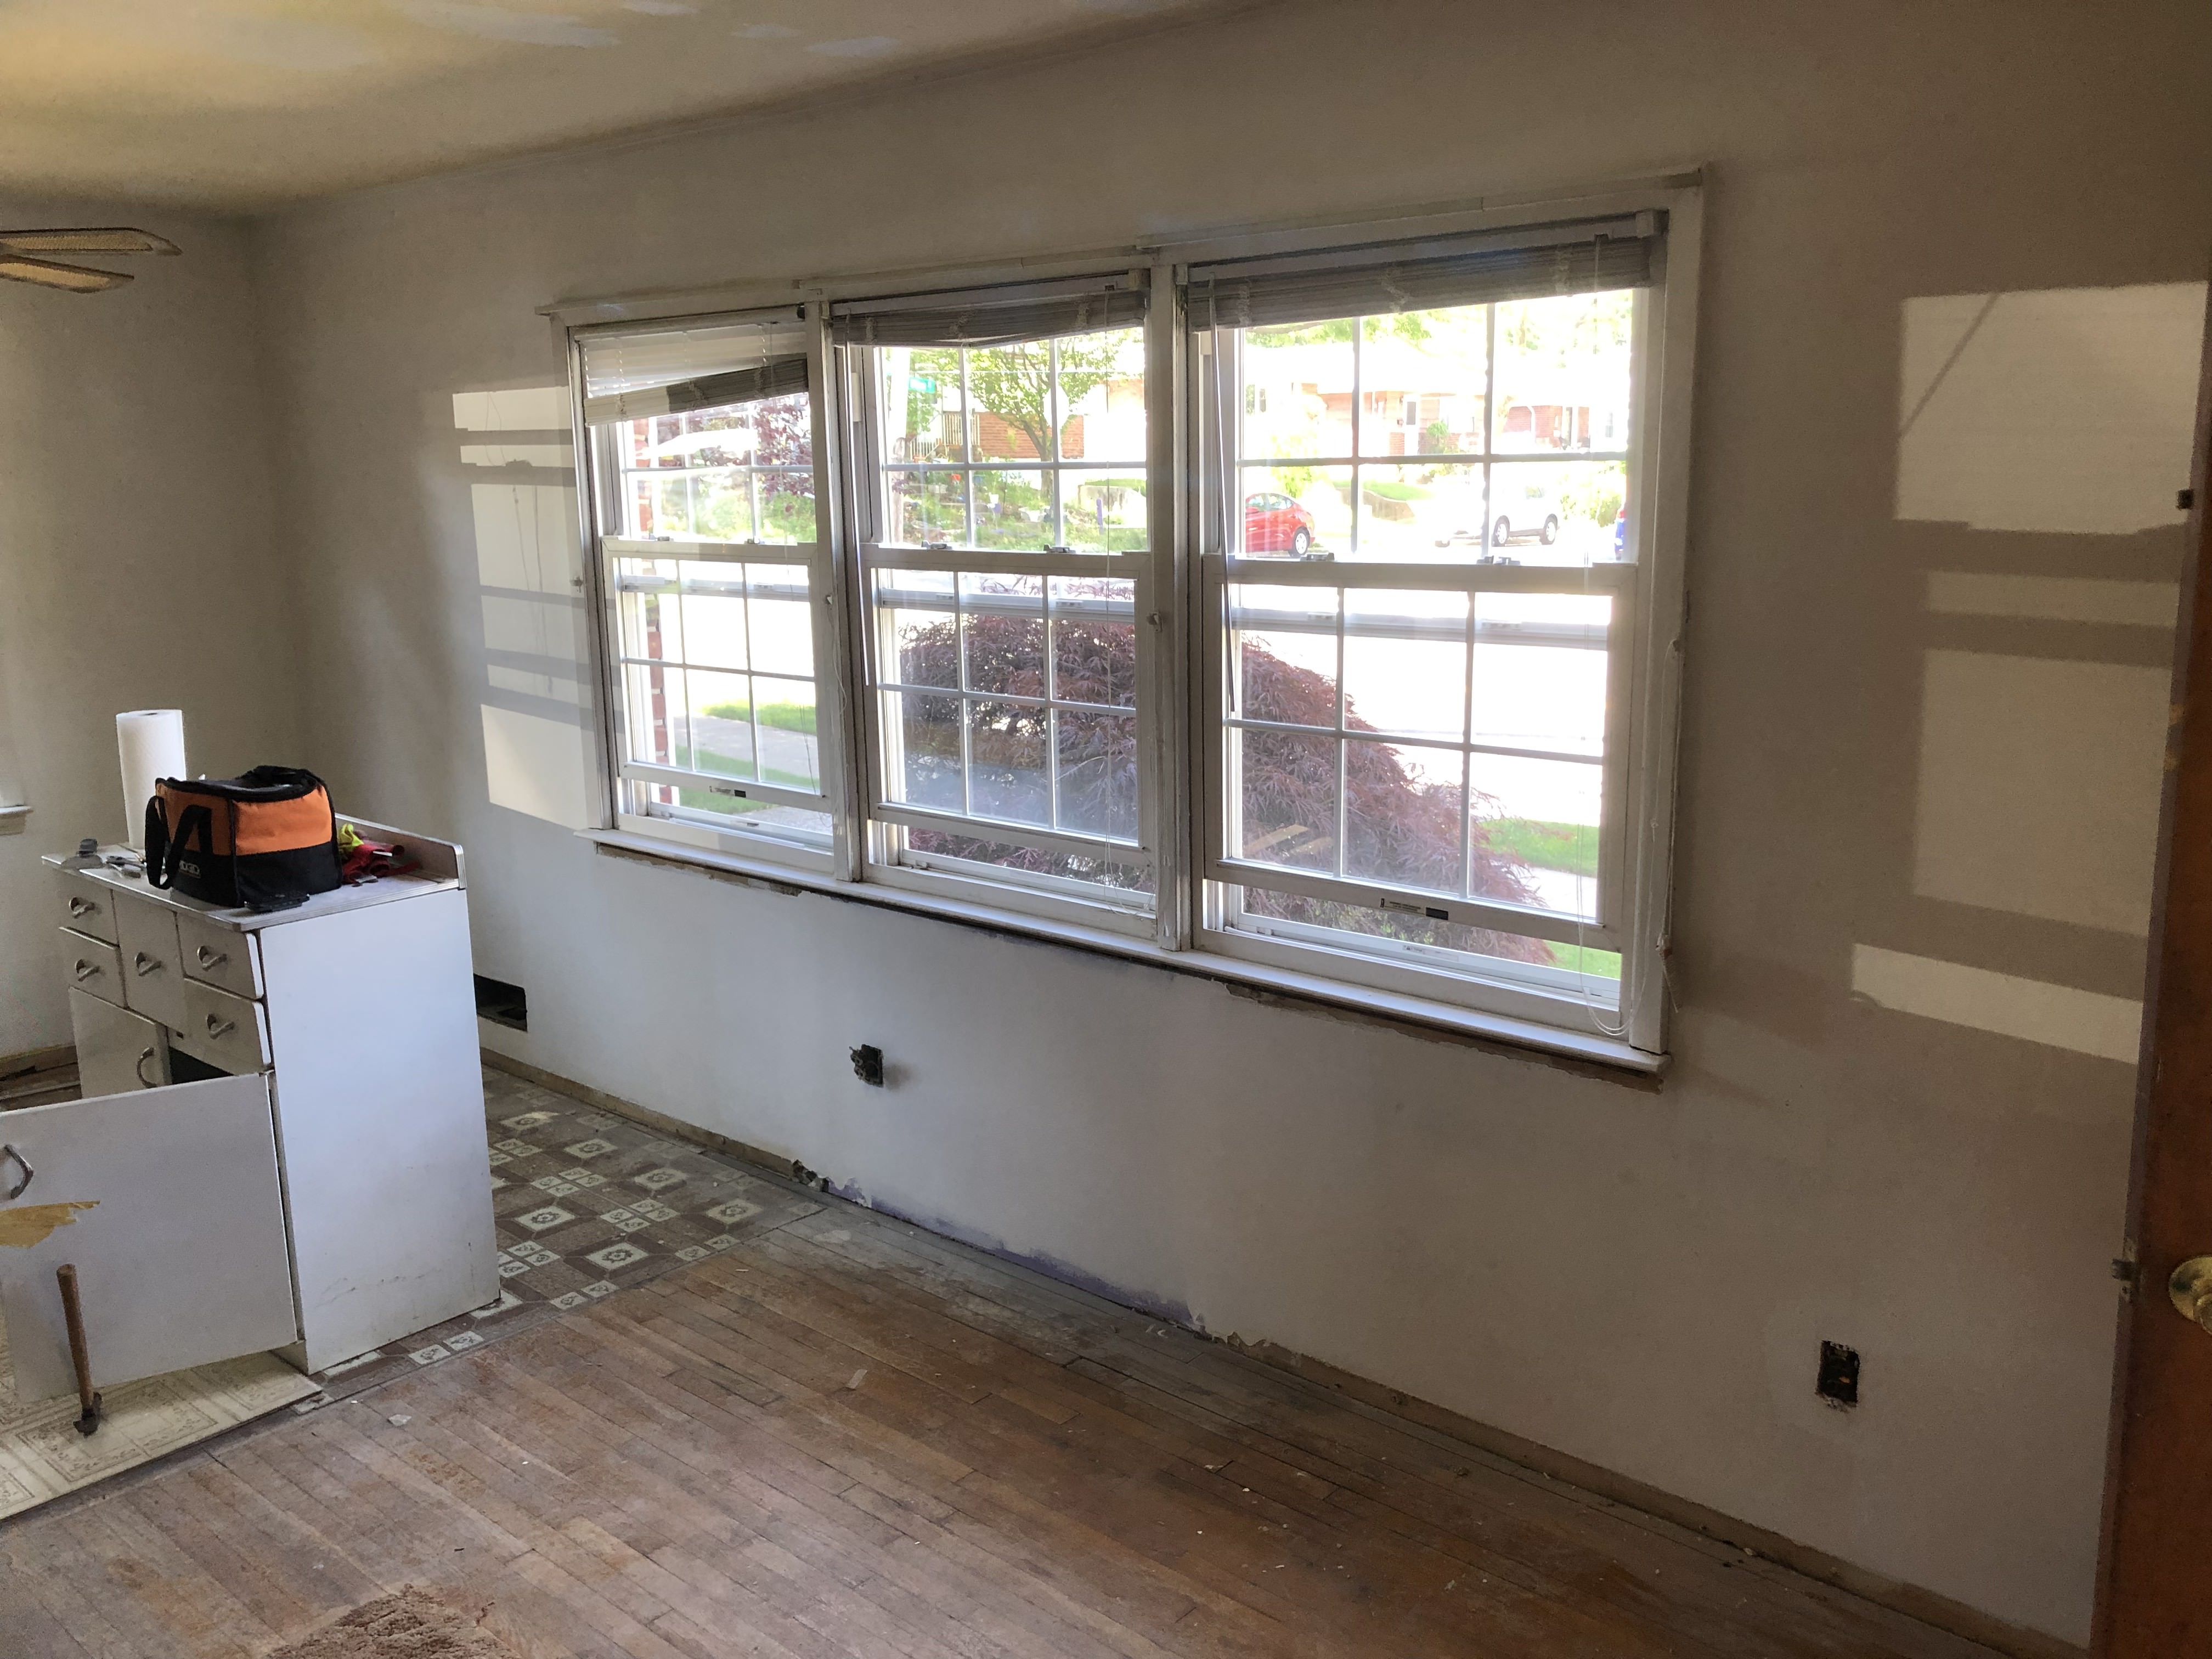
After a coat of primer you can barely tell where the wall repair was. It will look even better after paint.
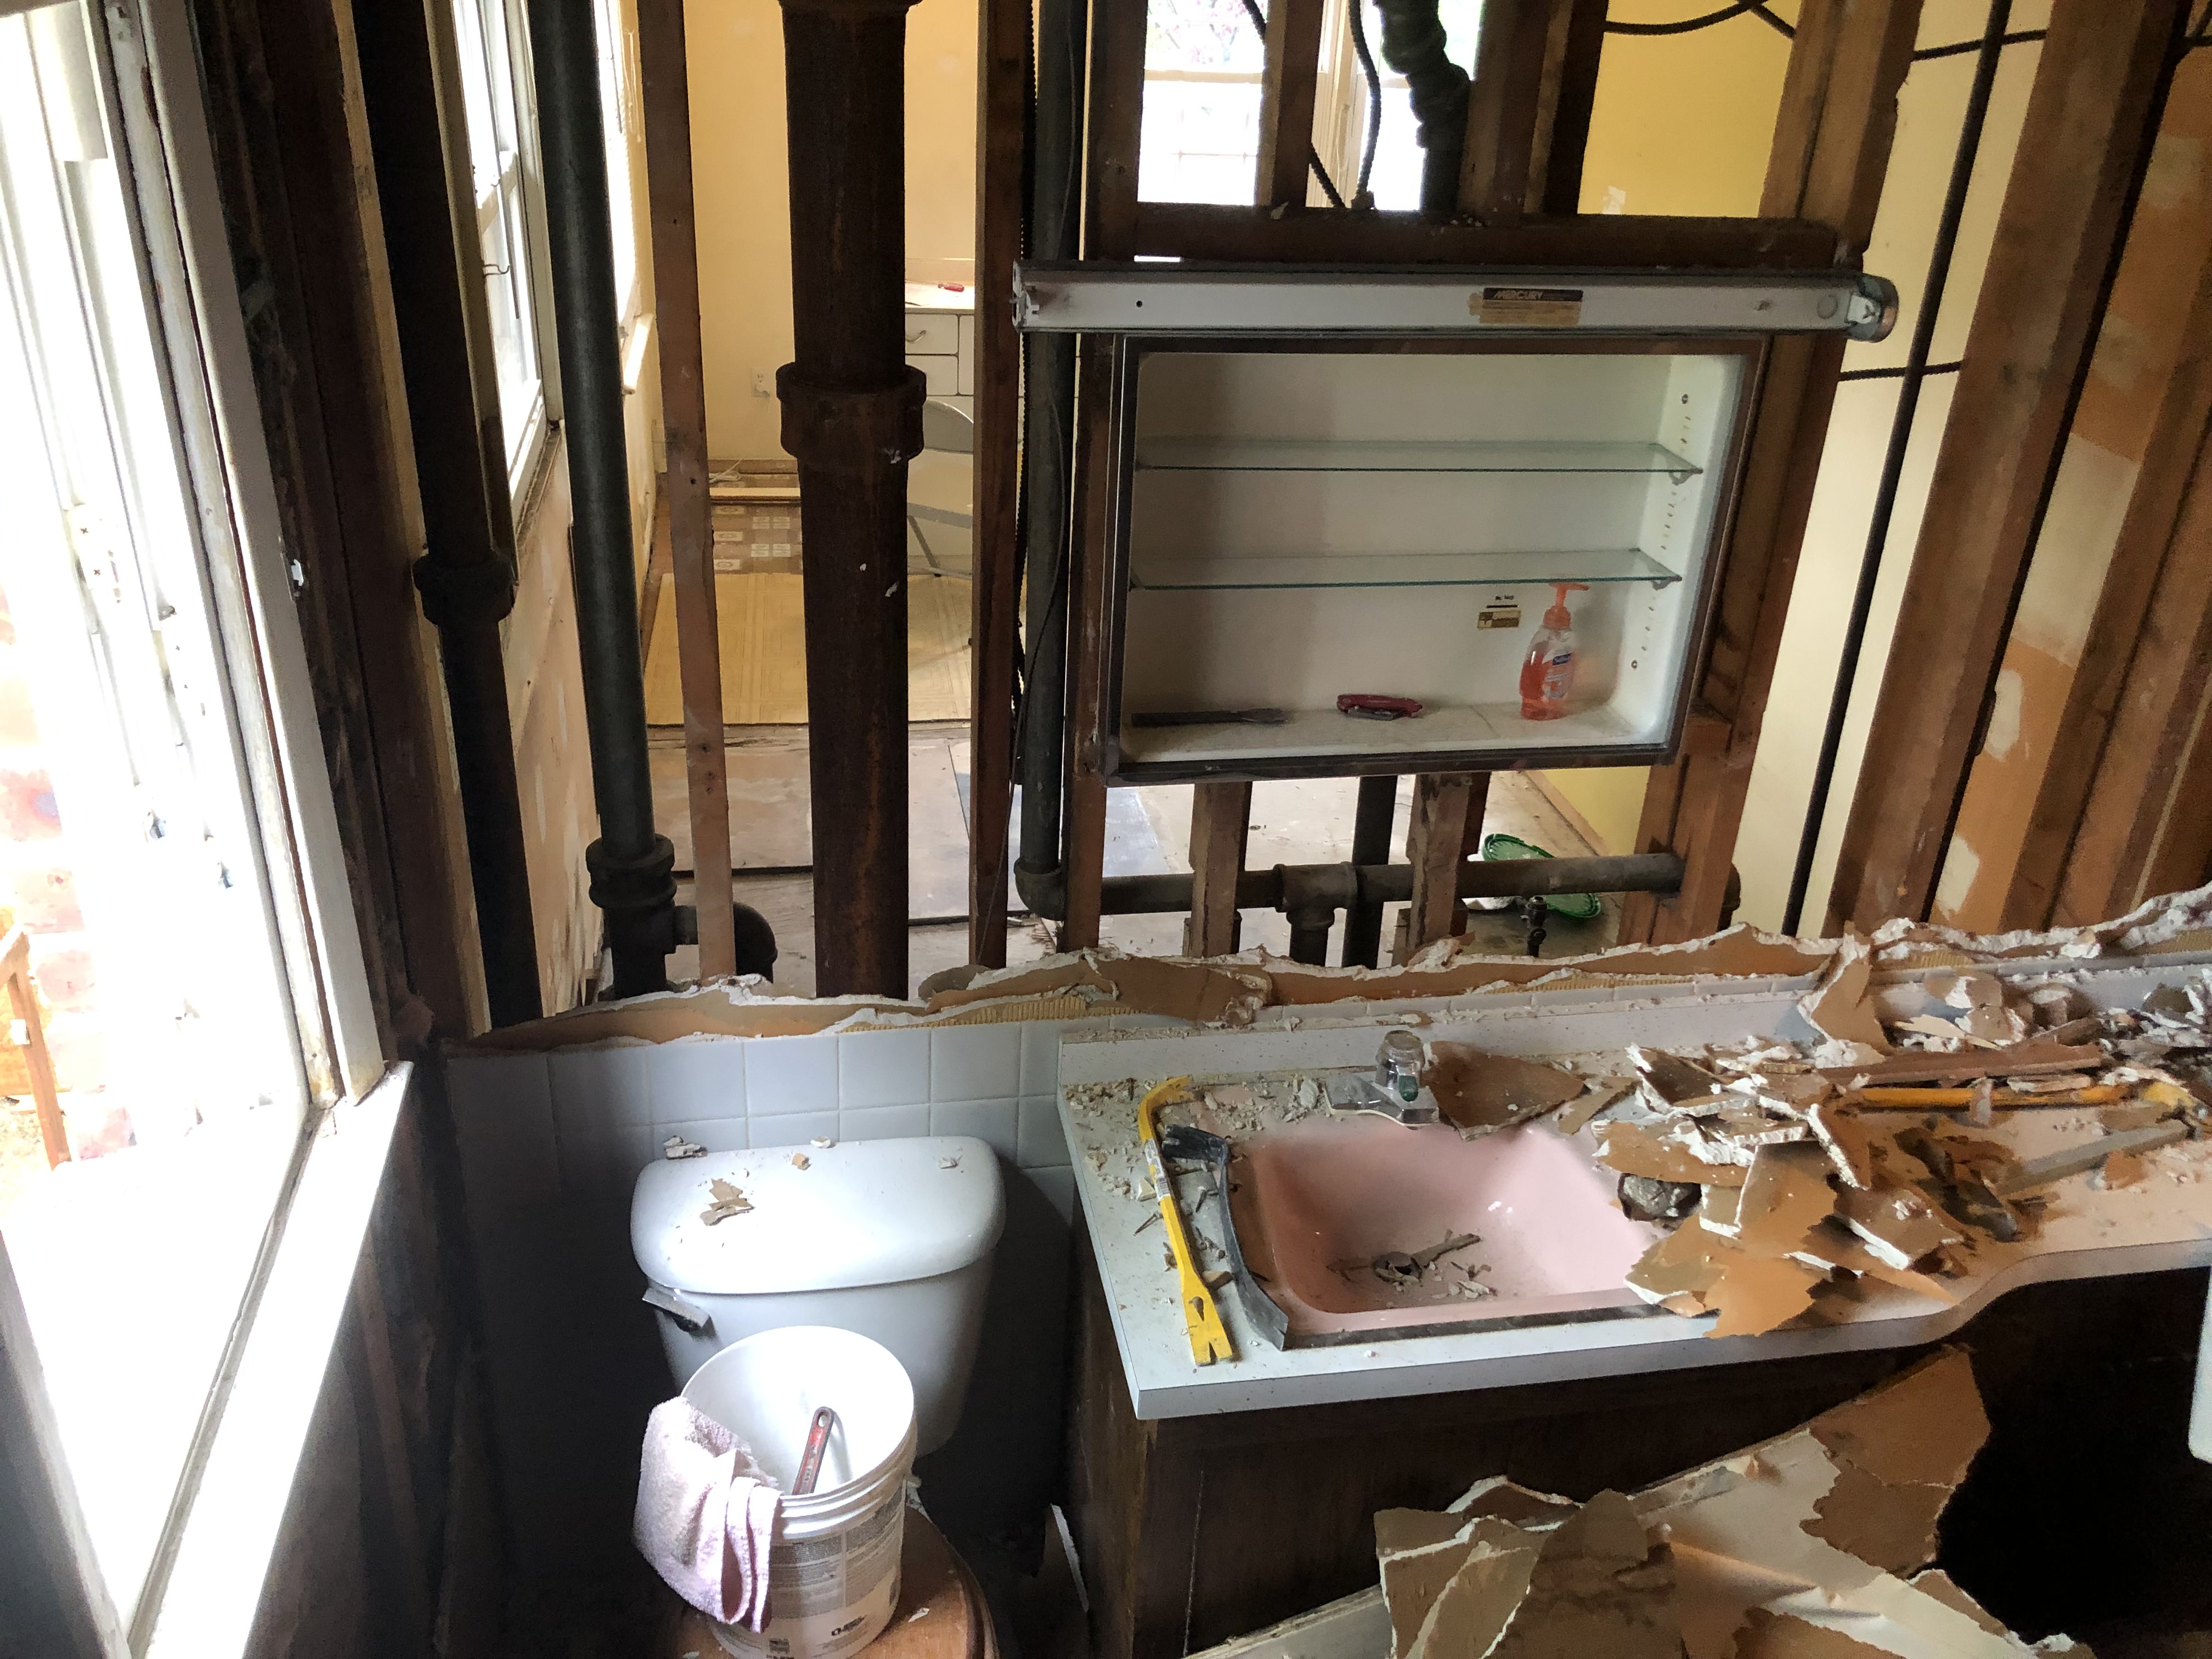
Here we were demolishing the old bathroom. We had to use pry bars to remove the sheetrock and tiles from the studs.
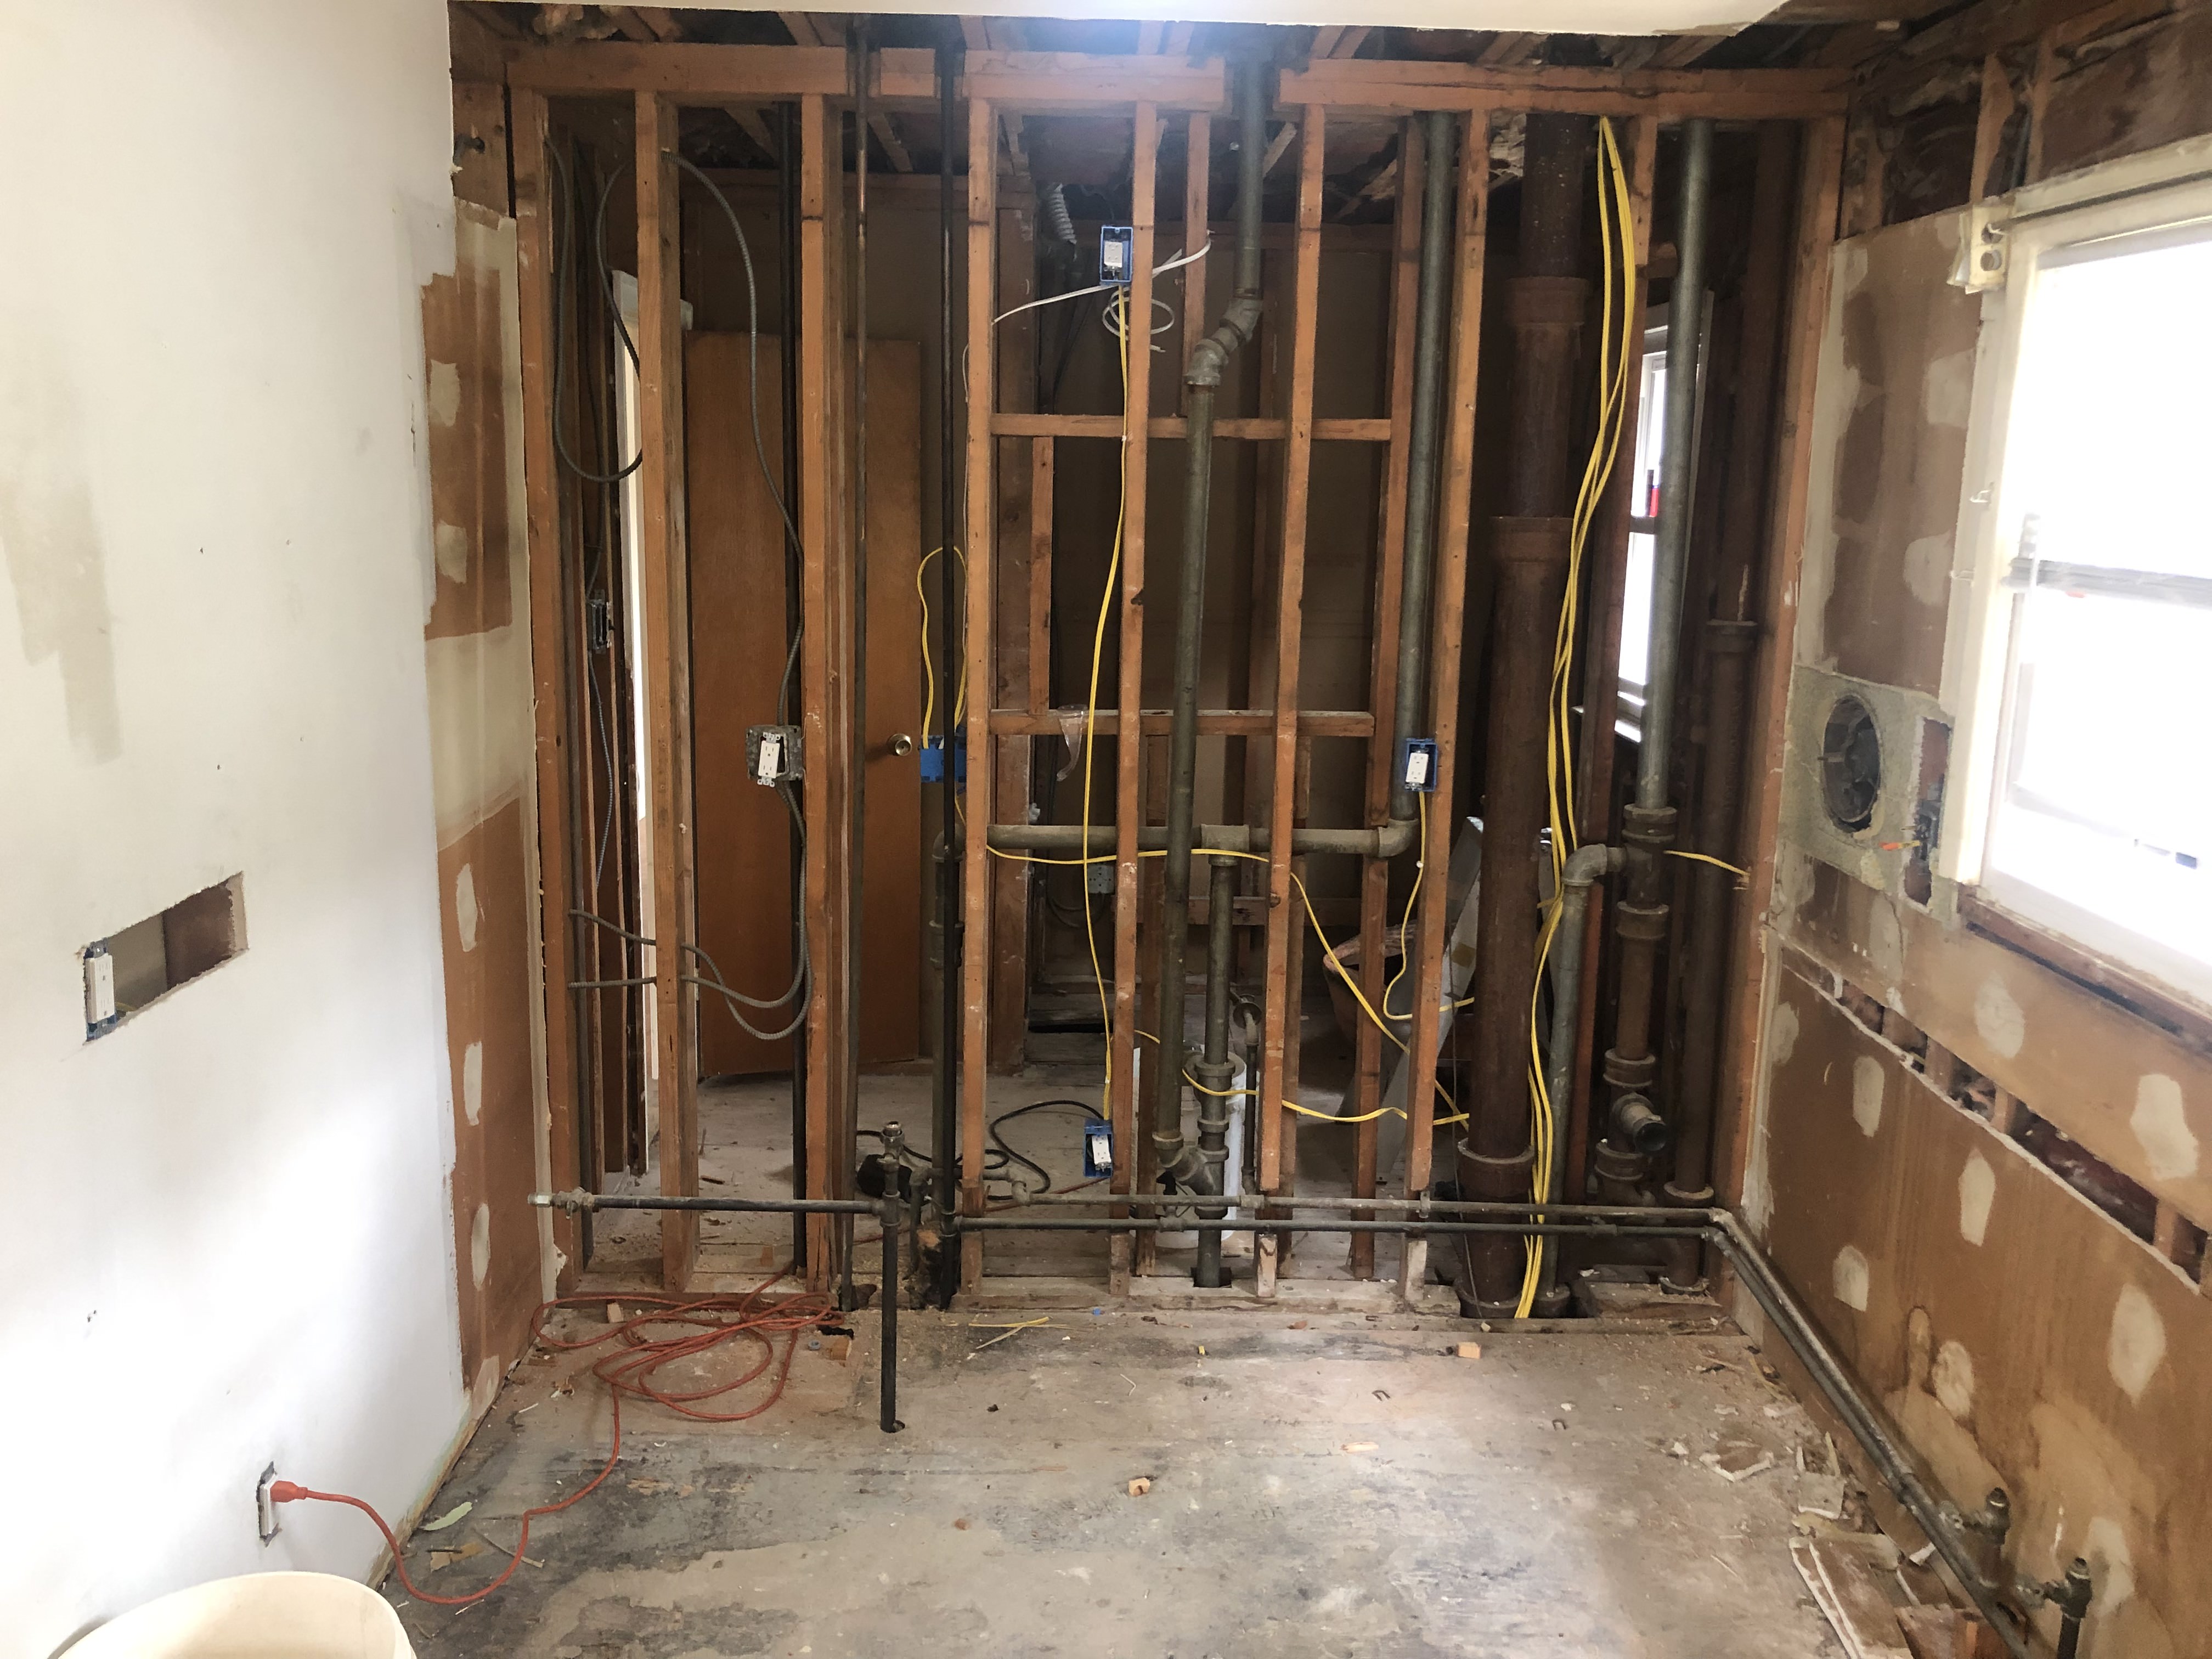
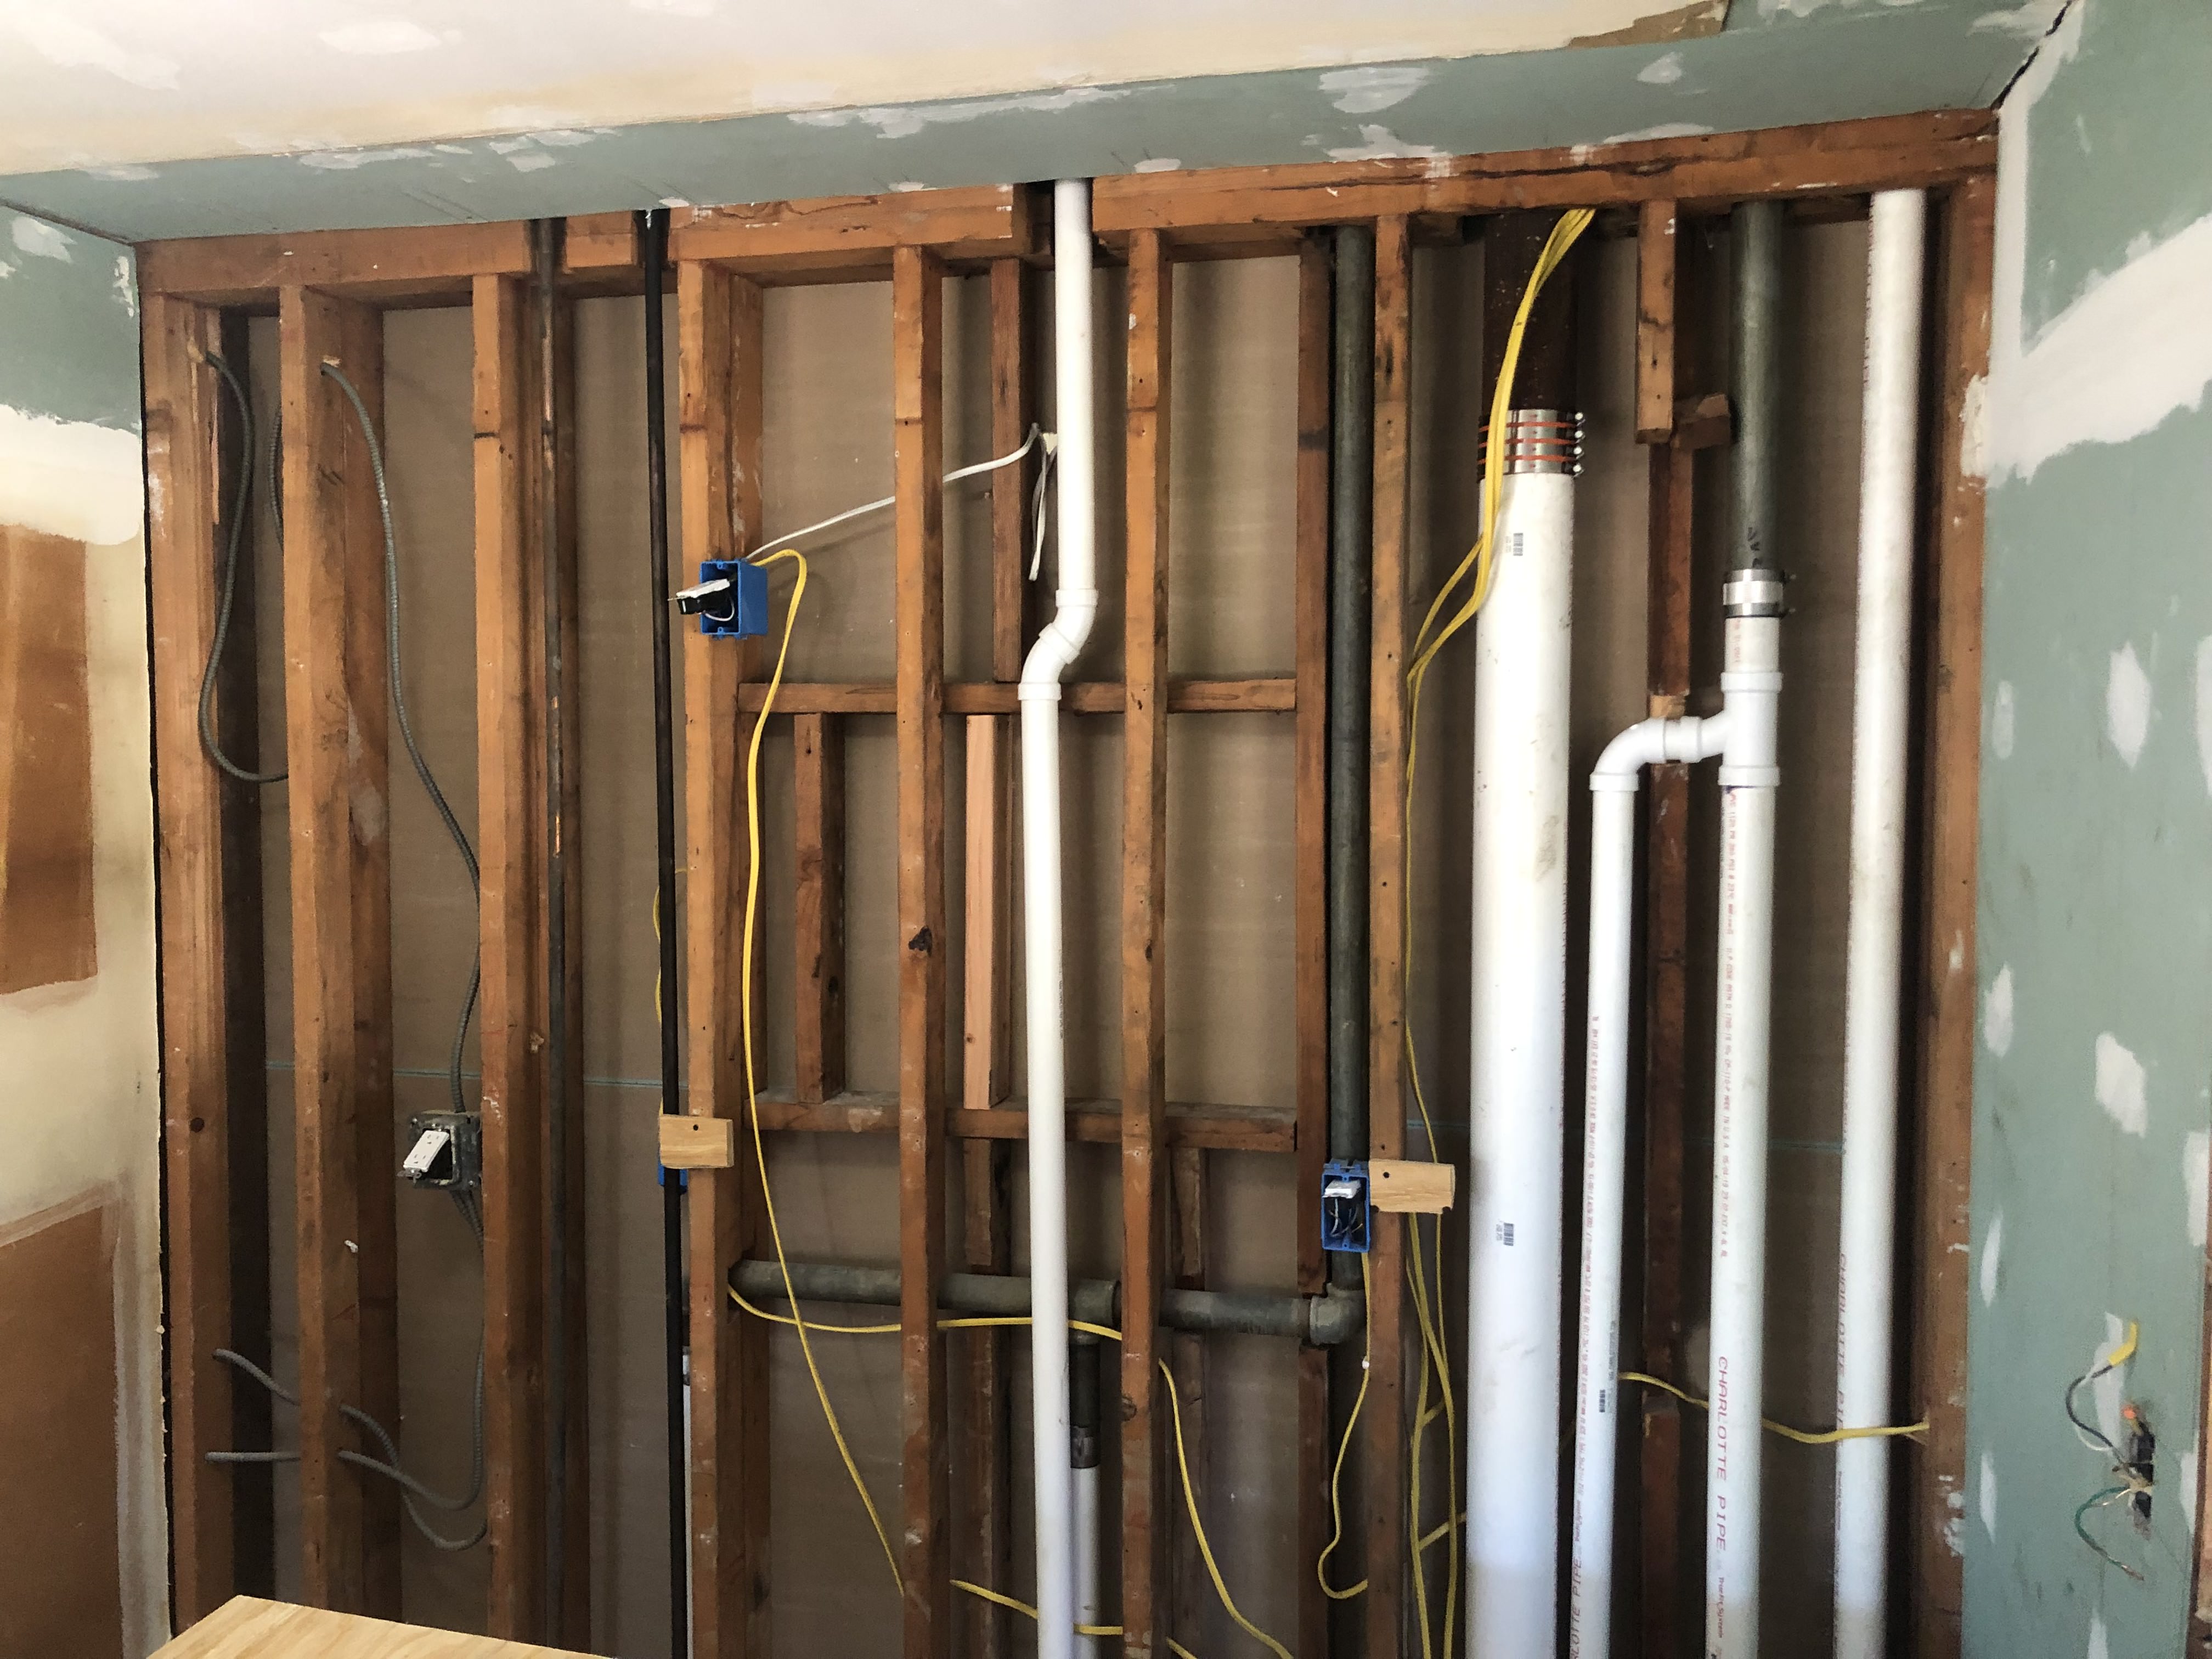
Here you can now see right through the Kitchen/Bathroom common wall. Here is the majority of the plumbing and electric we'll be addressing.
Here we replaced the sheetrock that was behind the old cabinets and the ceiling soffits. Removing the soffit allows us to install taller cabinets which promotes a more grand appearance.
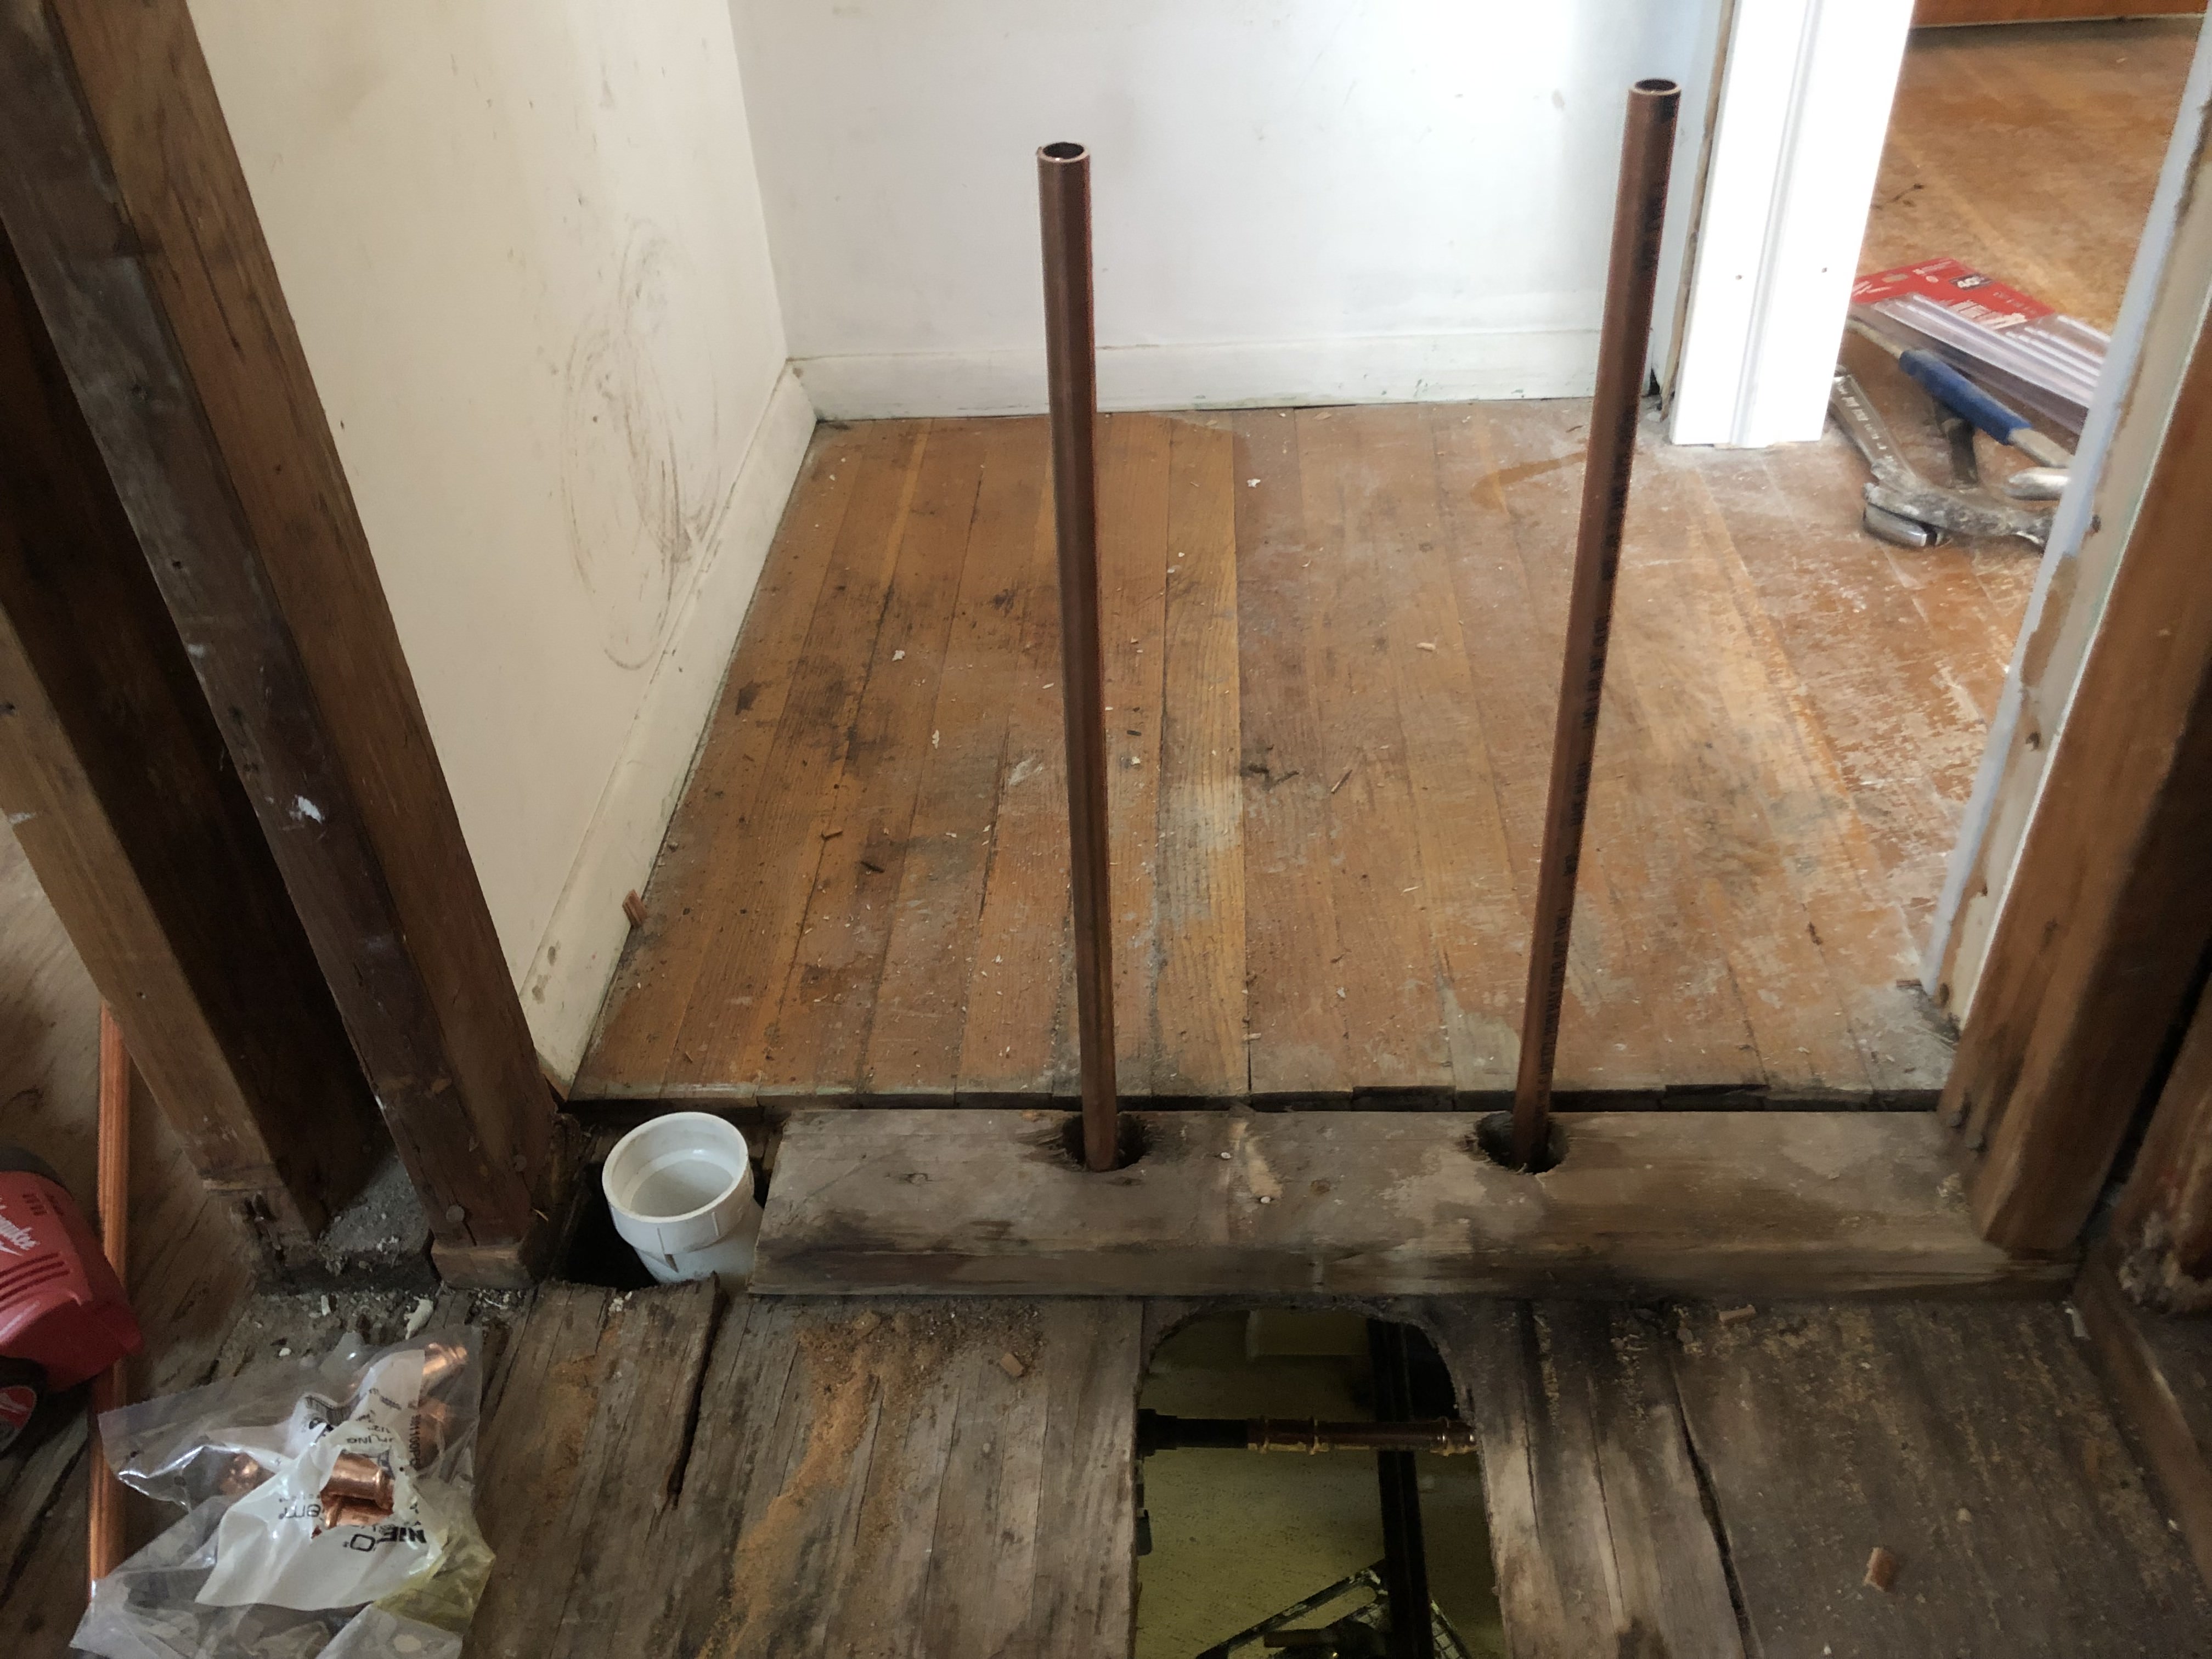
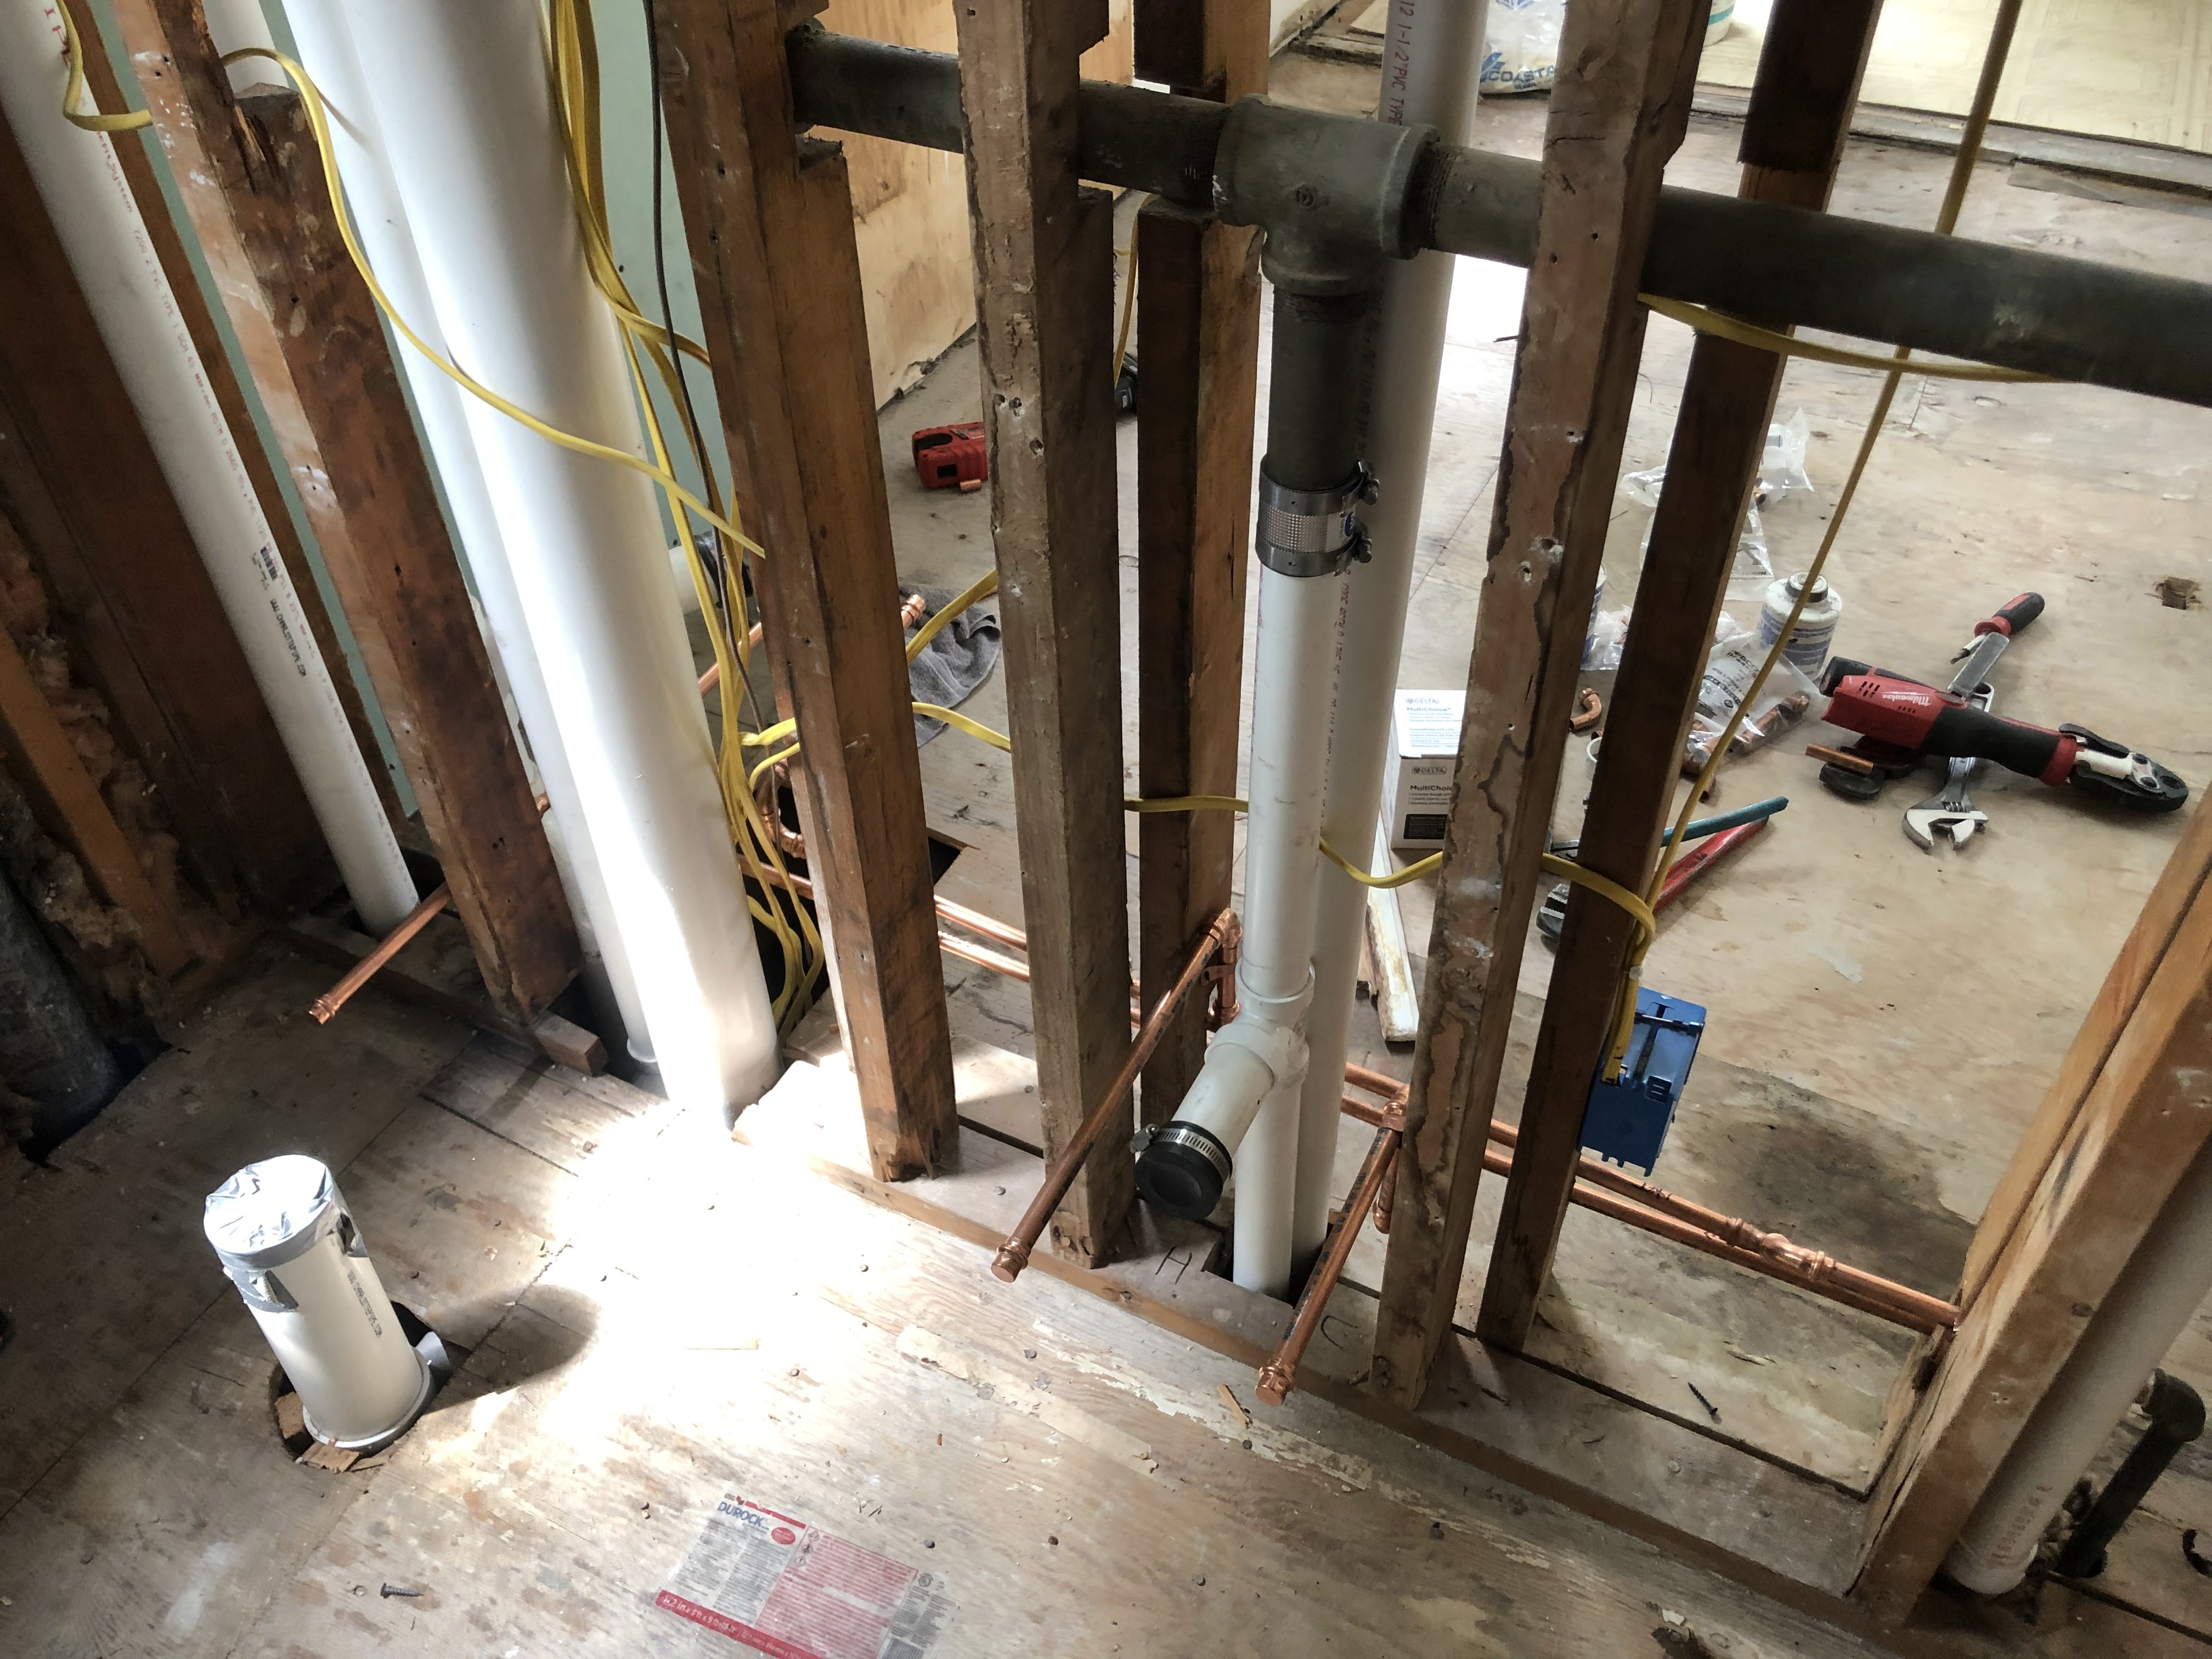
Here we are replacing the bathtub Hot and Cold water copper lines as well as the 2nd floor drain and vent (PVC) on the left.
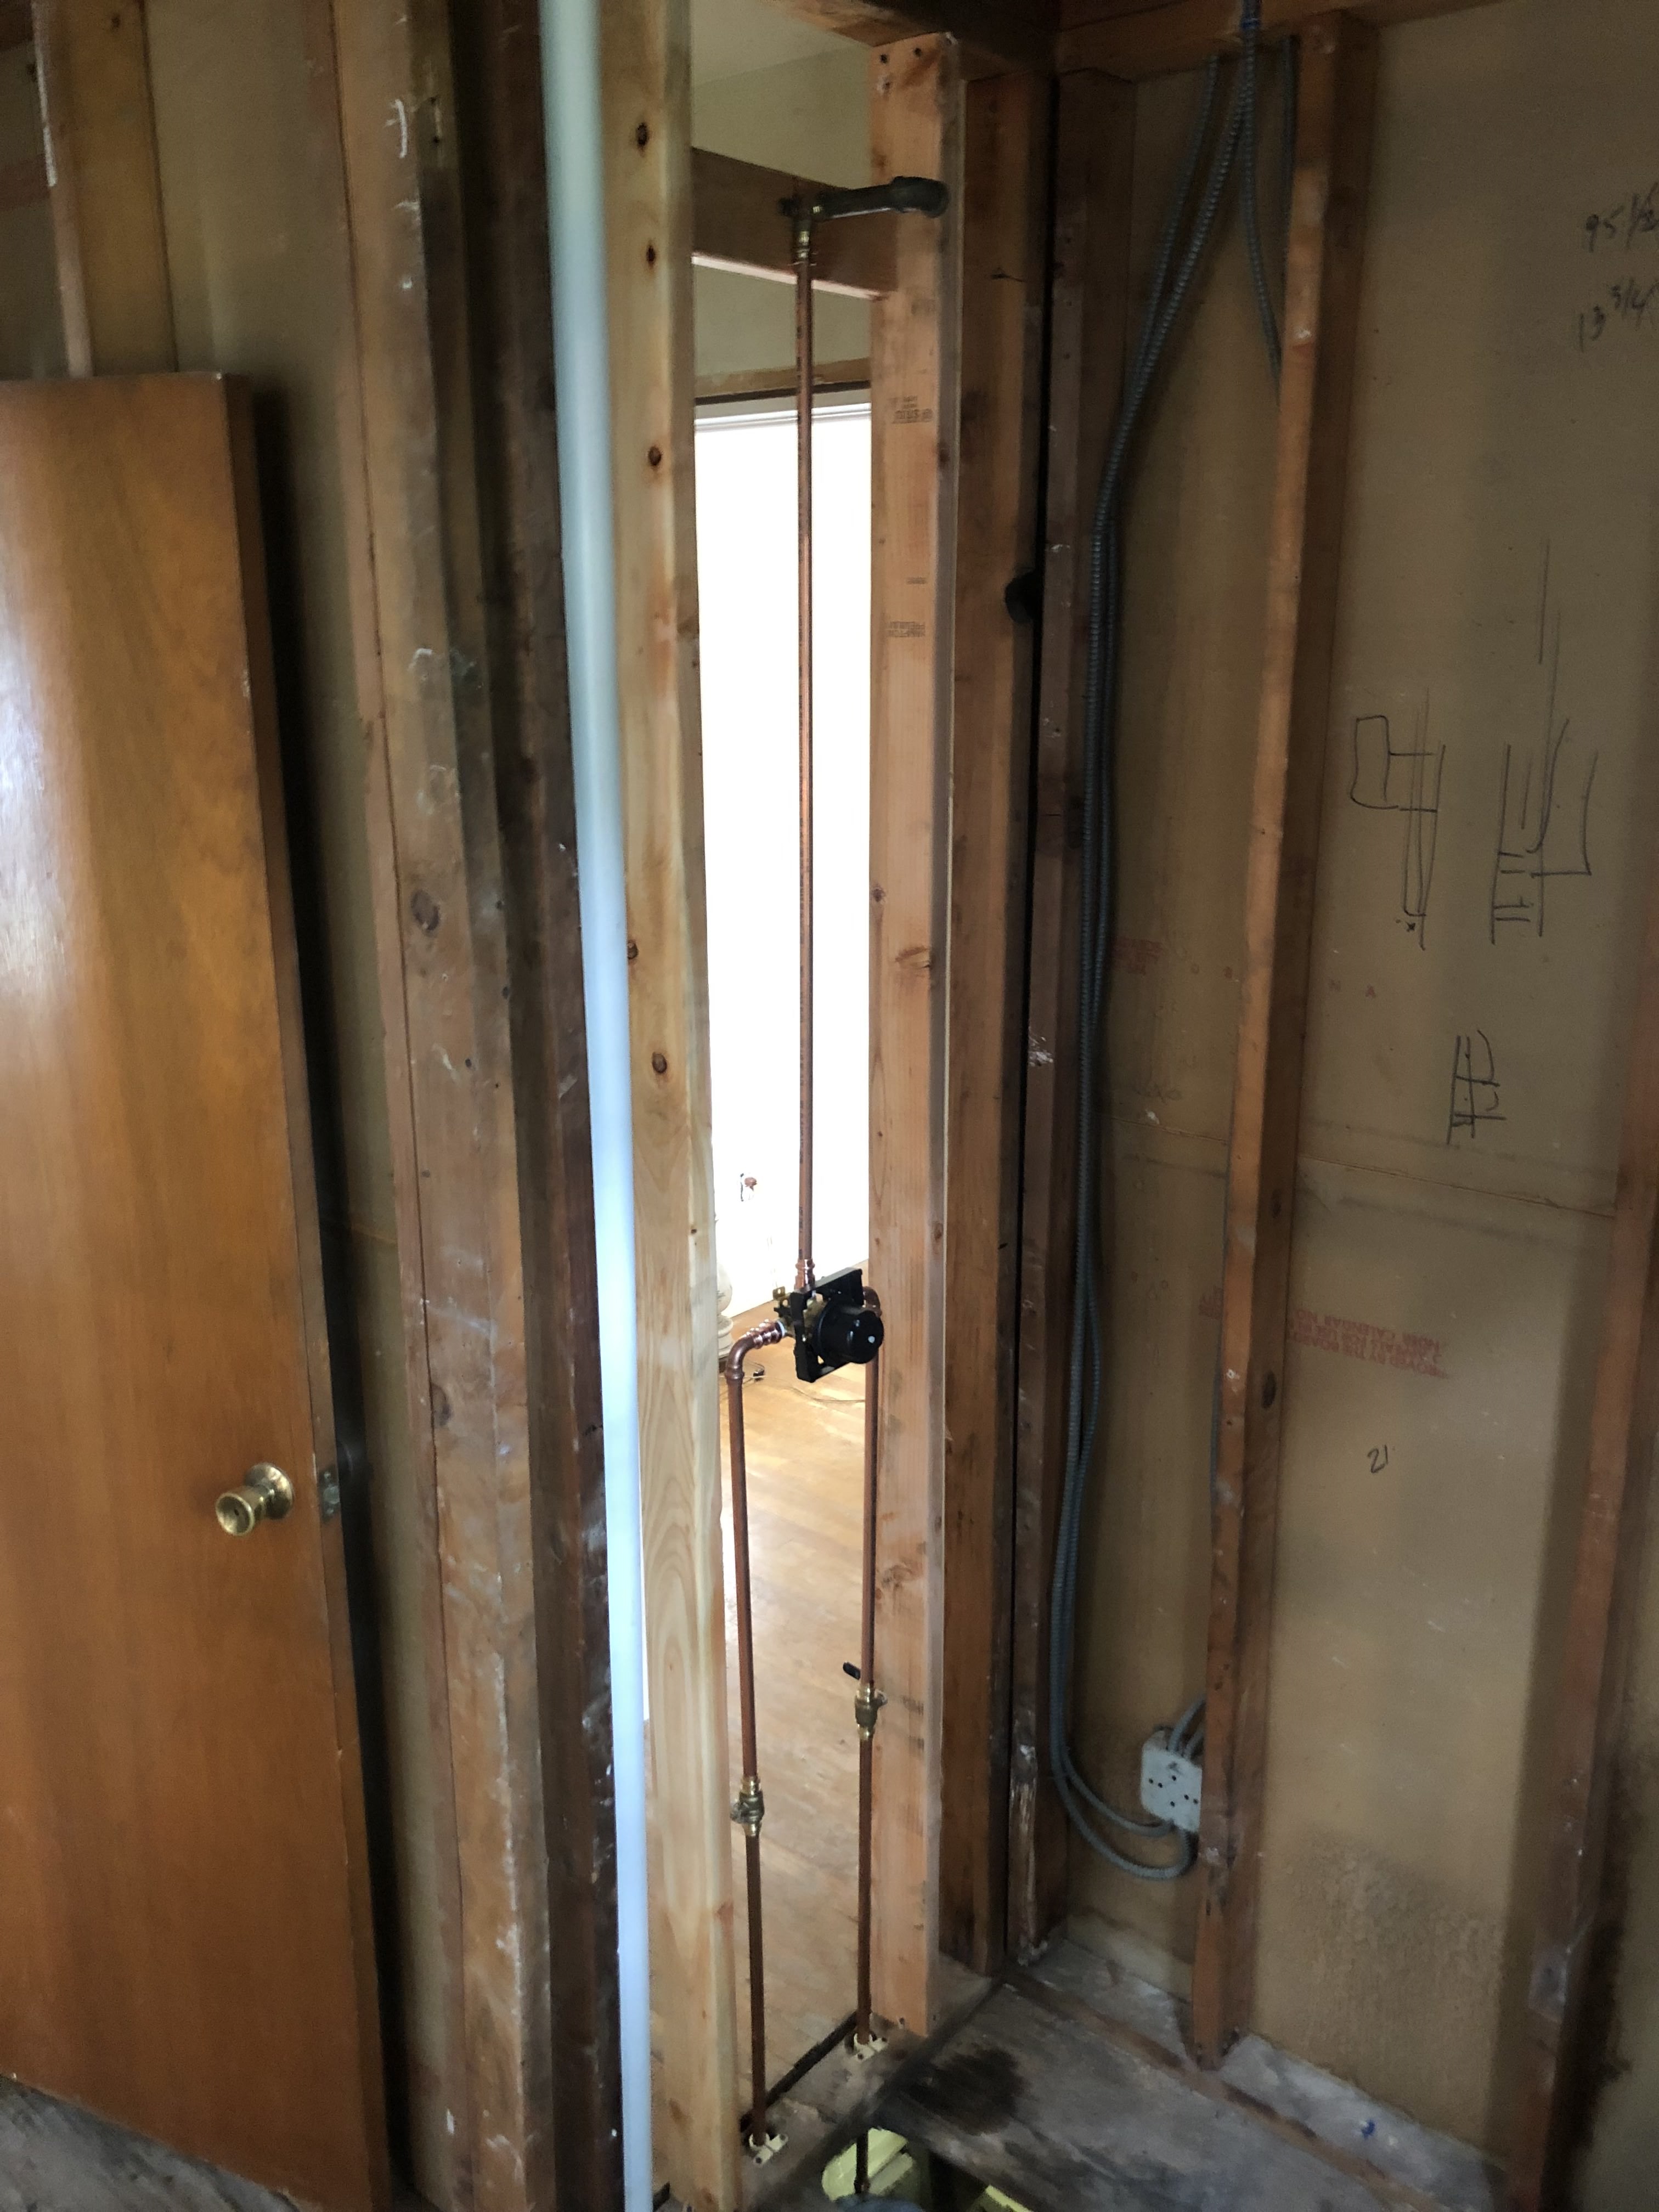
Here is the completed shower body and drain/vent assembly.
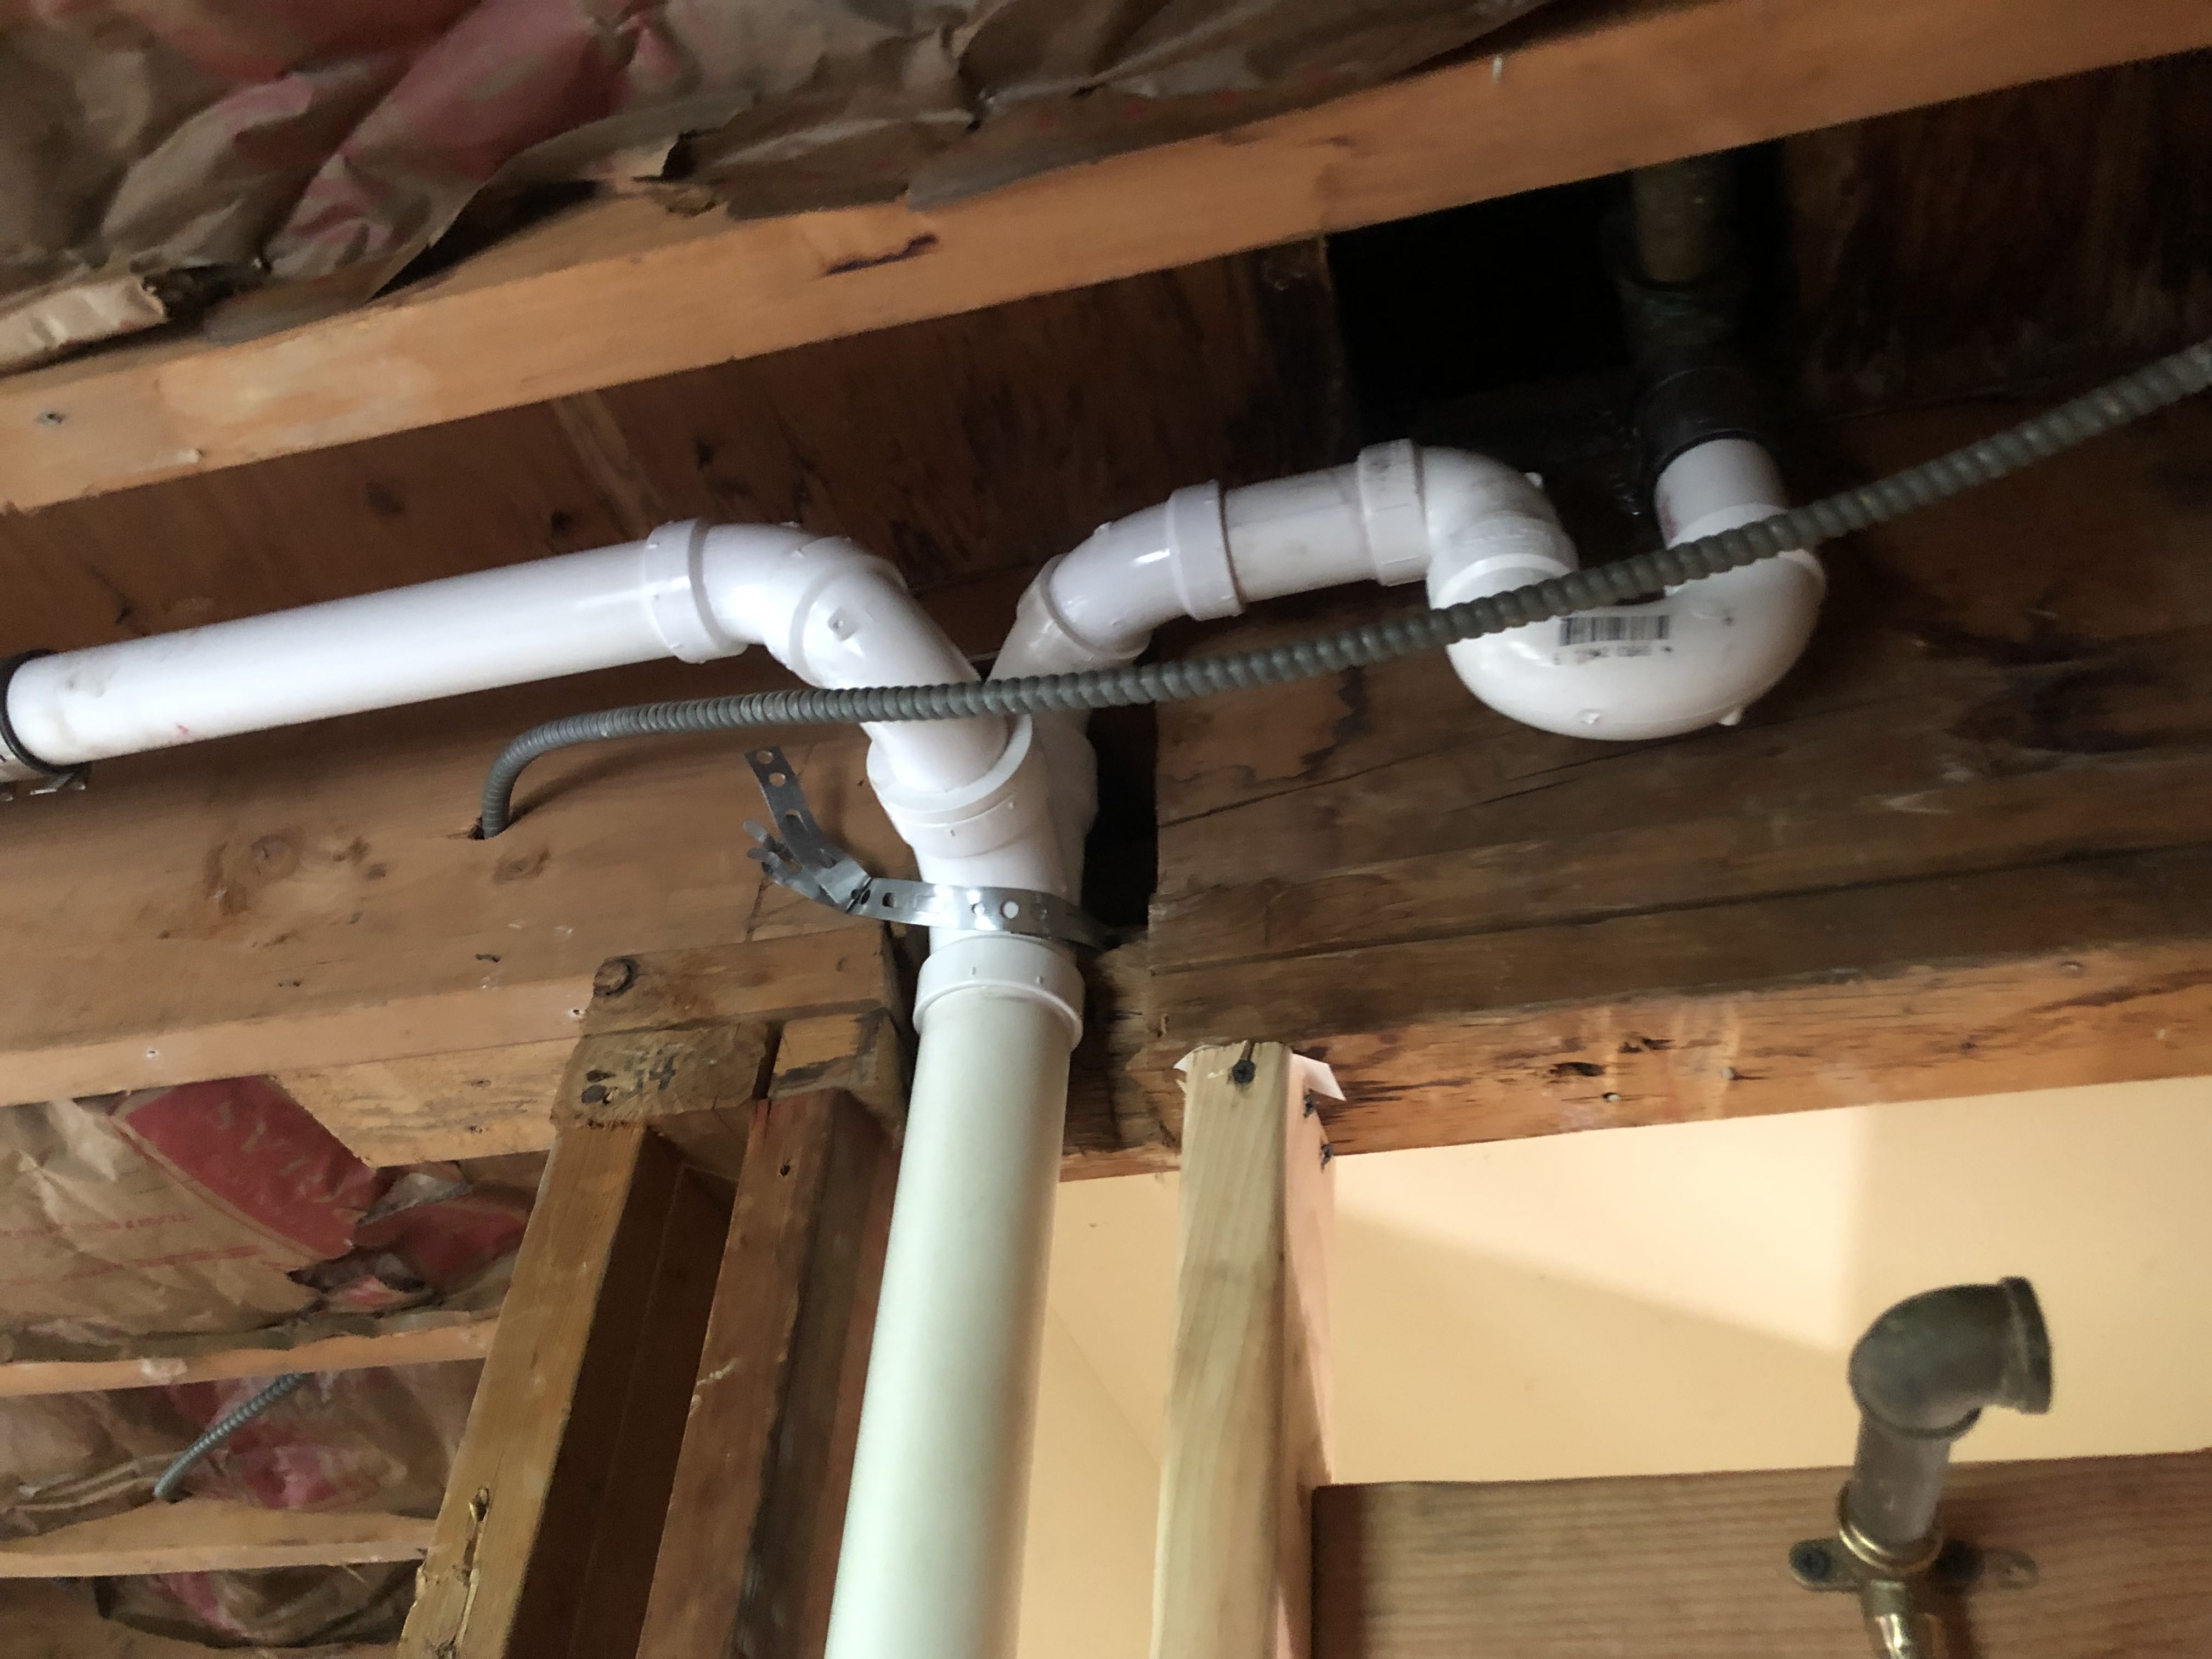
Here is the 2nd floor plumbing trap and vent tied into the drain.
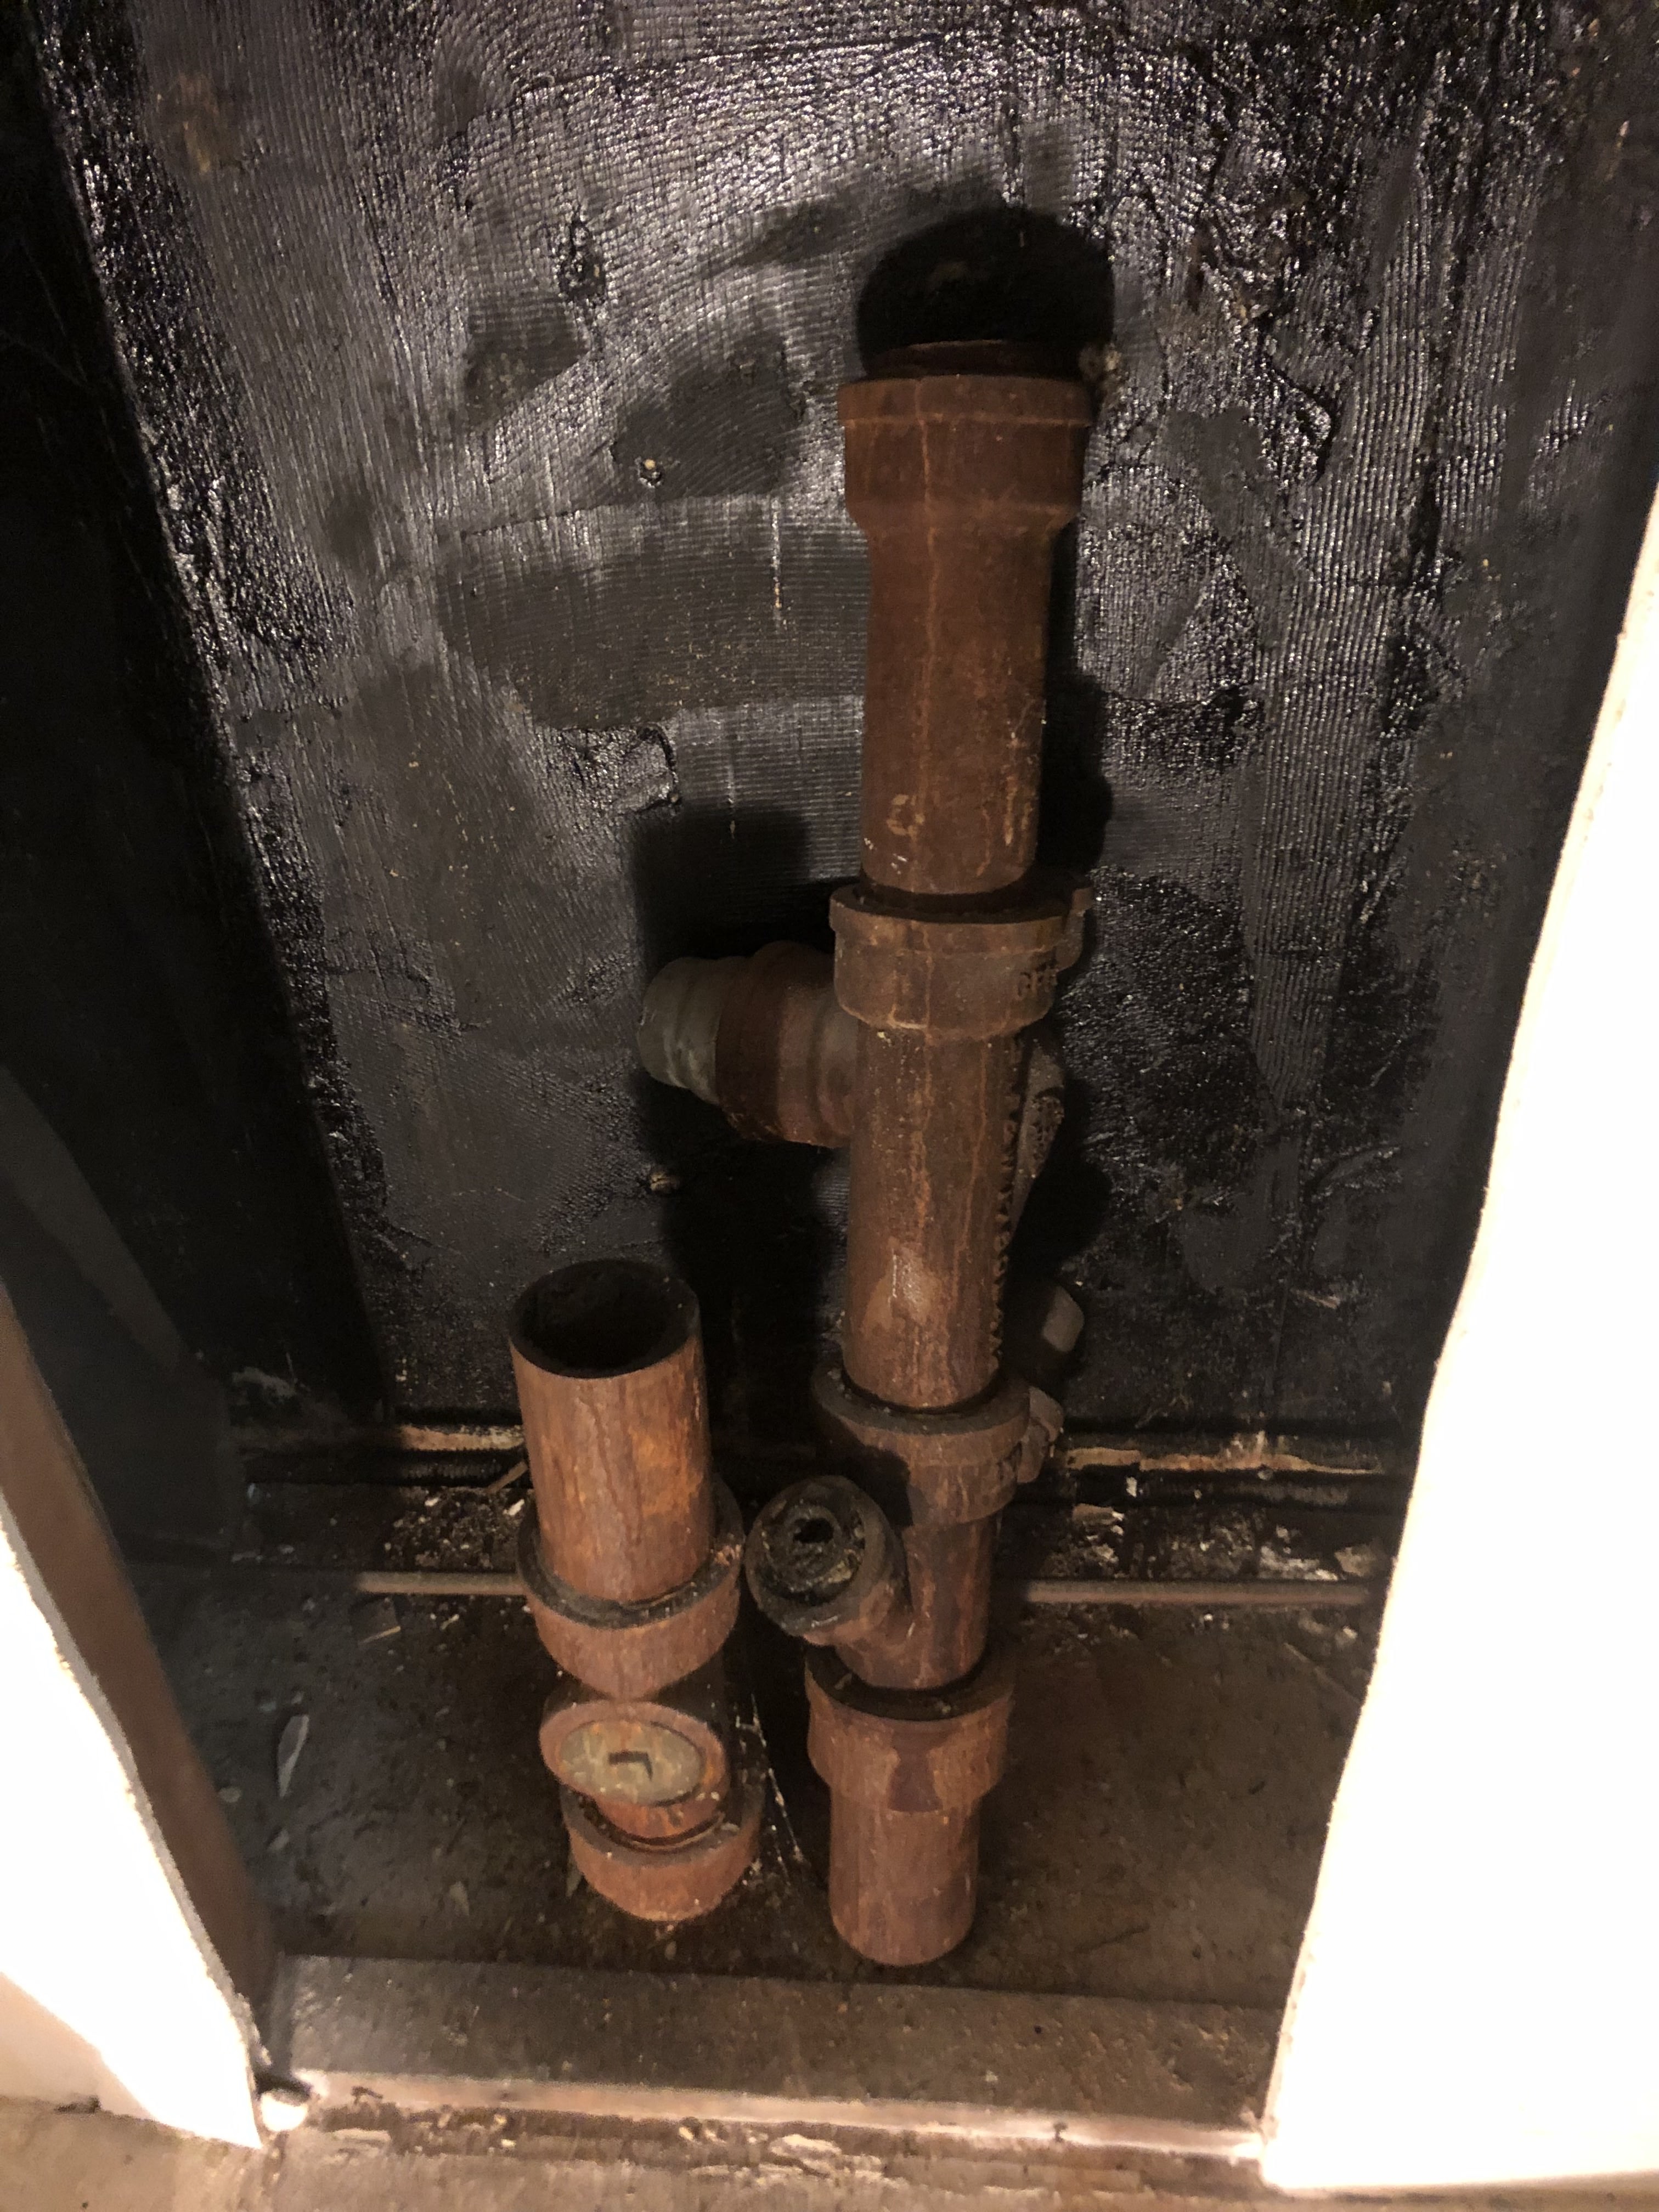
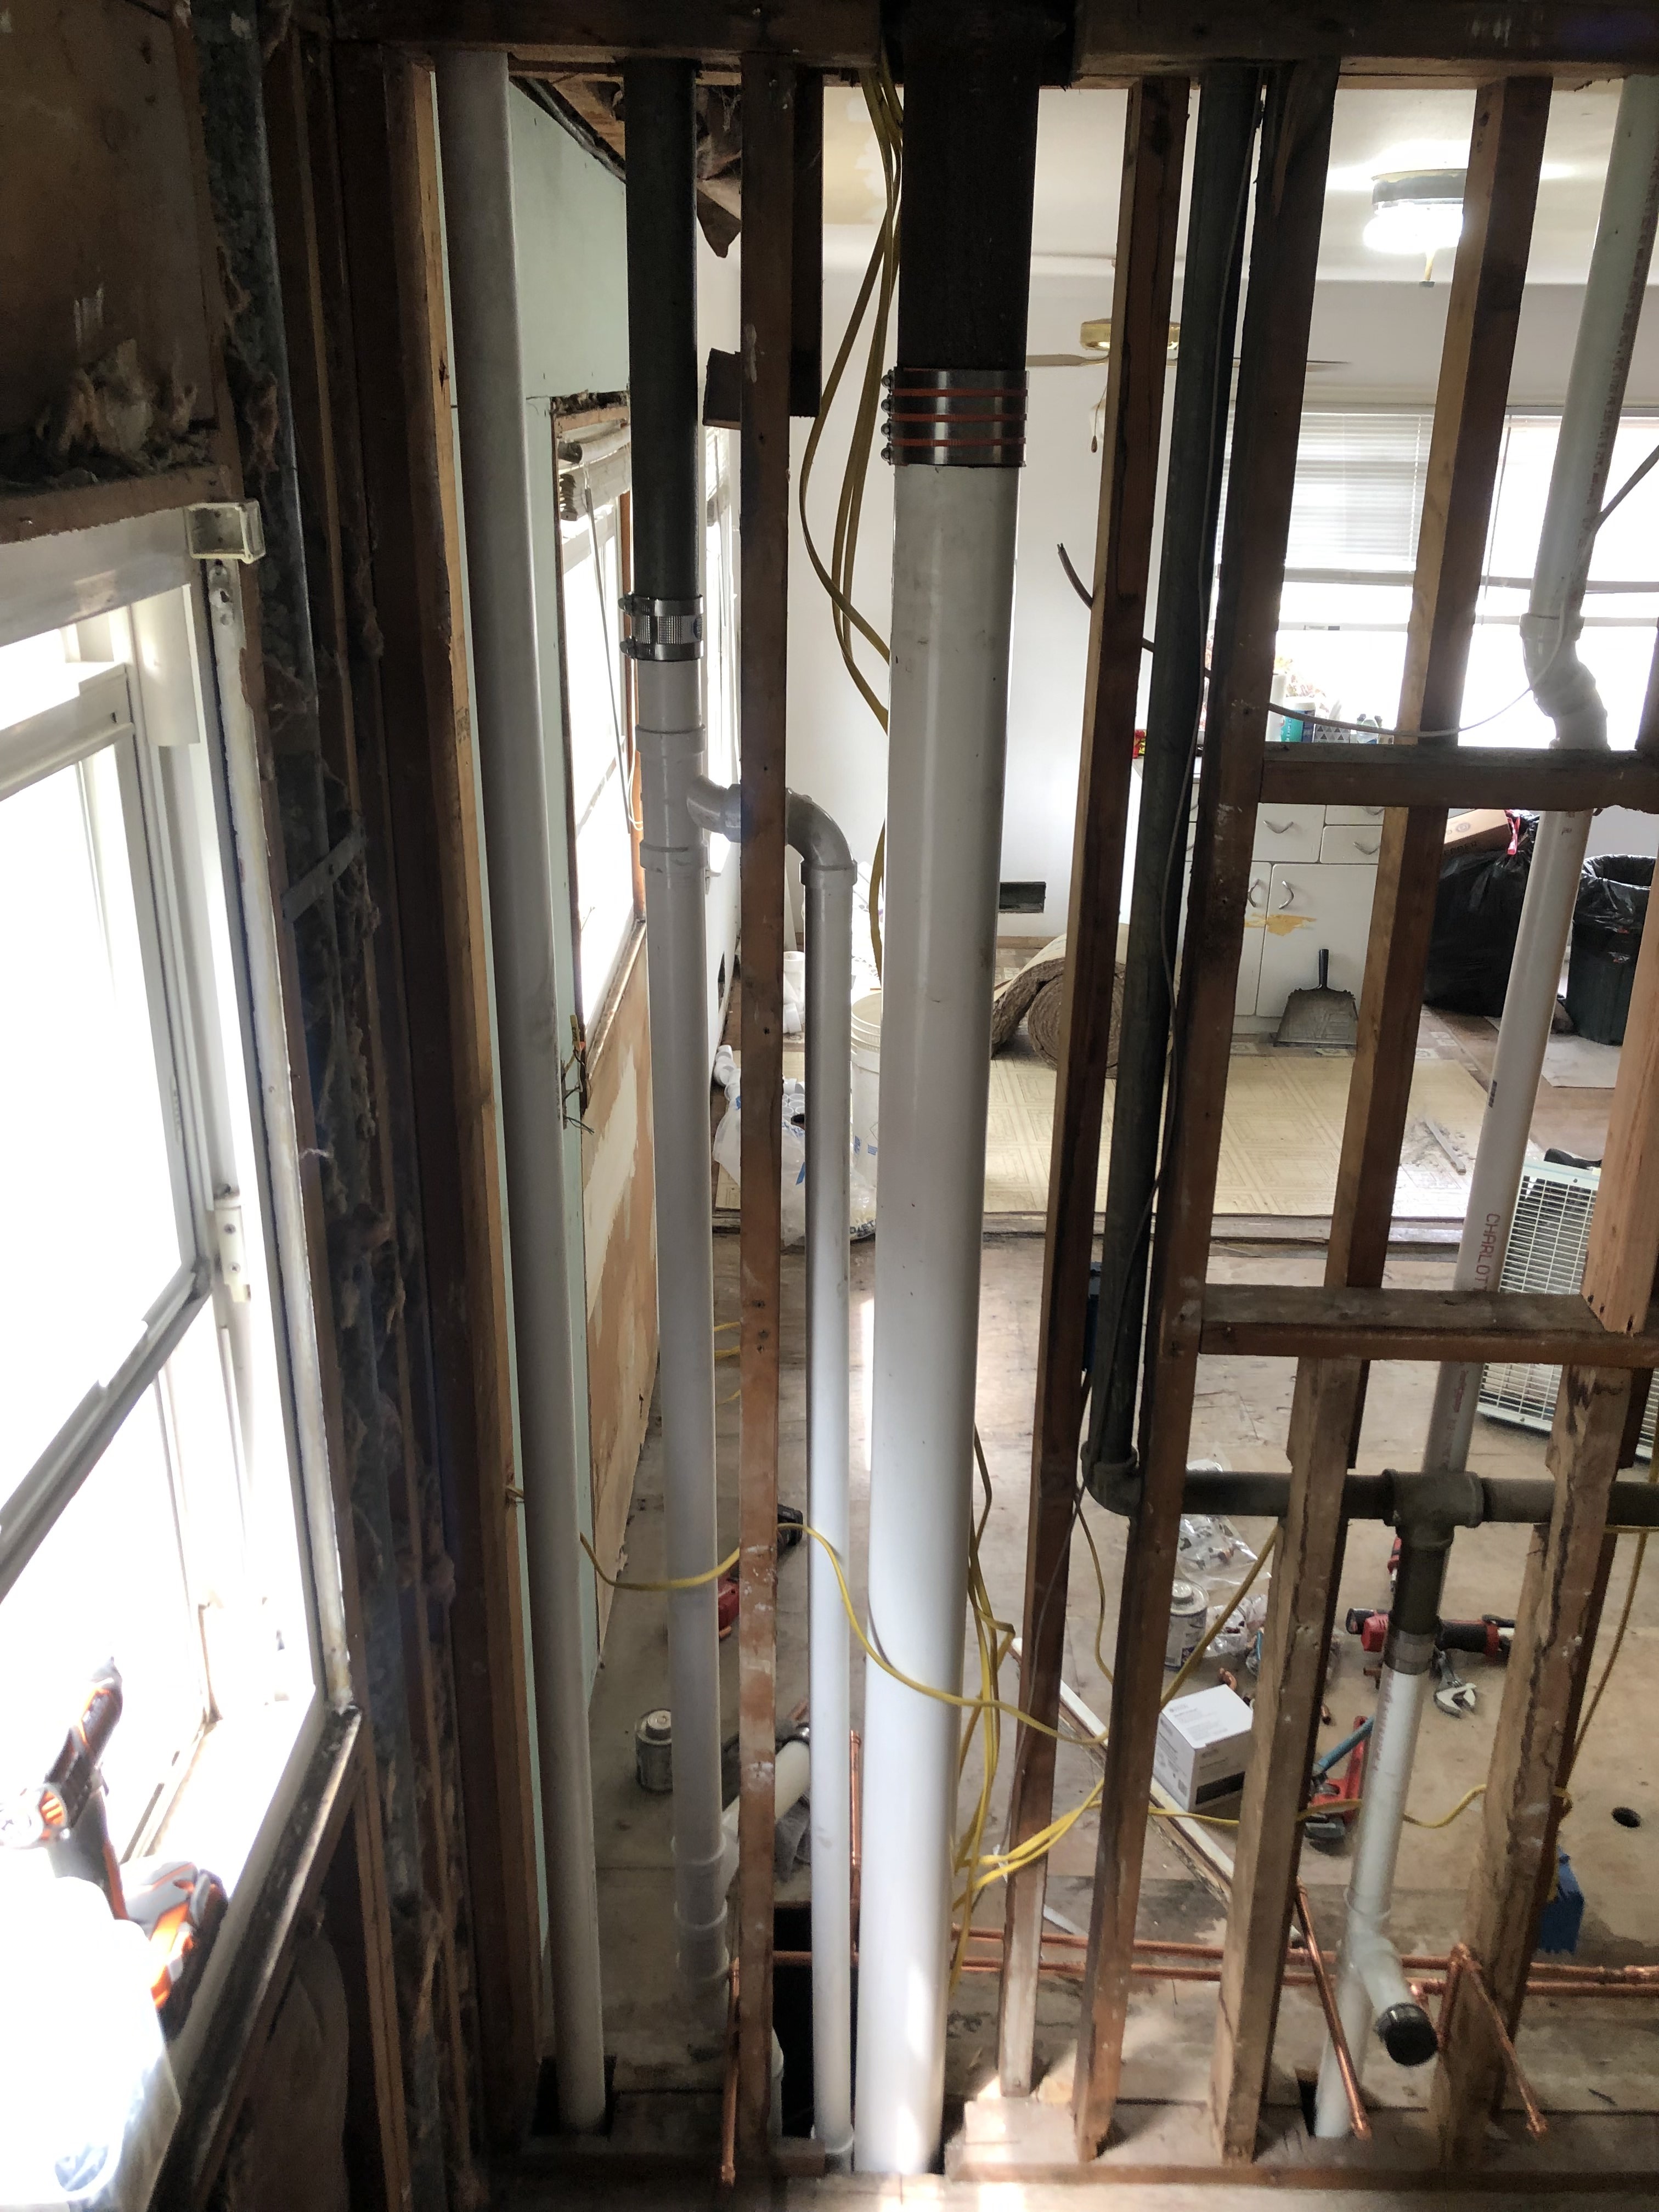
This is the main stack for the two apartments. This is the main waste line that goes to the street. While we were doing this work, we decided to upgrade it to PVC.
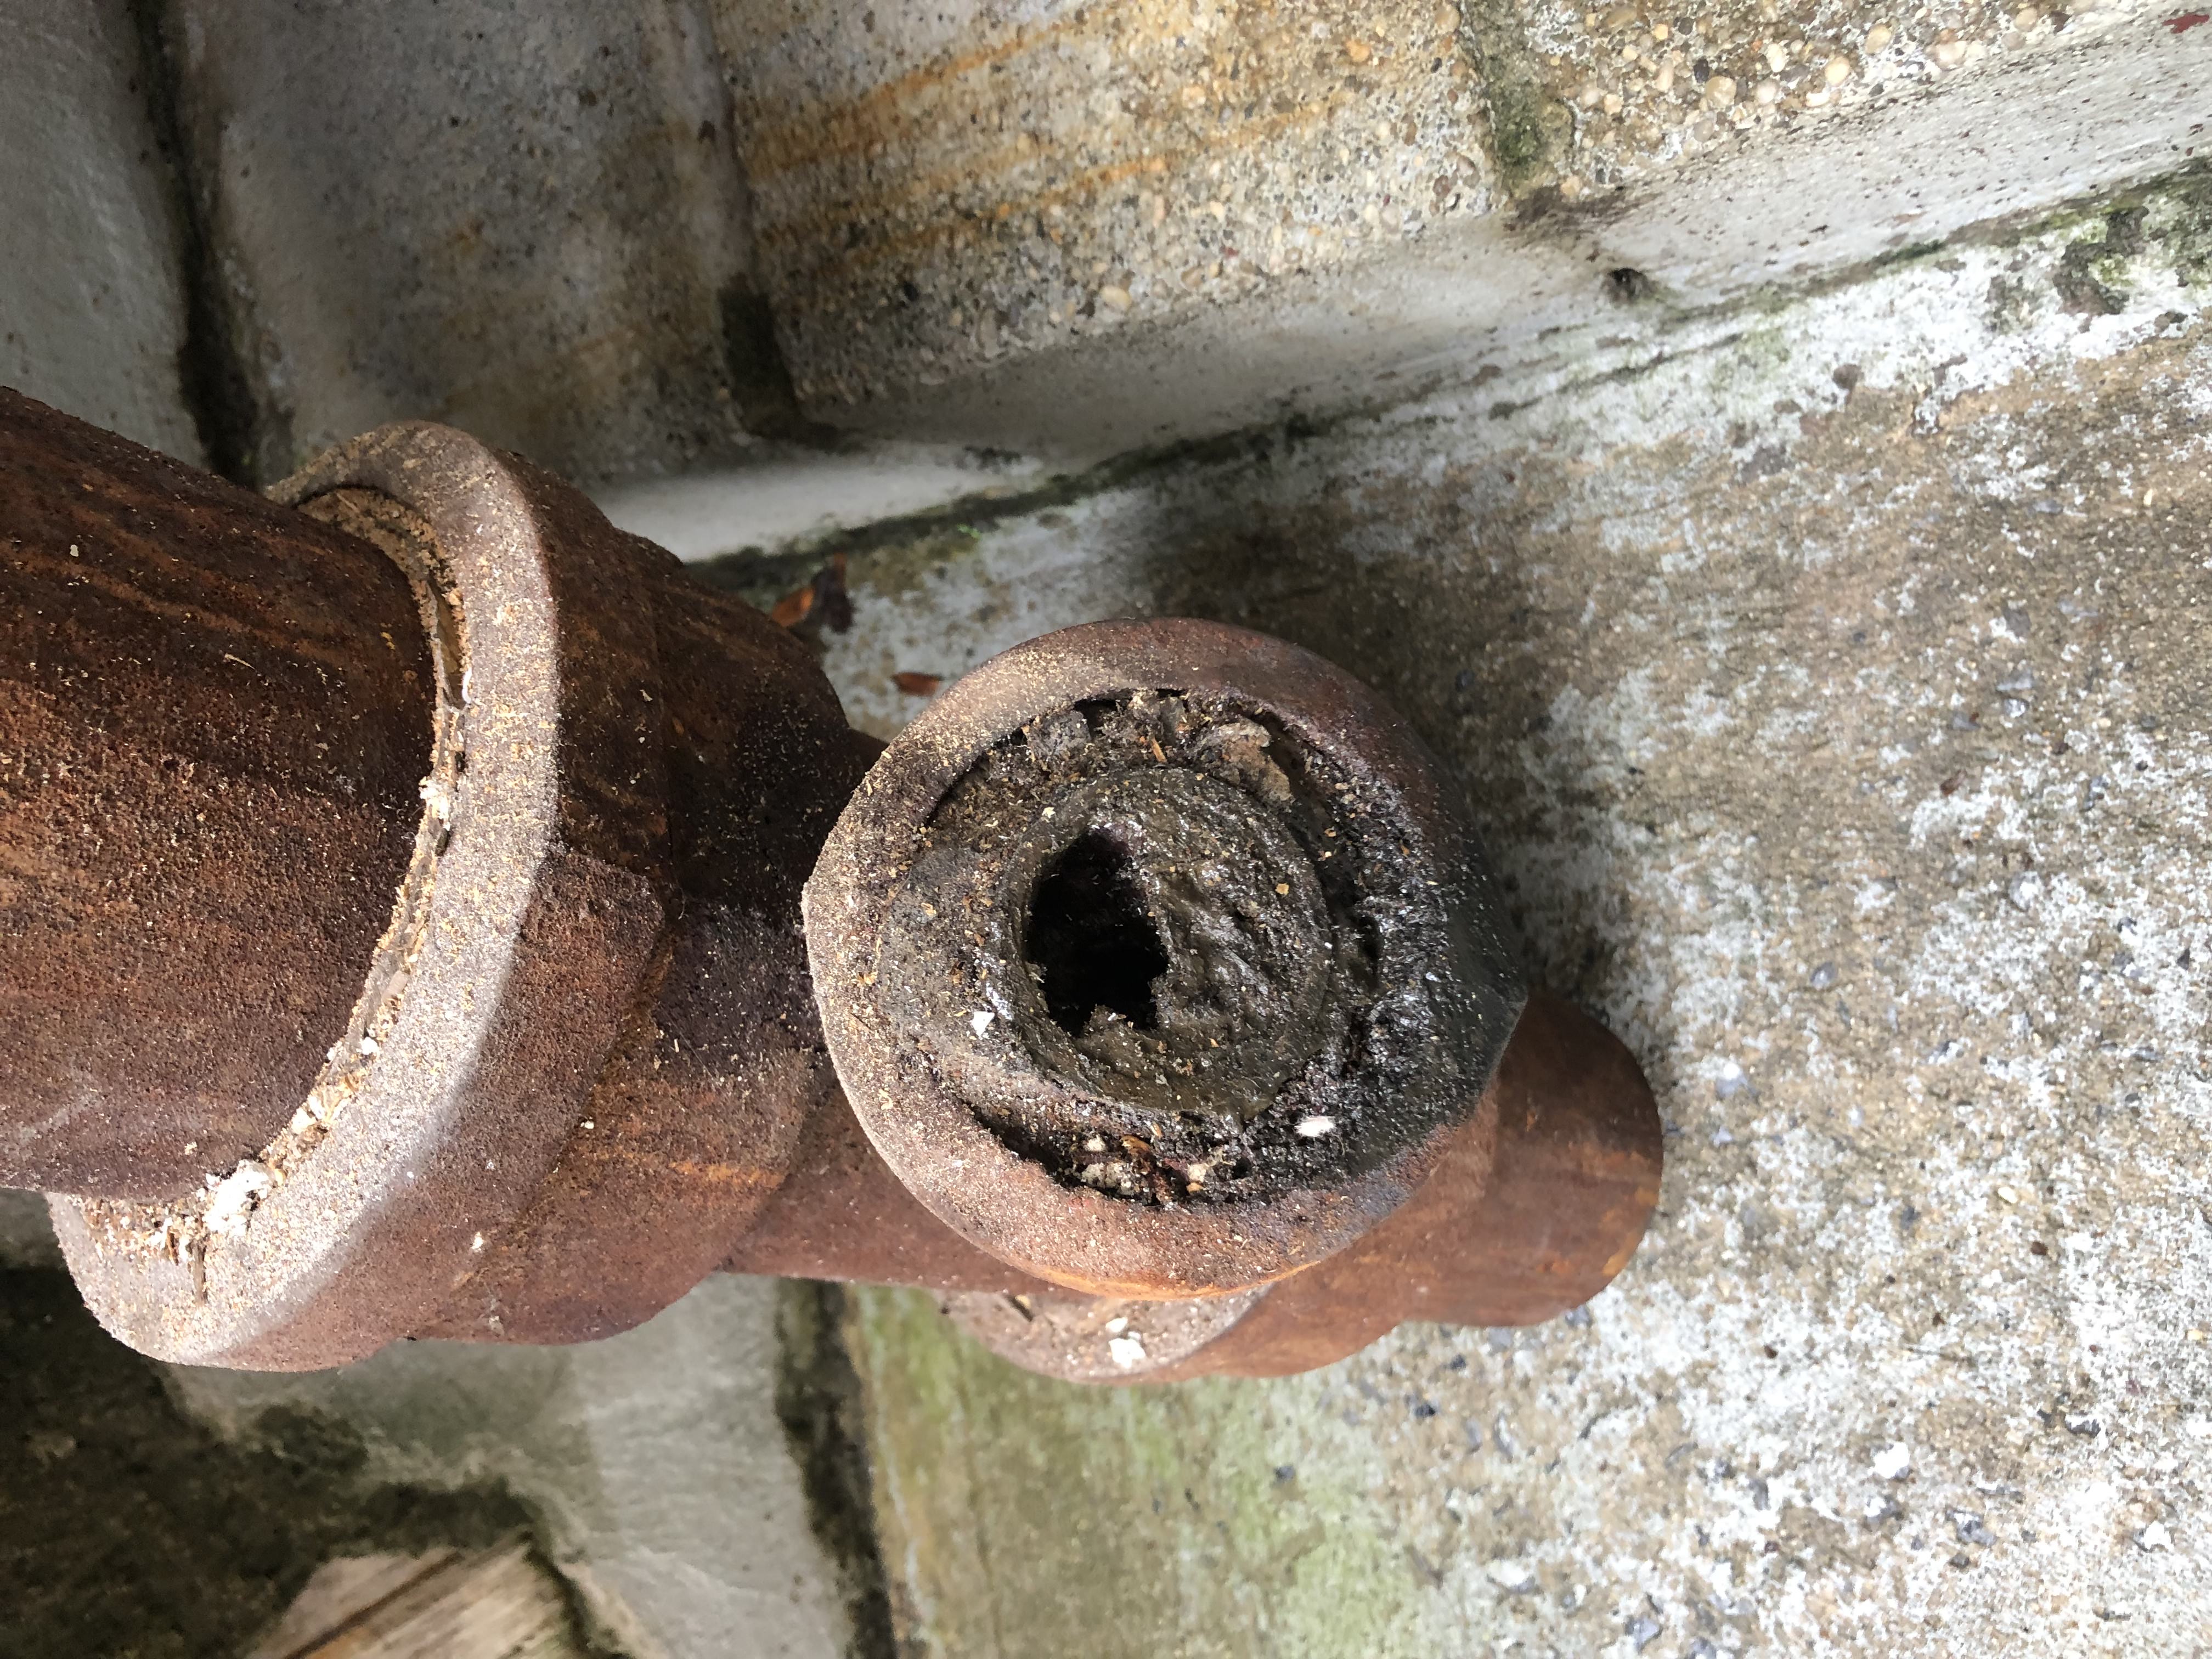
Here is a cross-section of the galvanized pipe. You can see the pipe corroded and rusted over time and it accumulated inside the pipe. This makes the pipe smaller and smaller over time. It causes low water pressure and could cause clogs which could lead to bursts.
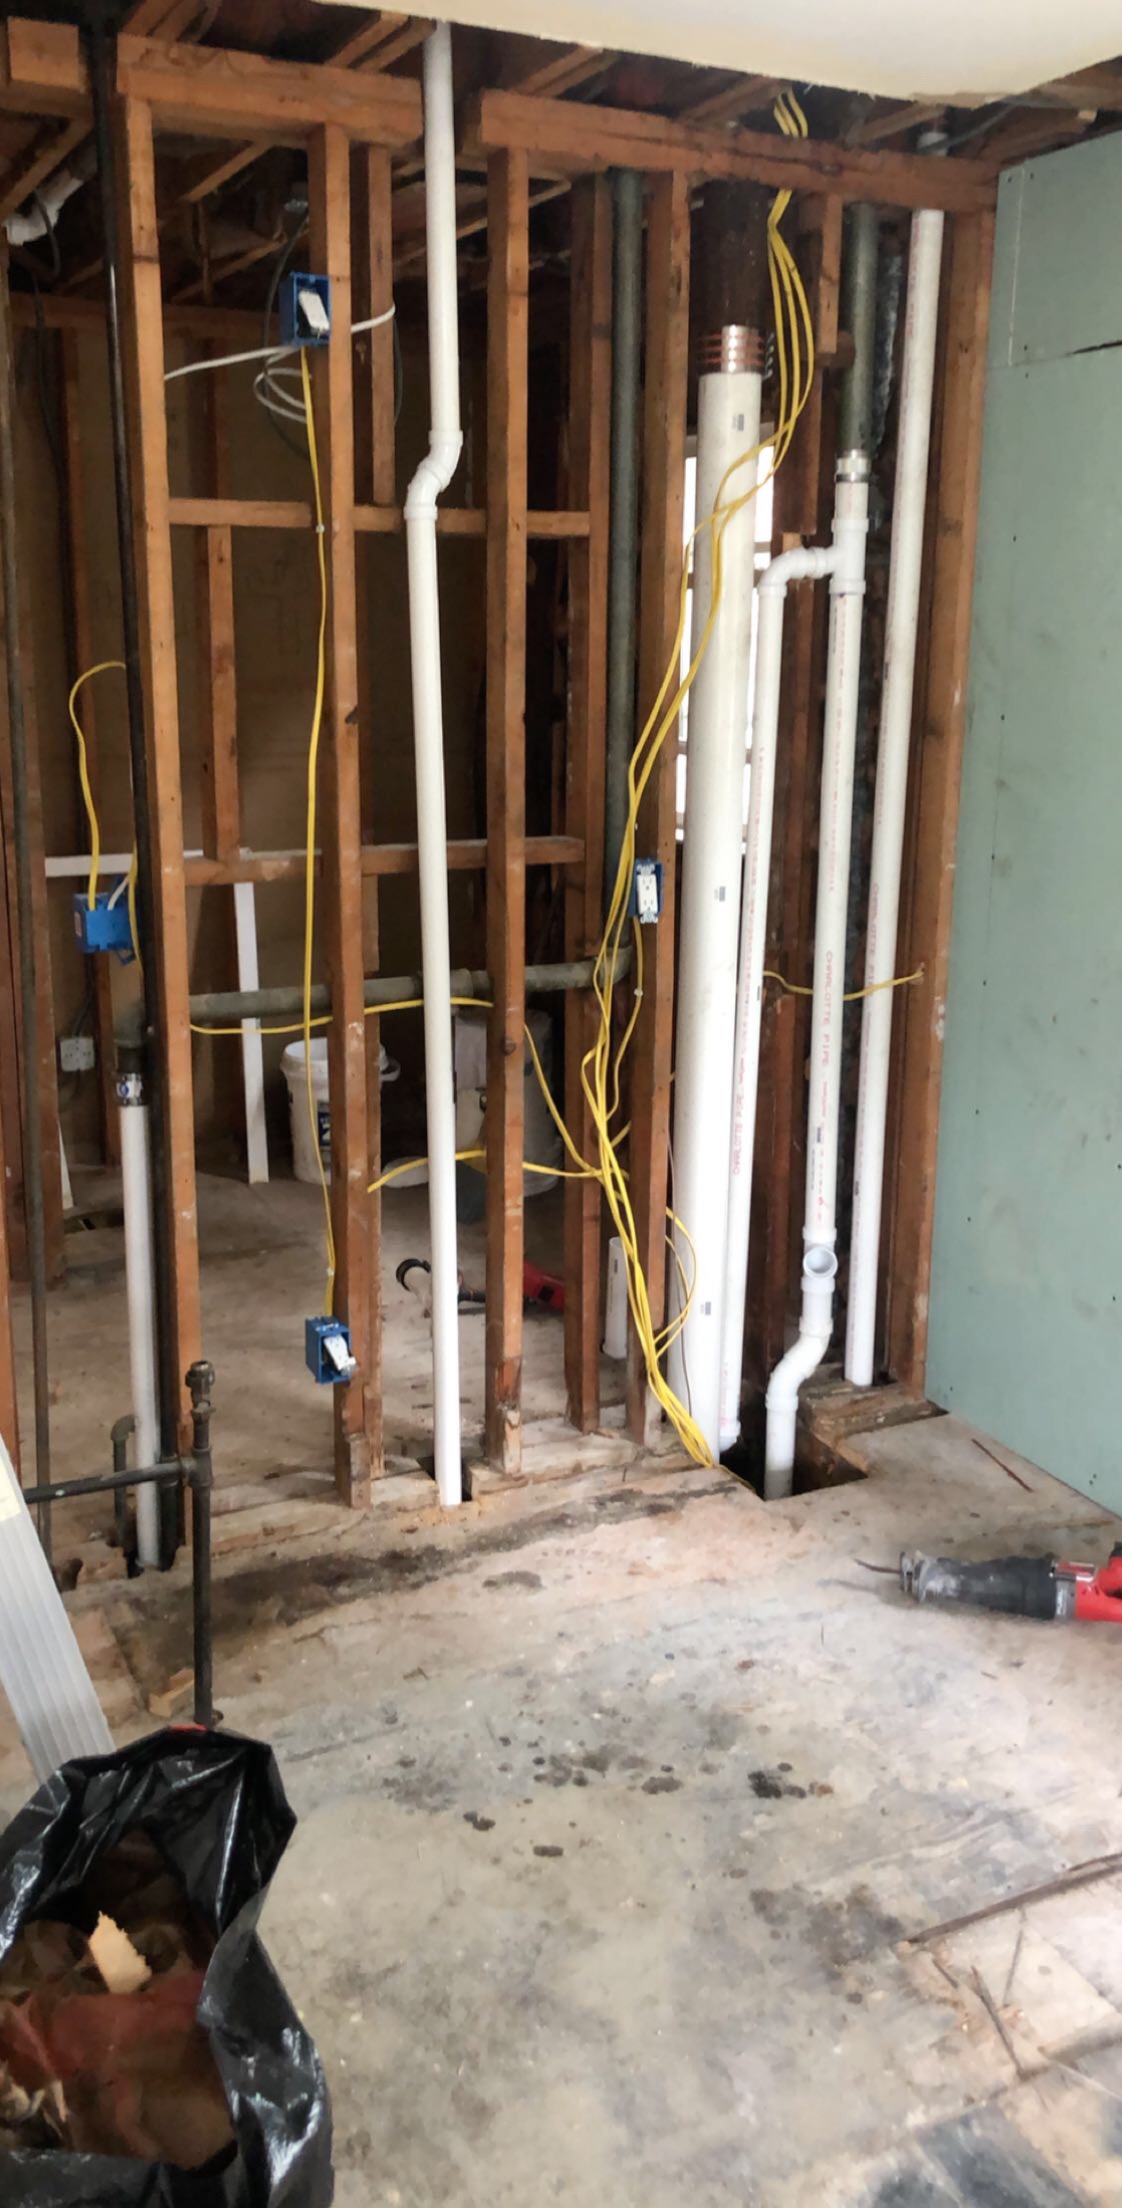
Here you can see the new PVC we installed for the vent and waste lines.
We then installed the bathtub. First you use a level backerboard to make the back edge plumb, and then use shims to level the tub from front to back. The tub is then set in a mortar bed which provides the sturdy feel without any flex. Before the mortar bed sets, you drill pilot screws, and secure the tub to the studs.
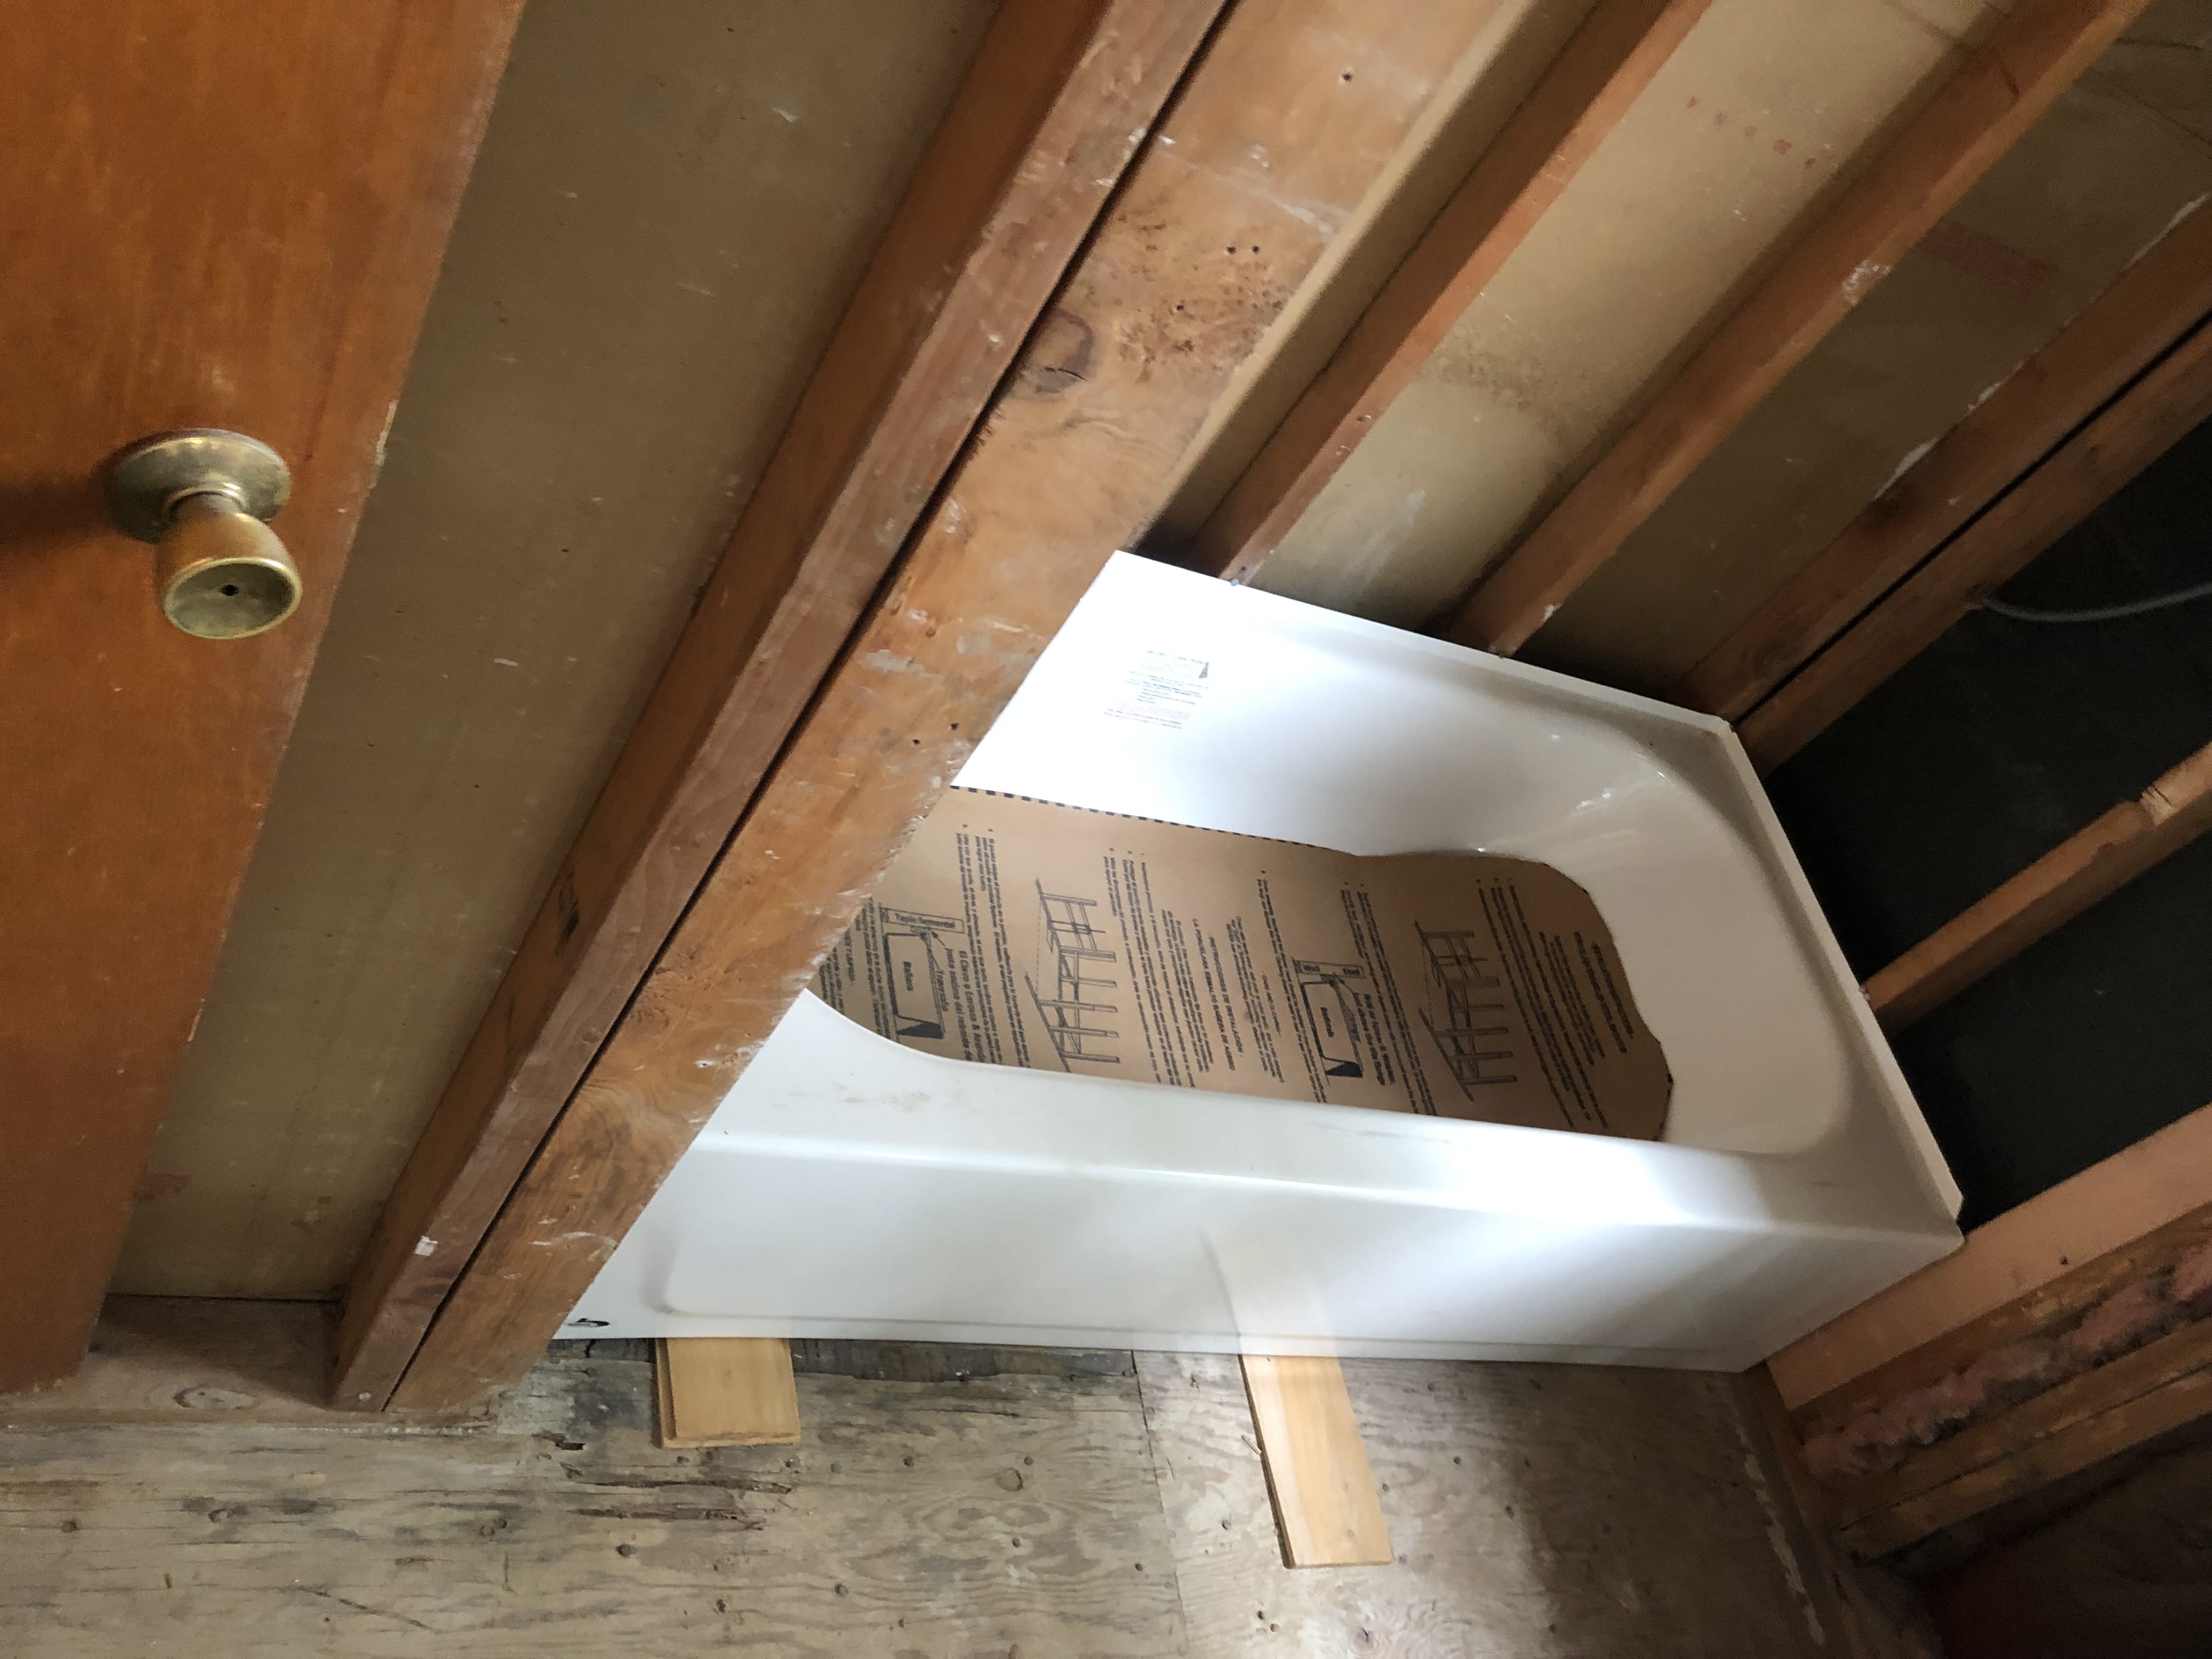
We then installed the bathtub. First you use a level backerboard to make the back edge plumb, and then use shims to level the tub from front to back. The tub is then set in a mortar bed which provides the sturdy feel without any flex. Before the mortar bed sets, you drill pilot screws, and secure the tub to the studs.
We then installed new Hot and Cold water copper lines to the bathroom vanity, toilet, and kitchen sink.
Heres an alternate view of the new PVC plumbing installed. We used no-hub connections to attach to the existing plumbing. We'll replace the remaining galvanized pipe when we renovate the upstairs apartment.
Drywall is then cut out and installed on the Kitchen/Bathroom common wall.
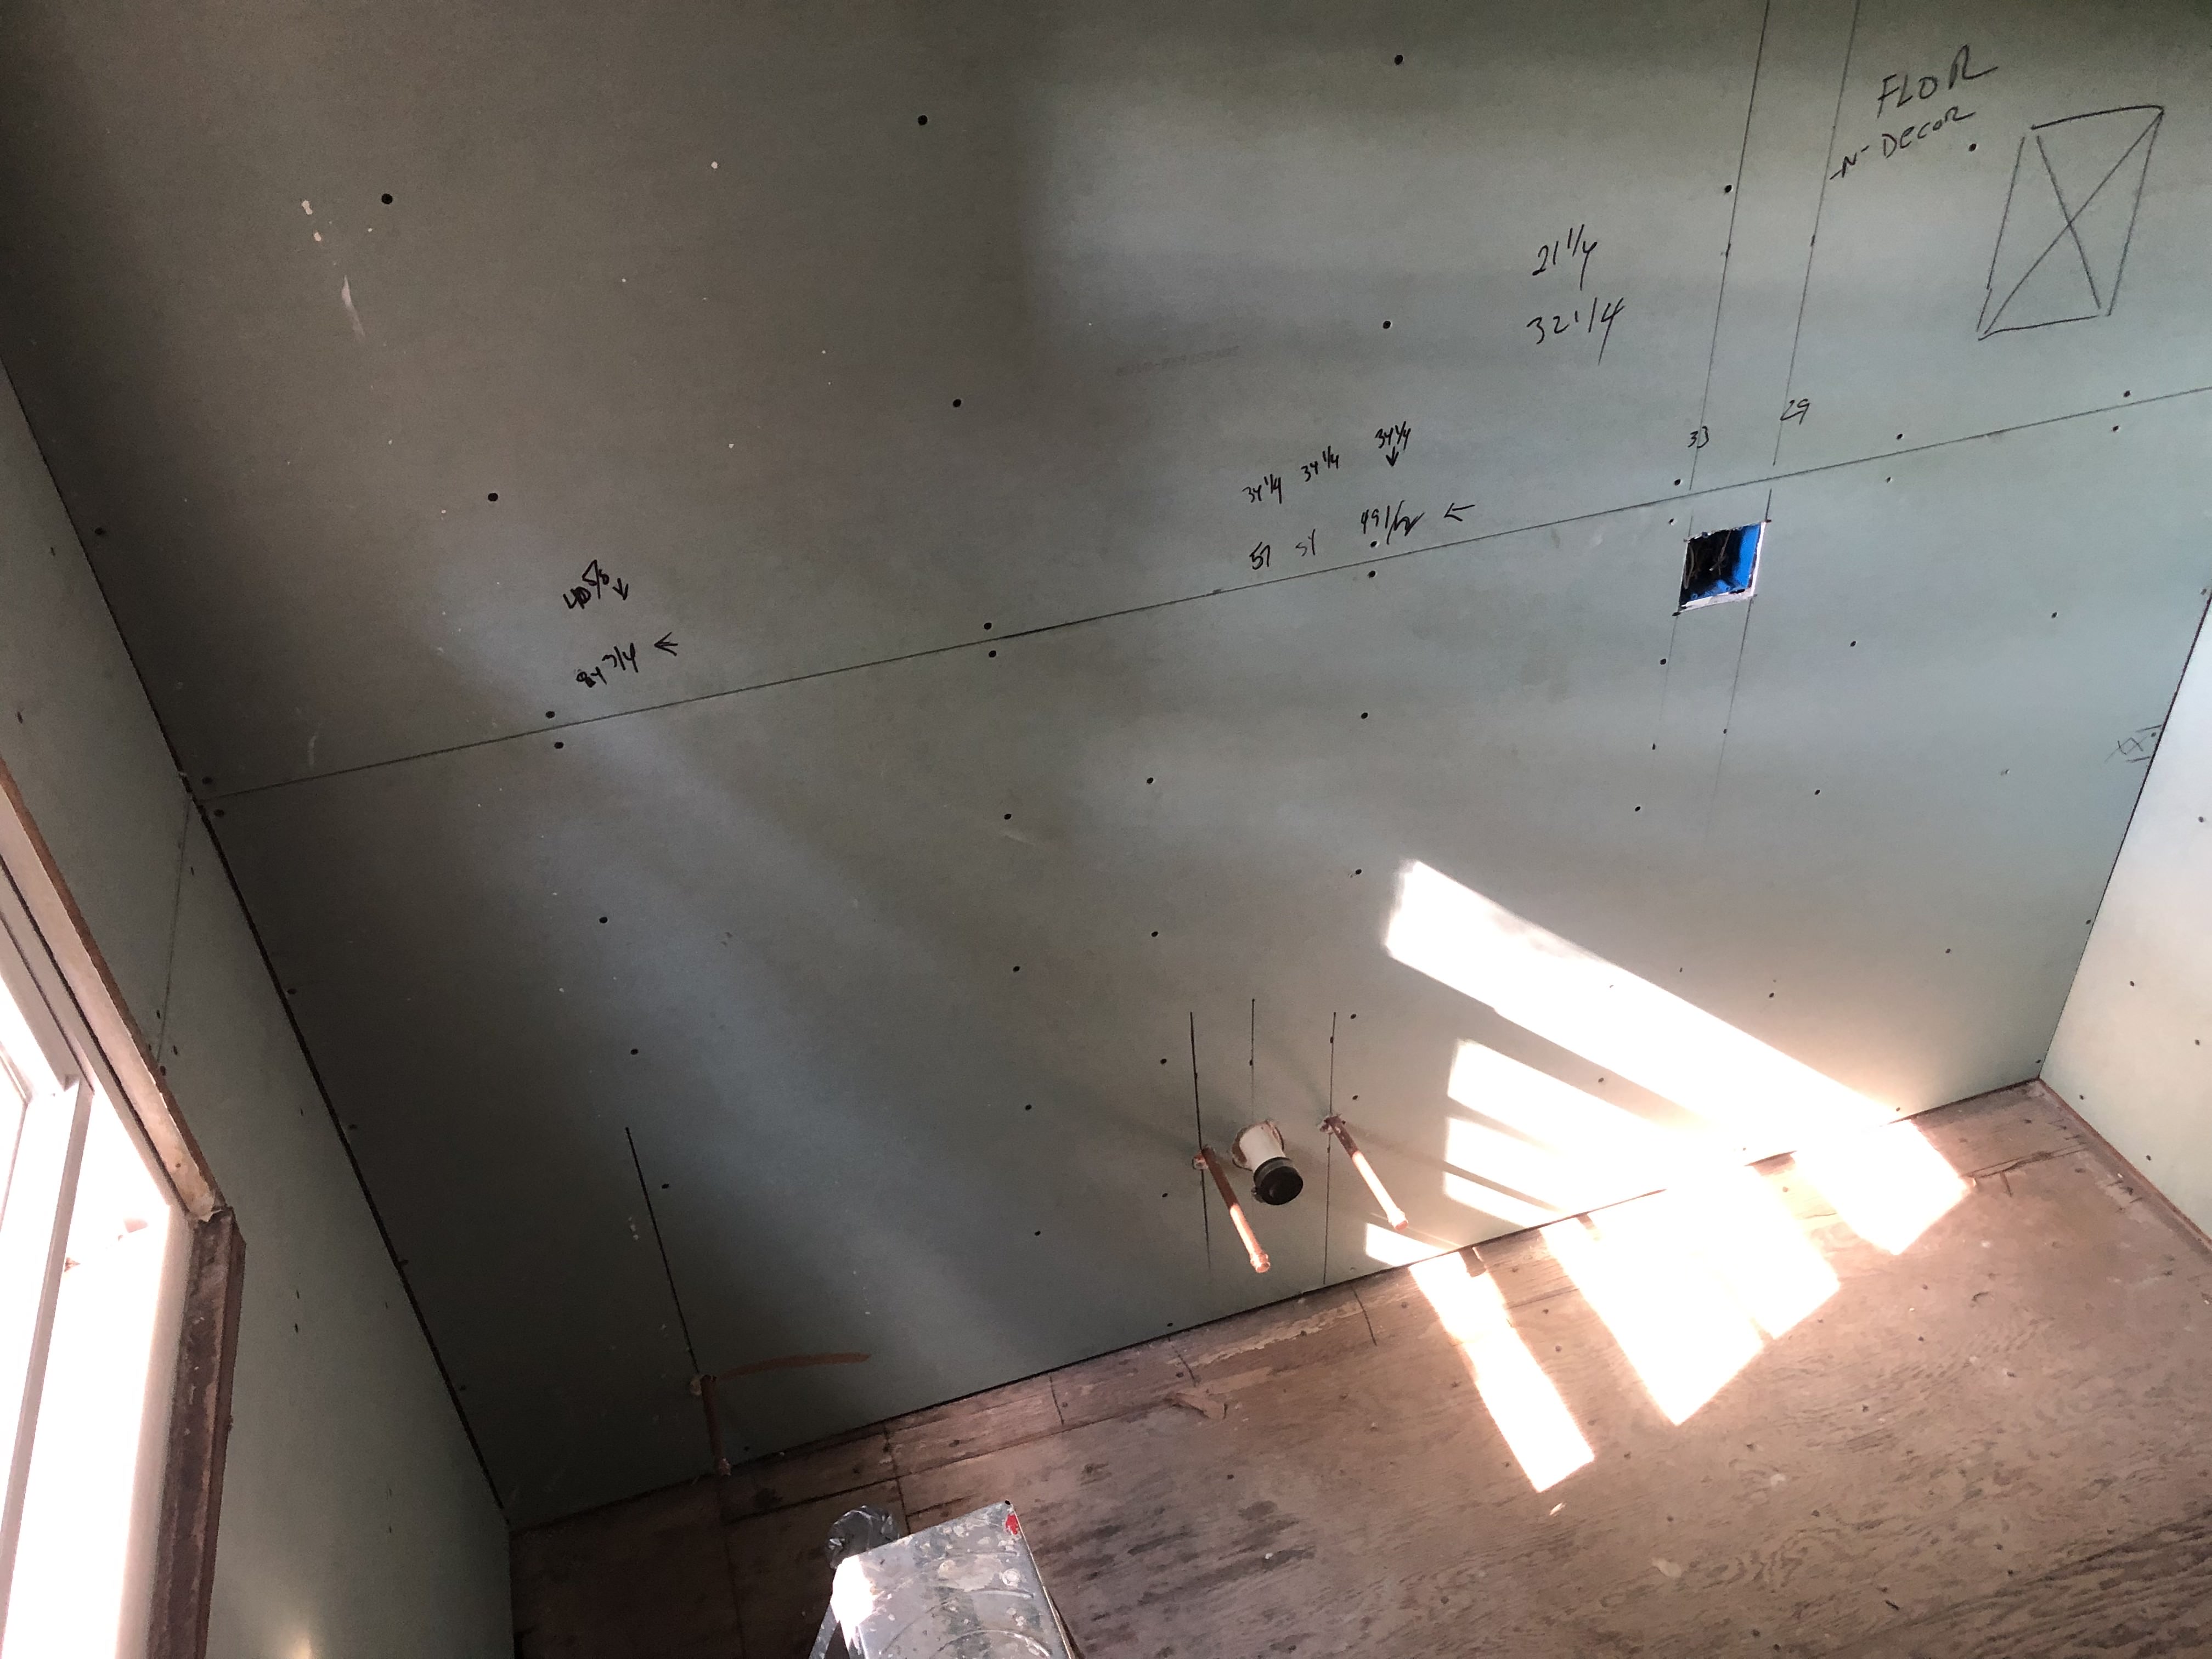
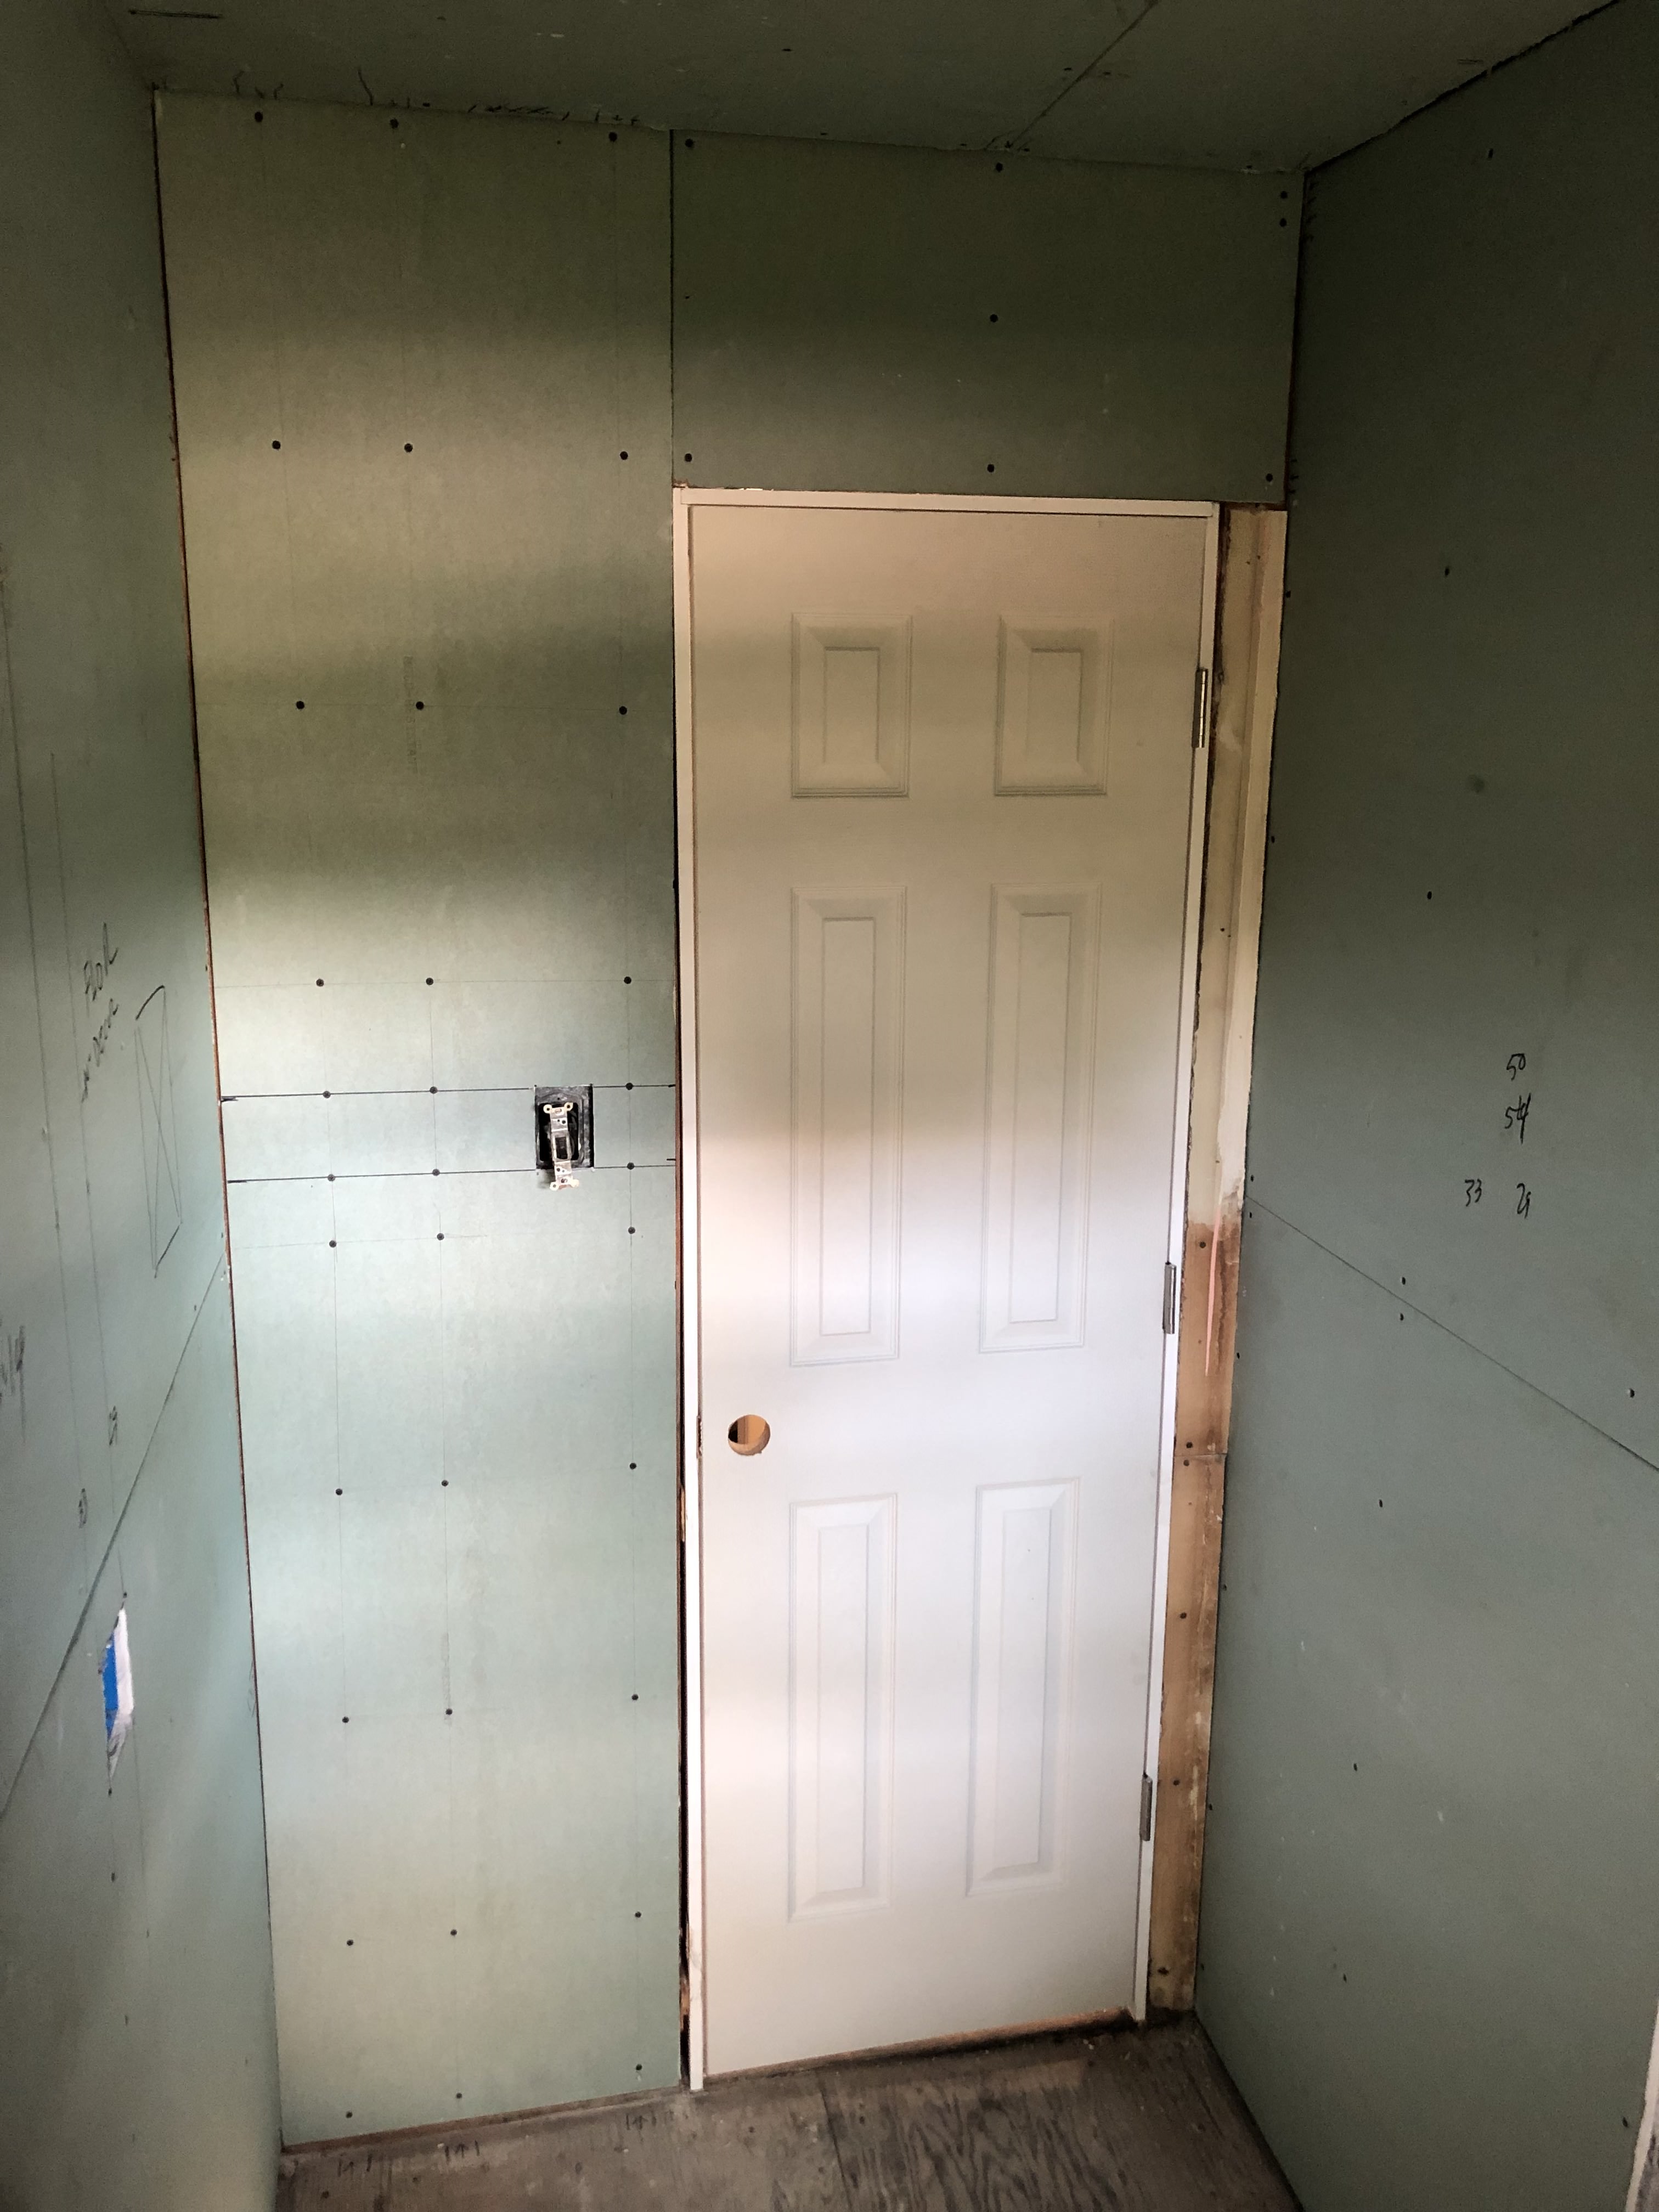
Drywall is installed on the rest of the walls and the ceiling of the bathroom.
In the shower enclosure, you have to use Cement Board and minimize the distance between screws. This will hold up better against moisture, and hold up the full wall of tile in the shower enclosure. The red putty is a liquid rubber that solidifies and provides a water tight seal at the seams and screw points.
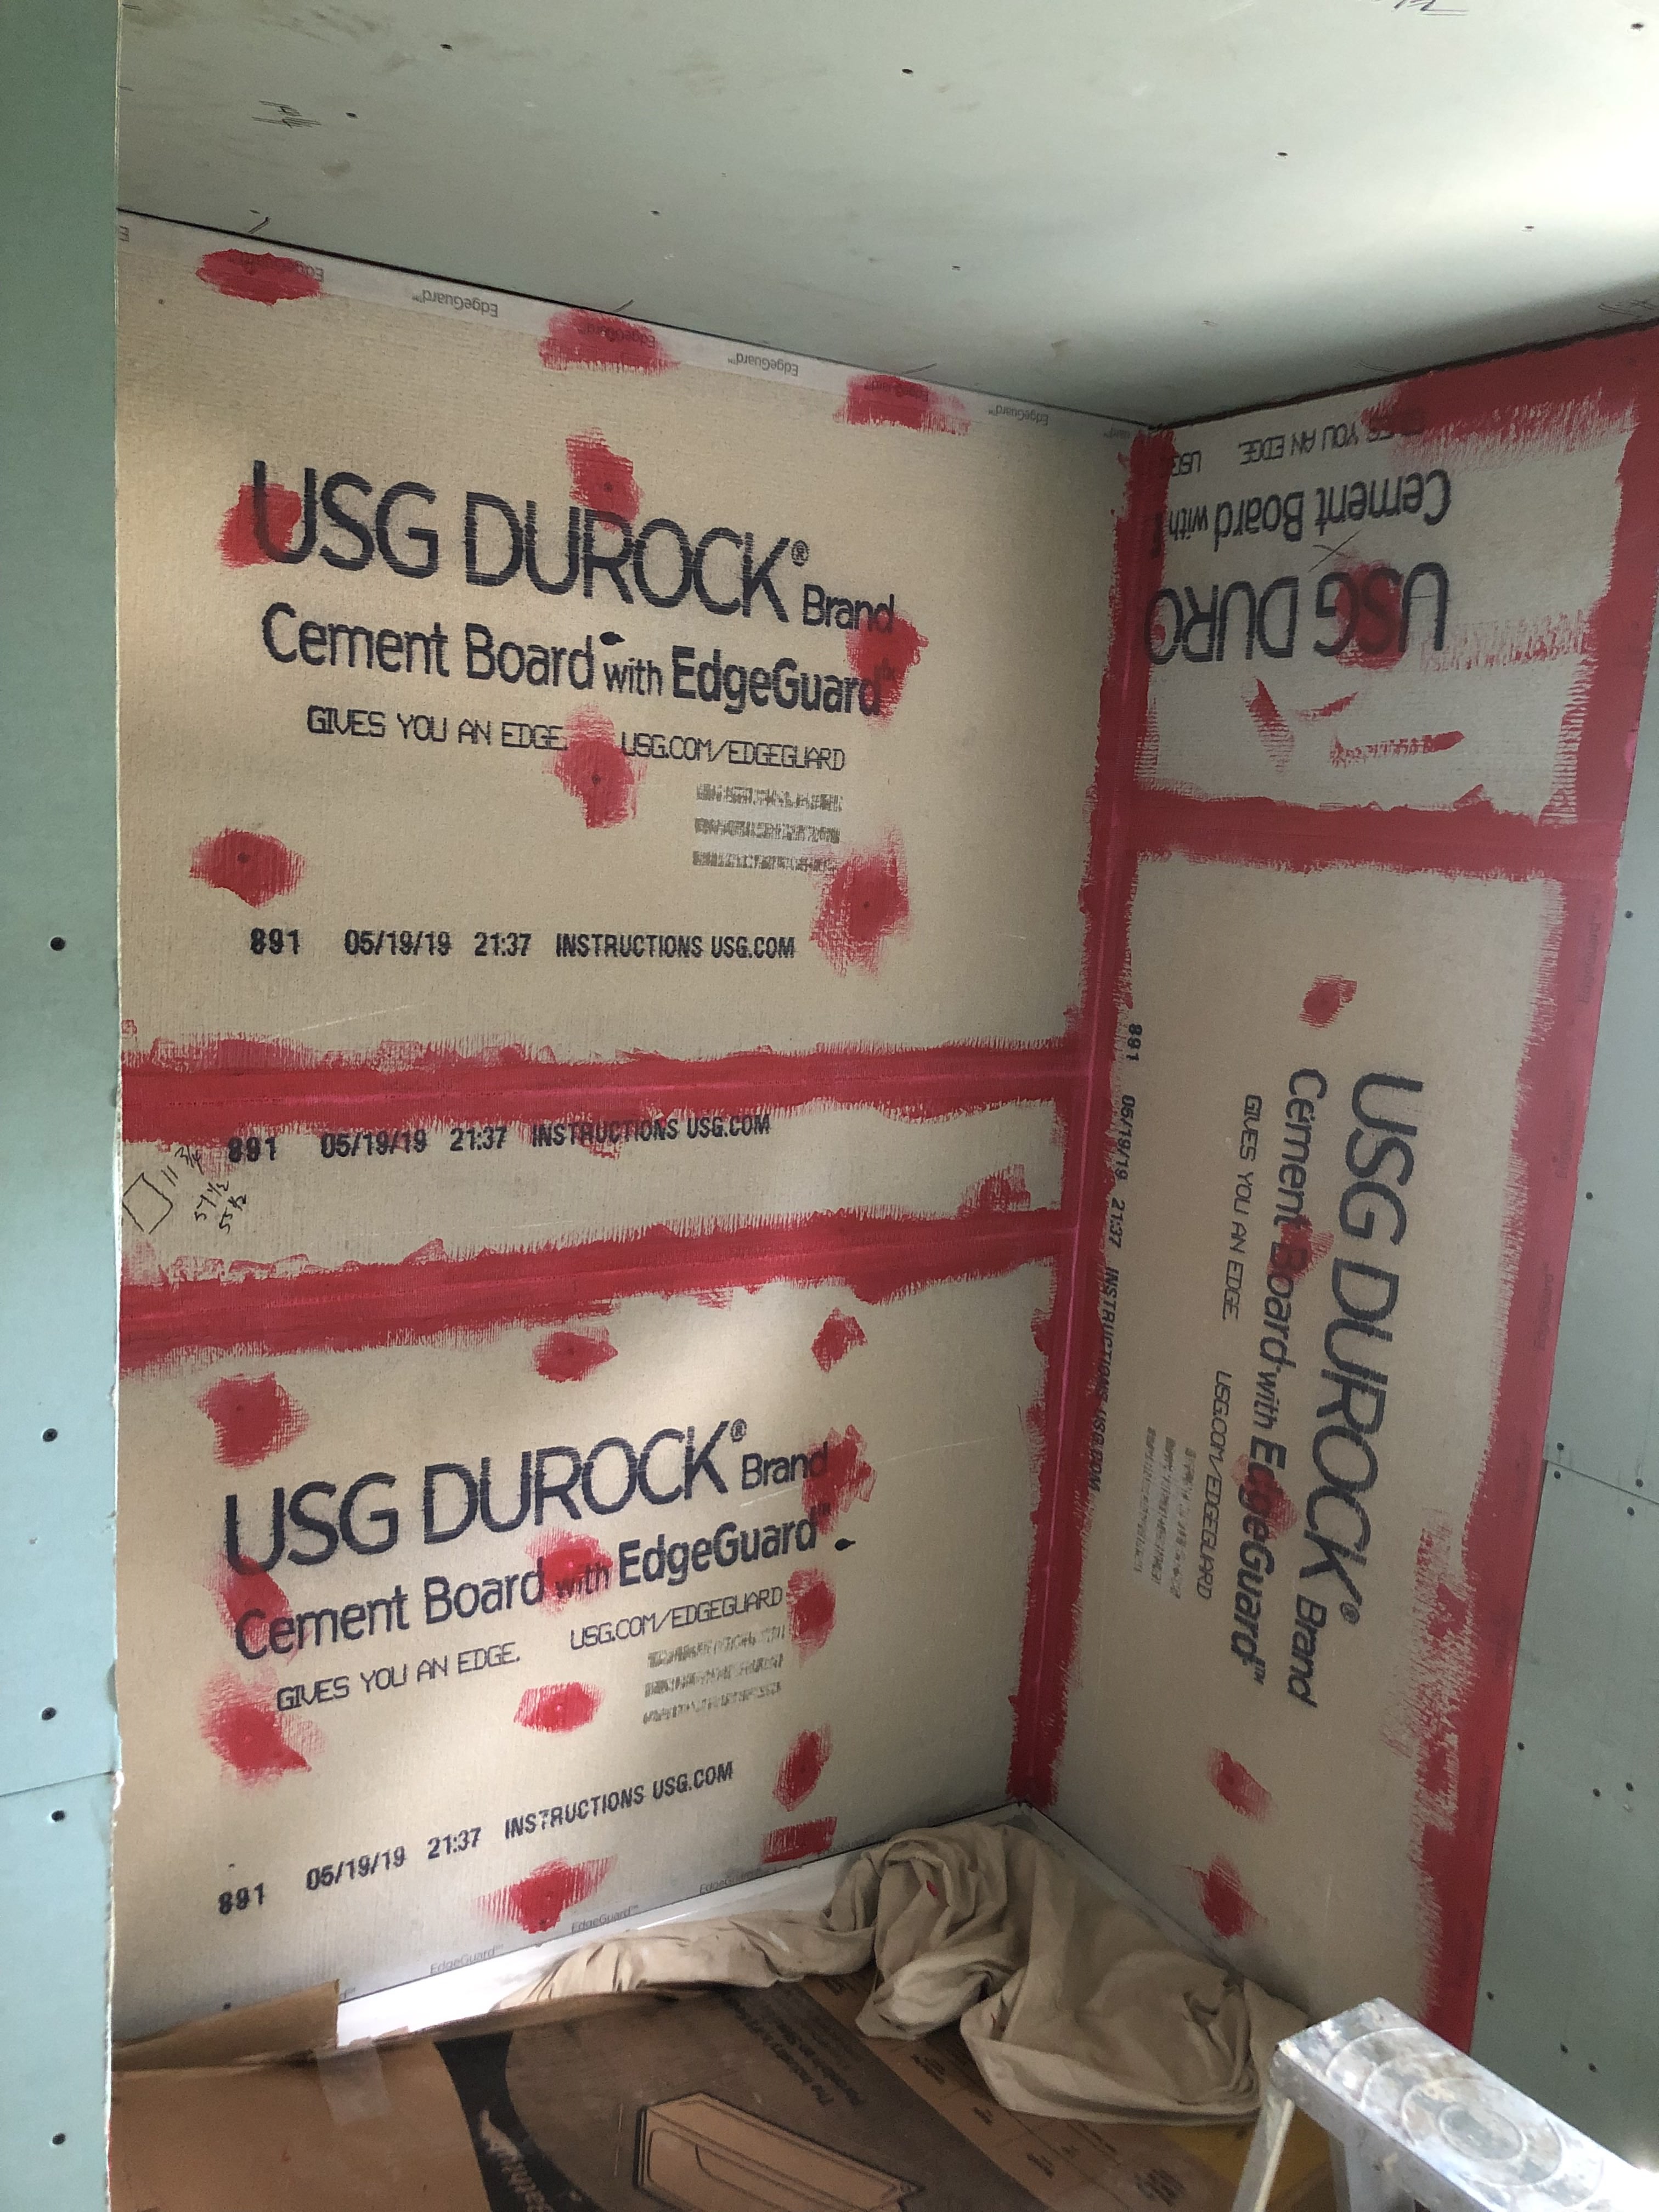
In the shower enclosure, you have to use Cement Board and minimize the distance between screws. This will hold up better against moisture, and hold up the full wall of tile in the shower enclosure. The red putty is a liquid rubber that solidifies and provides a water tight seal at the seams and screw points.
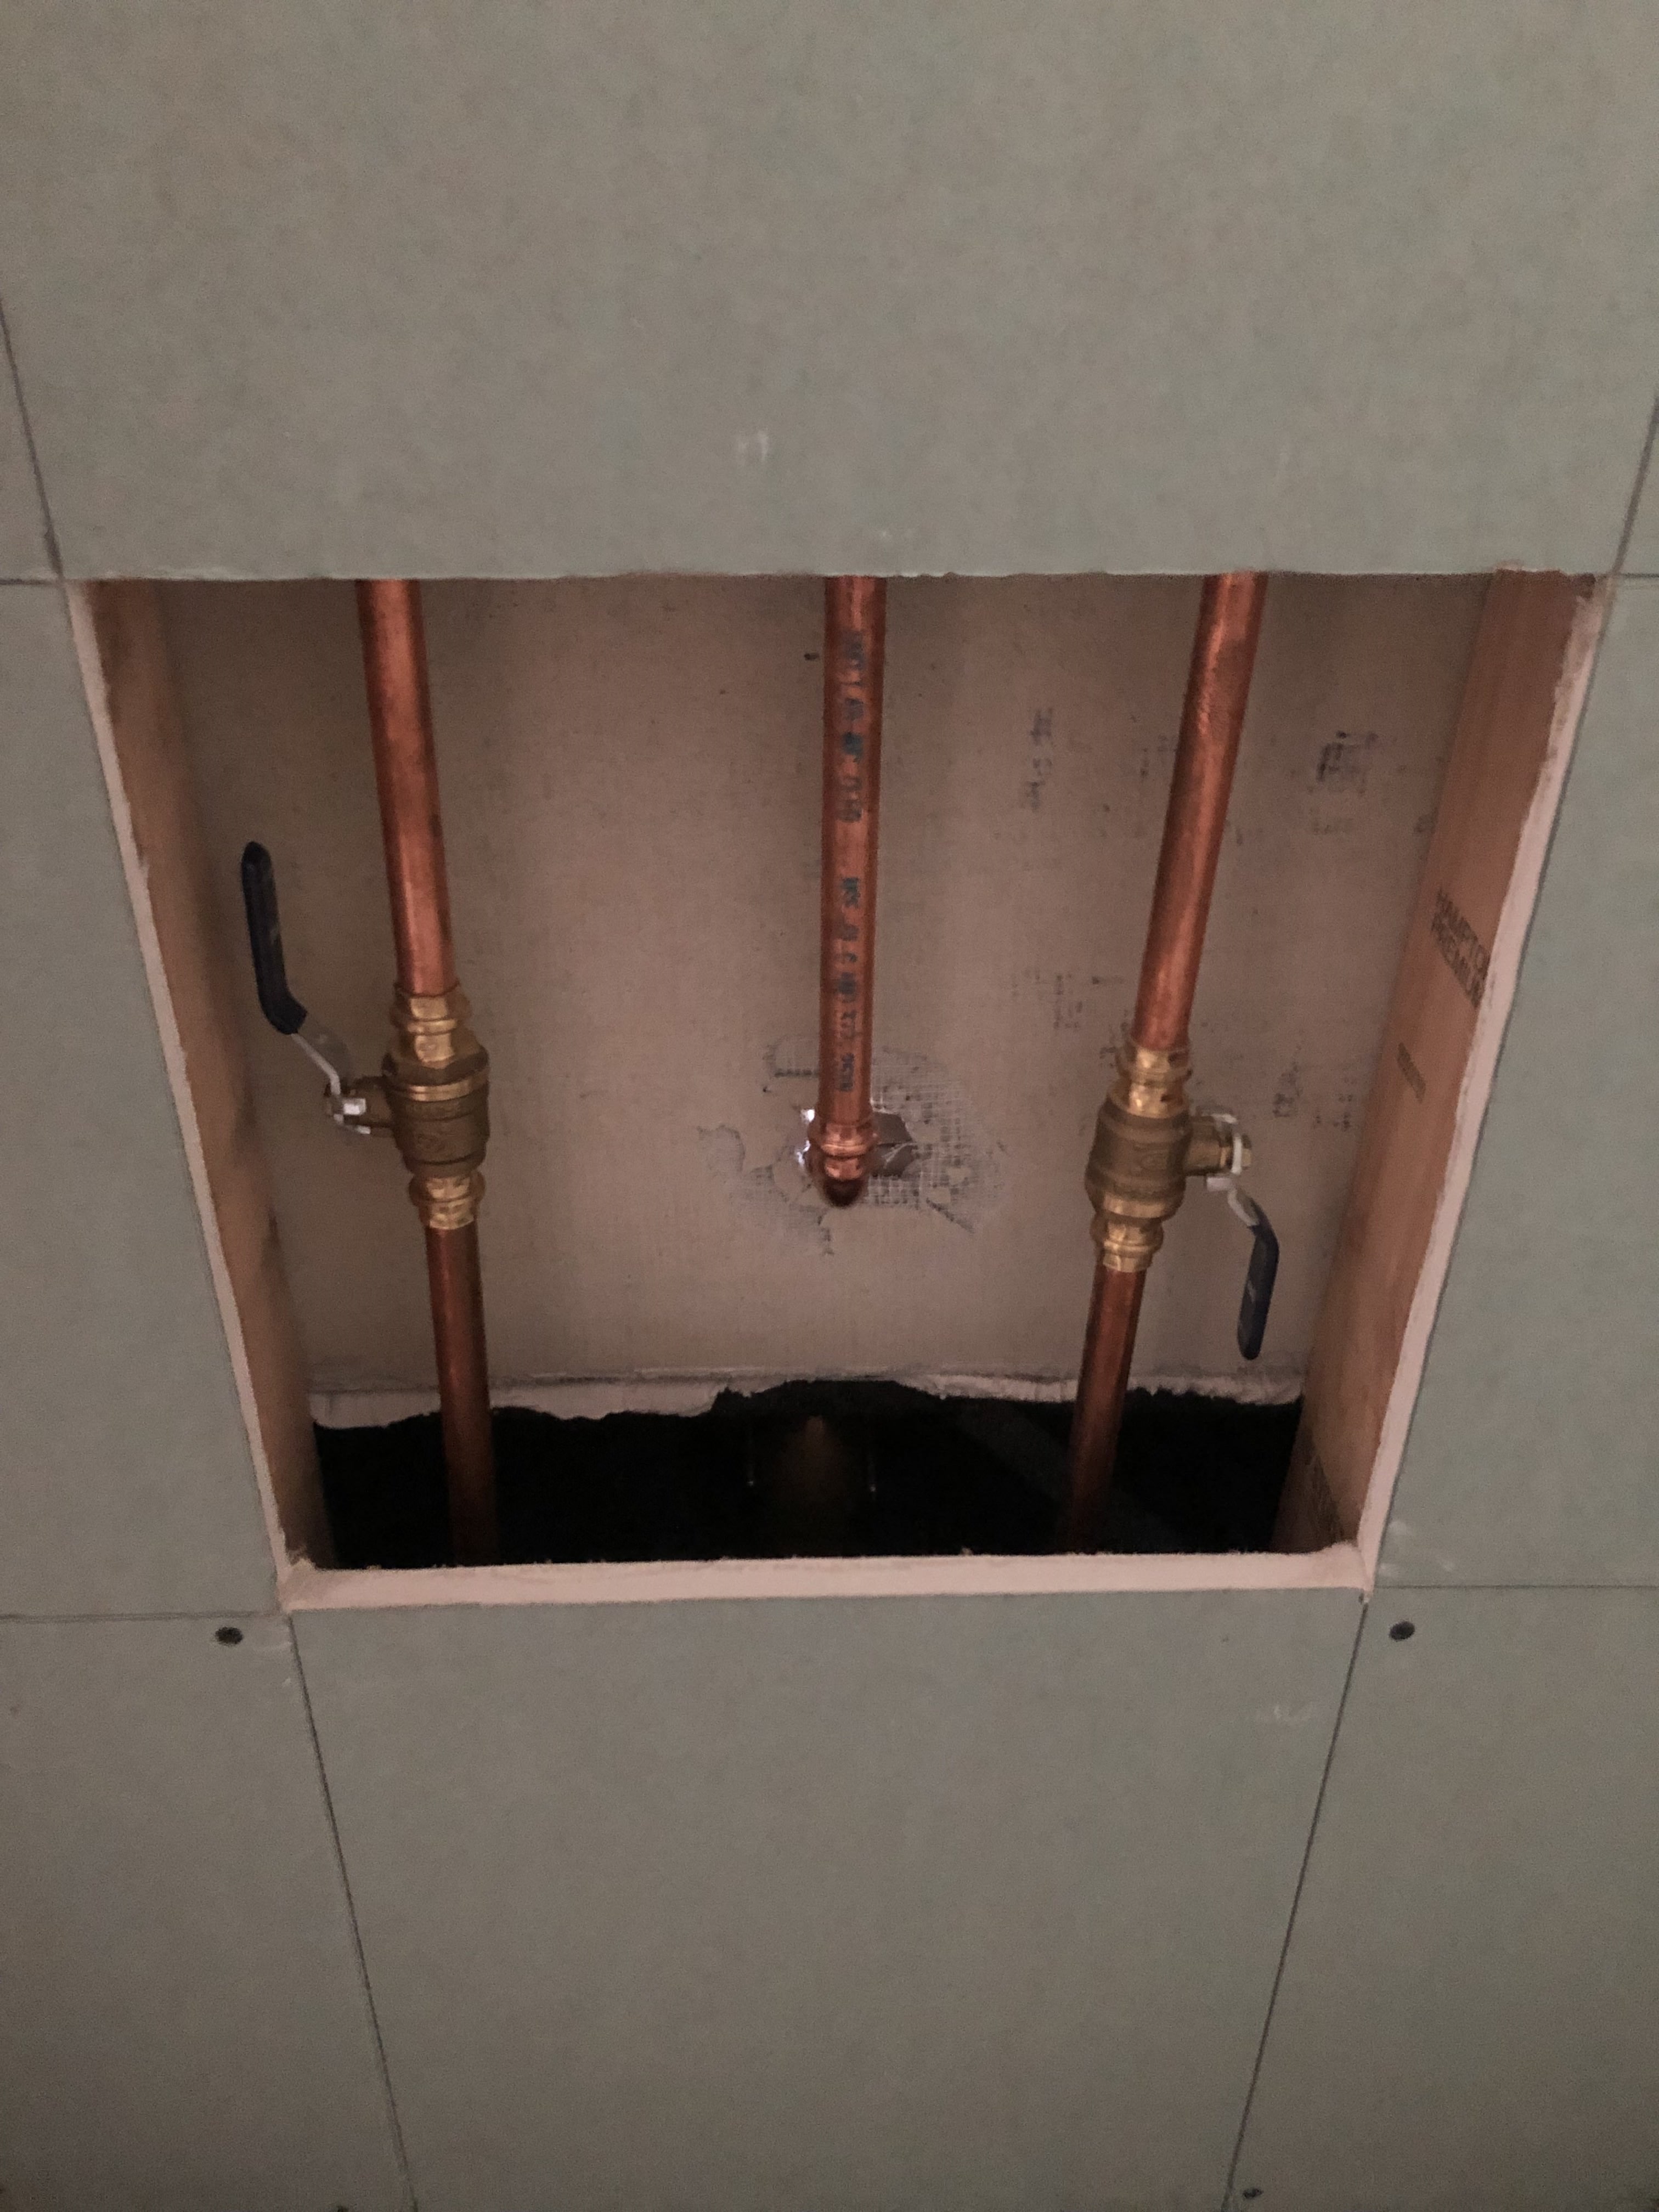
Emergency shut off valves are installed on the hot and cold water lines just in case there is a leak. It can be quickly accessed from the small bedroom closet behind a spring loaded access panel.
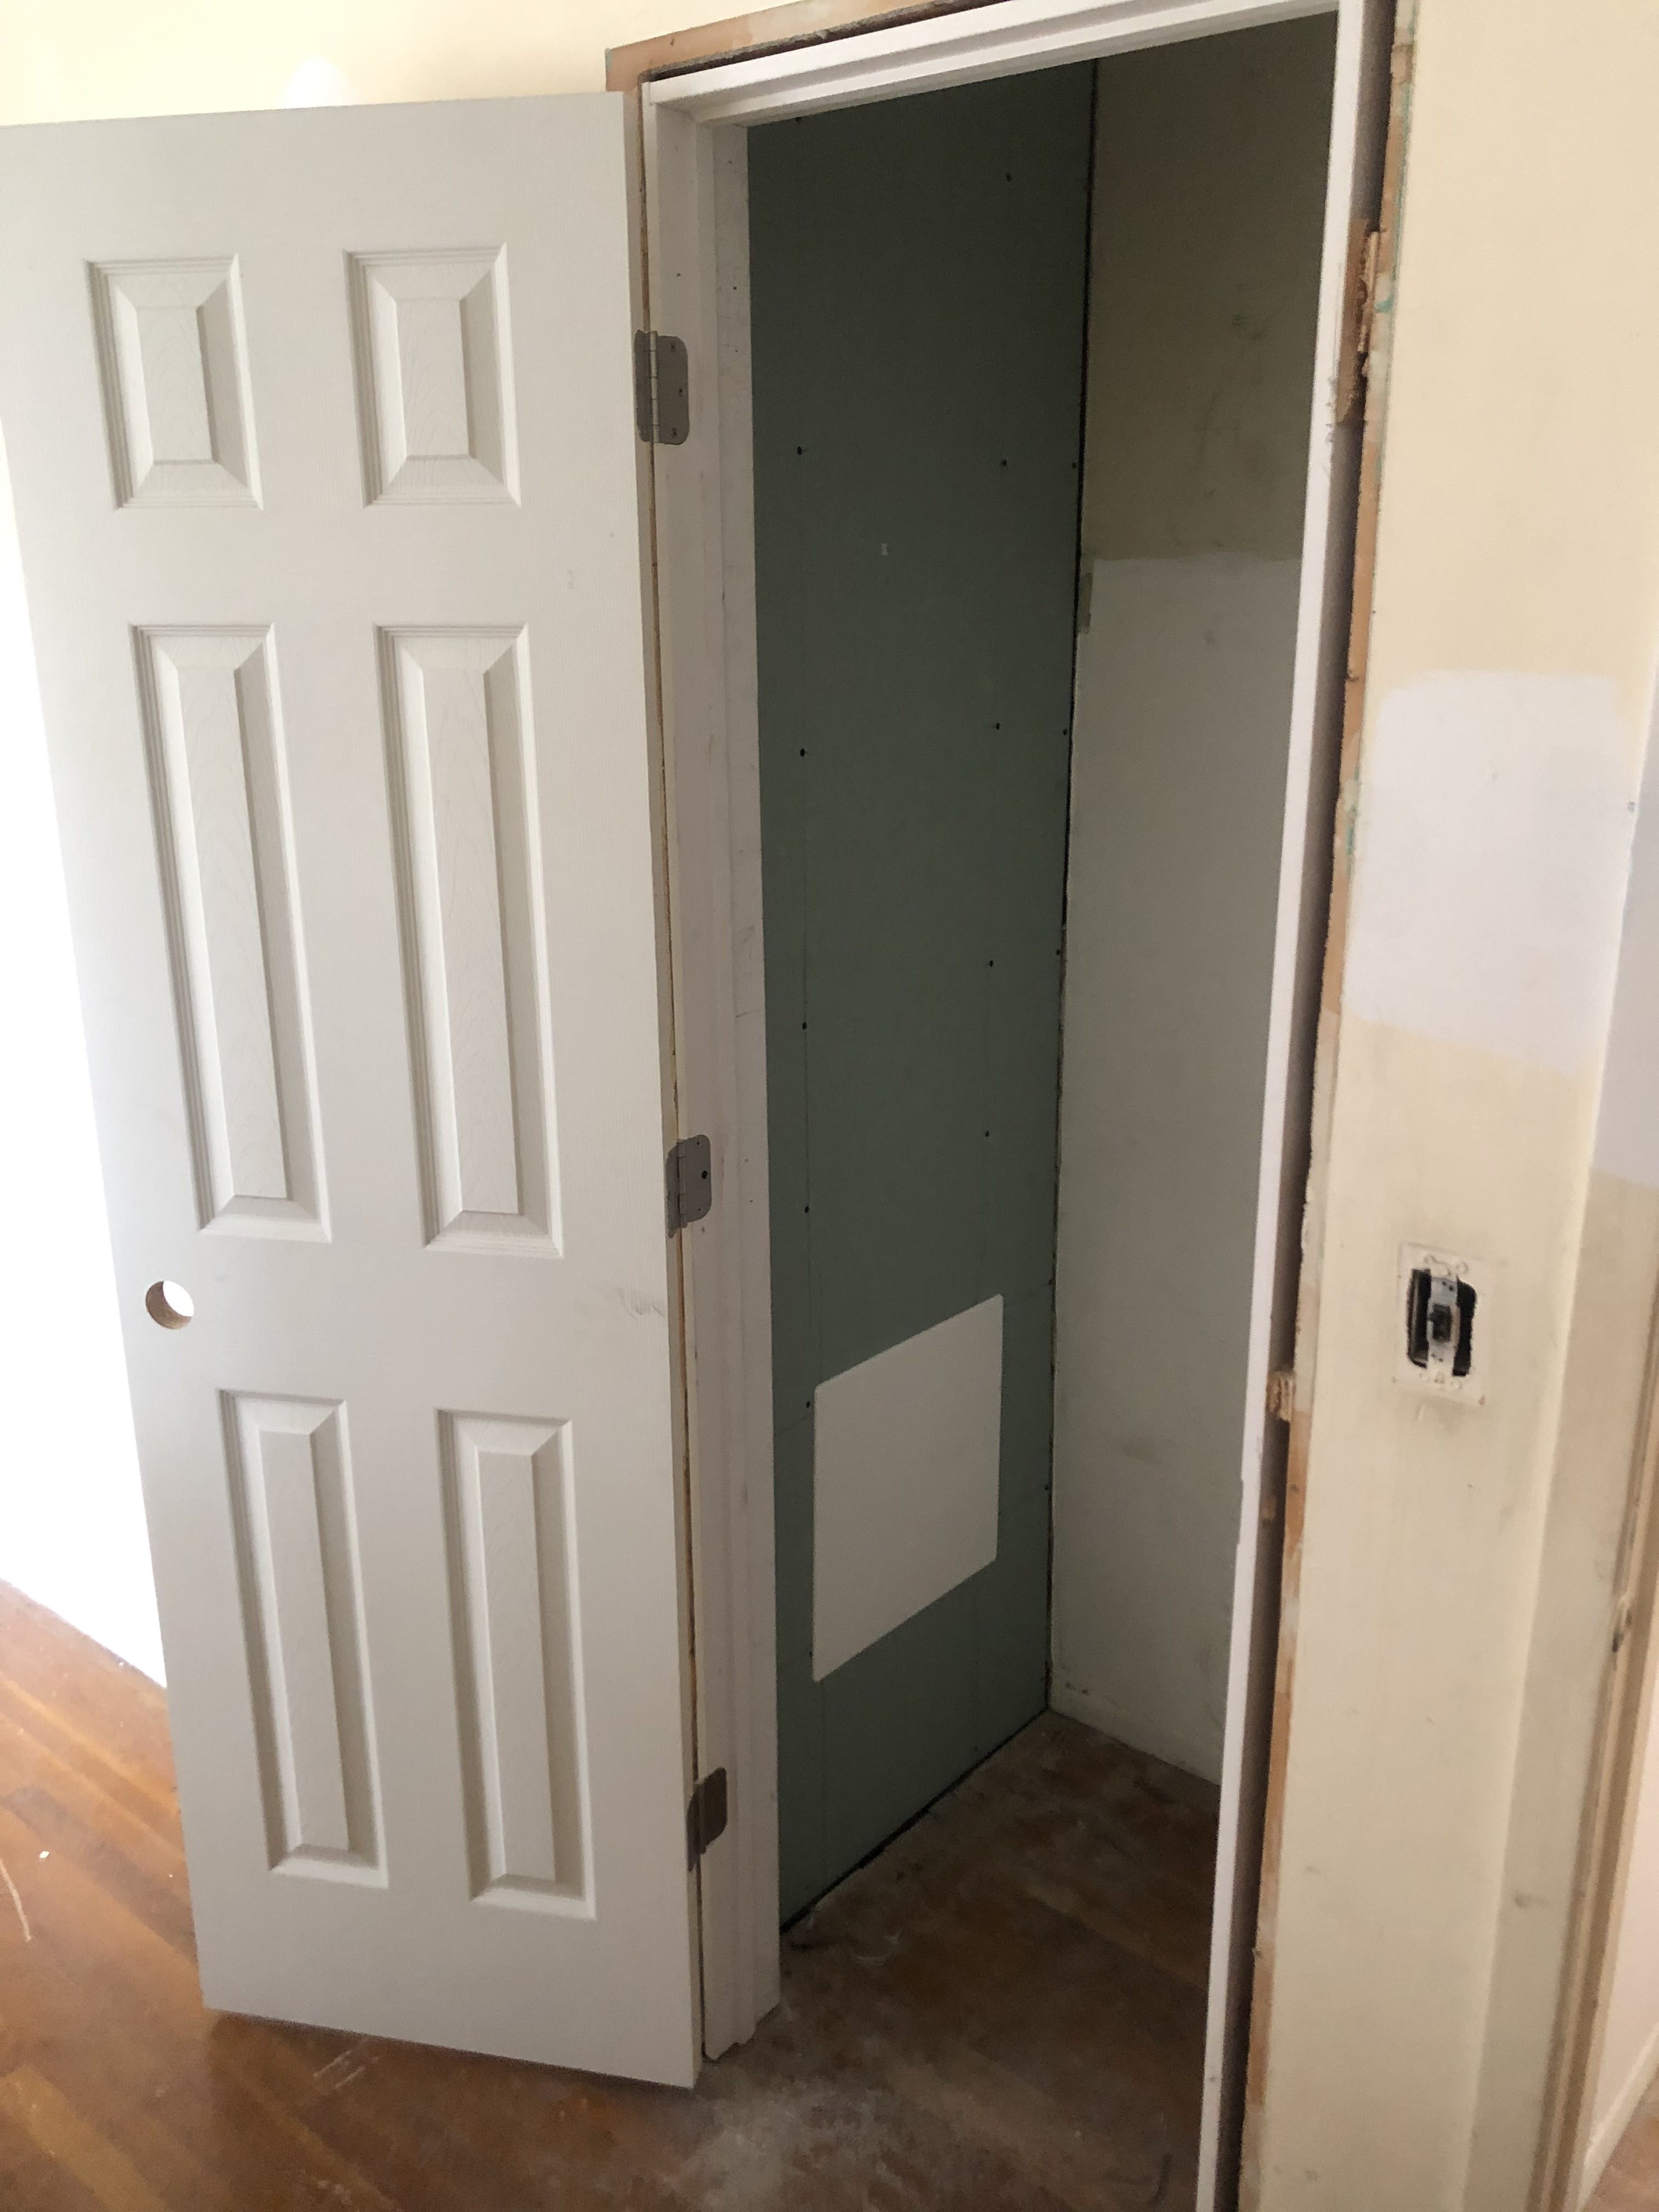
Here you can see the spring loaded access panel in place. It will be unnoticeable once the wall is painted.
This is the view from the Kitchen side of the Kitchen/Bathroom common wall. To make cabinet installation easier, we're attaching plywood sheets on the studs. When we install cabinets we won't have to worry about finding a stud or worrying about strength.
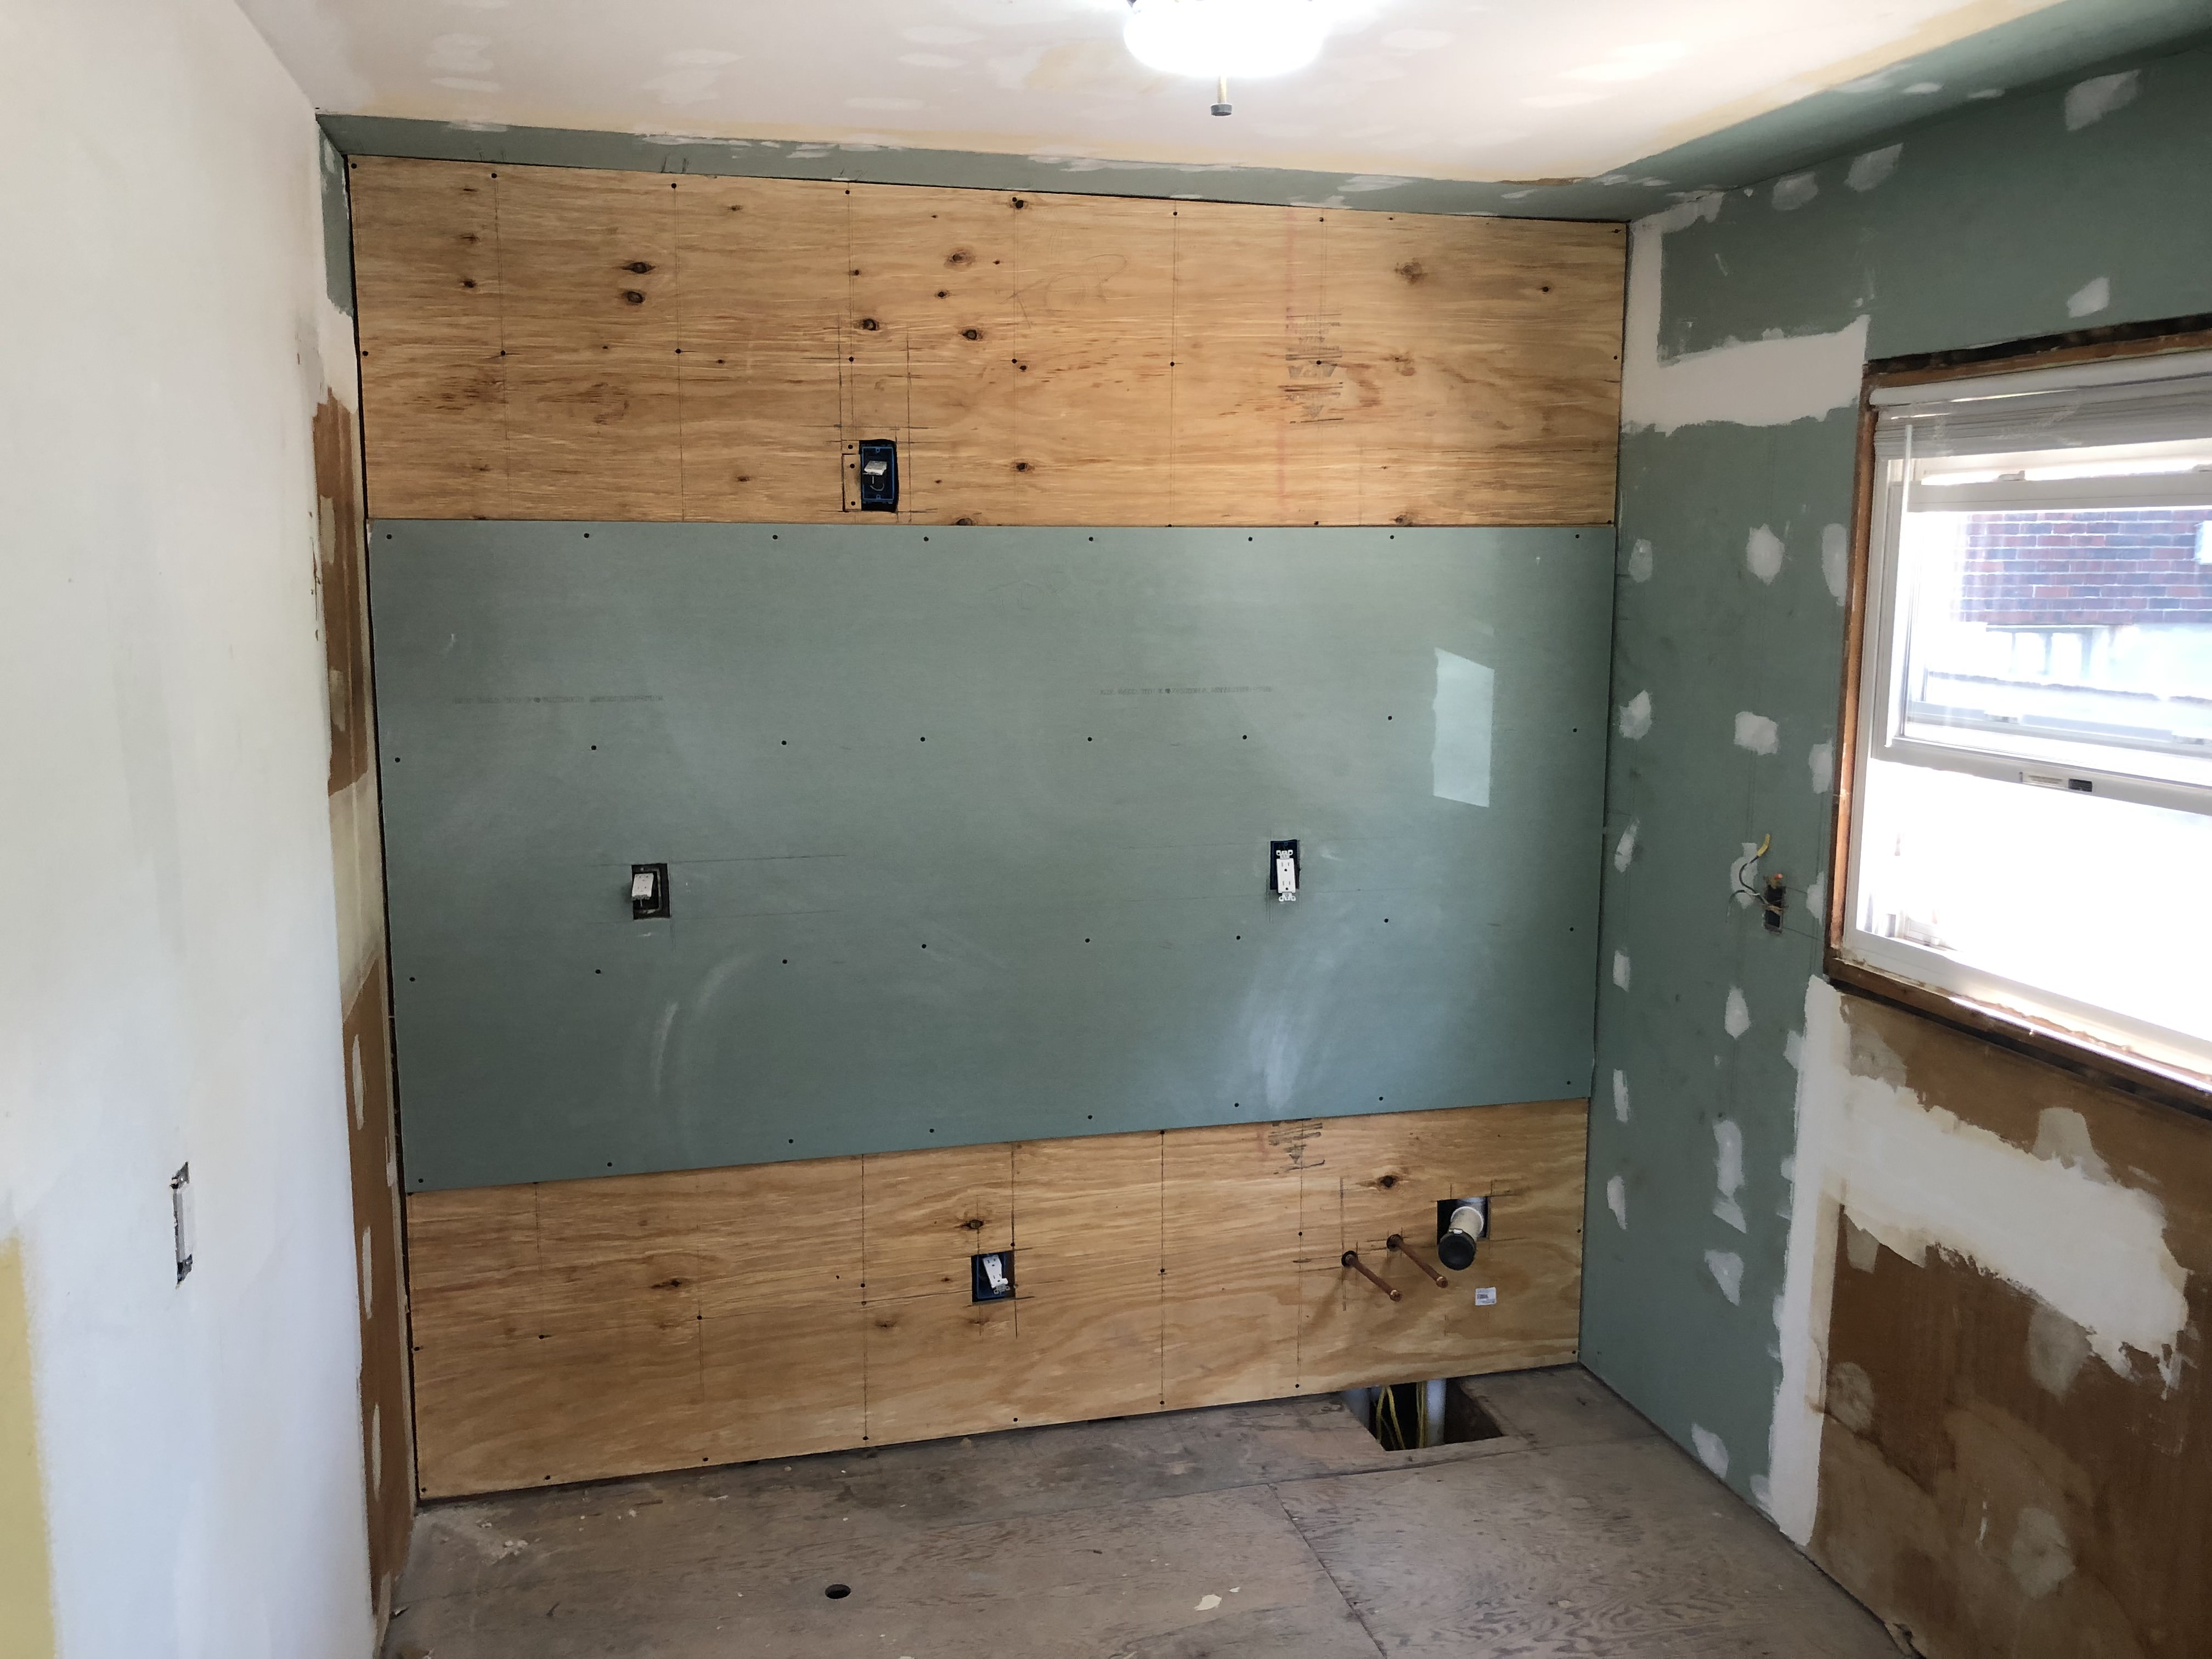
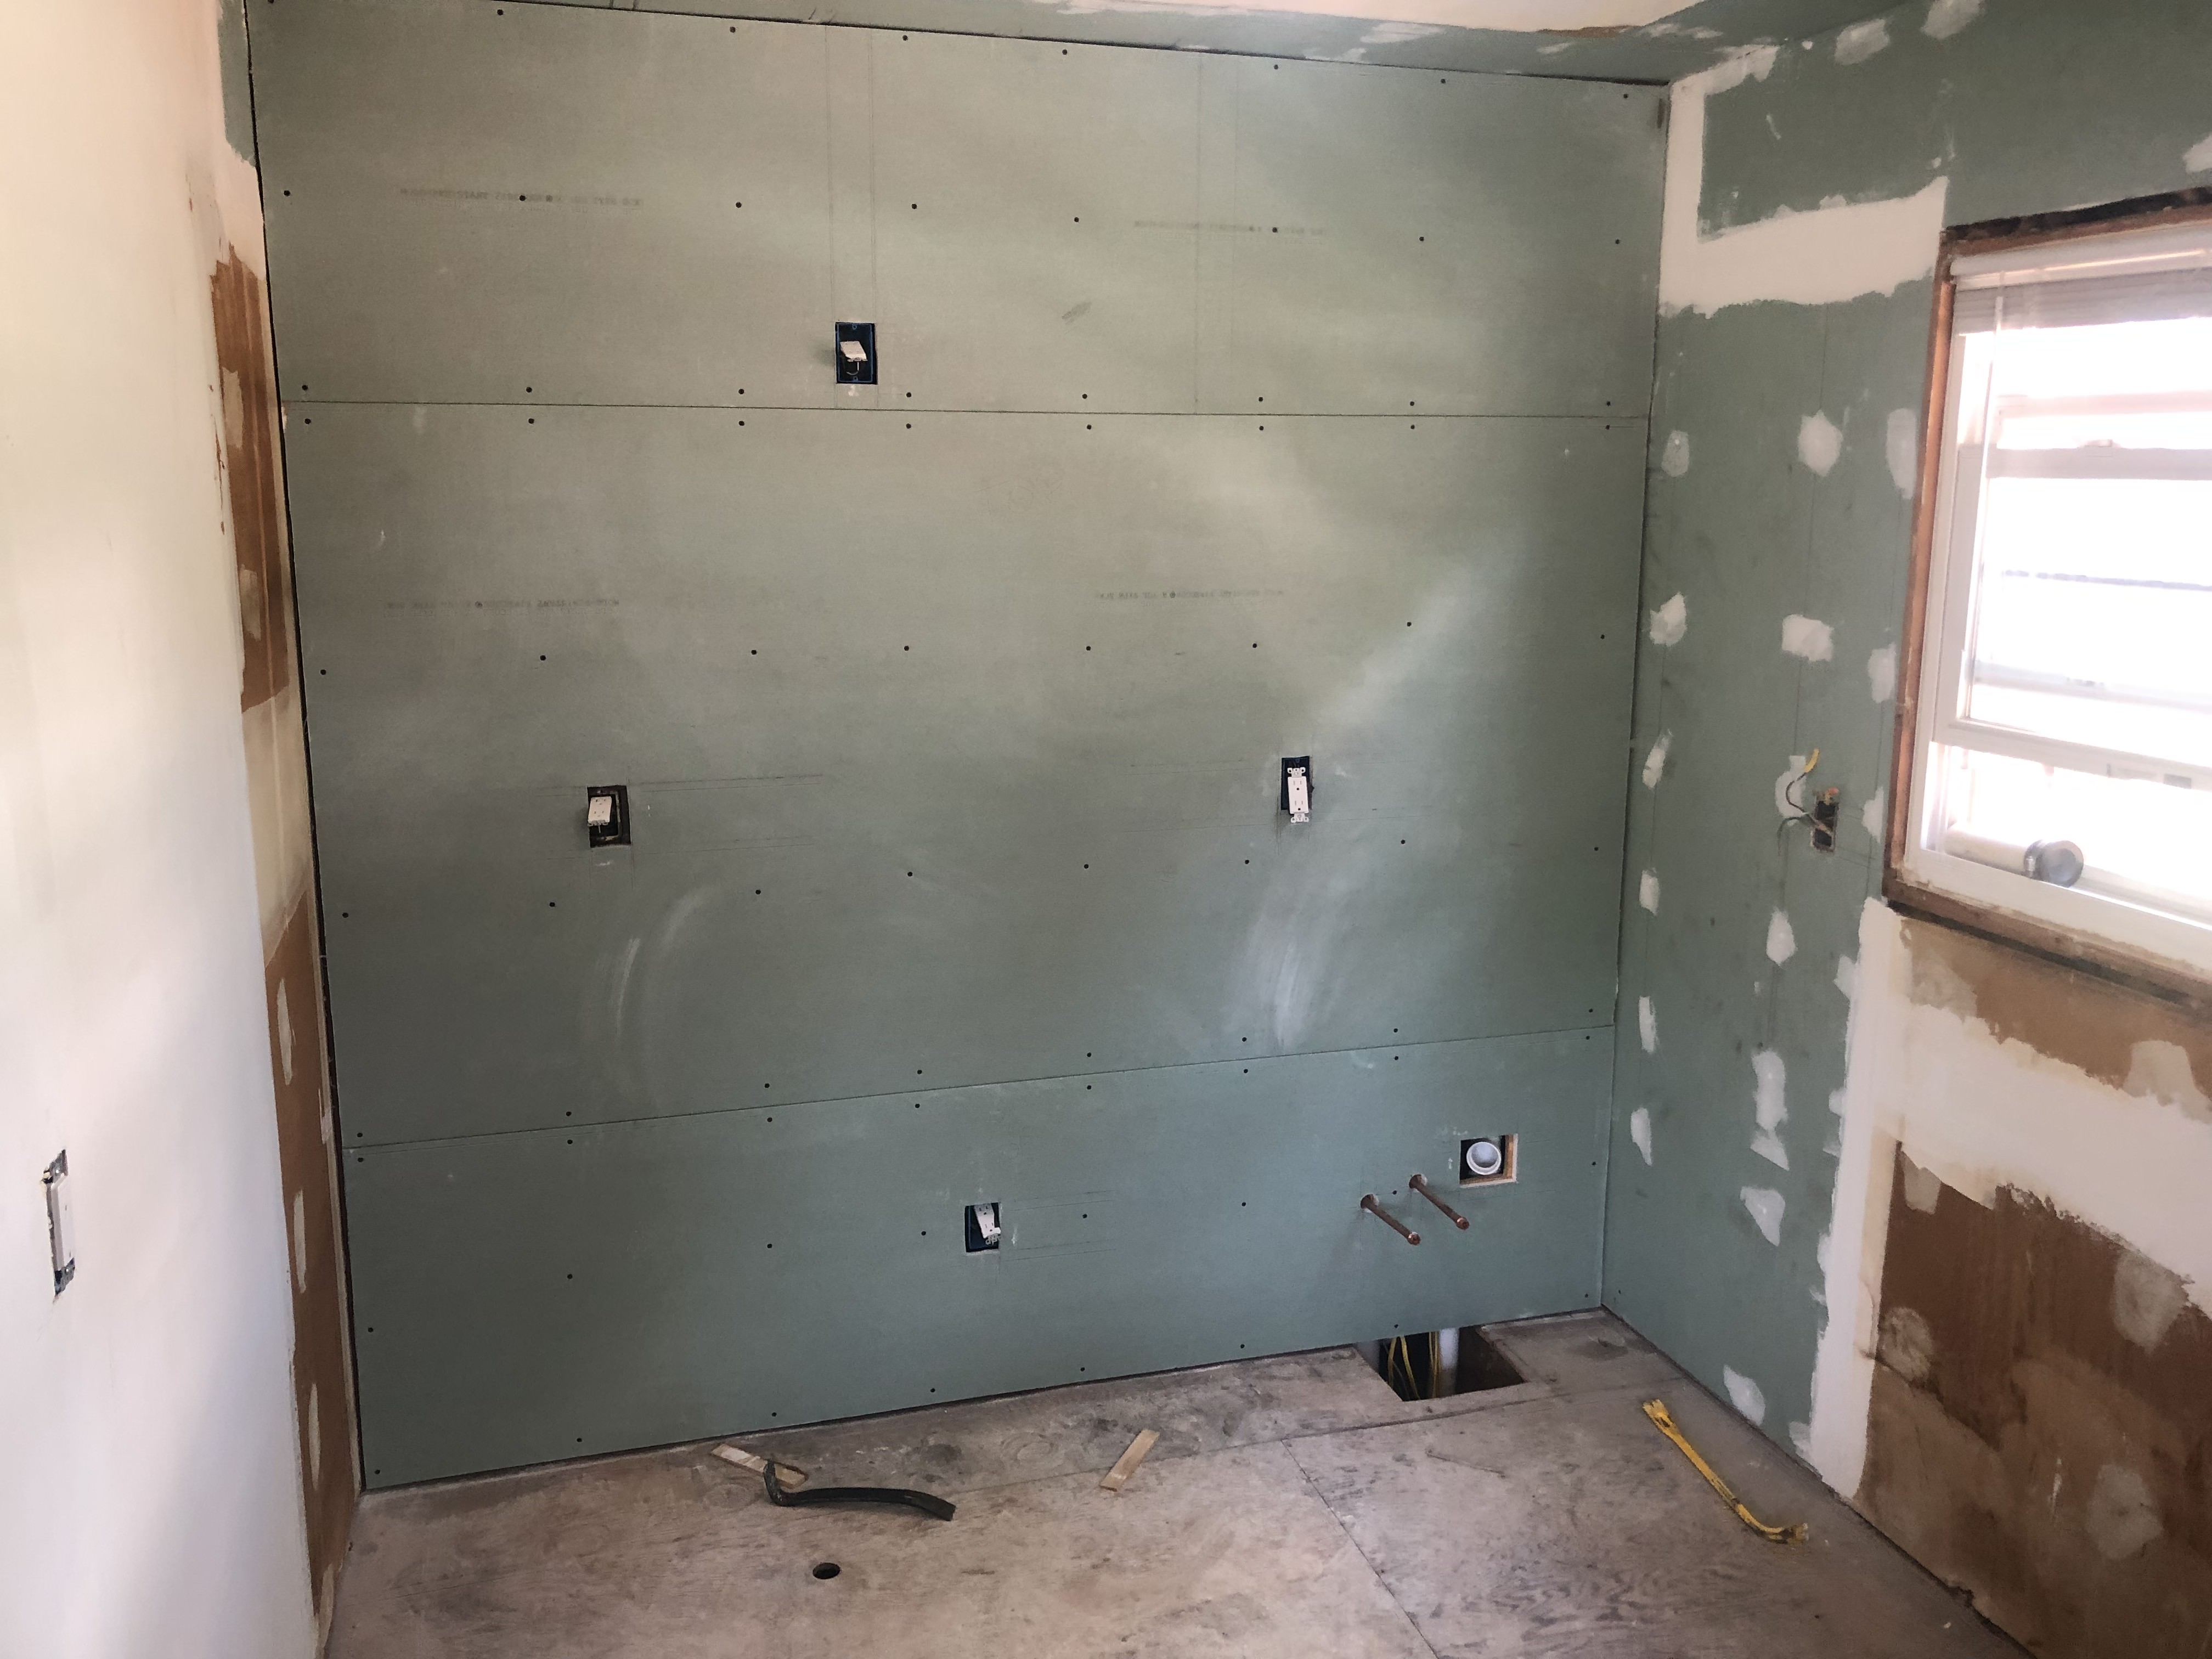
Plywood is installed, and now 5/8" Fireblock drywall is installed as it is going to be behind a gas oven / stove. We placed a full 4' x 8' sheet in the middle of the wall so we didn't have any seams when doing the tile backsplash.
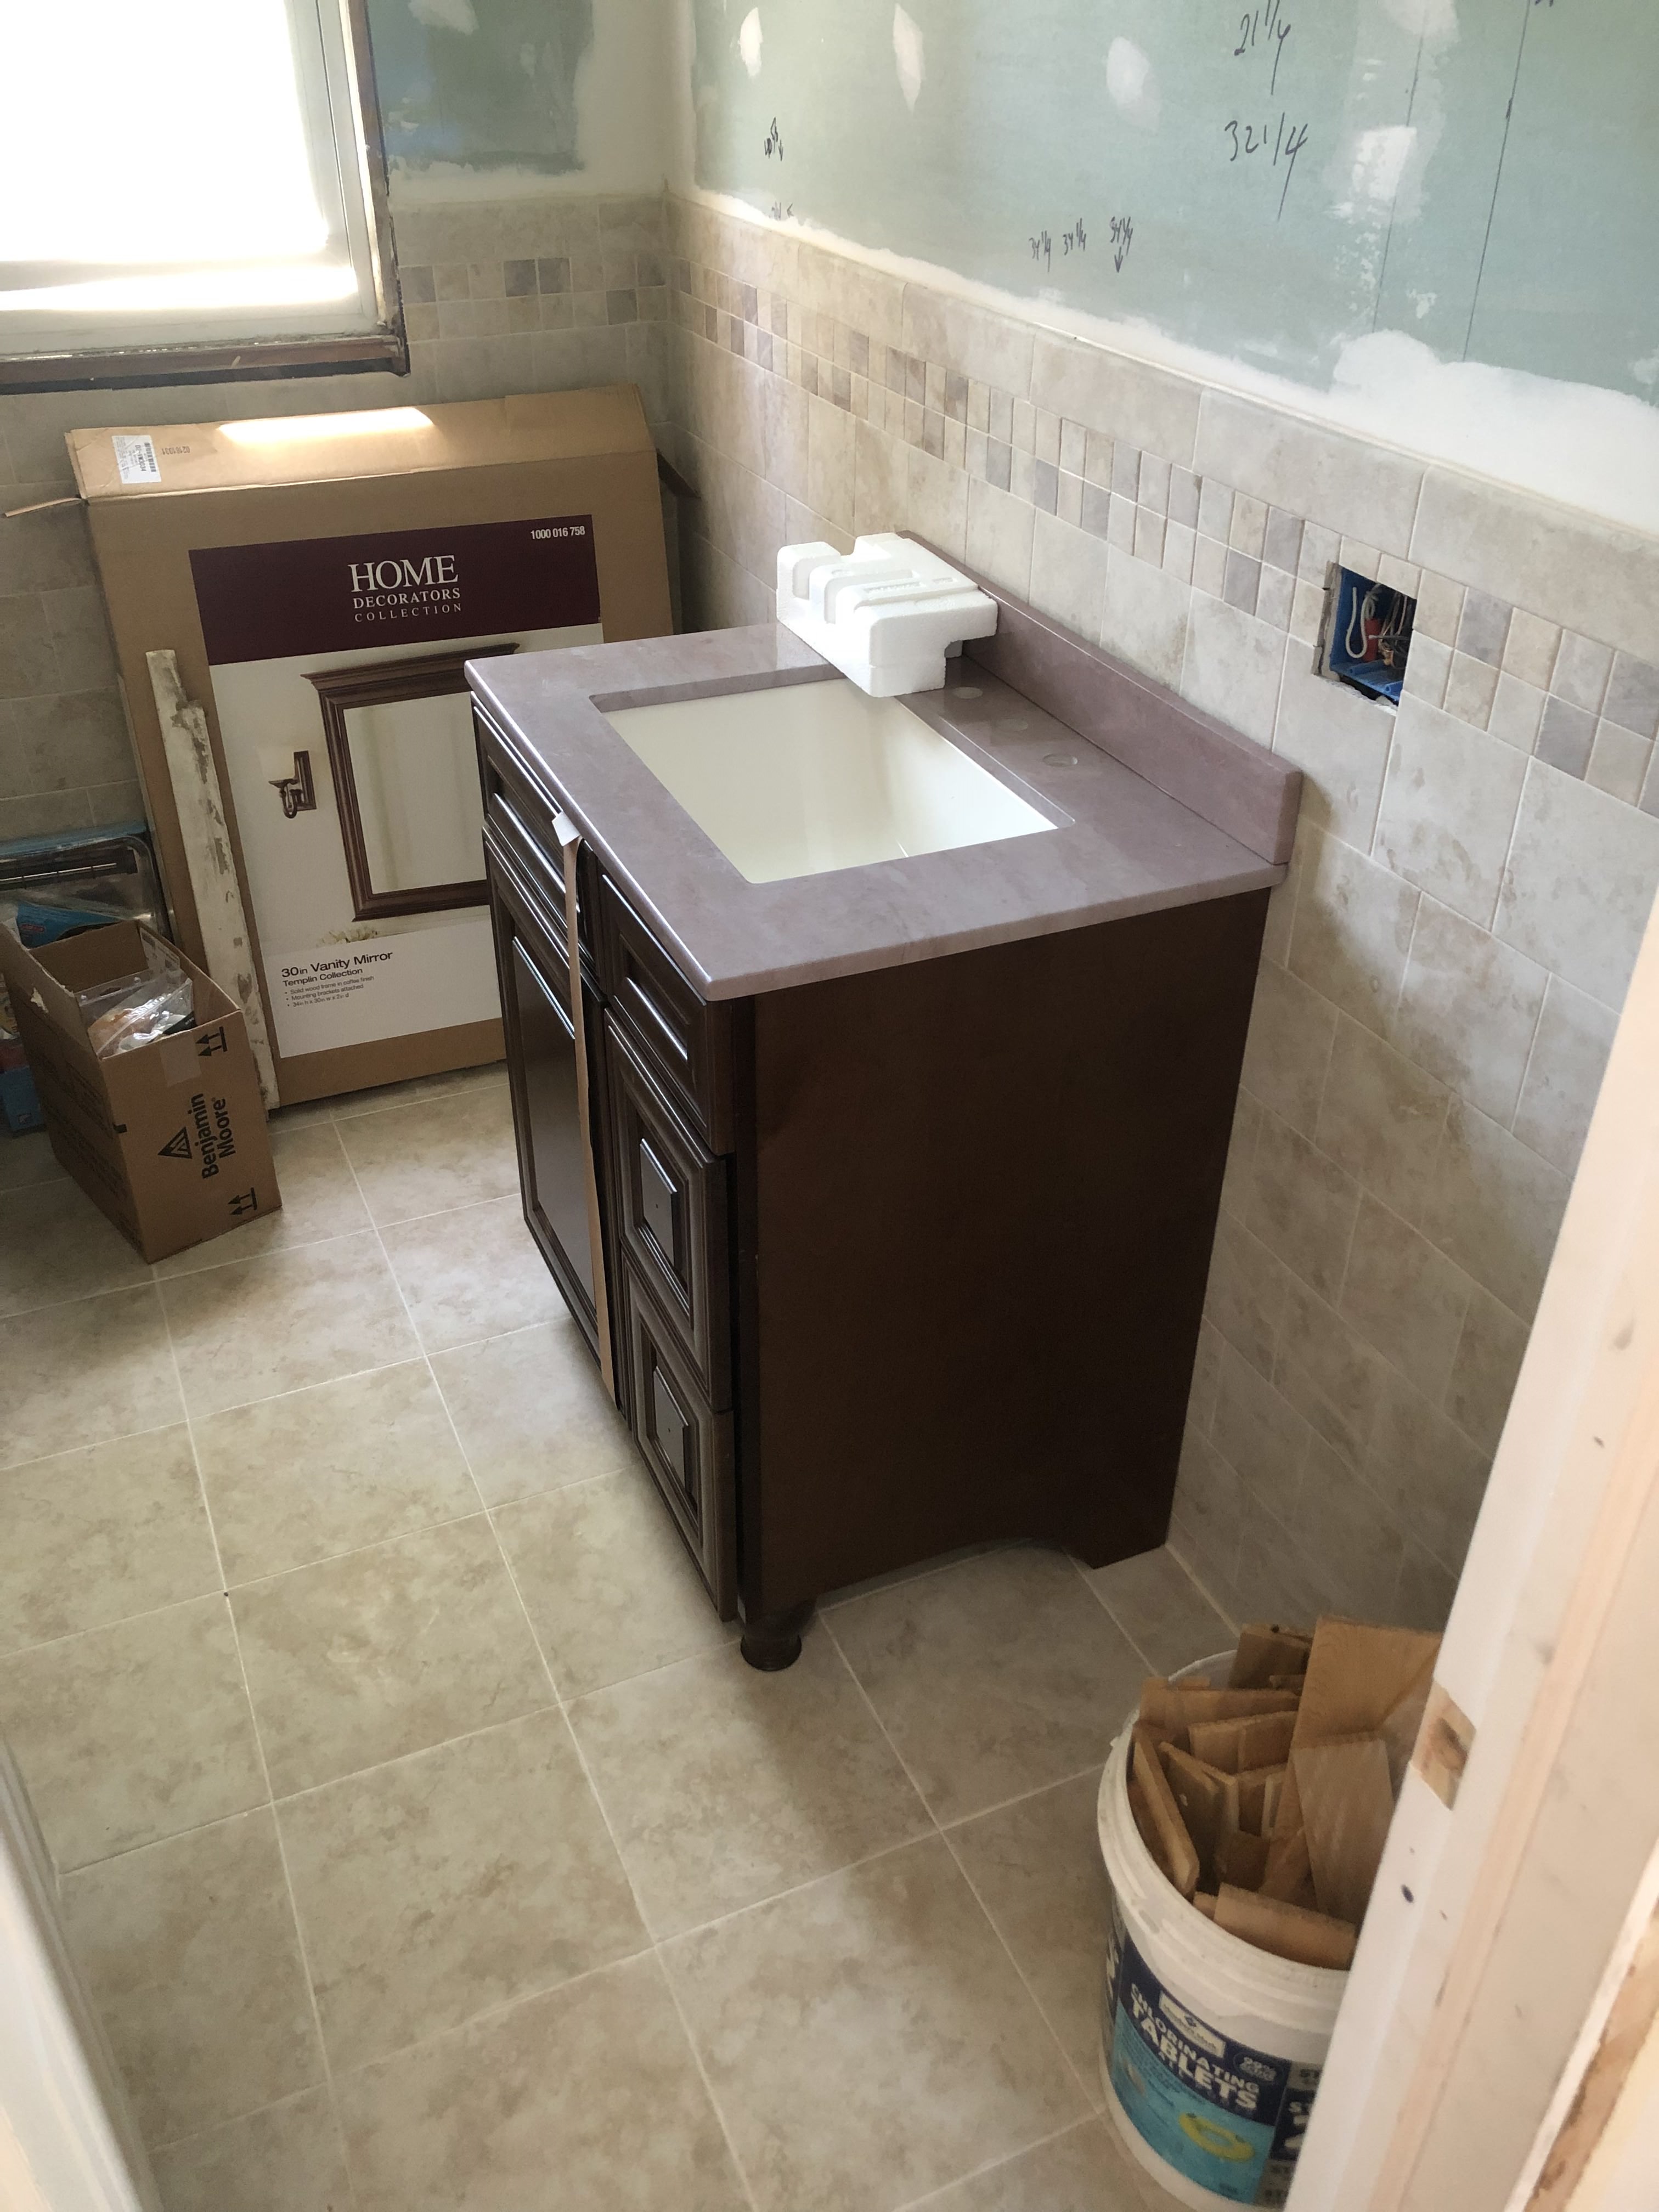
We brought in the vanity and secured it to the tile. This is to ensure it doesn't move when we install the plumbing. We then test-fit the vanity top.
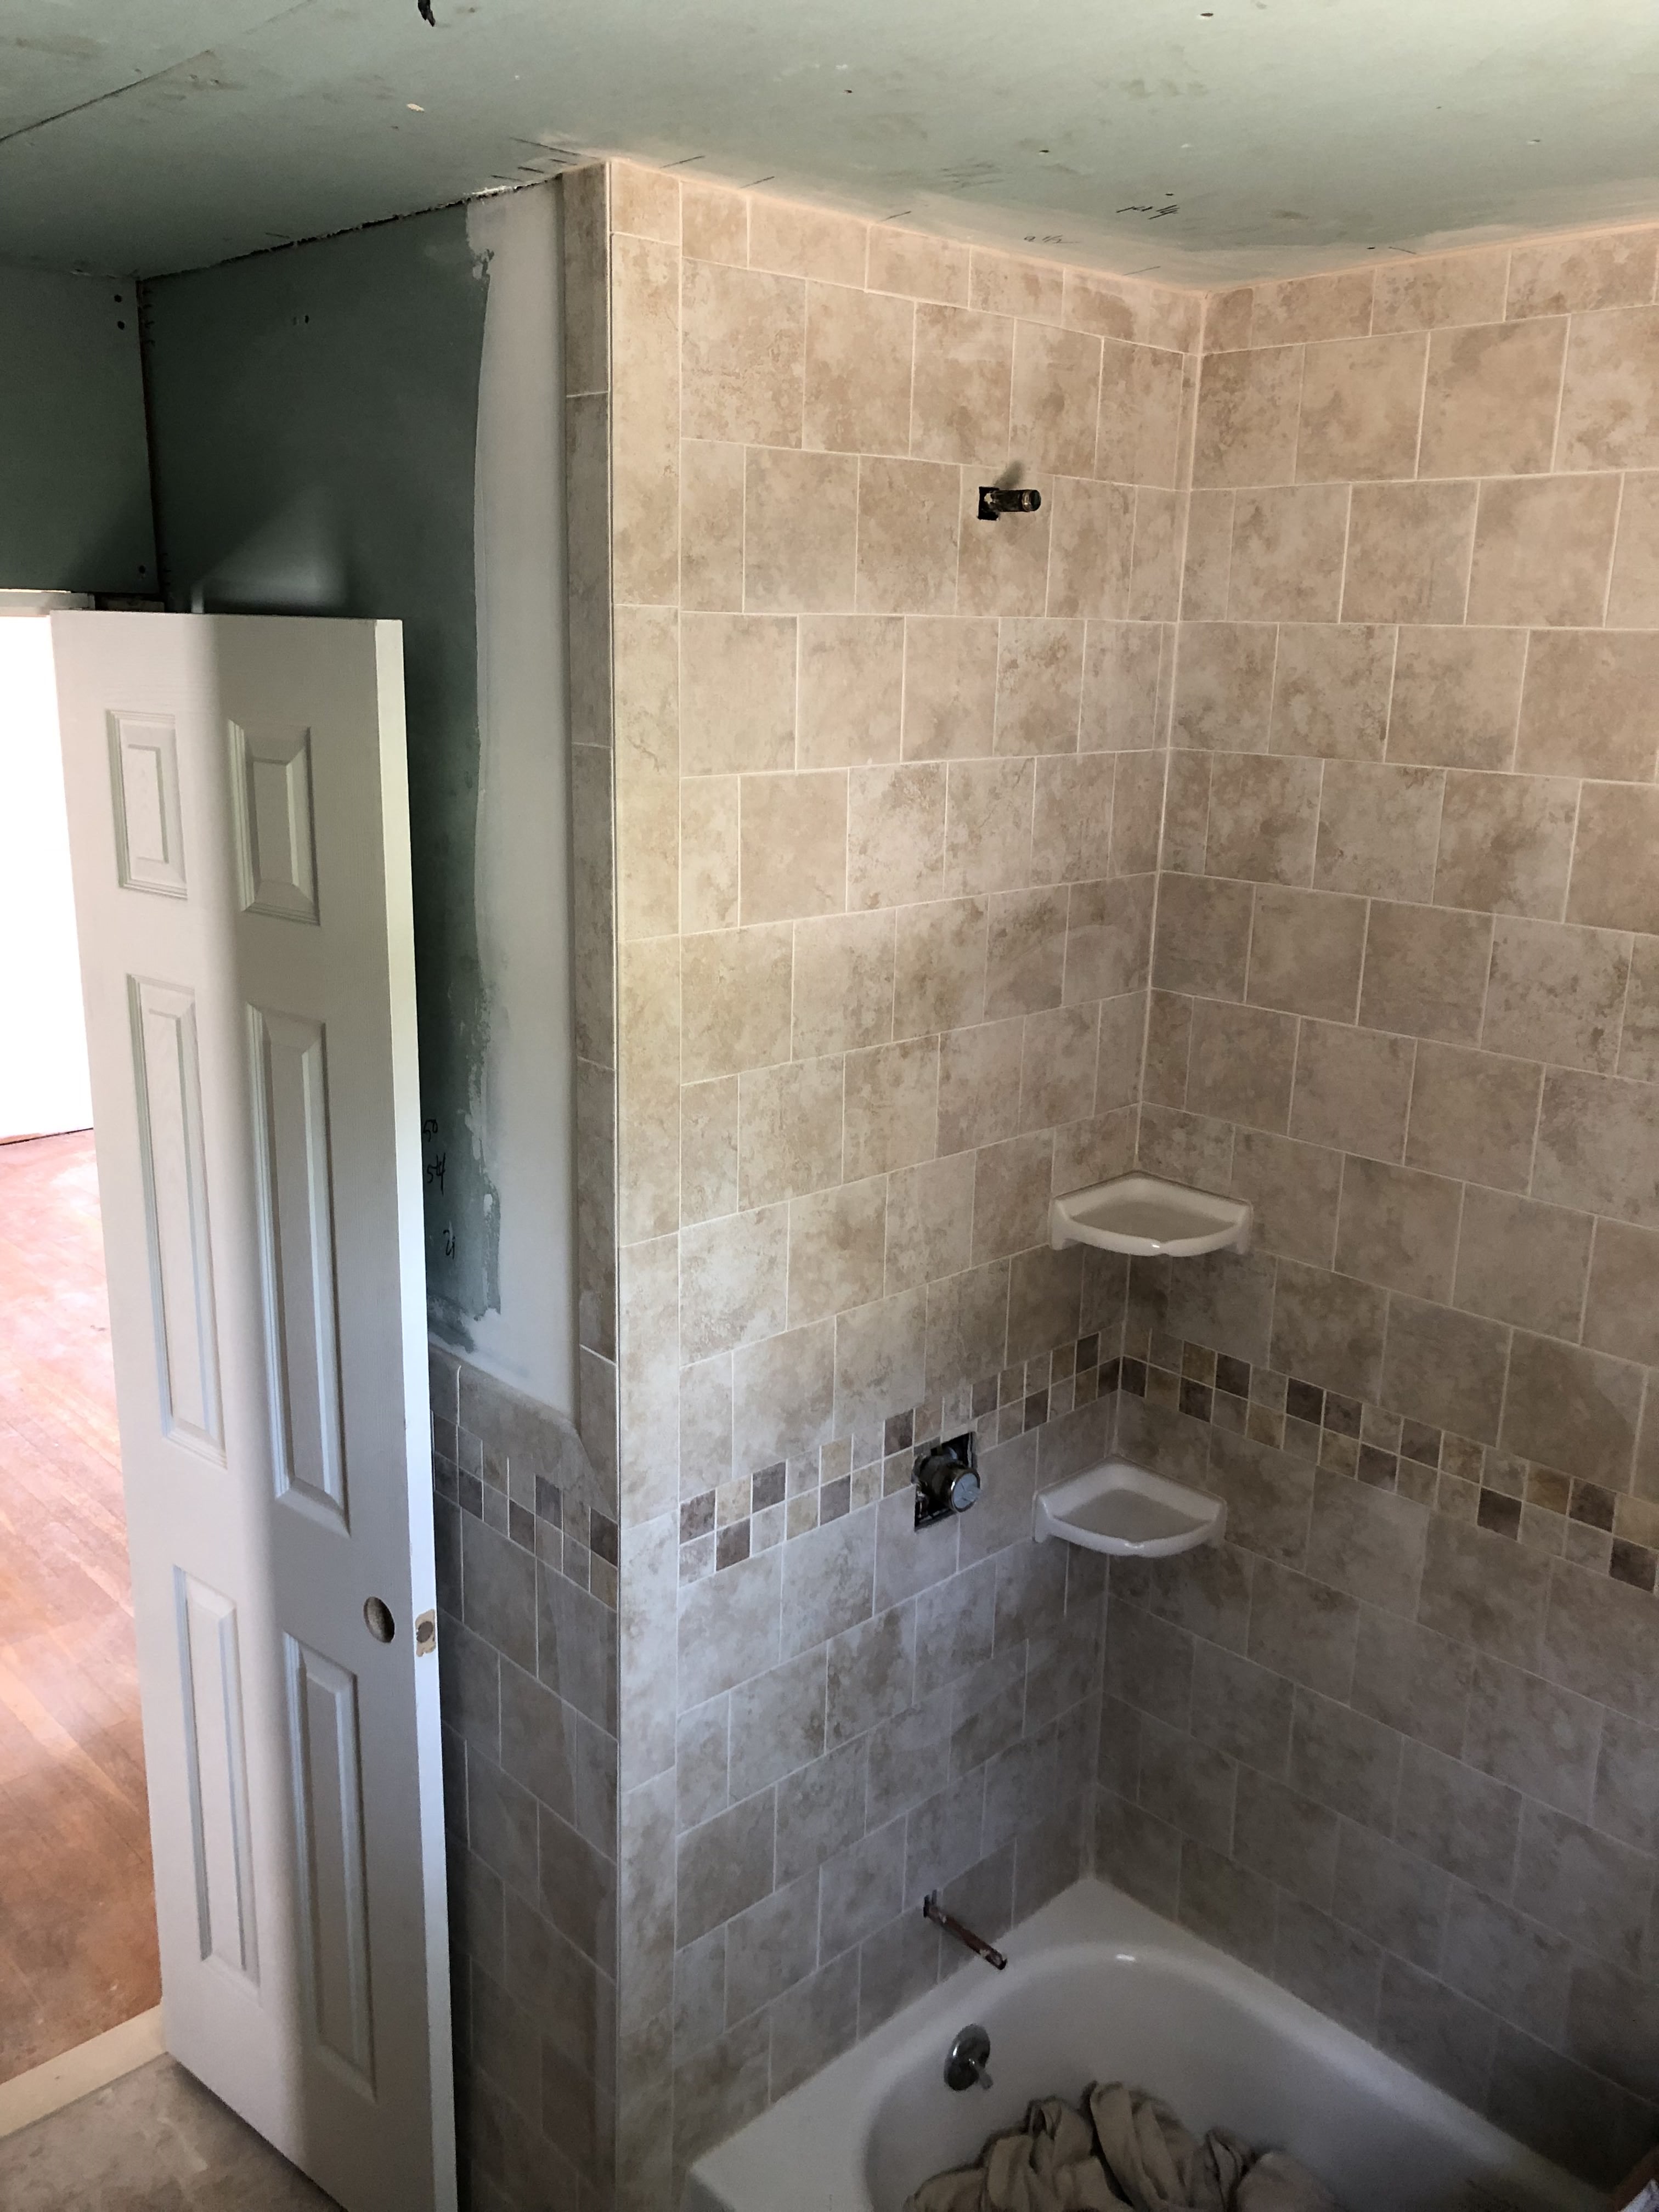
Here you can see we tiled the shower enclosure to the ceiling and then did a half wall around the rest of the bathroom. We used smaller decorative tiles below the half wall.
Here you can see the Kitchen back wall is completely covered with Fireblock drywall.
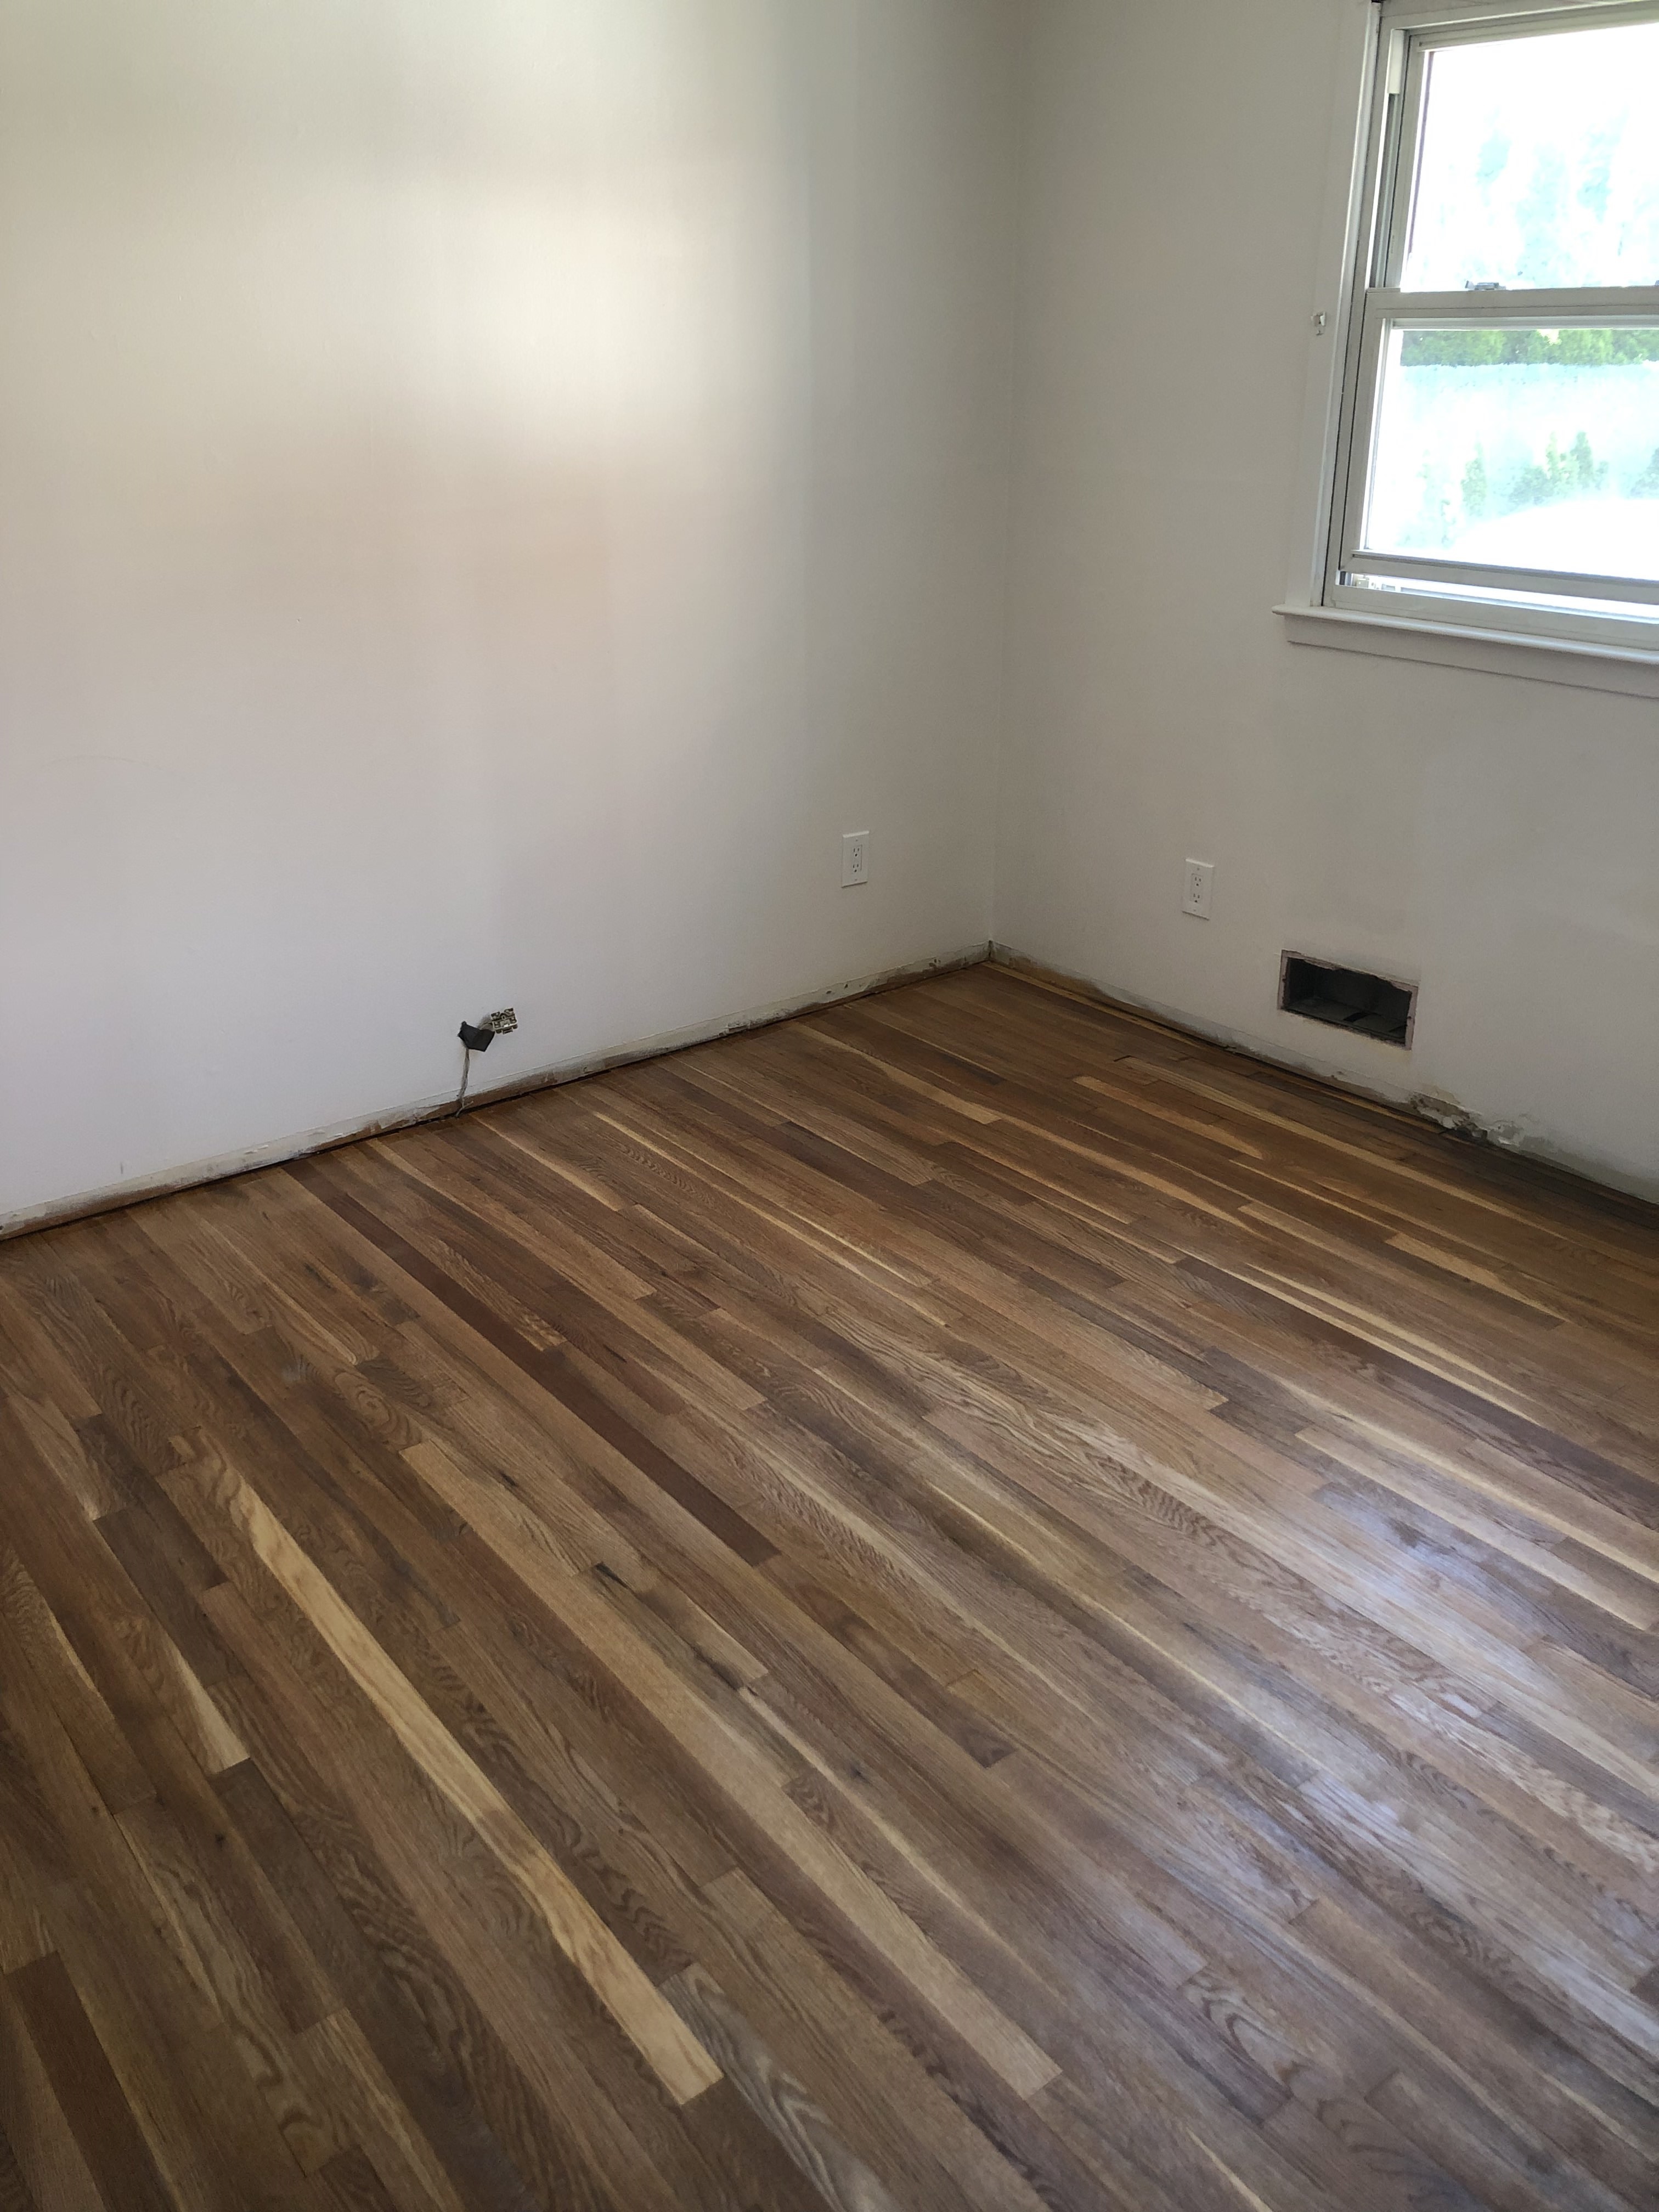
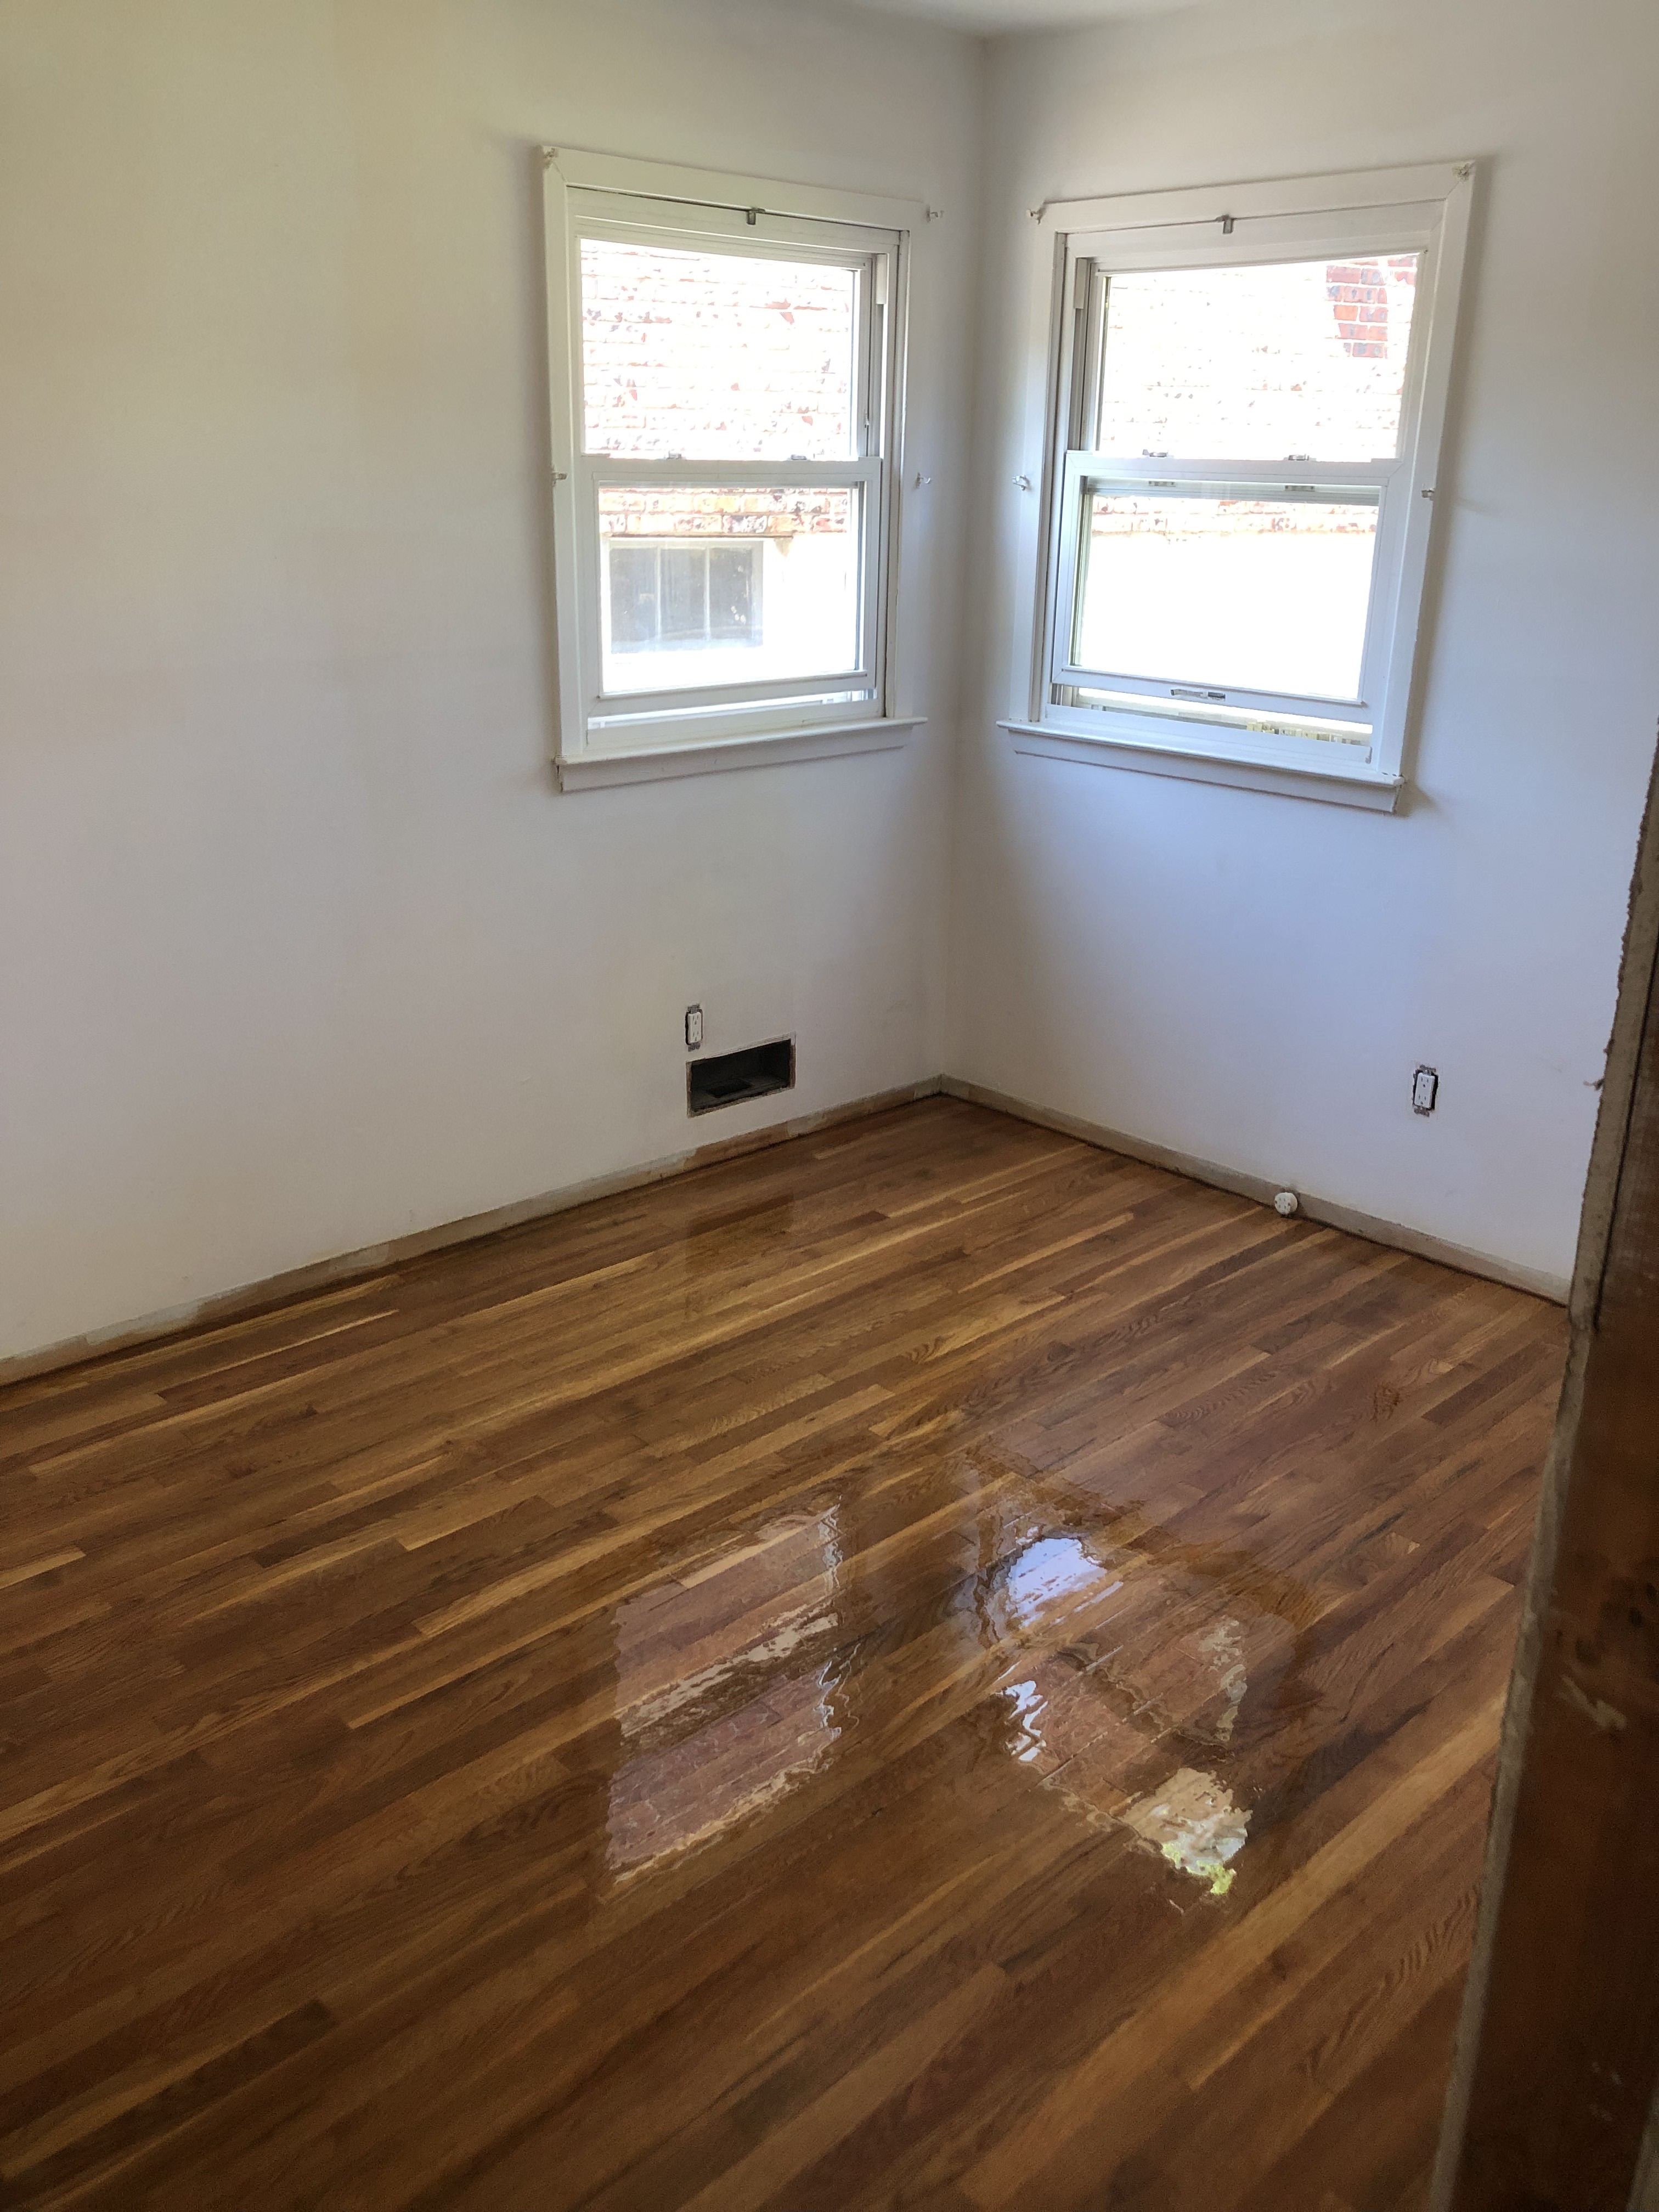
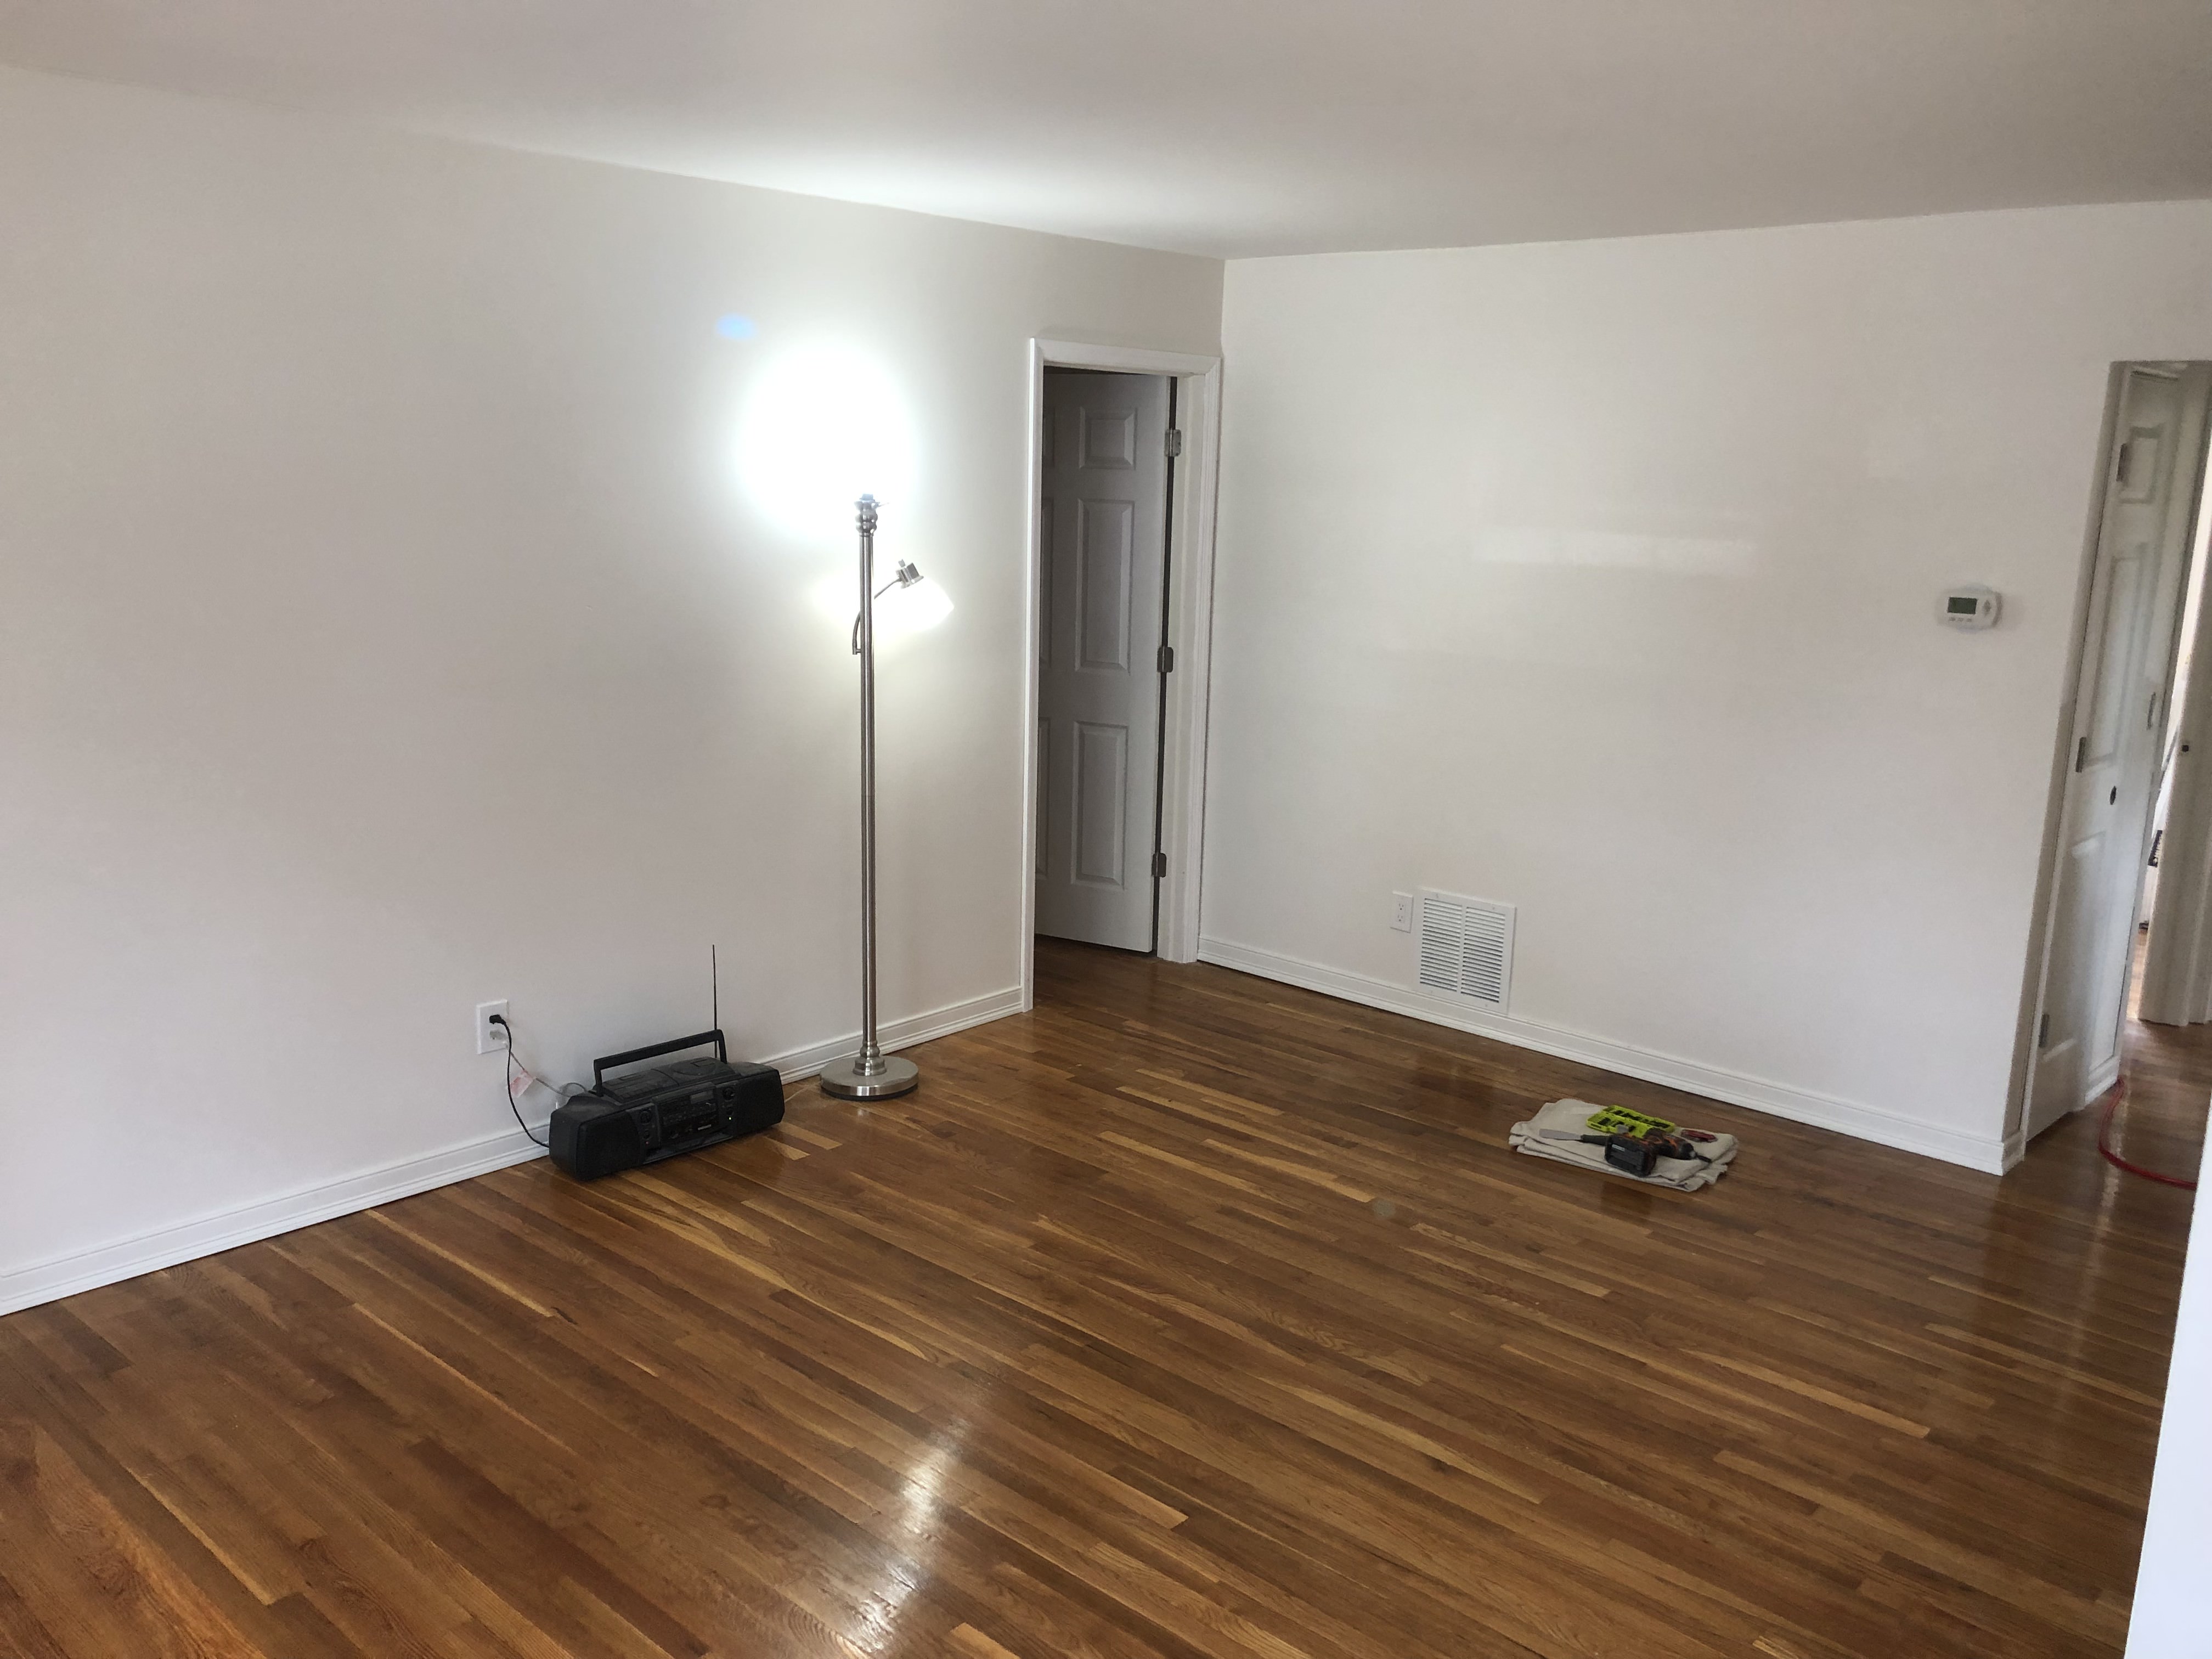
We then sanded the original hardwood floors from the 1960s. Once you smooth out the top layer and remove years of grime you get a beautiful finish.
A polyurethane sealant is then used to protect the floors and provide the desirable glossy finish.
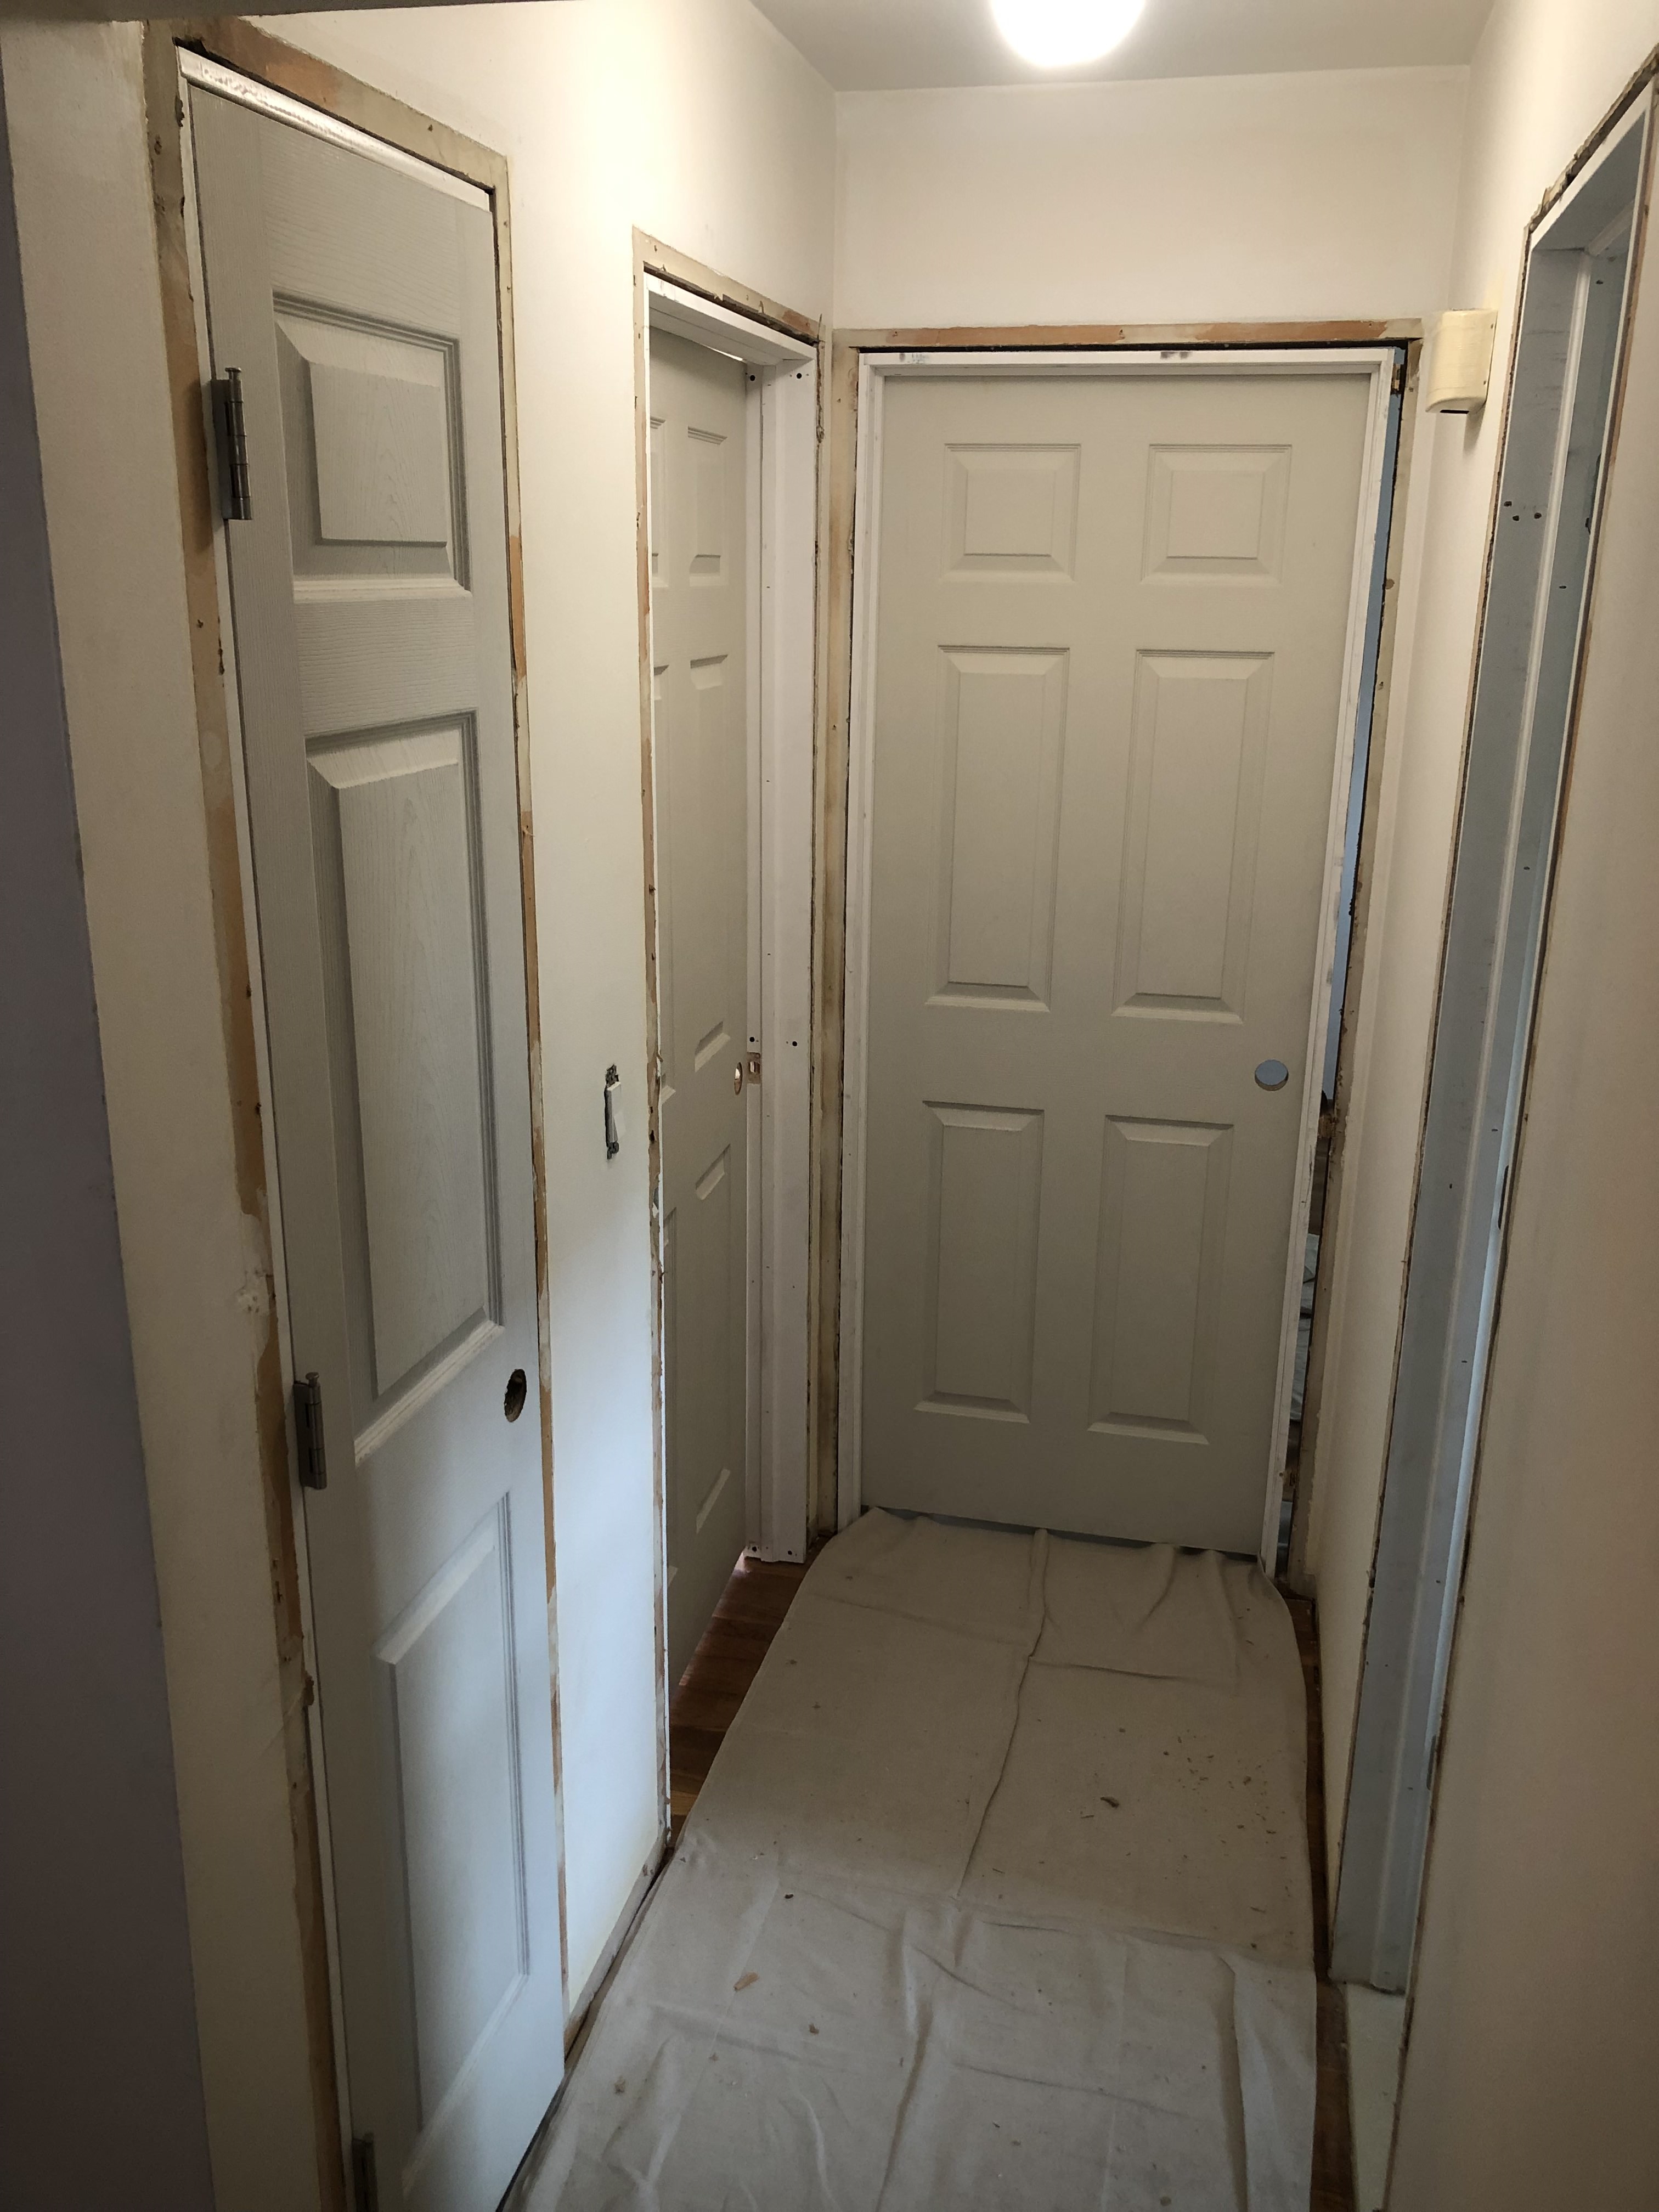
We then installed the pre-hung doors. We didn't want the doors / jambs to get in the way of the machine when sanding the floors.
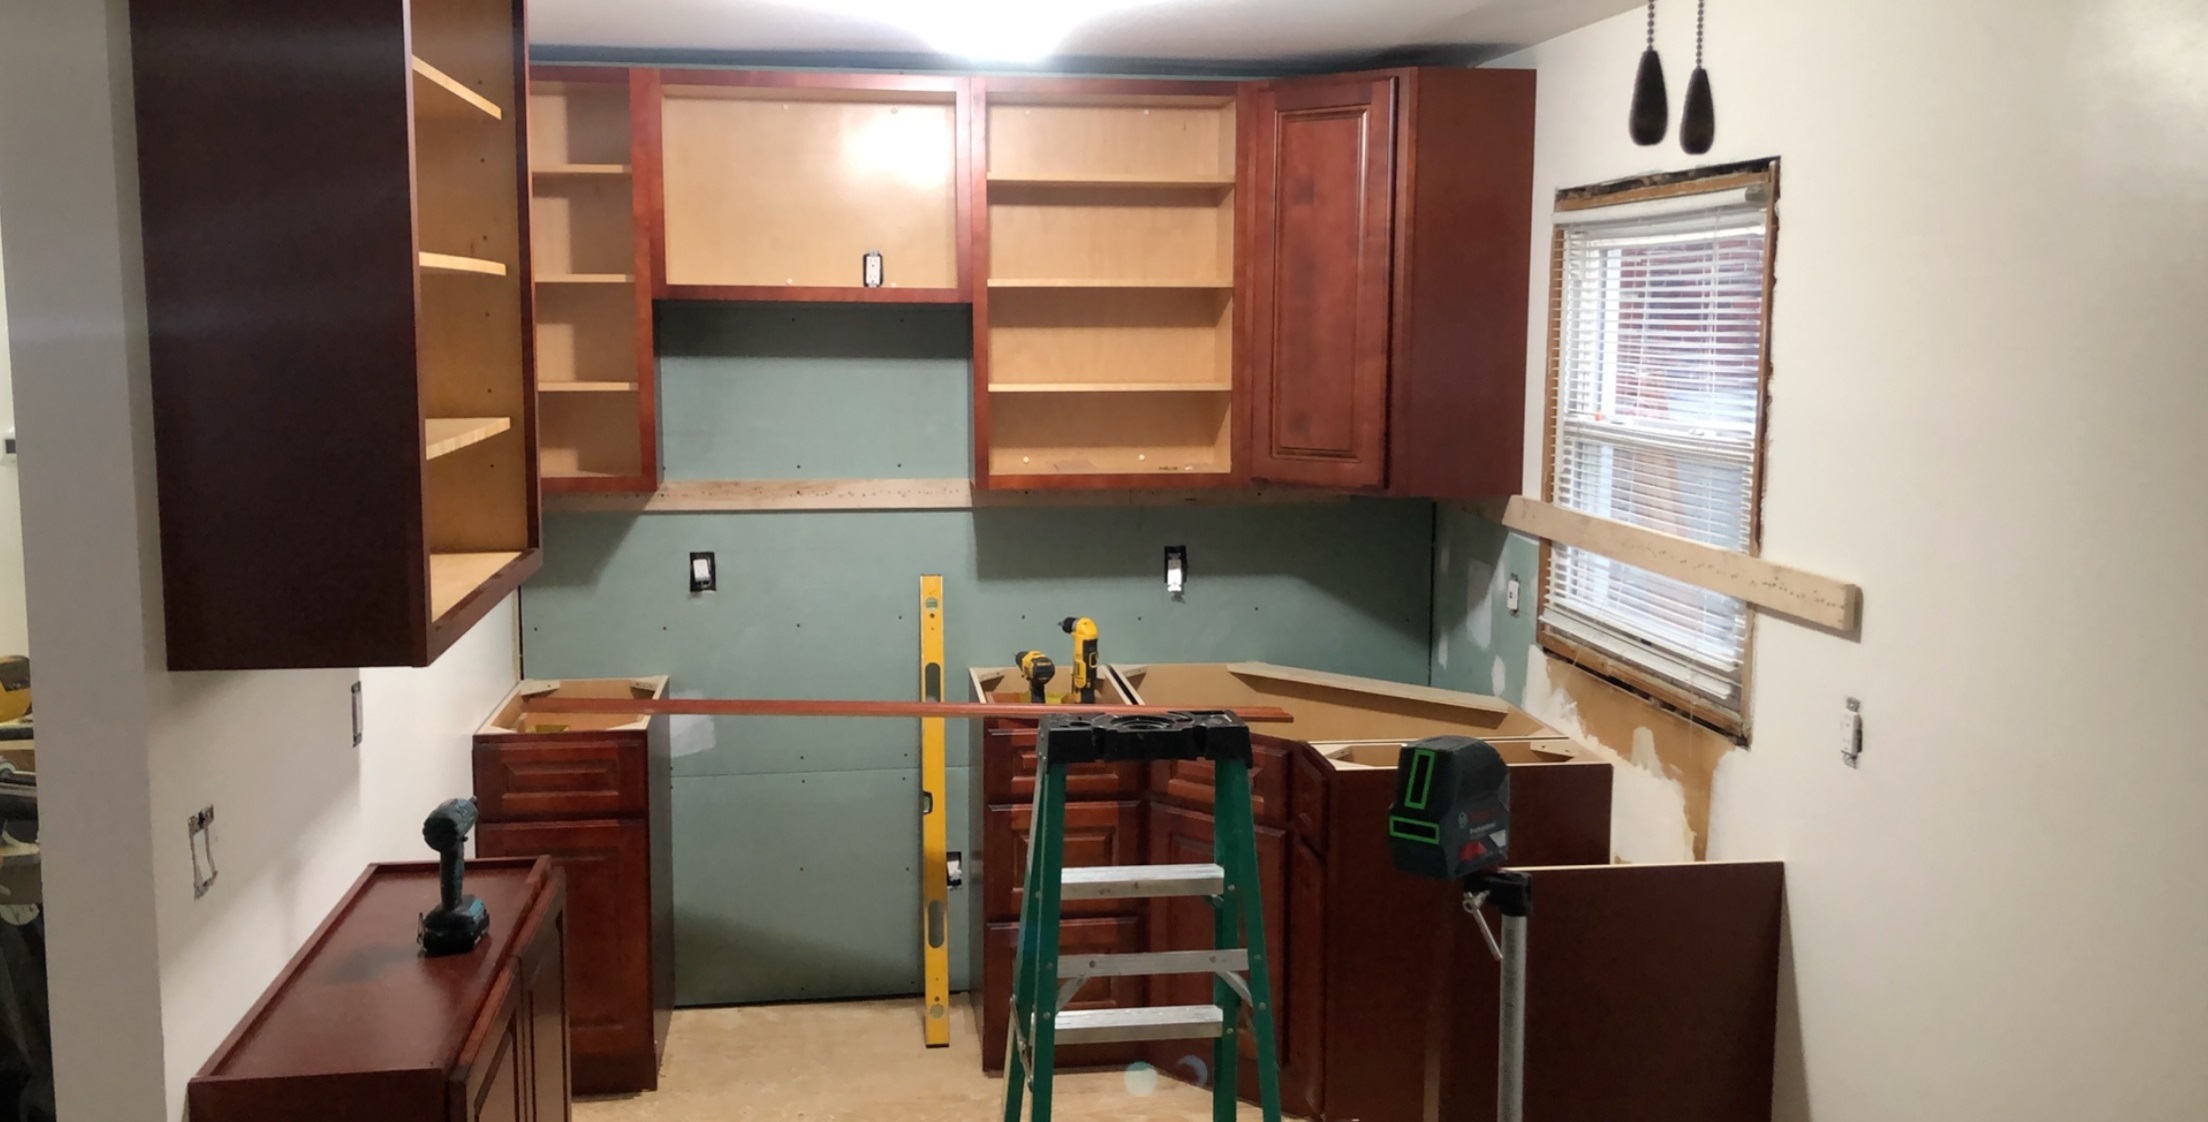
Here we're installing the lower cabinets using a laser level. This level is on a tripod and sits in water which makes it self leveling. Using the tripod height adjustment we can ensure the cabinets are flush with the countertop. We shim the cabinets to stay in place and secure the cabinets to the wall.
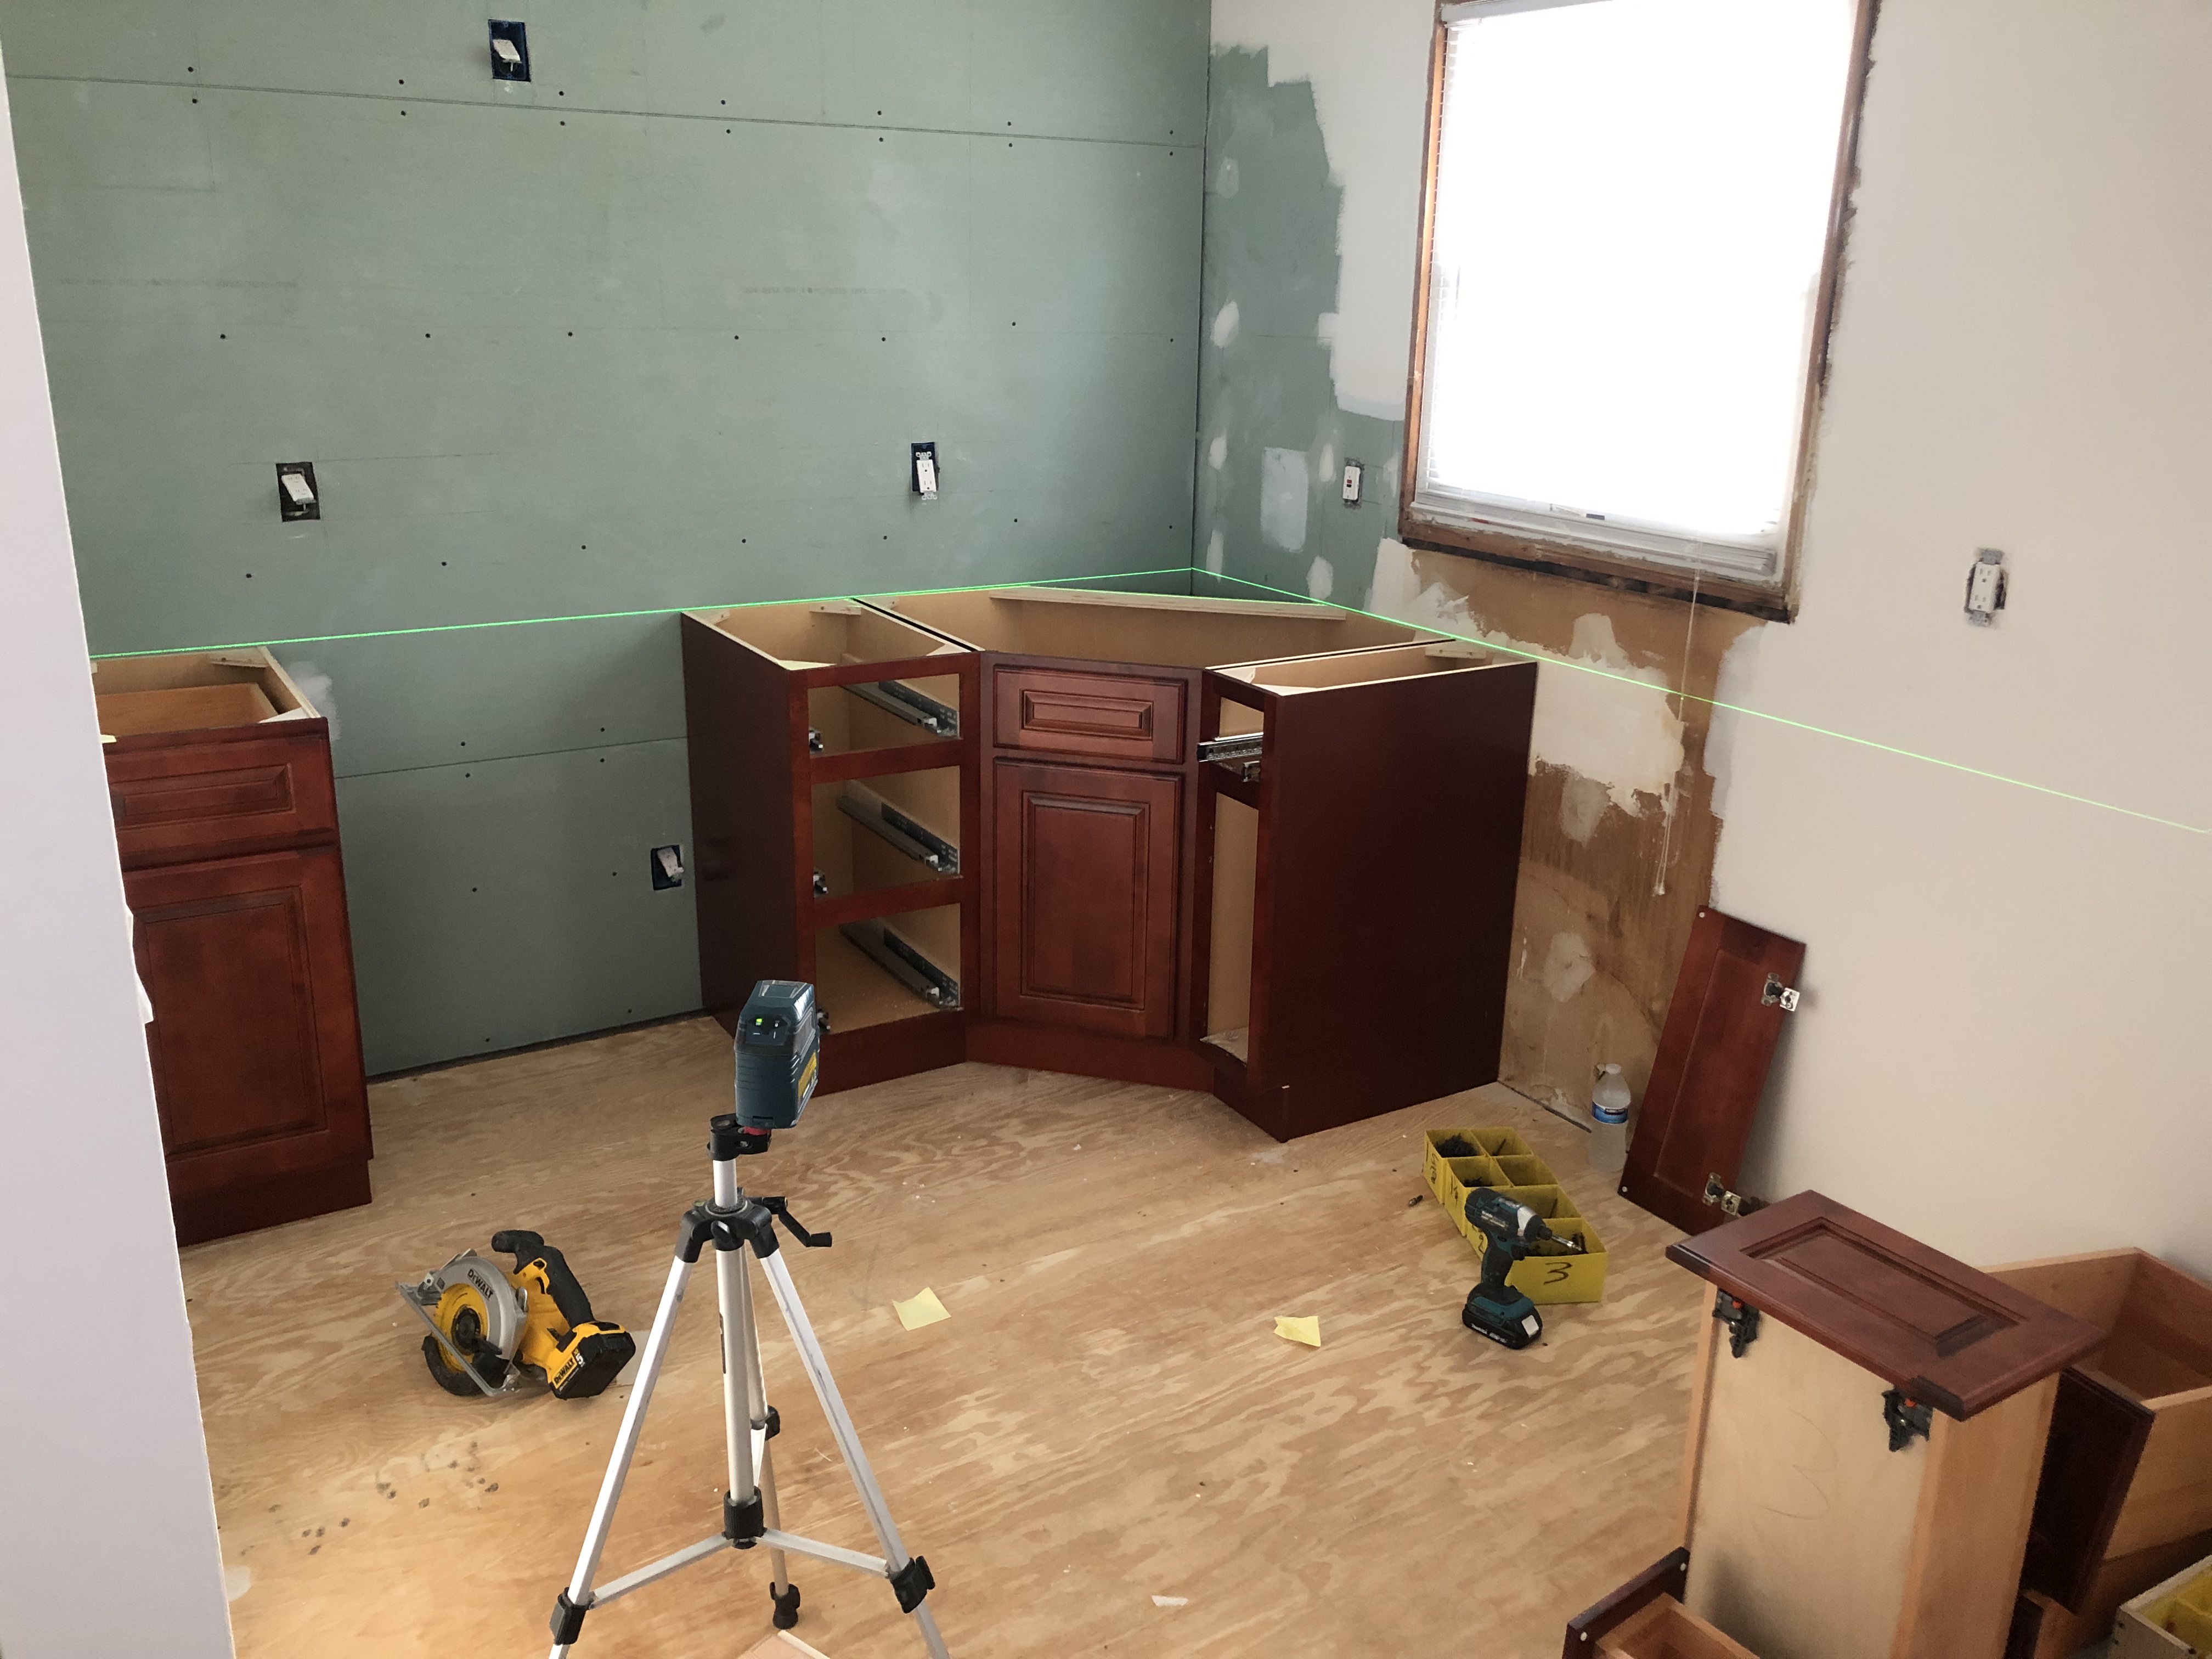
Here we're installing the lower cabinets using a laser level. This level is on a tripod and sits in water which makes it self leveling. Using the tripod height adjustment we can ensure the cabinets are flush with the countertop. We shim the cabinets to stay in place and secure the cabinets to the wall.
Using the laser level we installed a ledger board which ensures our upper cabinets are parallel to the lower cabinets and counter tops. You can hide any house settling with the crown molding near the ceiling.
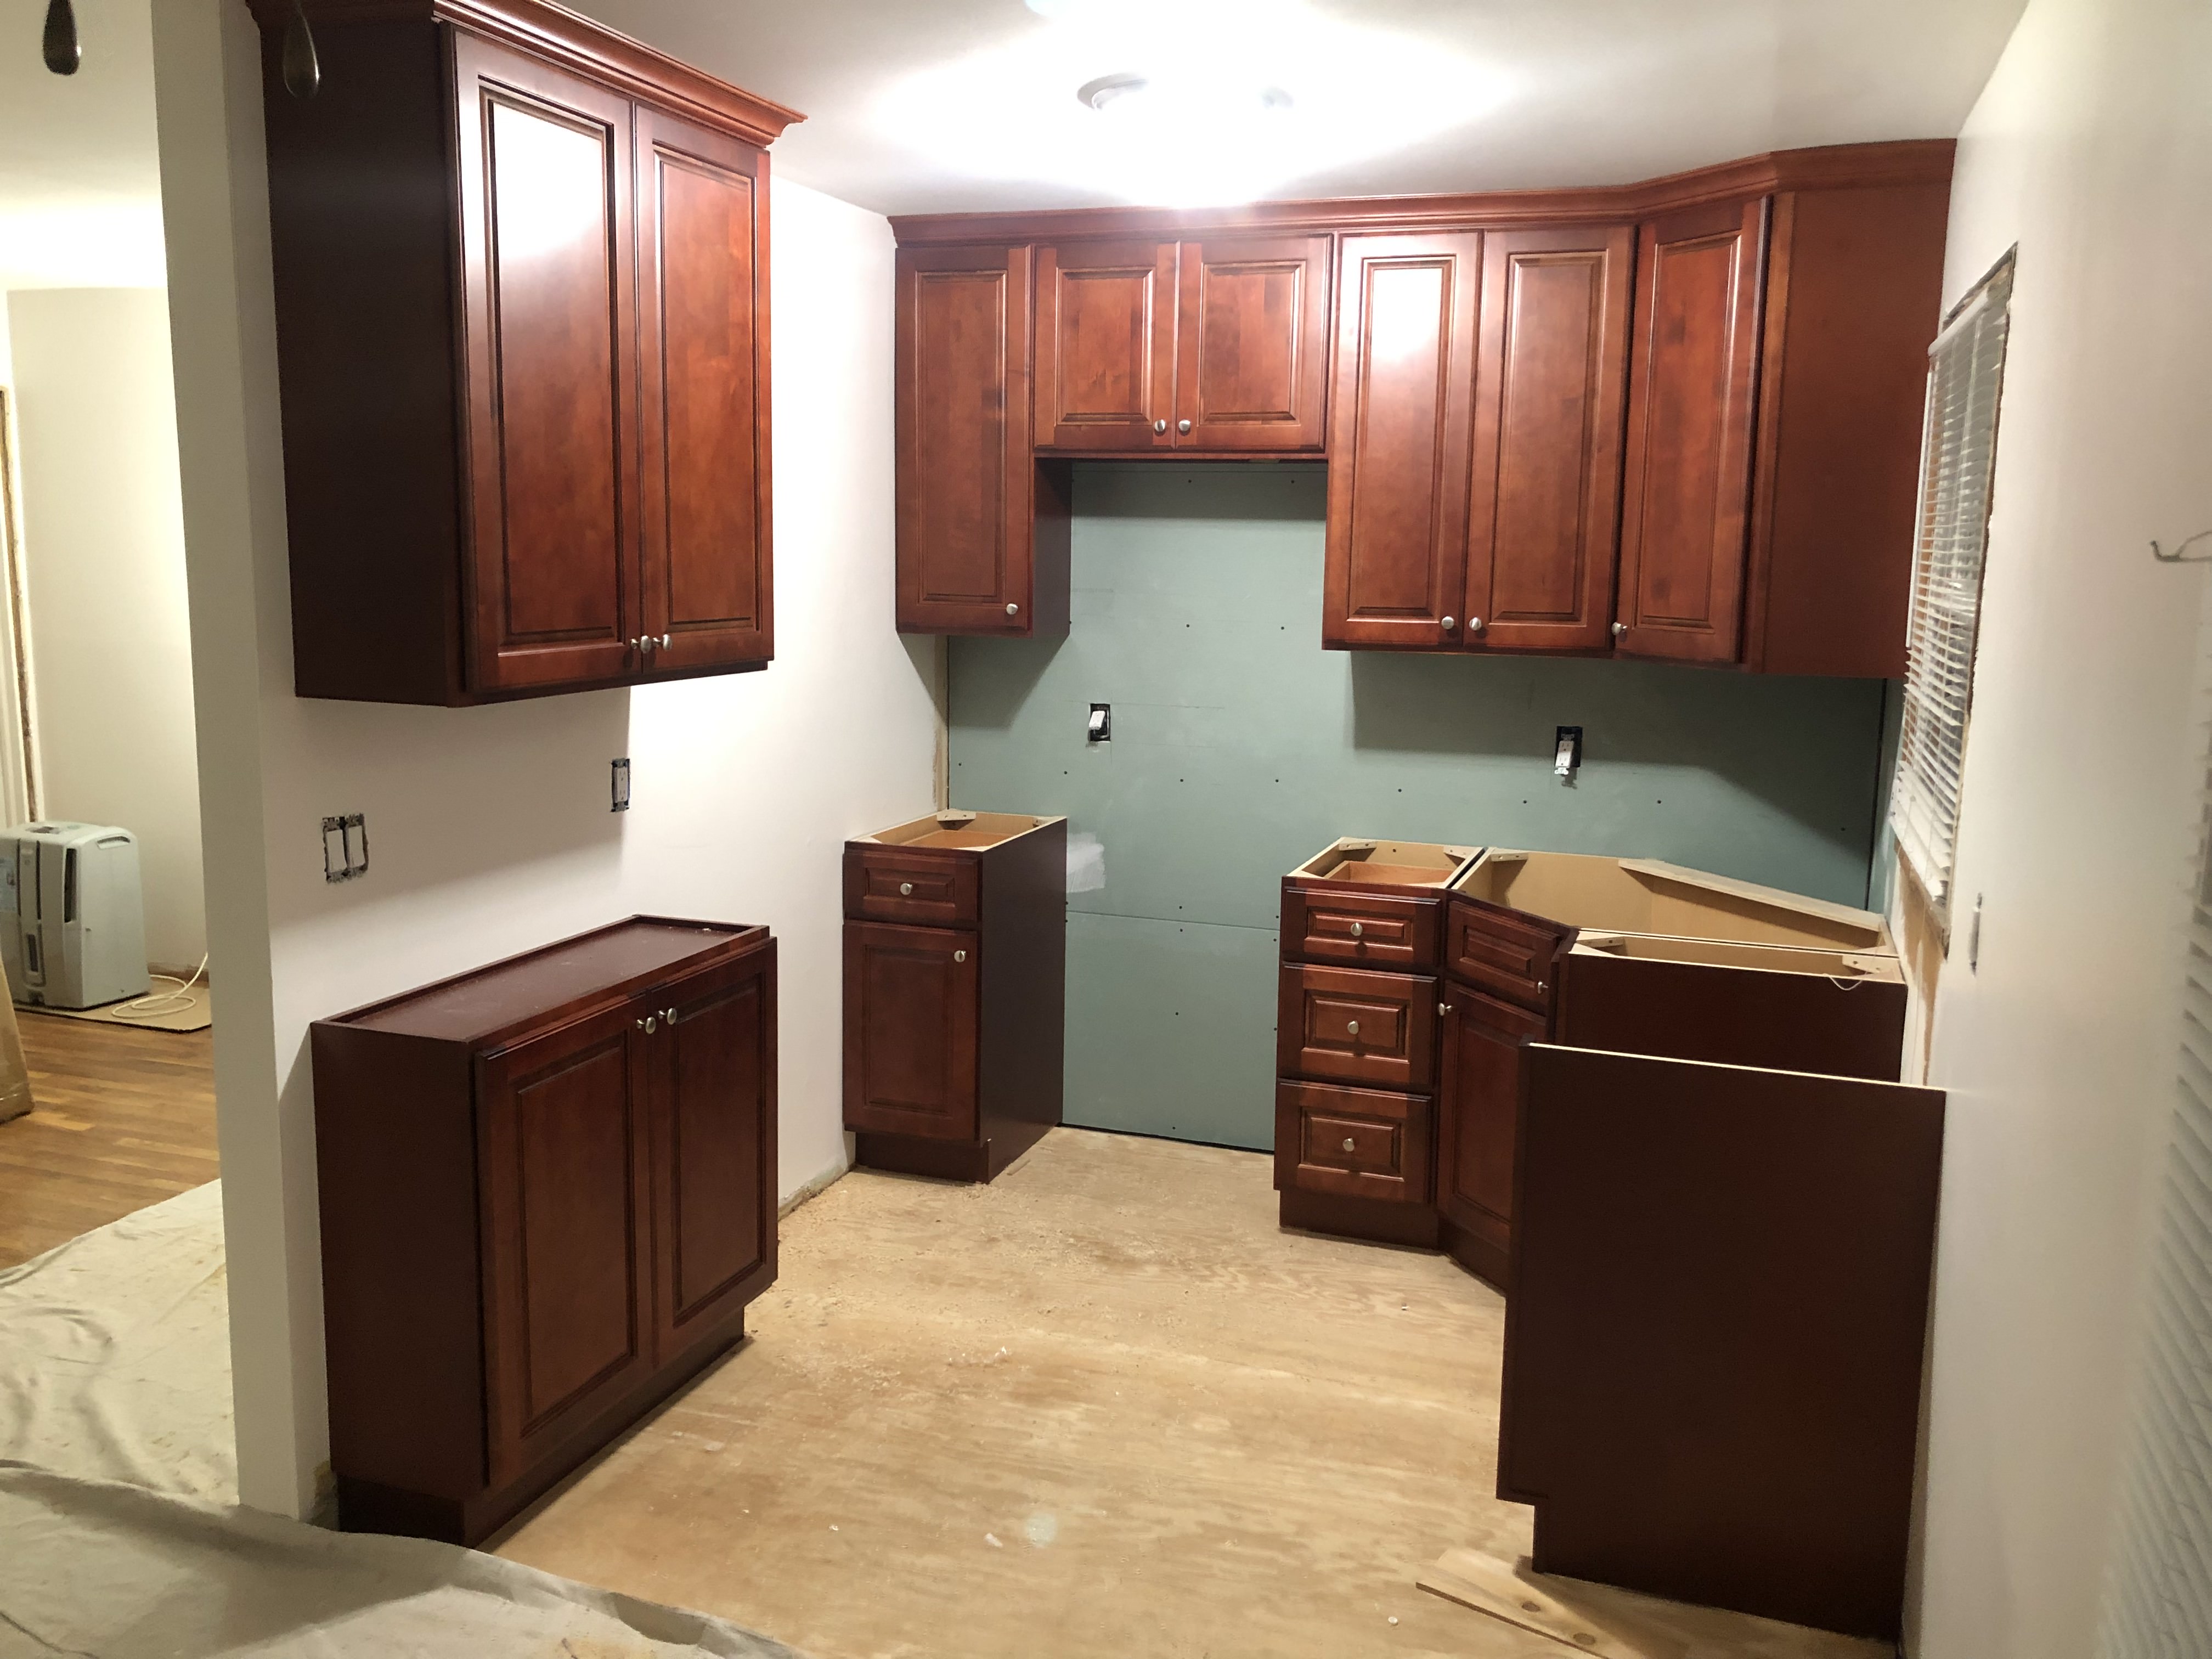
Cabinets are completely installed along with crown molding.
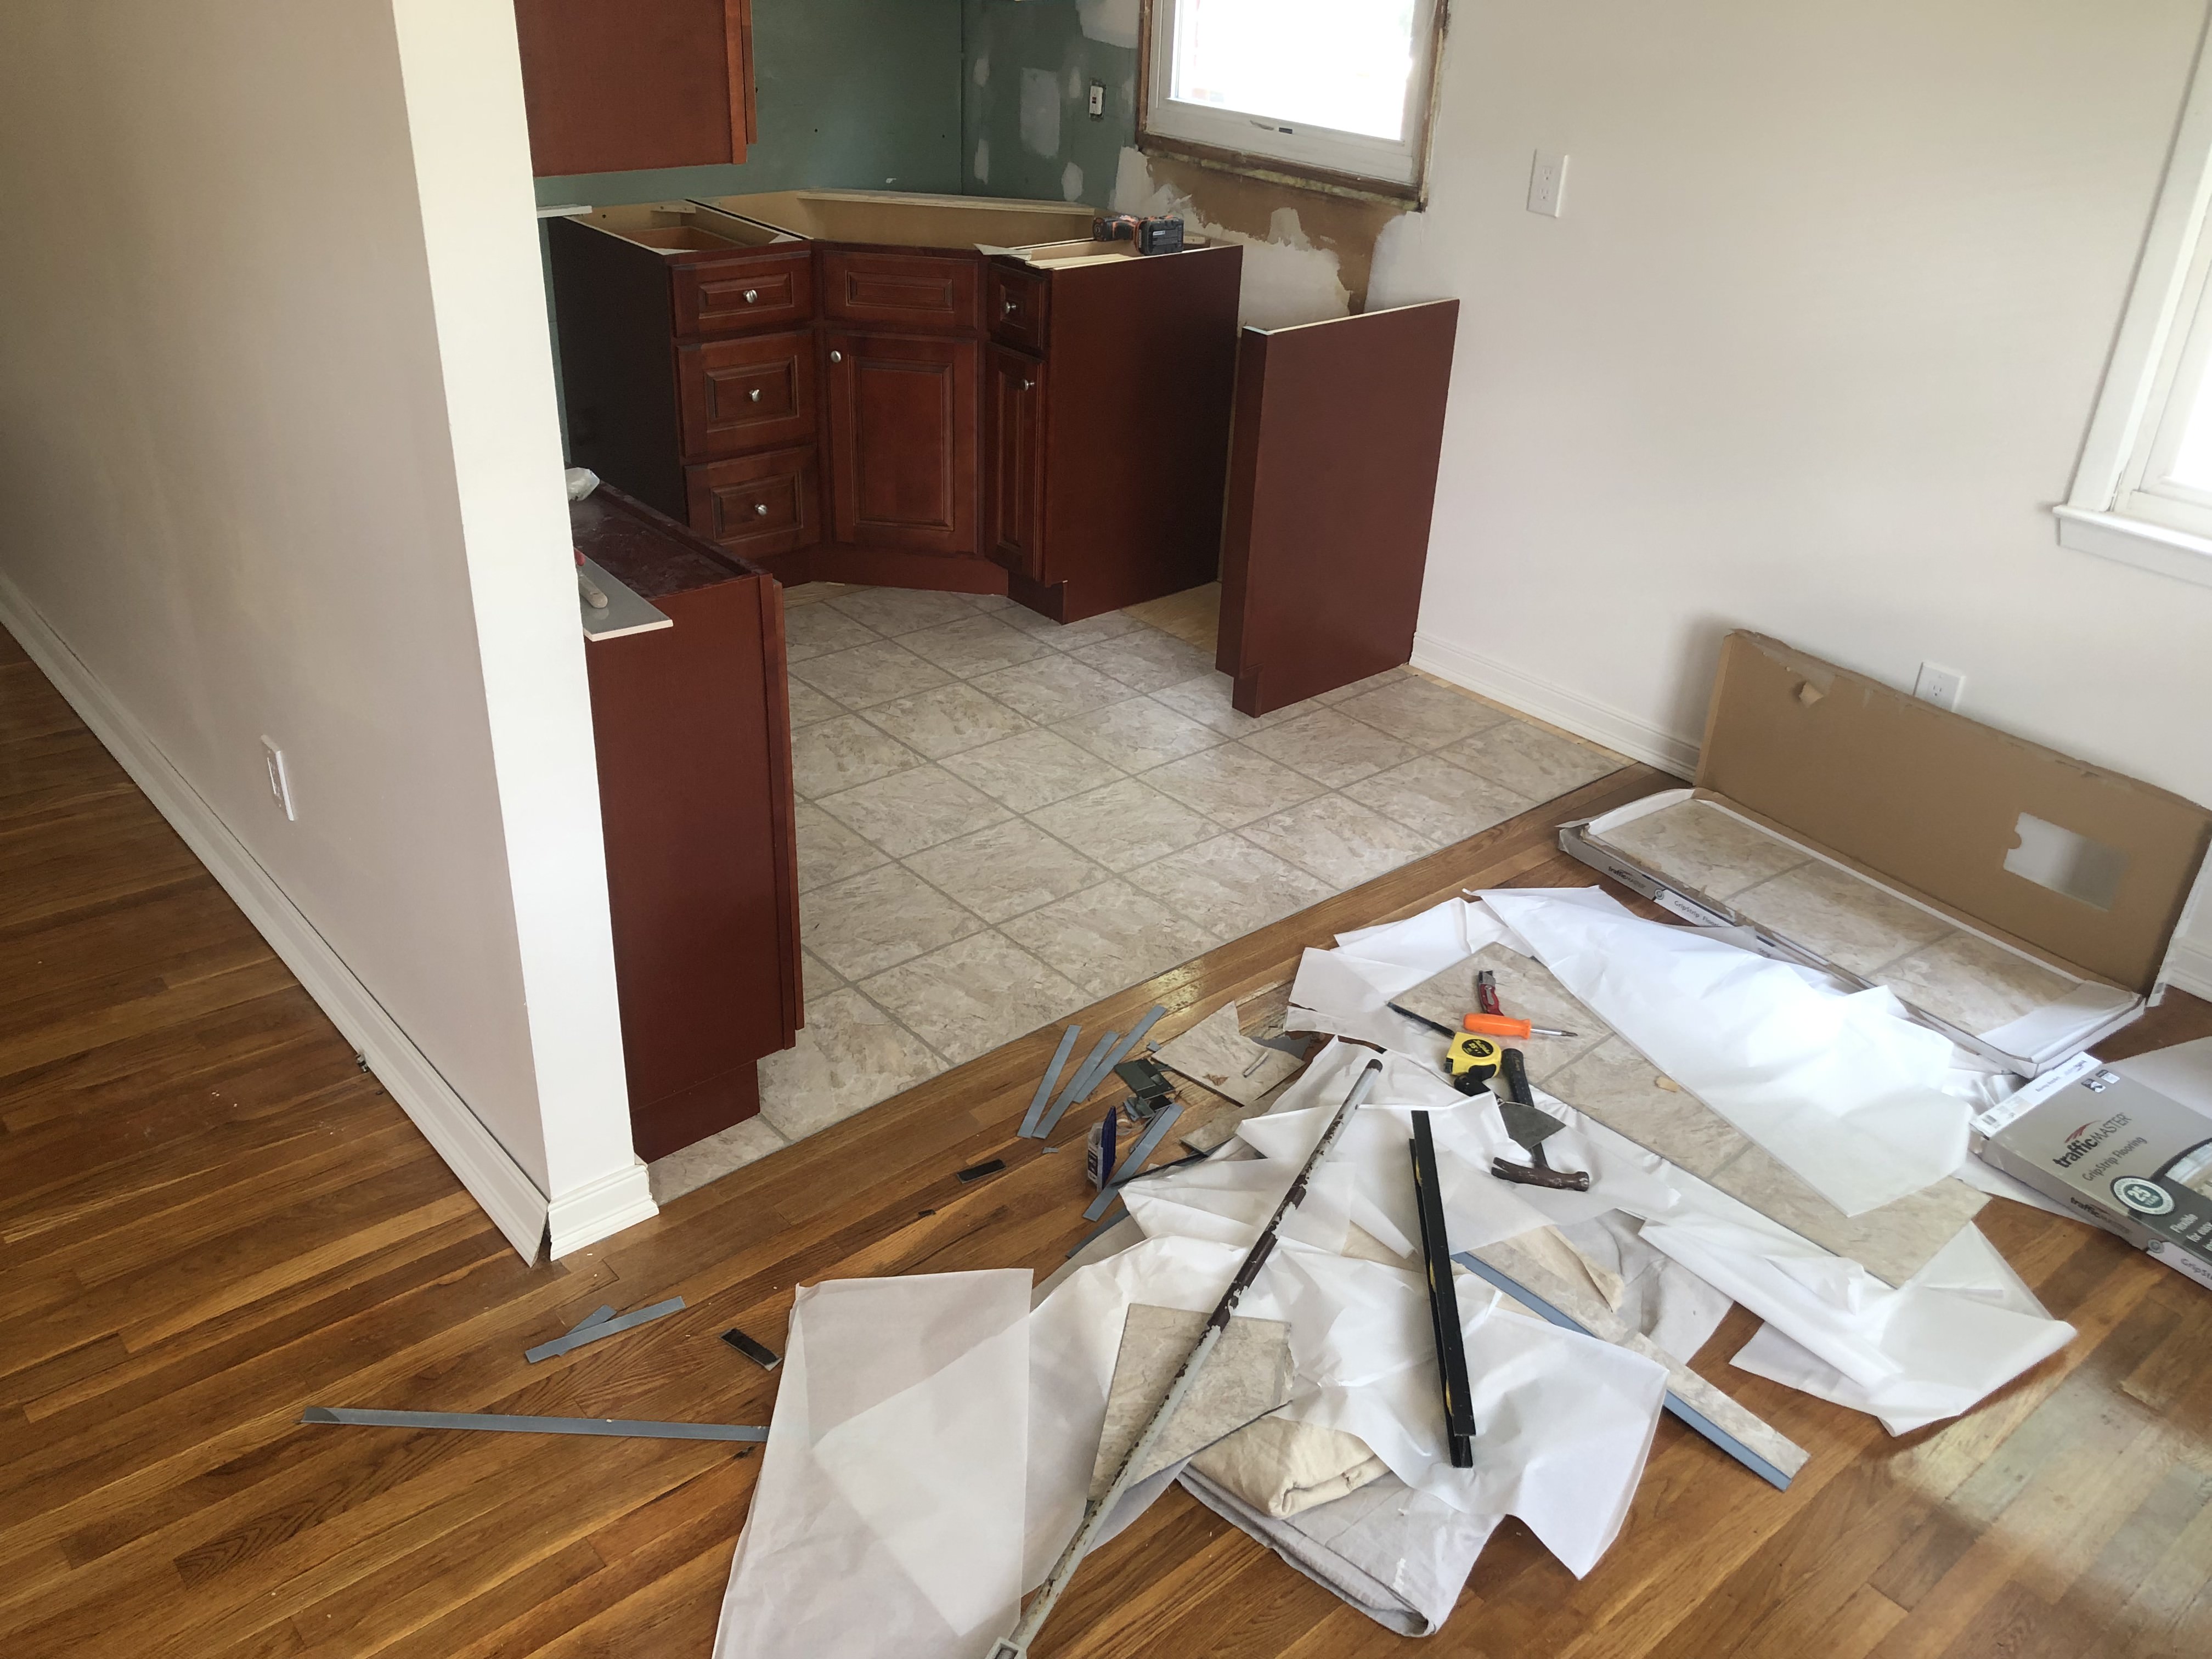
The floor is then cut and installed into place over the subfloor.
We then cut and installed door casings, window casings, and base molding while we wait for the countertops to be cut.
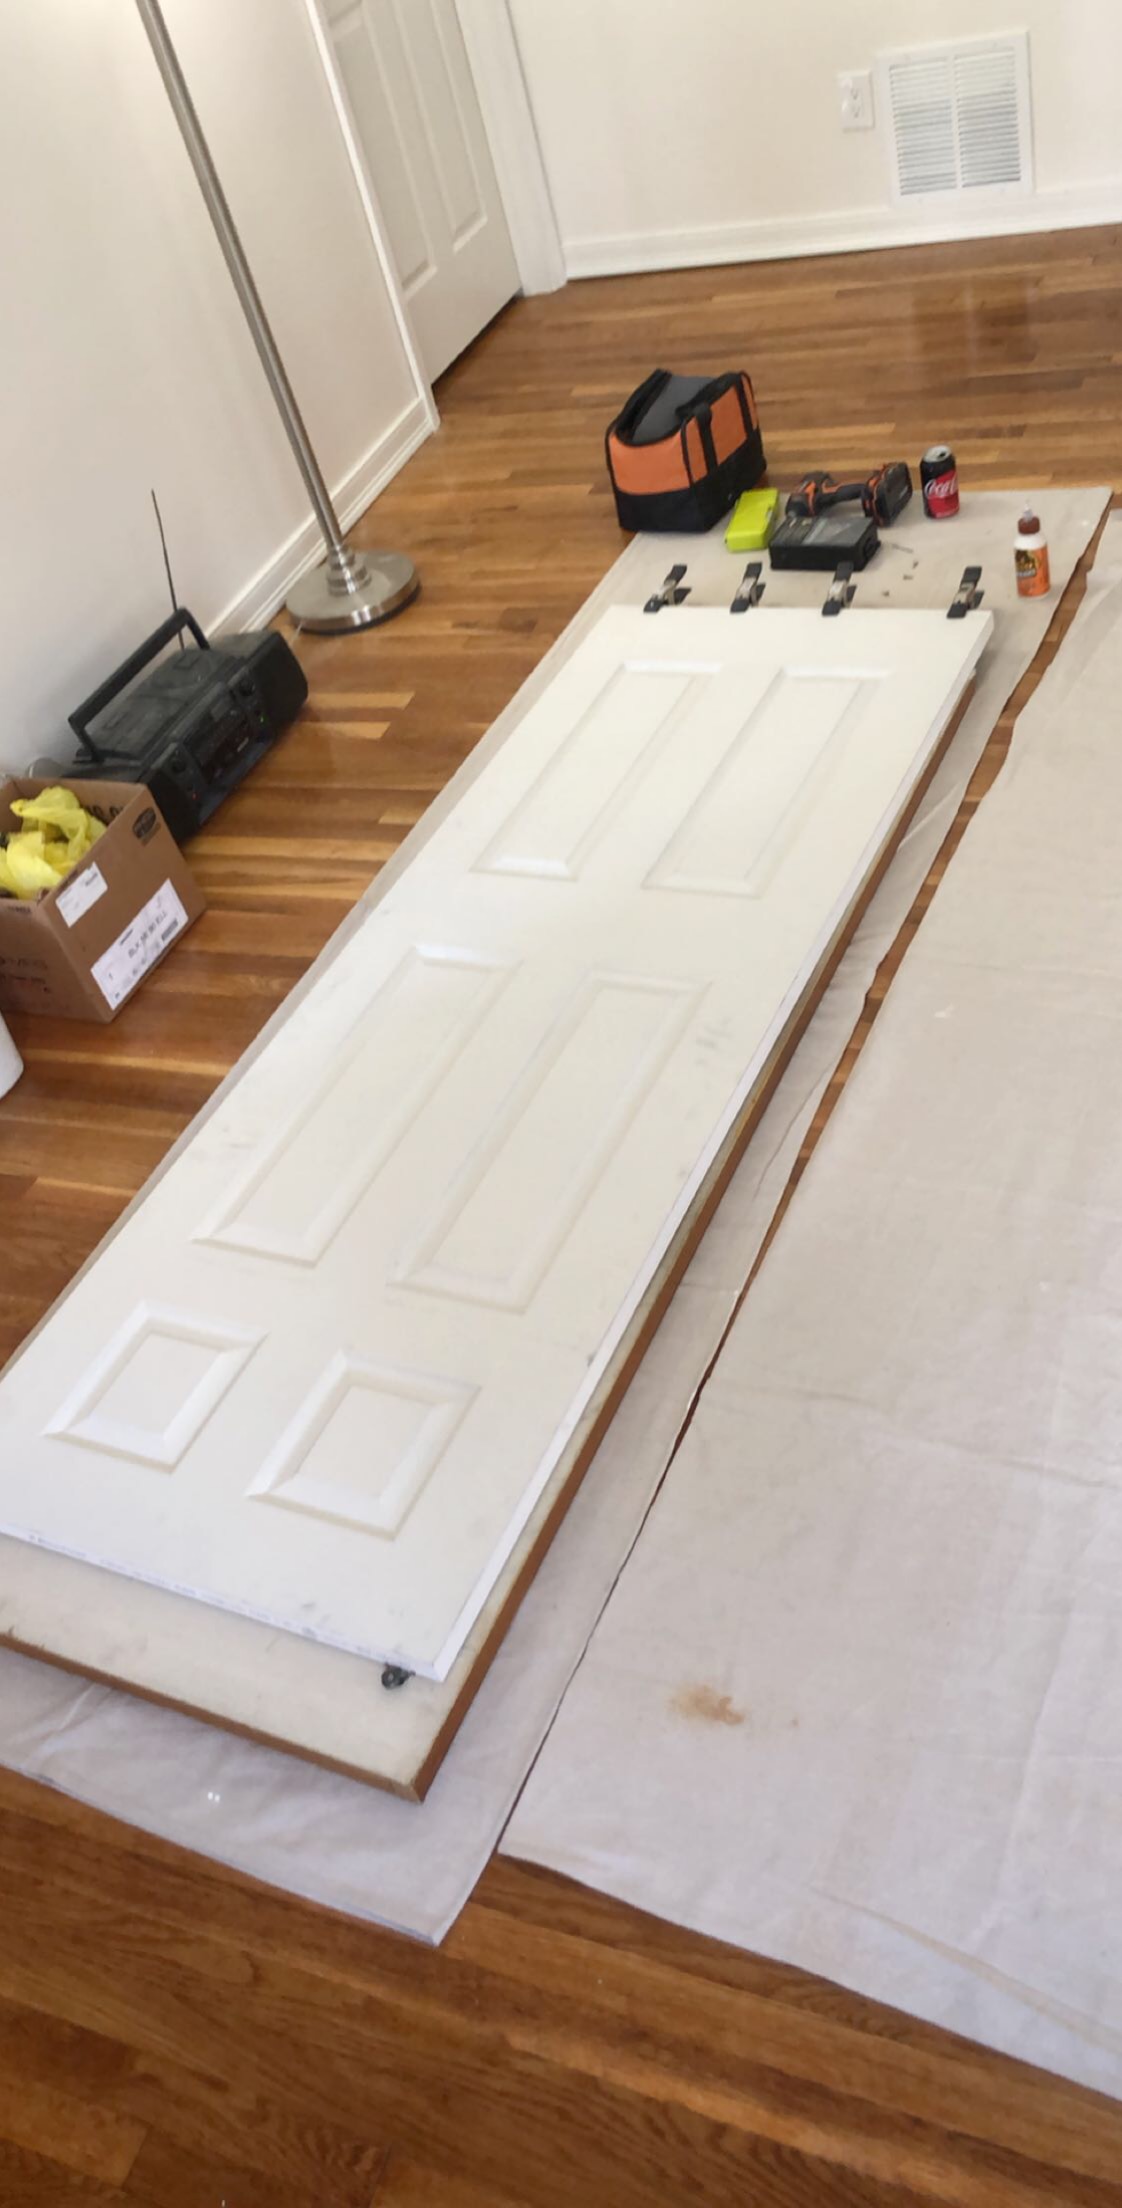
For hanging closet doors you use 80" slabs which need to be cut down, otherwise they would drag against the floor. If you cut more than 1" off the door, you need to reblock and glue the door to support the bottom edge.
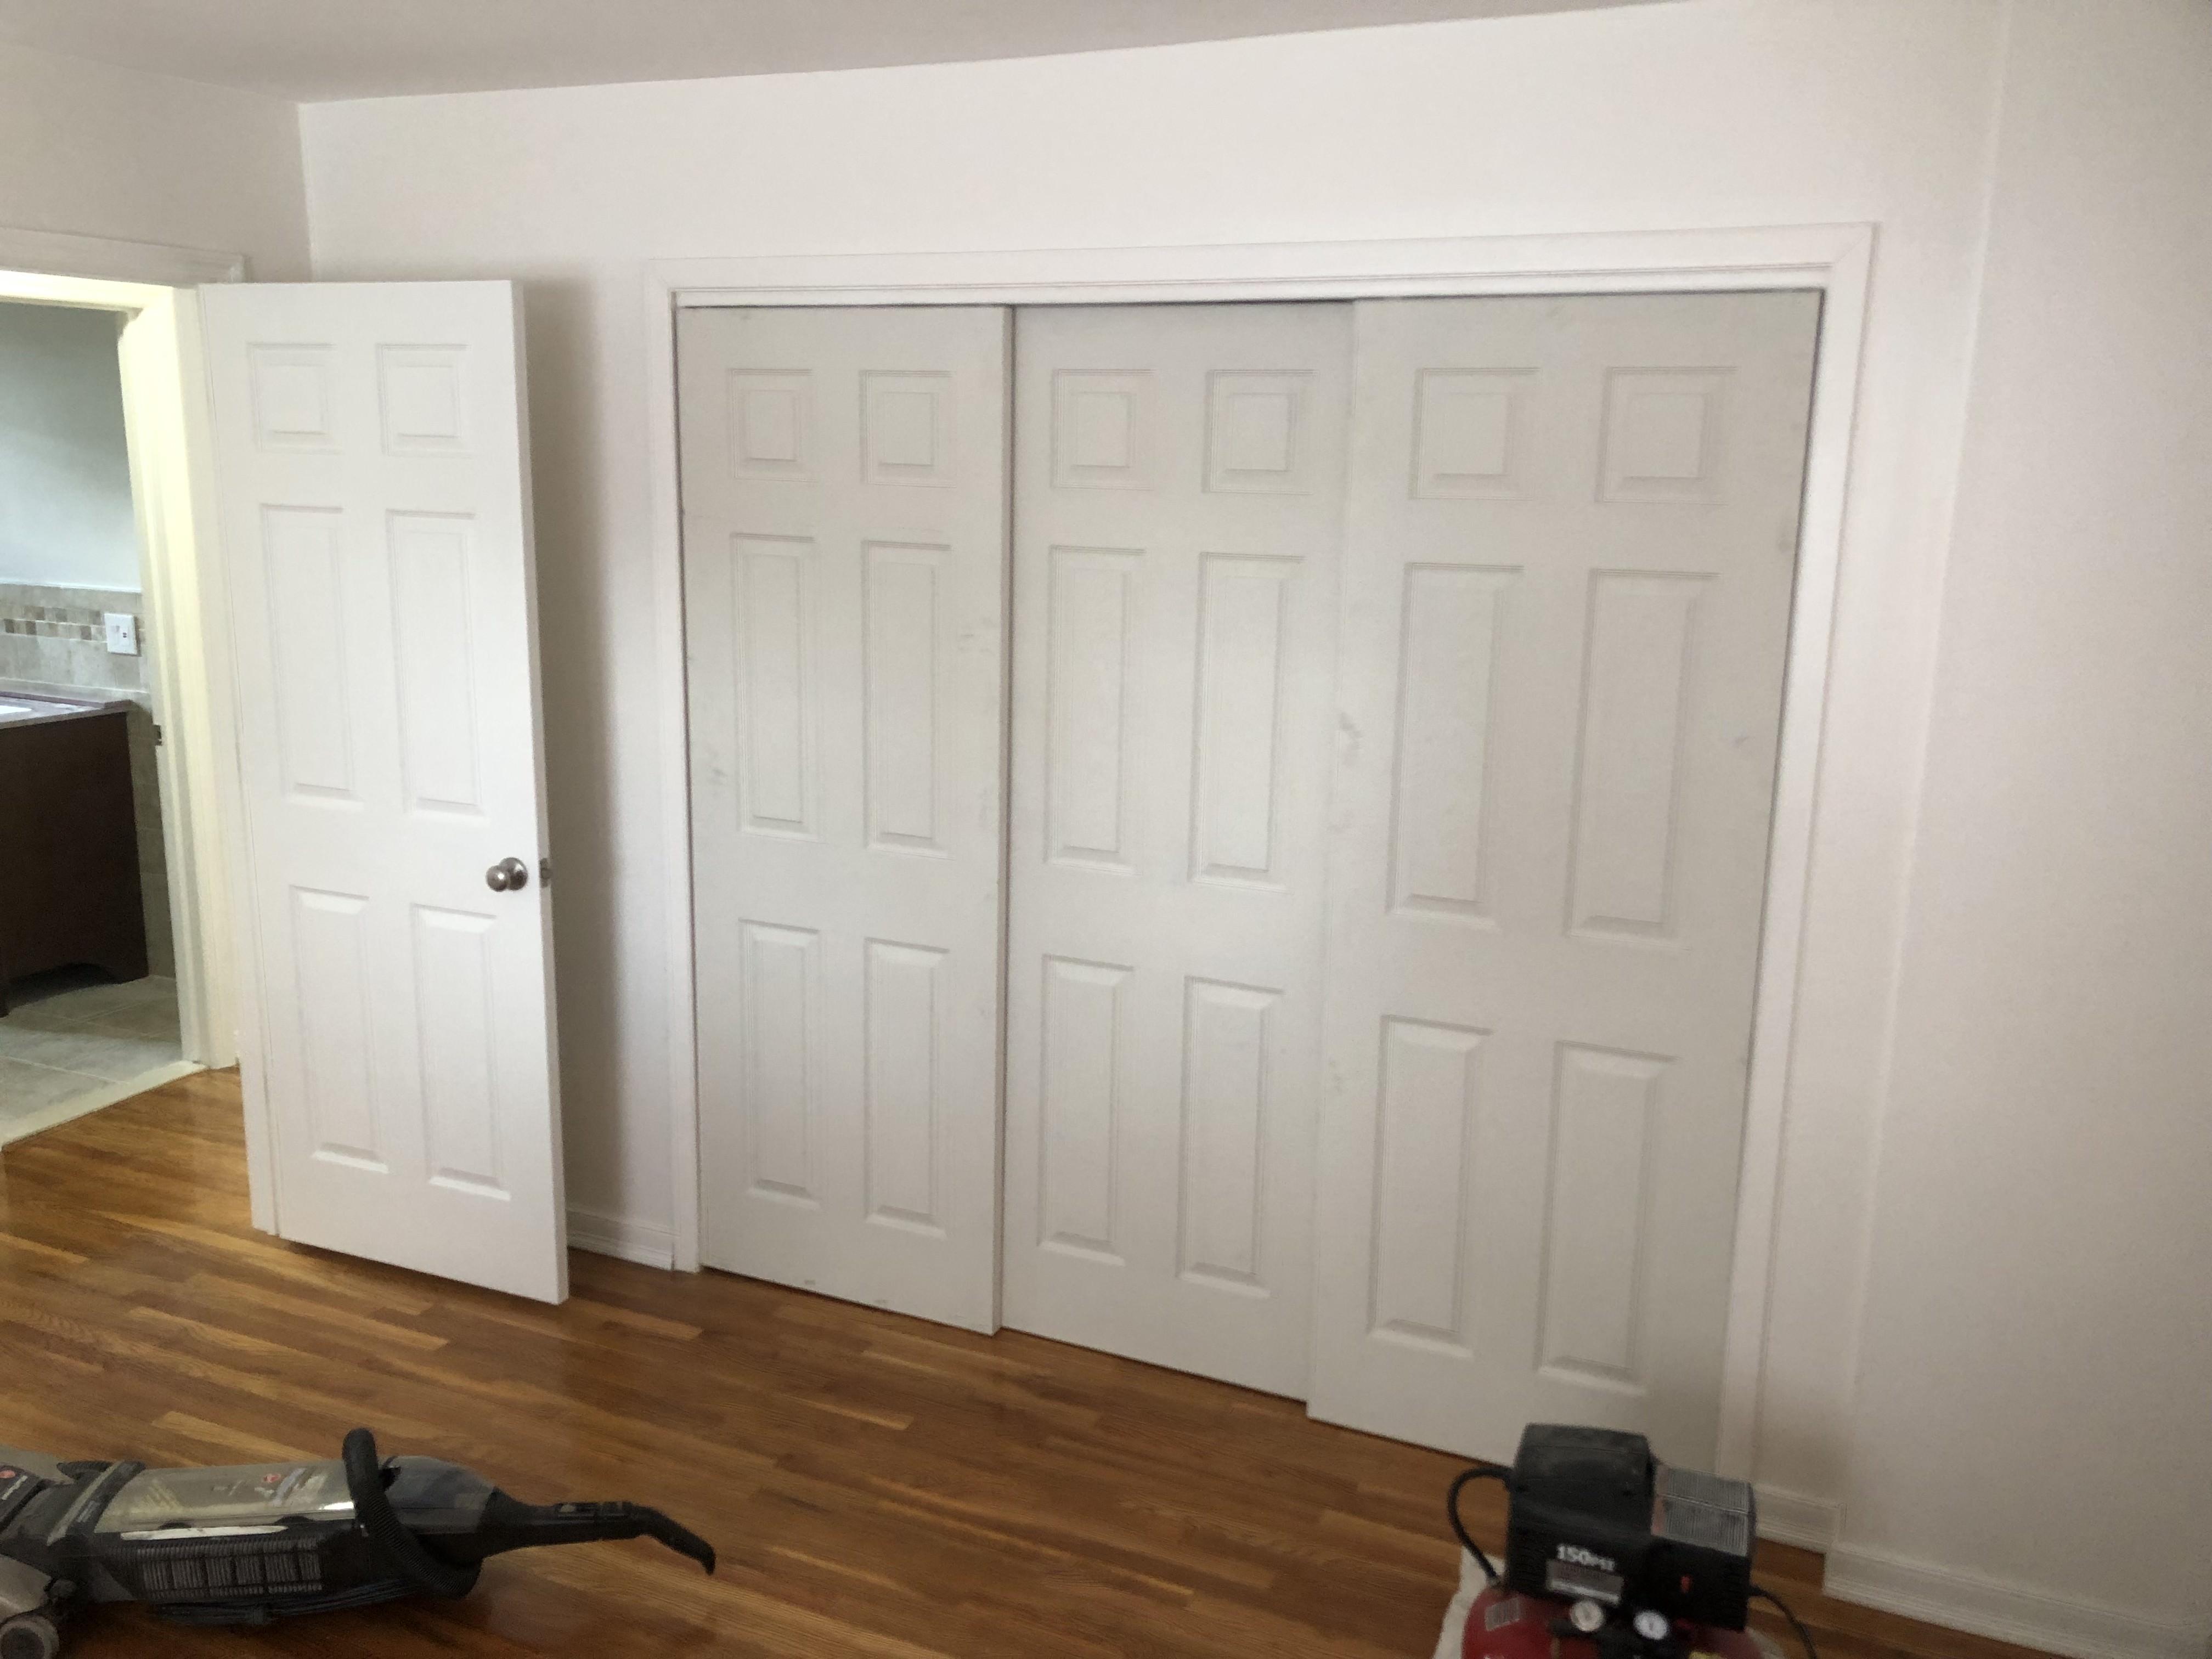
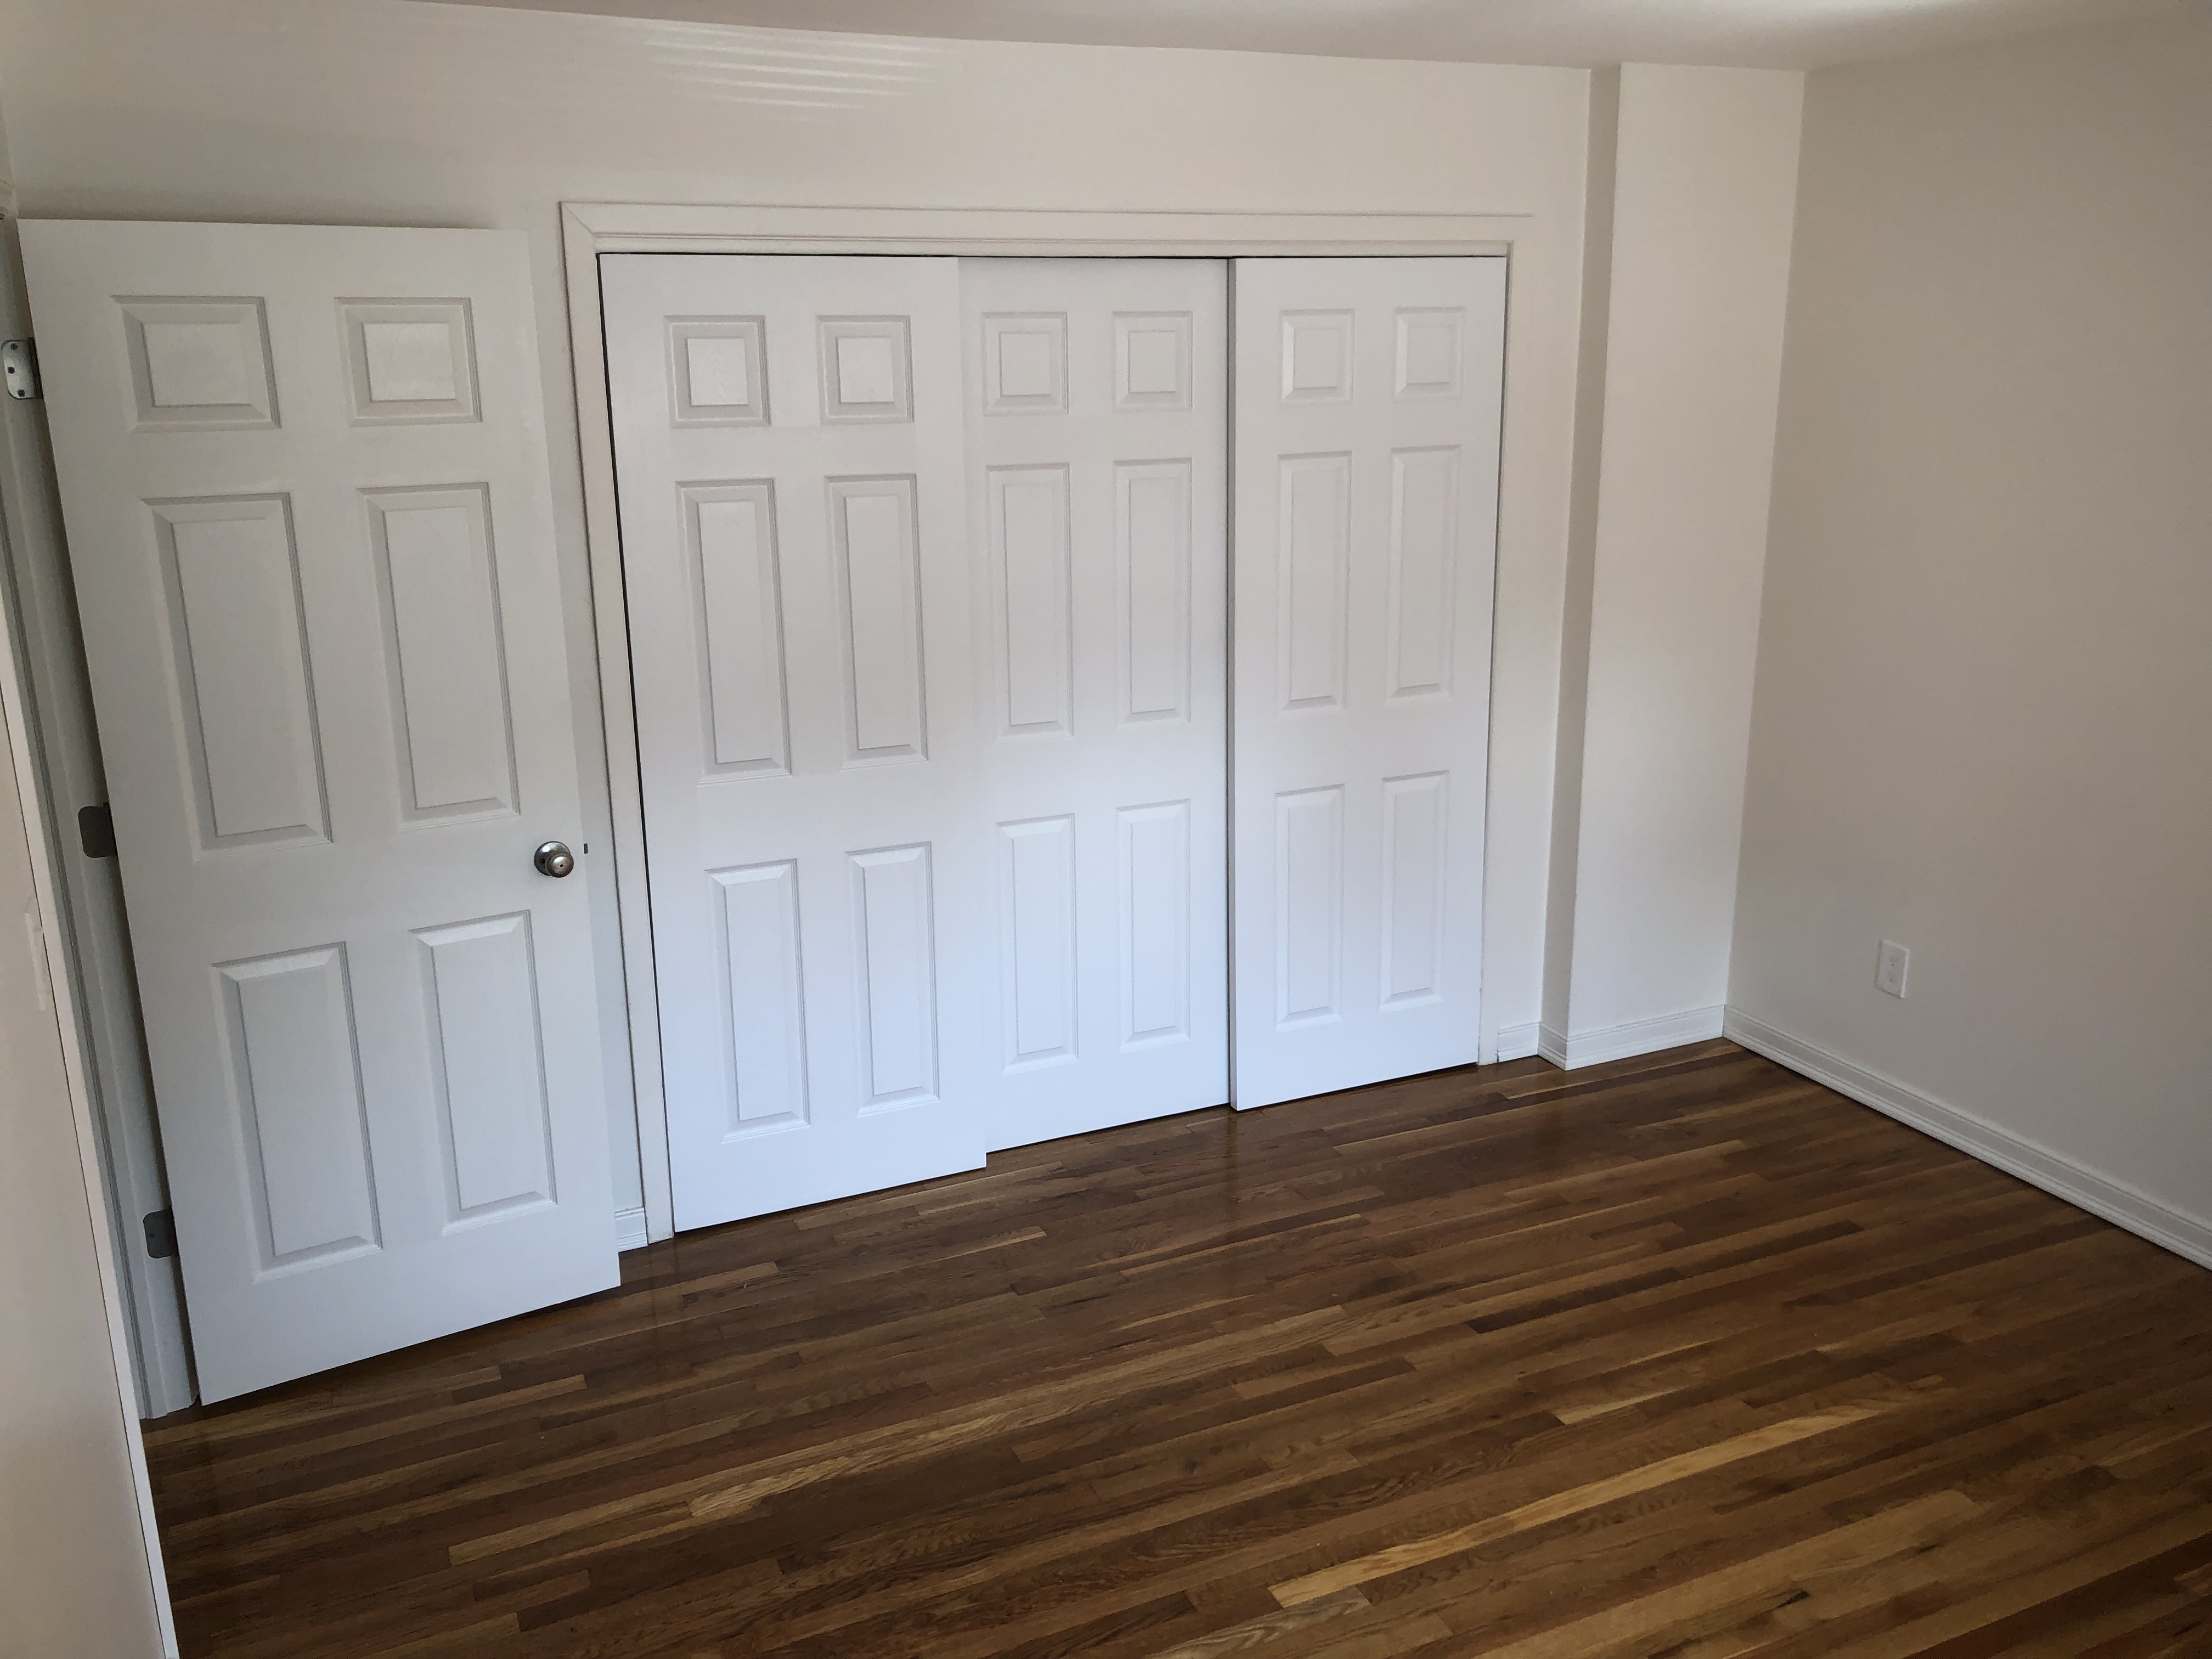
Here you can see the hanging doors installed in the master bedroom.
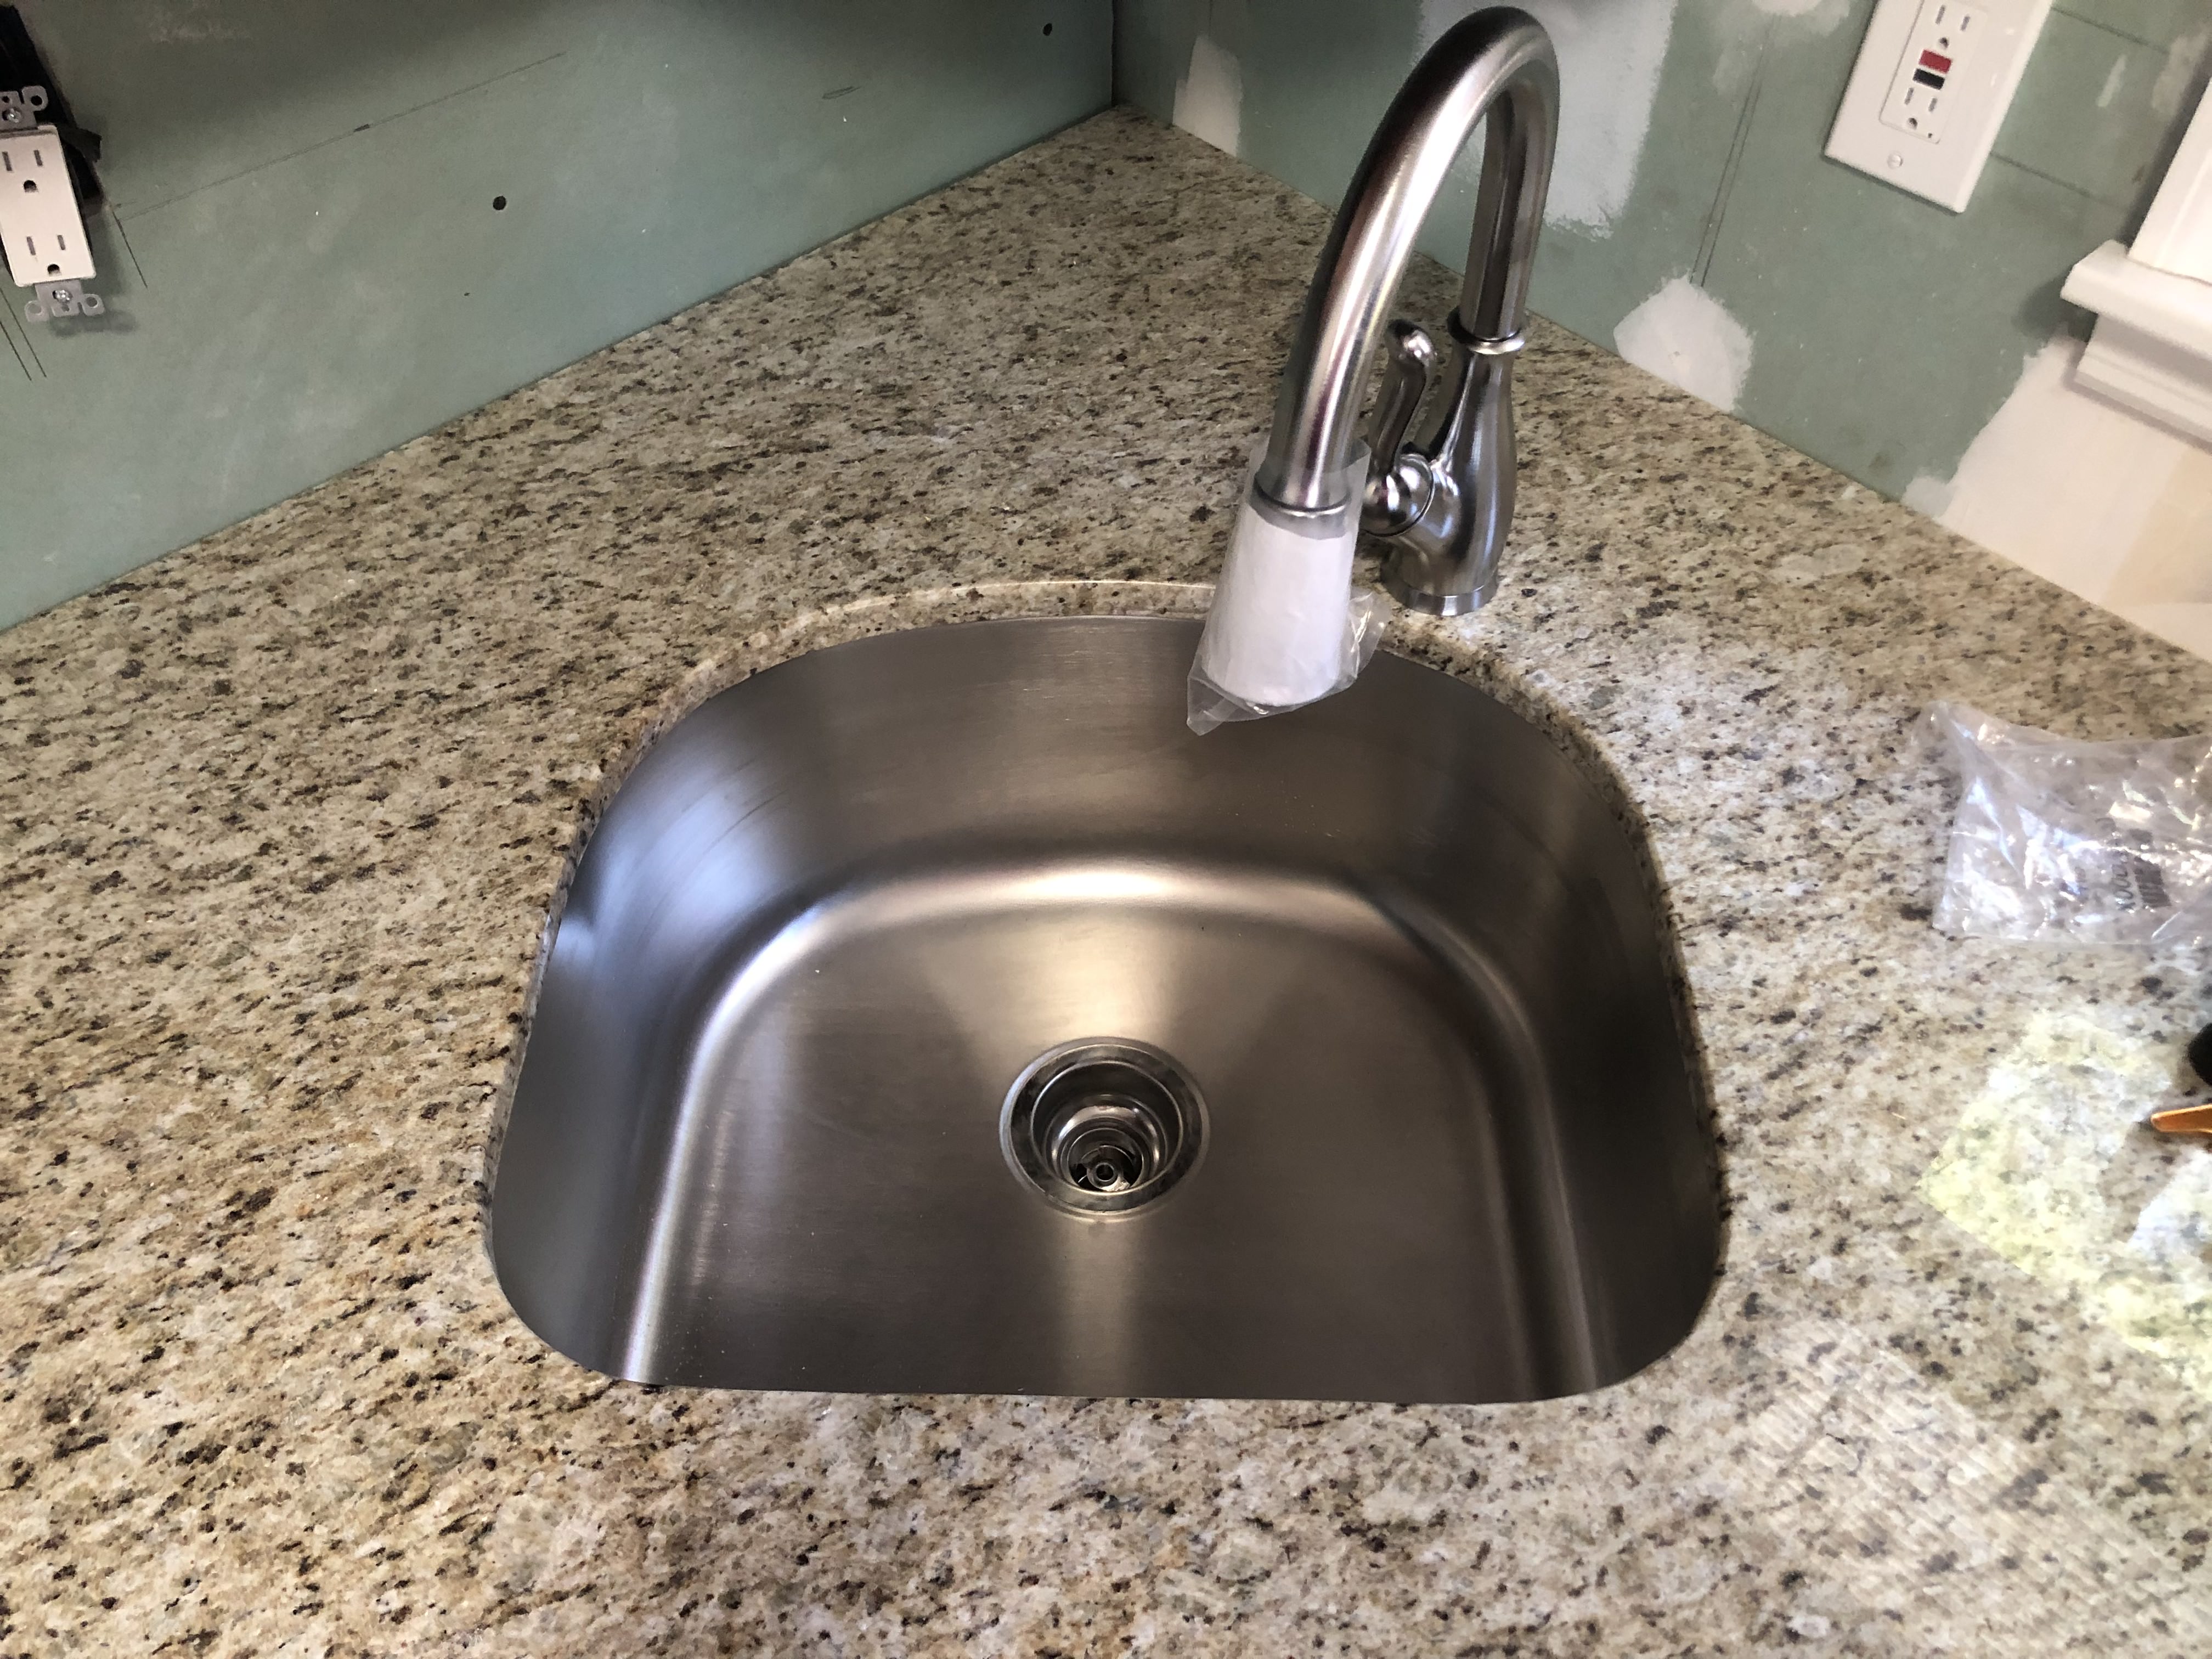
We installed the countertops by applying caulk to the top of the cabinets and dropping the countertop into place. We then used a small length of PVC, caulked it to the countertop and filled it with water to cool down the hole saw while cutting the hole for the faucet.
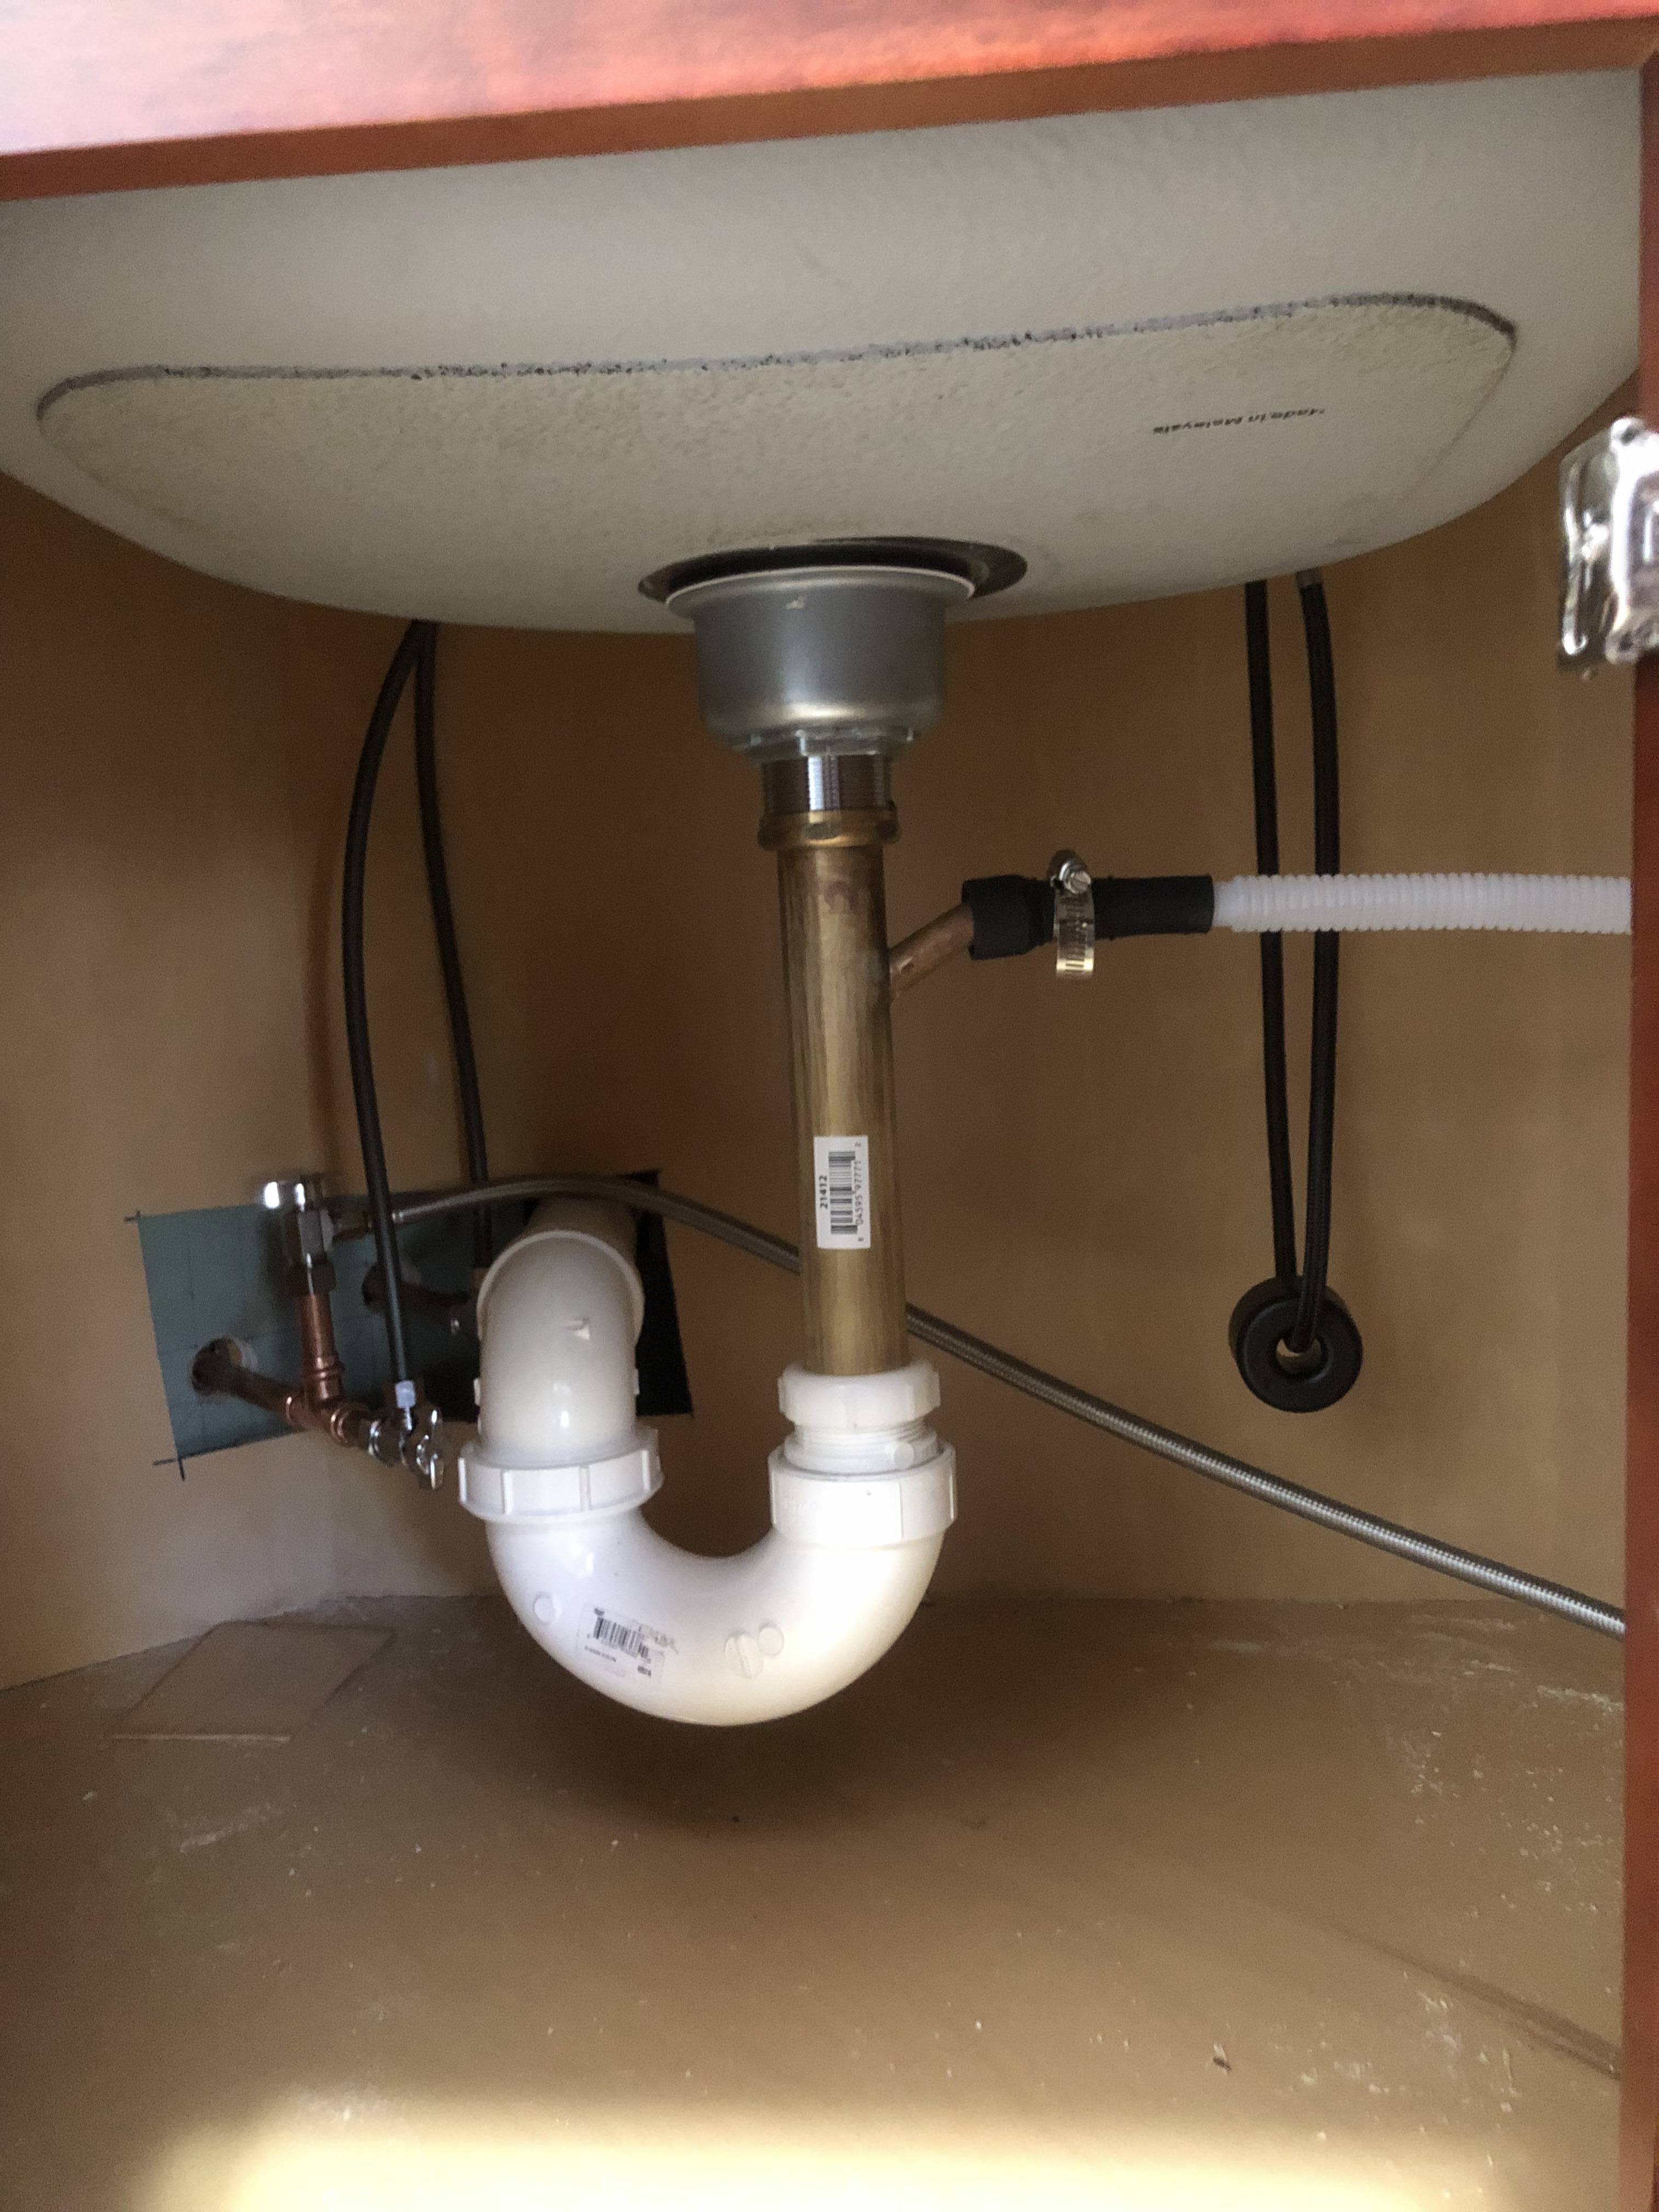
We installed the hot/cold water lines to the sink and the dishwasher. You can also see the PVC drain as well as the flexible hose for the dishwasher drain.
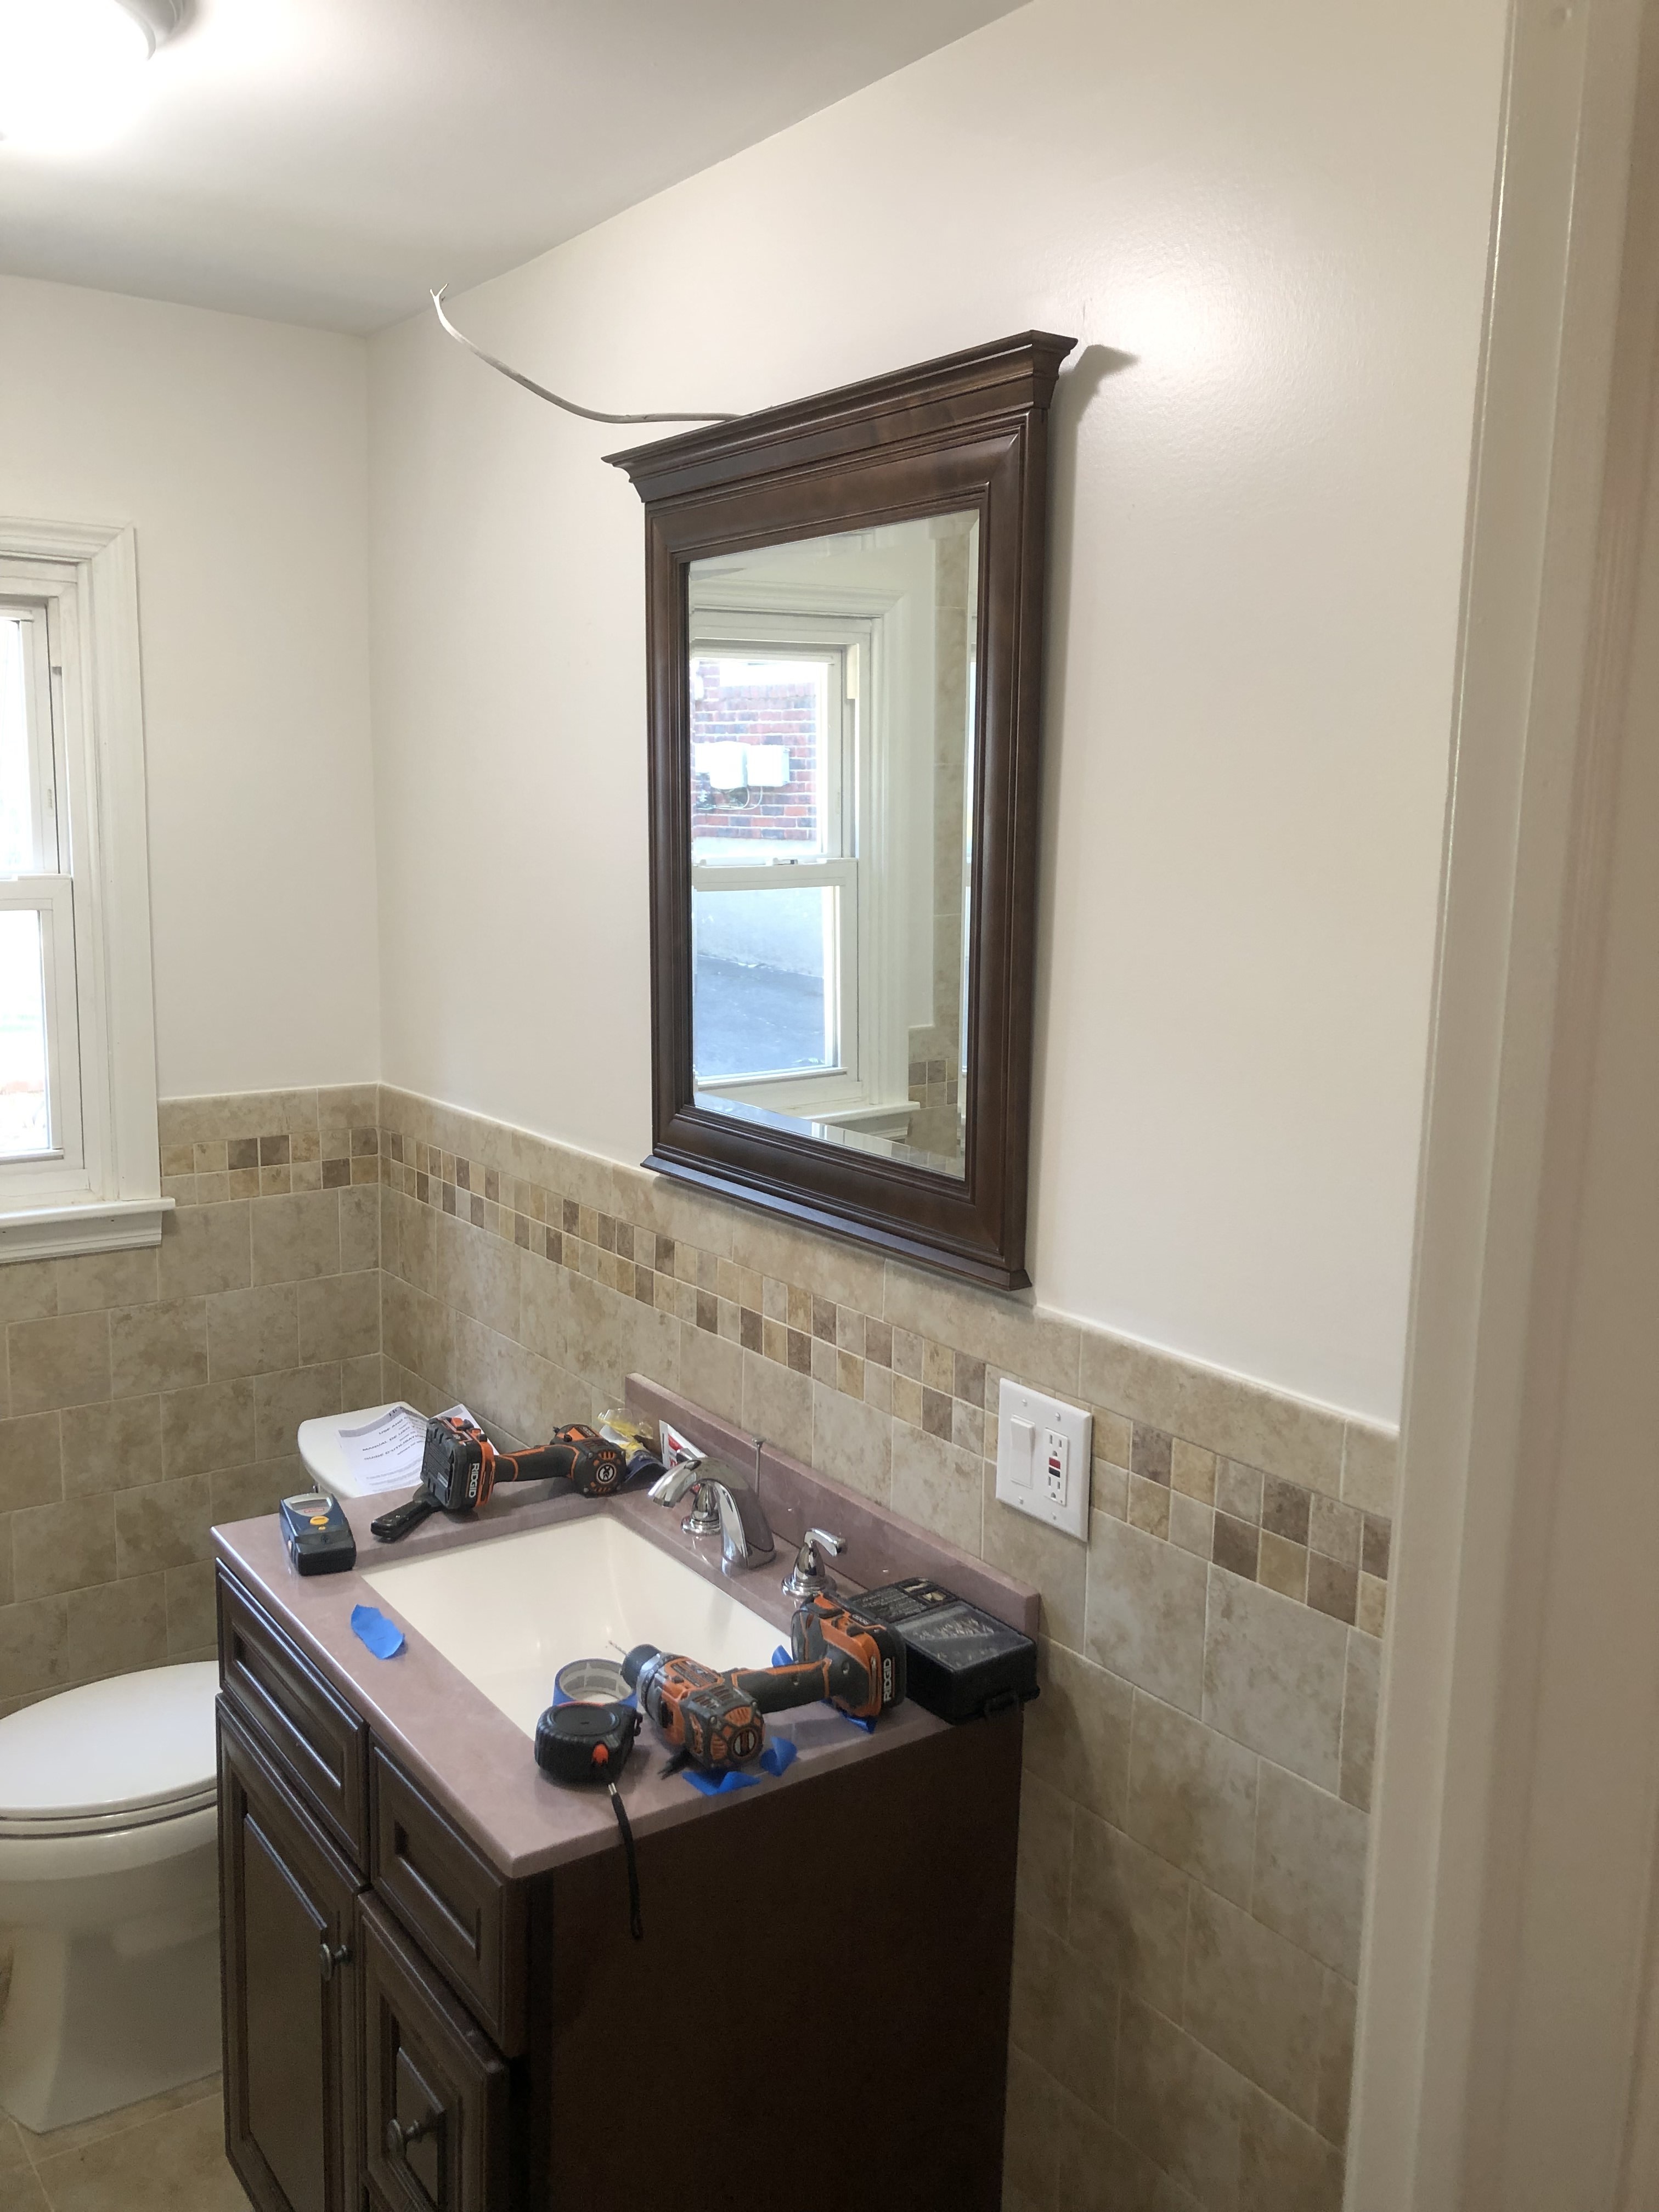
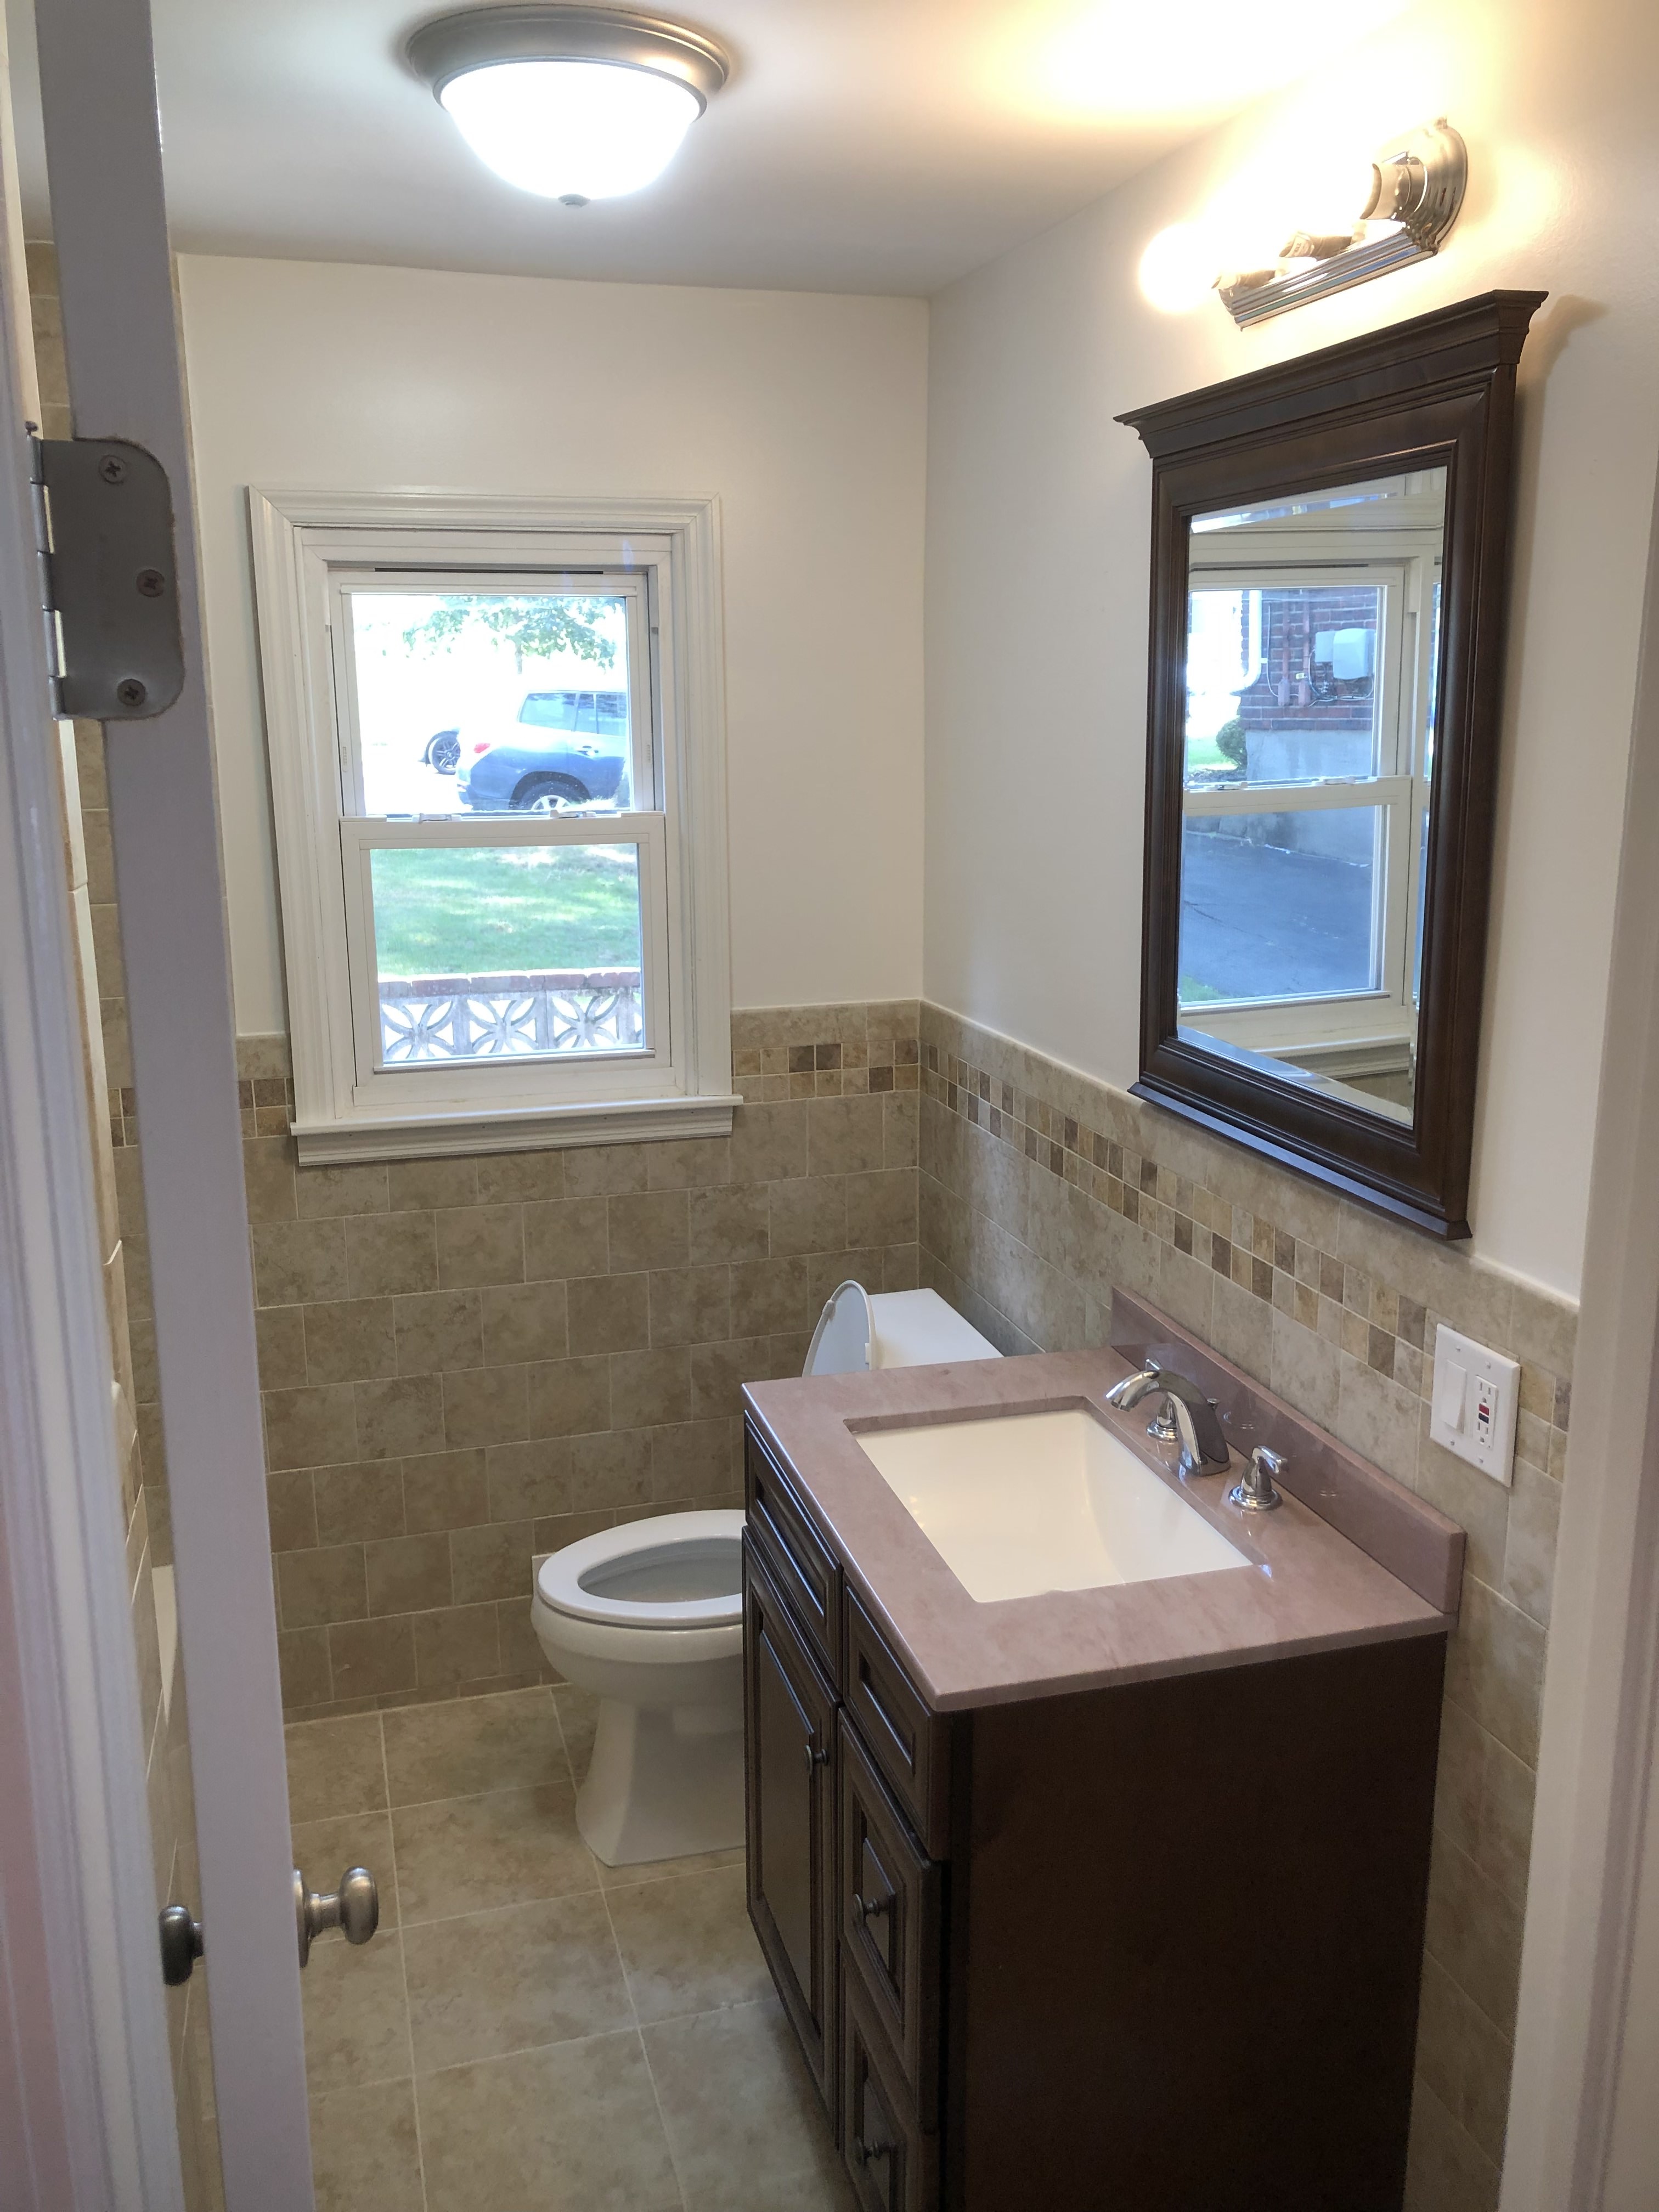
We then installed the vanity mirror right above the halfwall. We were able to secure it to a stud on one side and use a drywall anchor on the otherside.
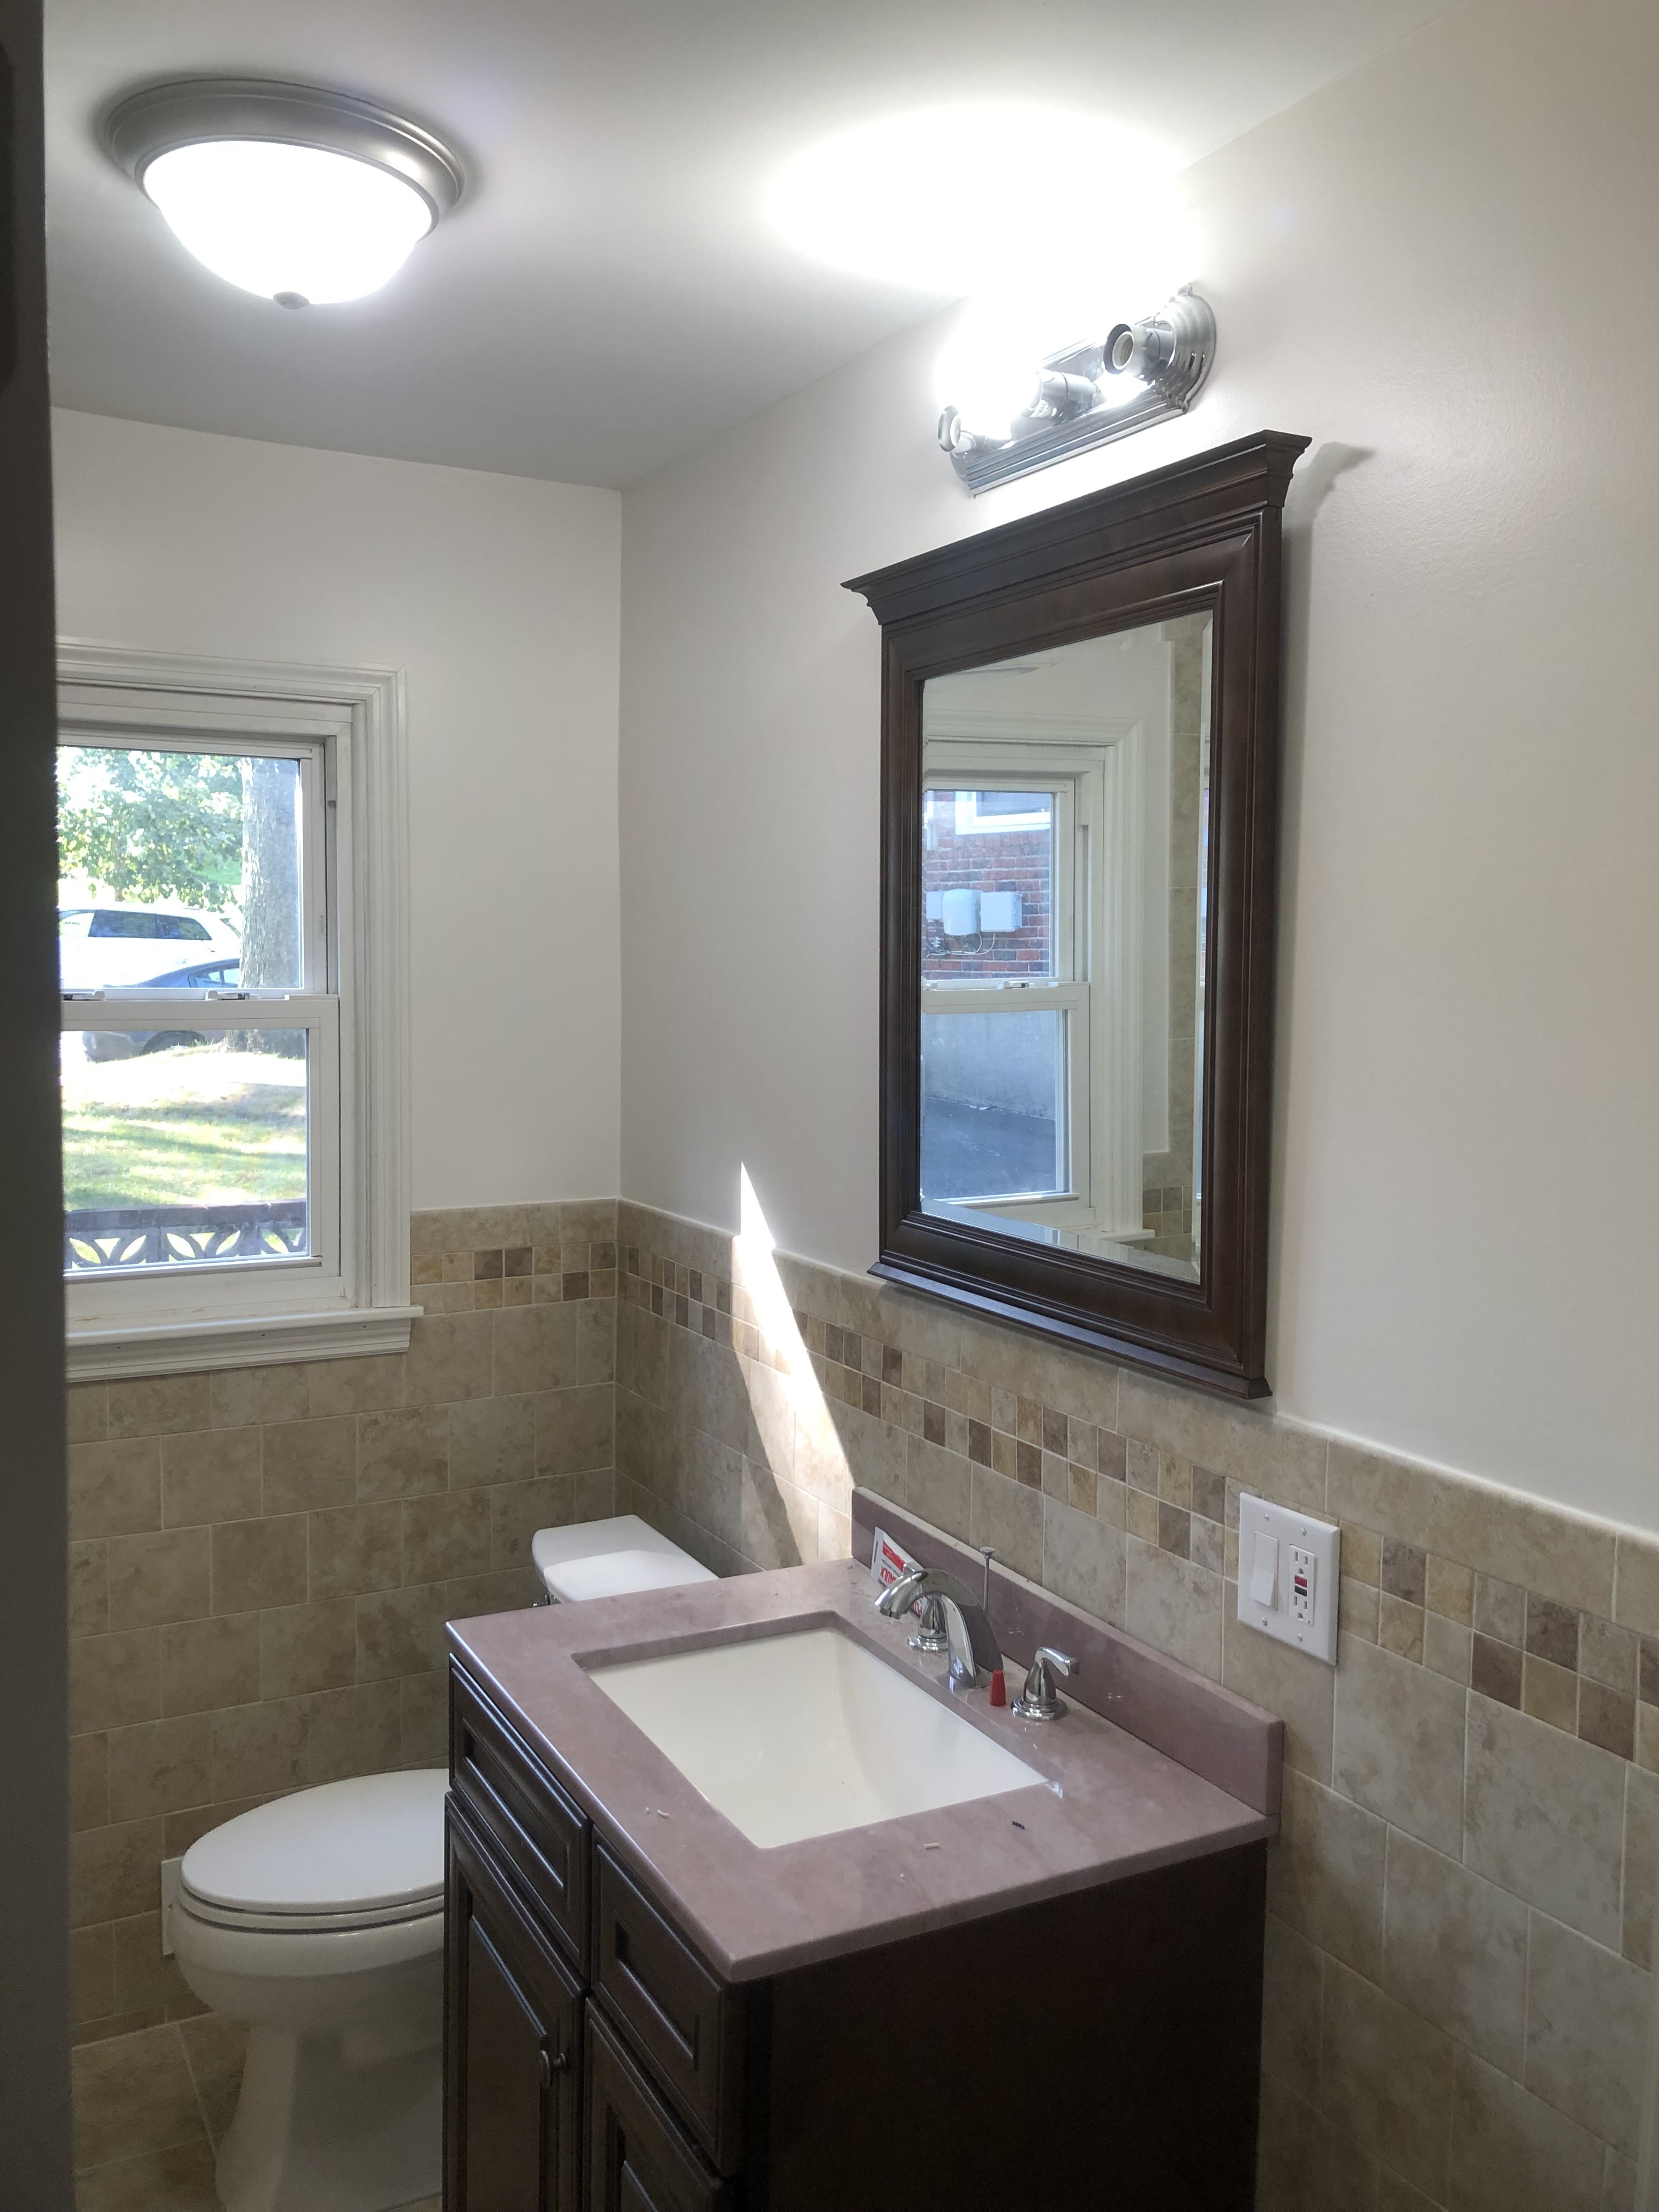
The vanity light fixture was then installed, centered above the mirror.
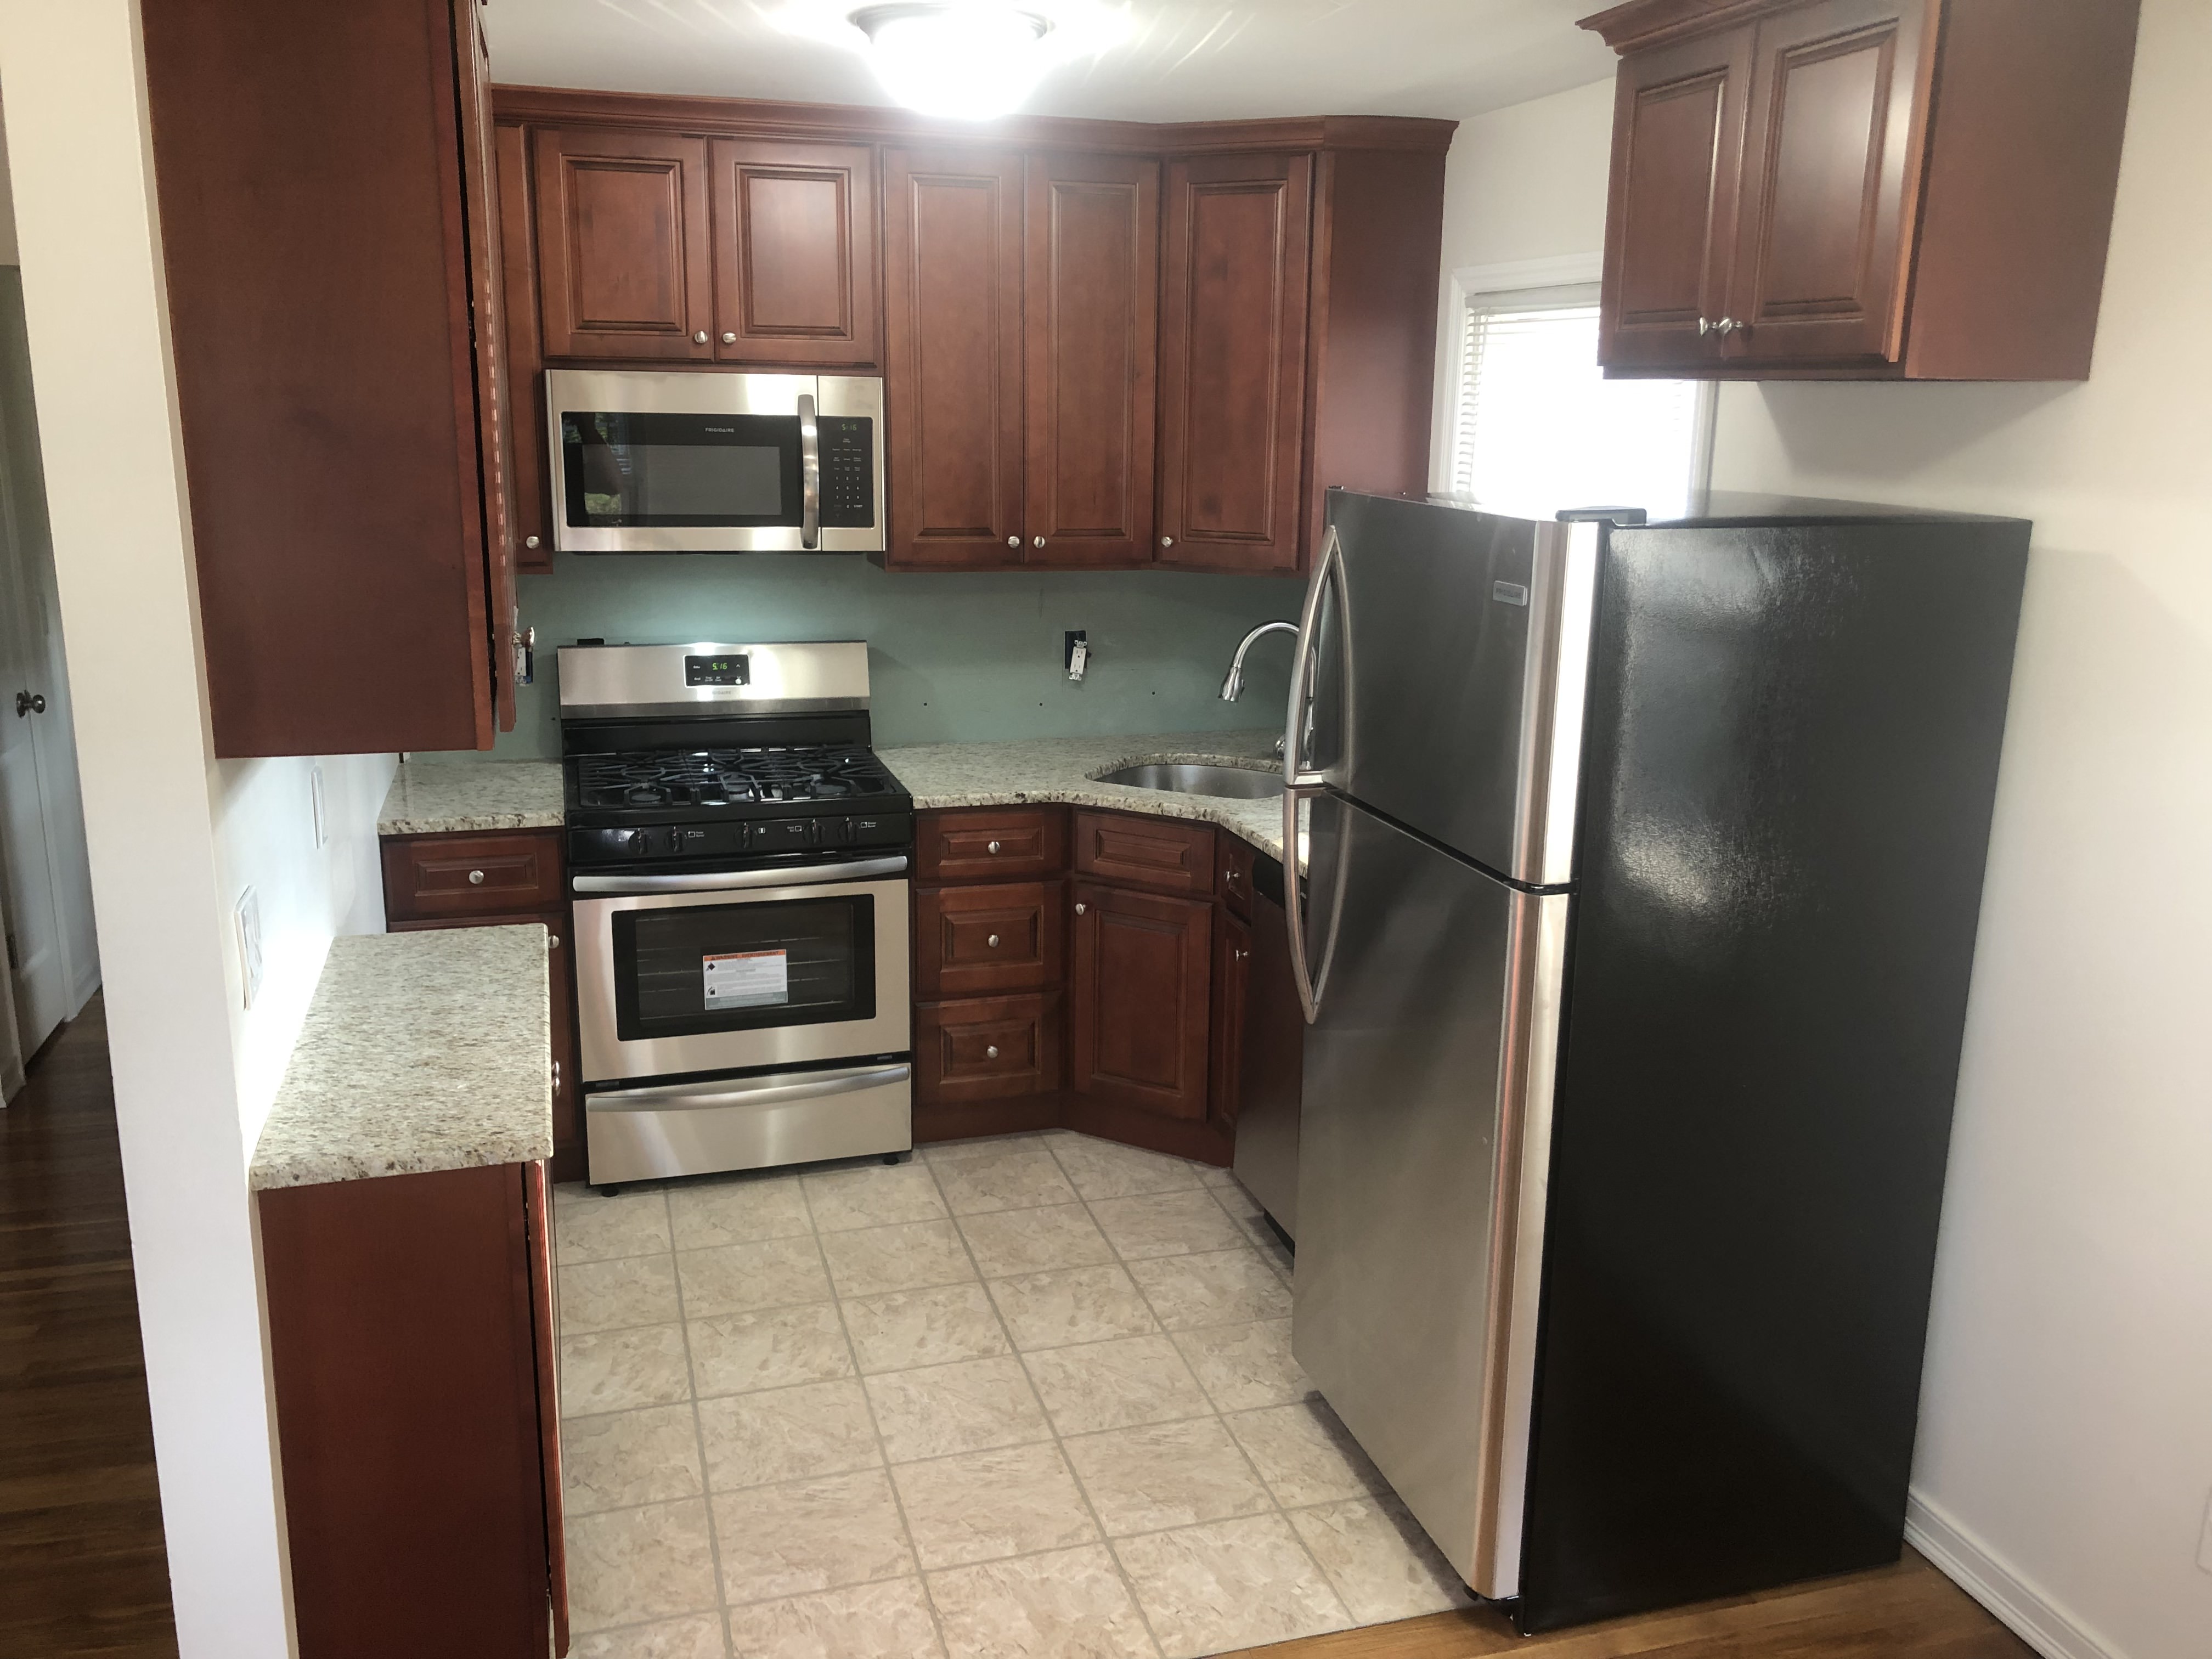
Appliances were then delivered and installed. We installed the microwave to the wall and the upper cabinet. Gas and Electric were connected to the Oven/Stove. Water/Drain/Electric was connected to the dishwasher. Electric was connected to the microwave and the refrigerator.
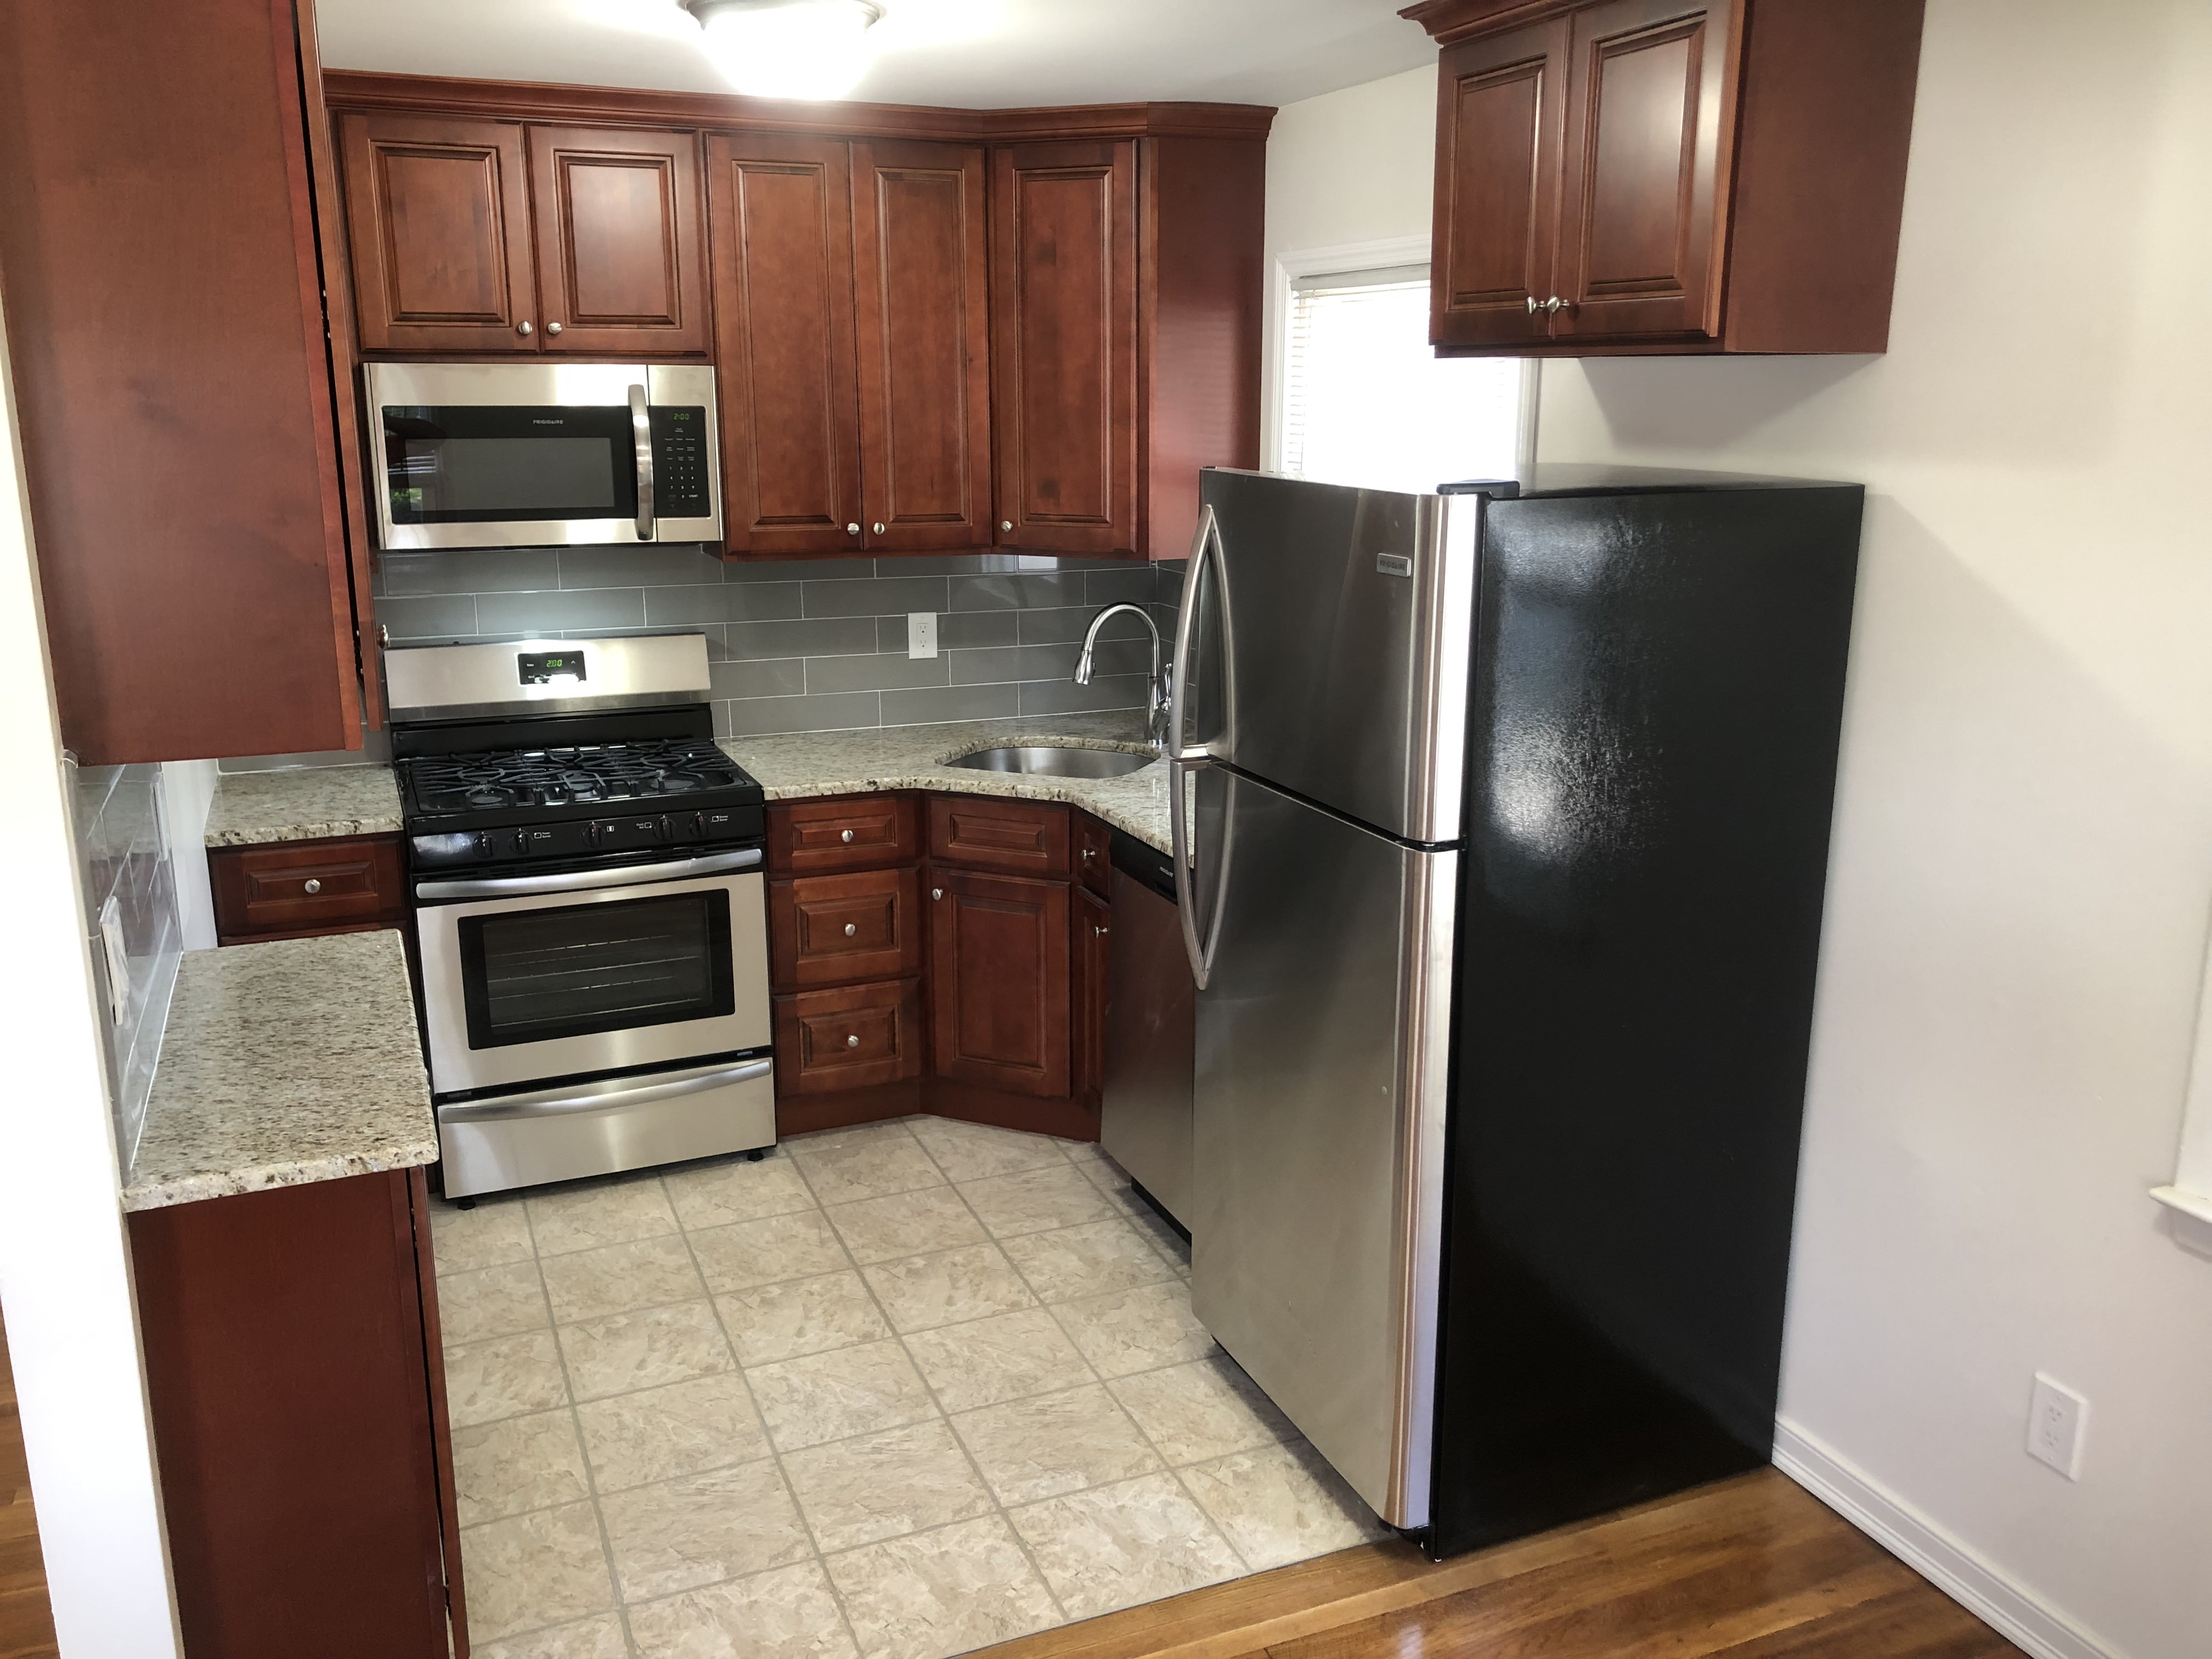
We then installed the tile backsplash. We used a larger subway tile to minimize grout lines to keep a clean appearance. We also used a pencil tile to cover the rough edge of the tile.
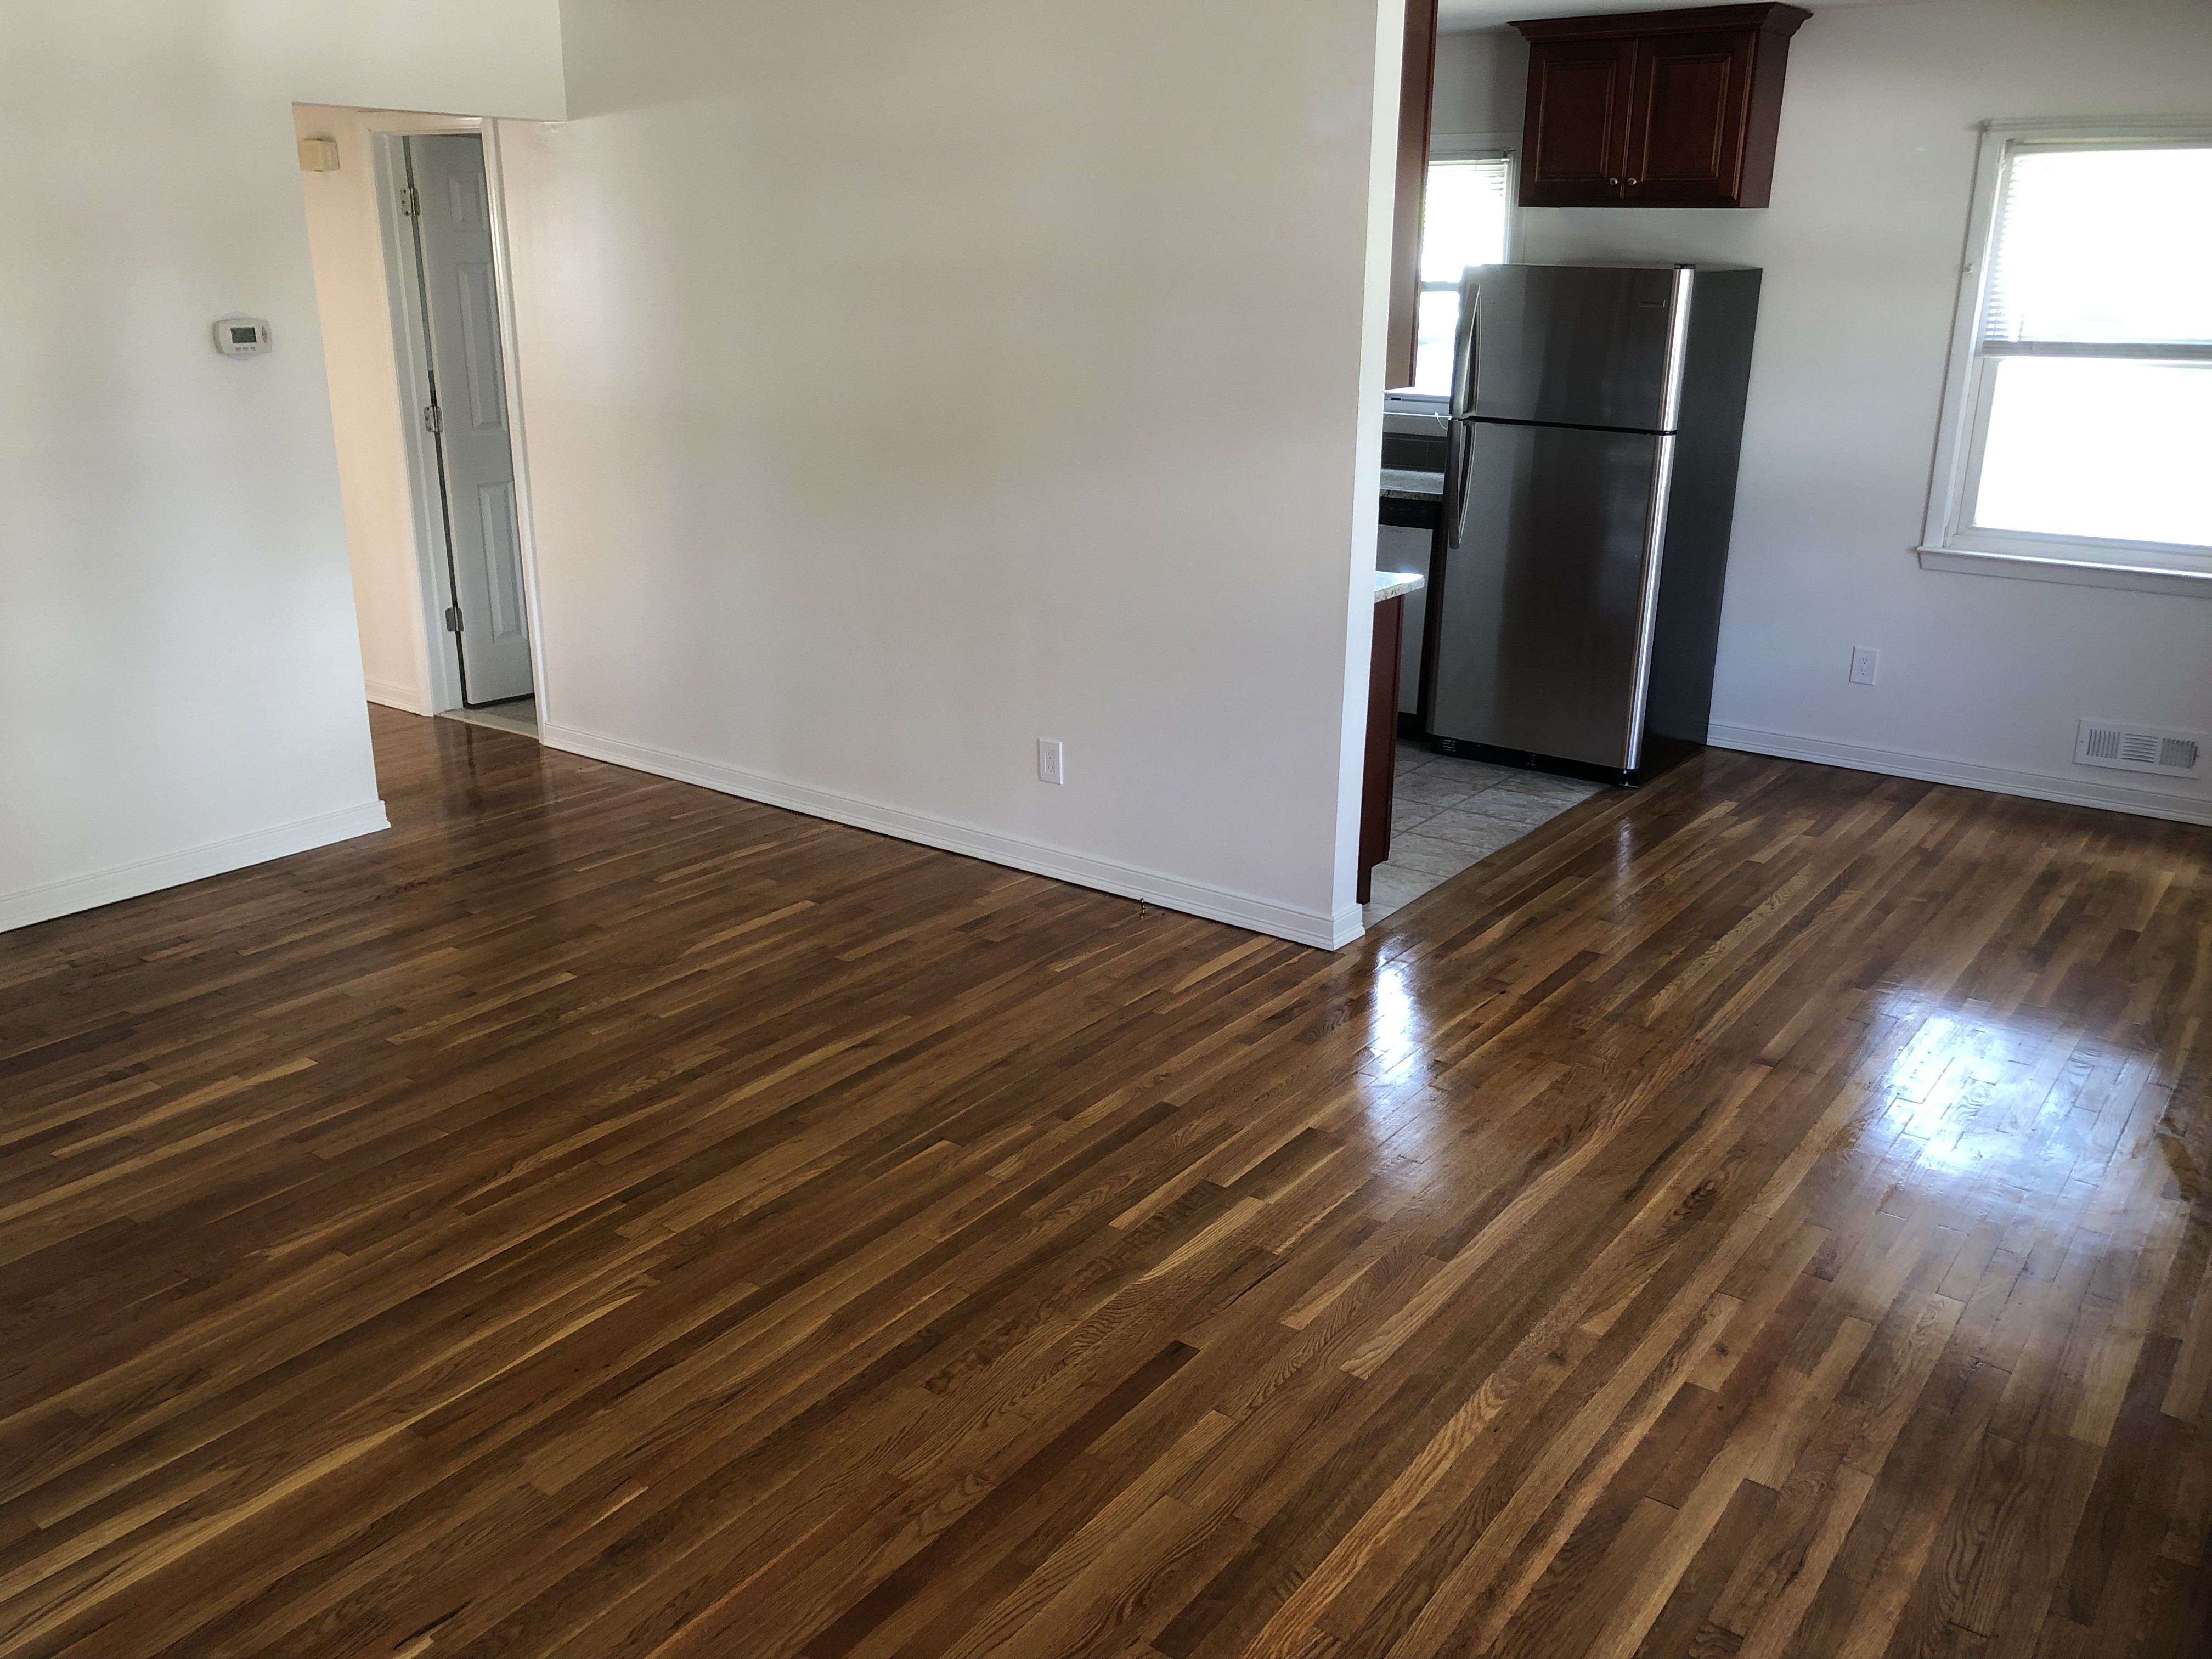
Here is the final photos of the apartment's polished hardwood floors.
Here is the final photo of the master bedroom featuring painted closet doors.
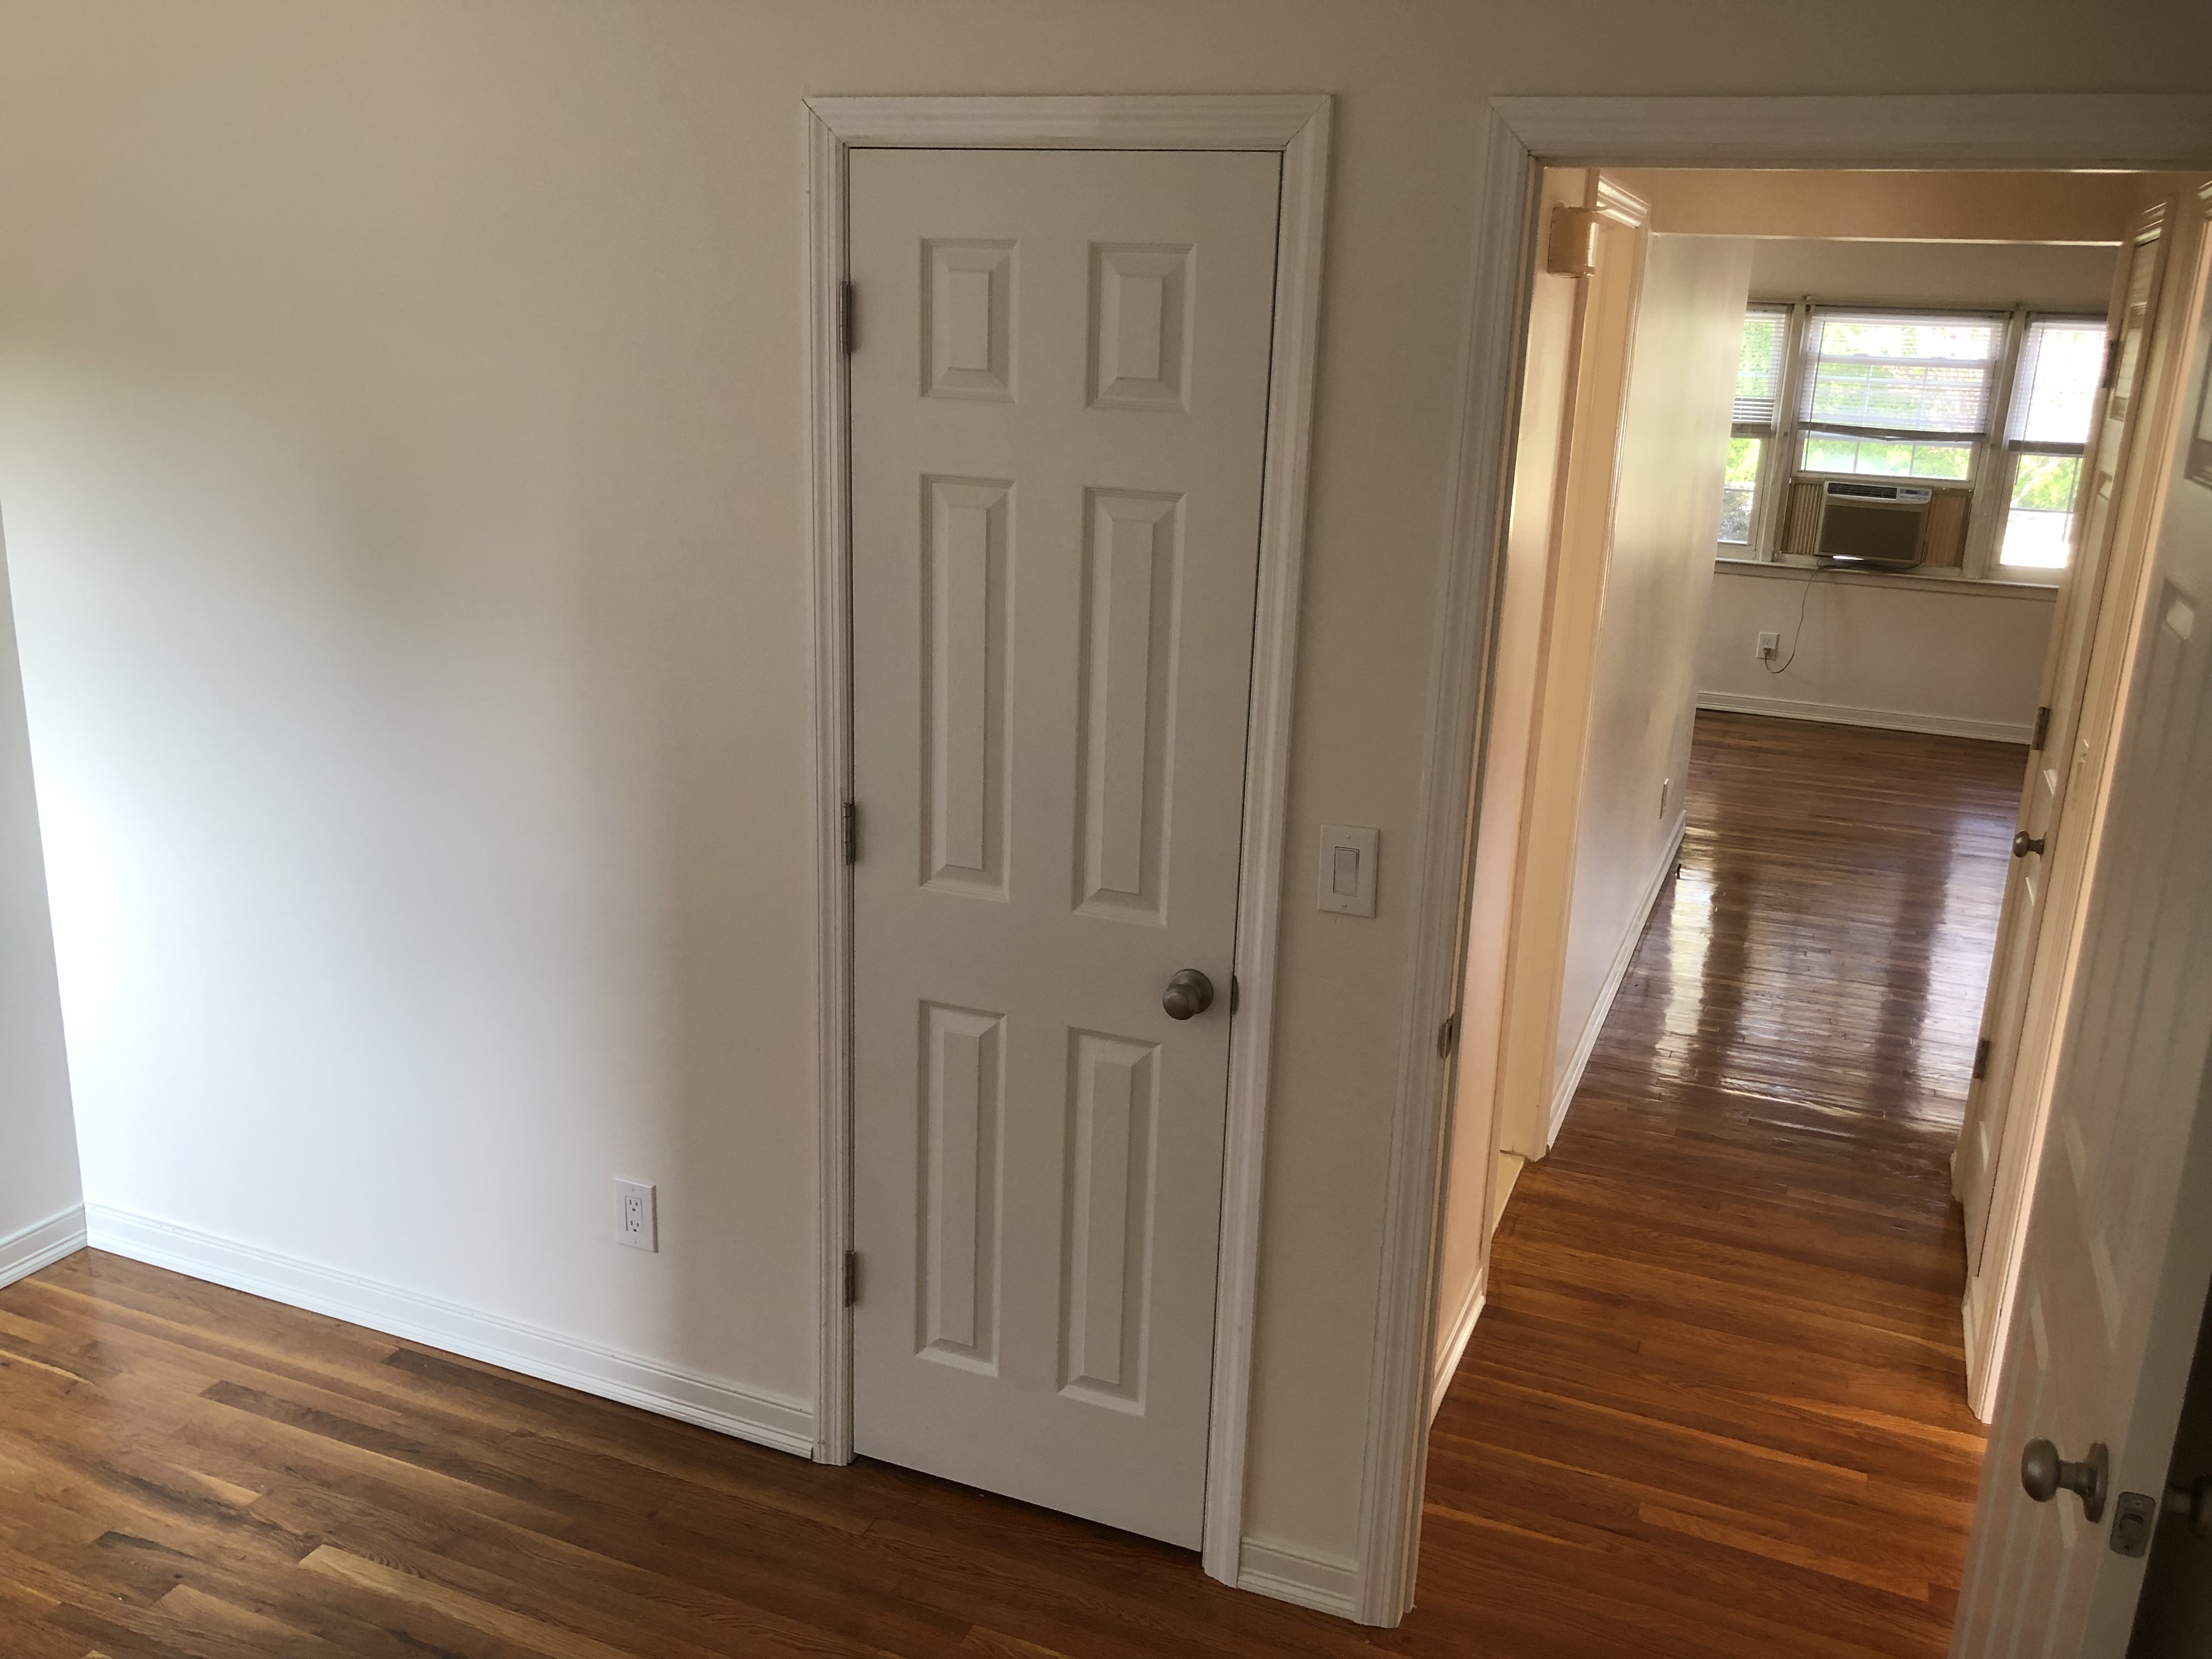
Here is the final photo of the second bedroom and the hallway.
Here is a quick walkthrough video of the apartment.
