01
Background
This is some of the examples of laboratory experience in my second Robotics Engineering Course: RBE 2001: Unified Robotics I: Actuation.
Labs applied classroom knowledge including Arduino, C/C++ Programming, Laser Cutter, Soldering, Voltage Dividers, Stepper Motors, Worm Gears, Conductivity, Back Drivable, Motor Drivers, Autonomy, and Advanced Sensing.
02
Photos
Some initial testing of various components before the labs formally picked up.
Some initial testing of various components before the labs formally picked up.
Testing an H-Bridge Motor Driver on a Breadboard with a Geared Motor.
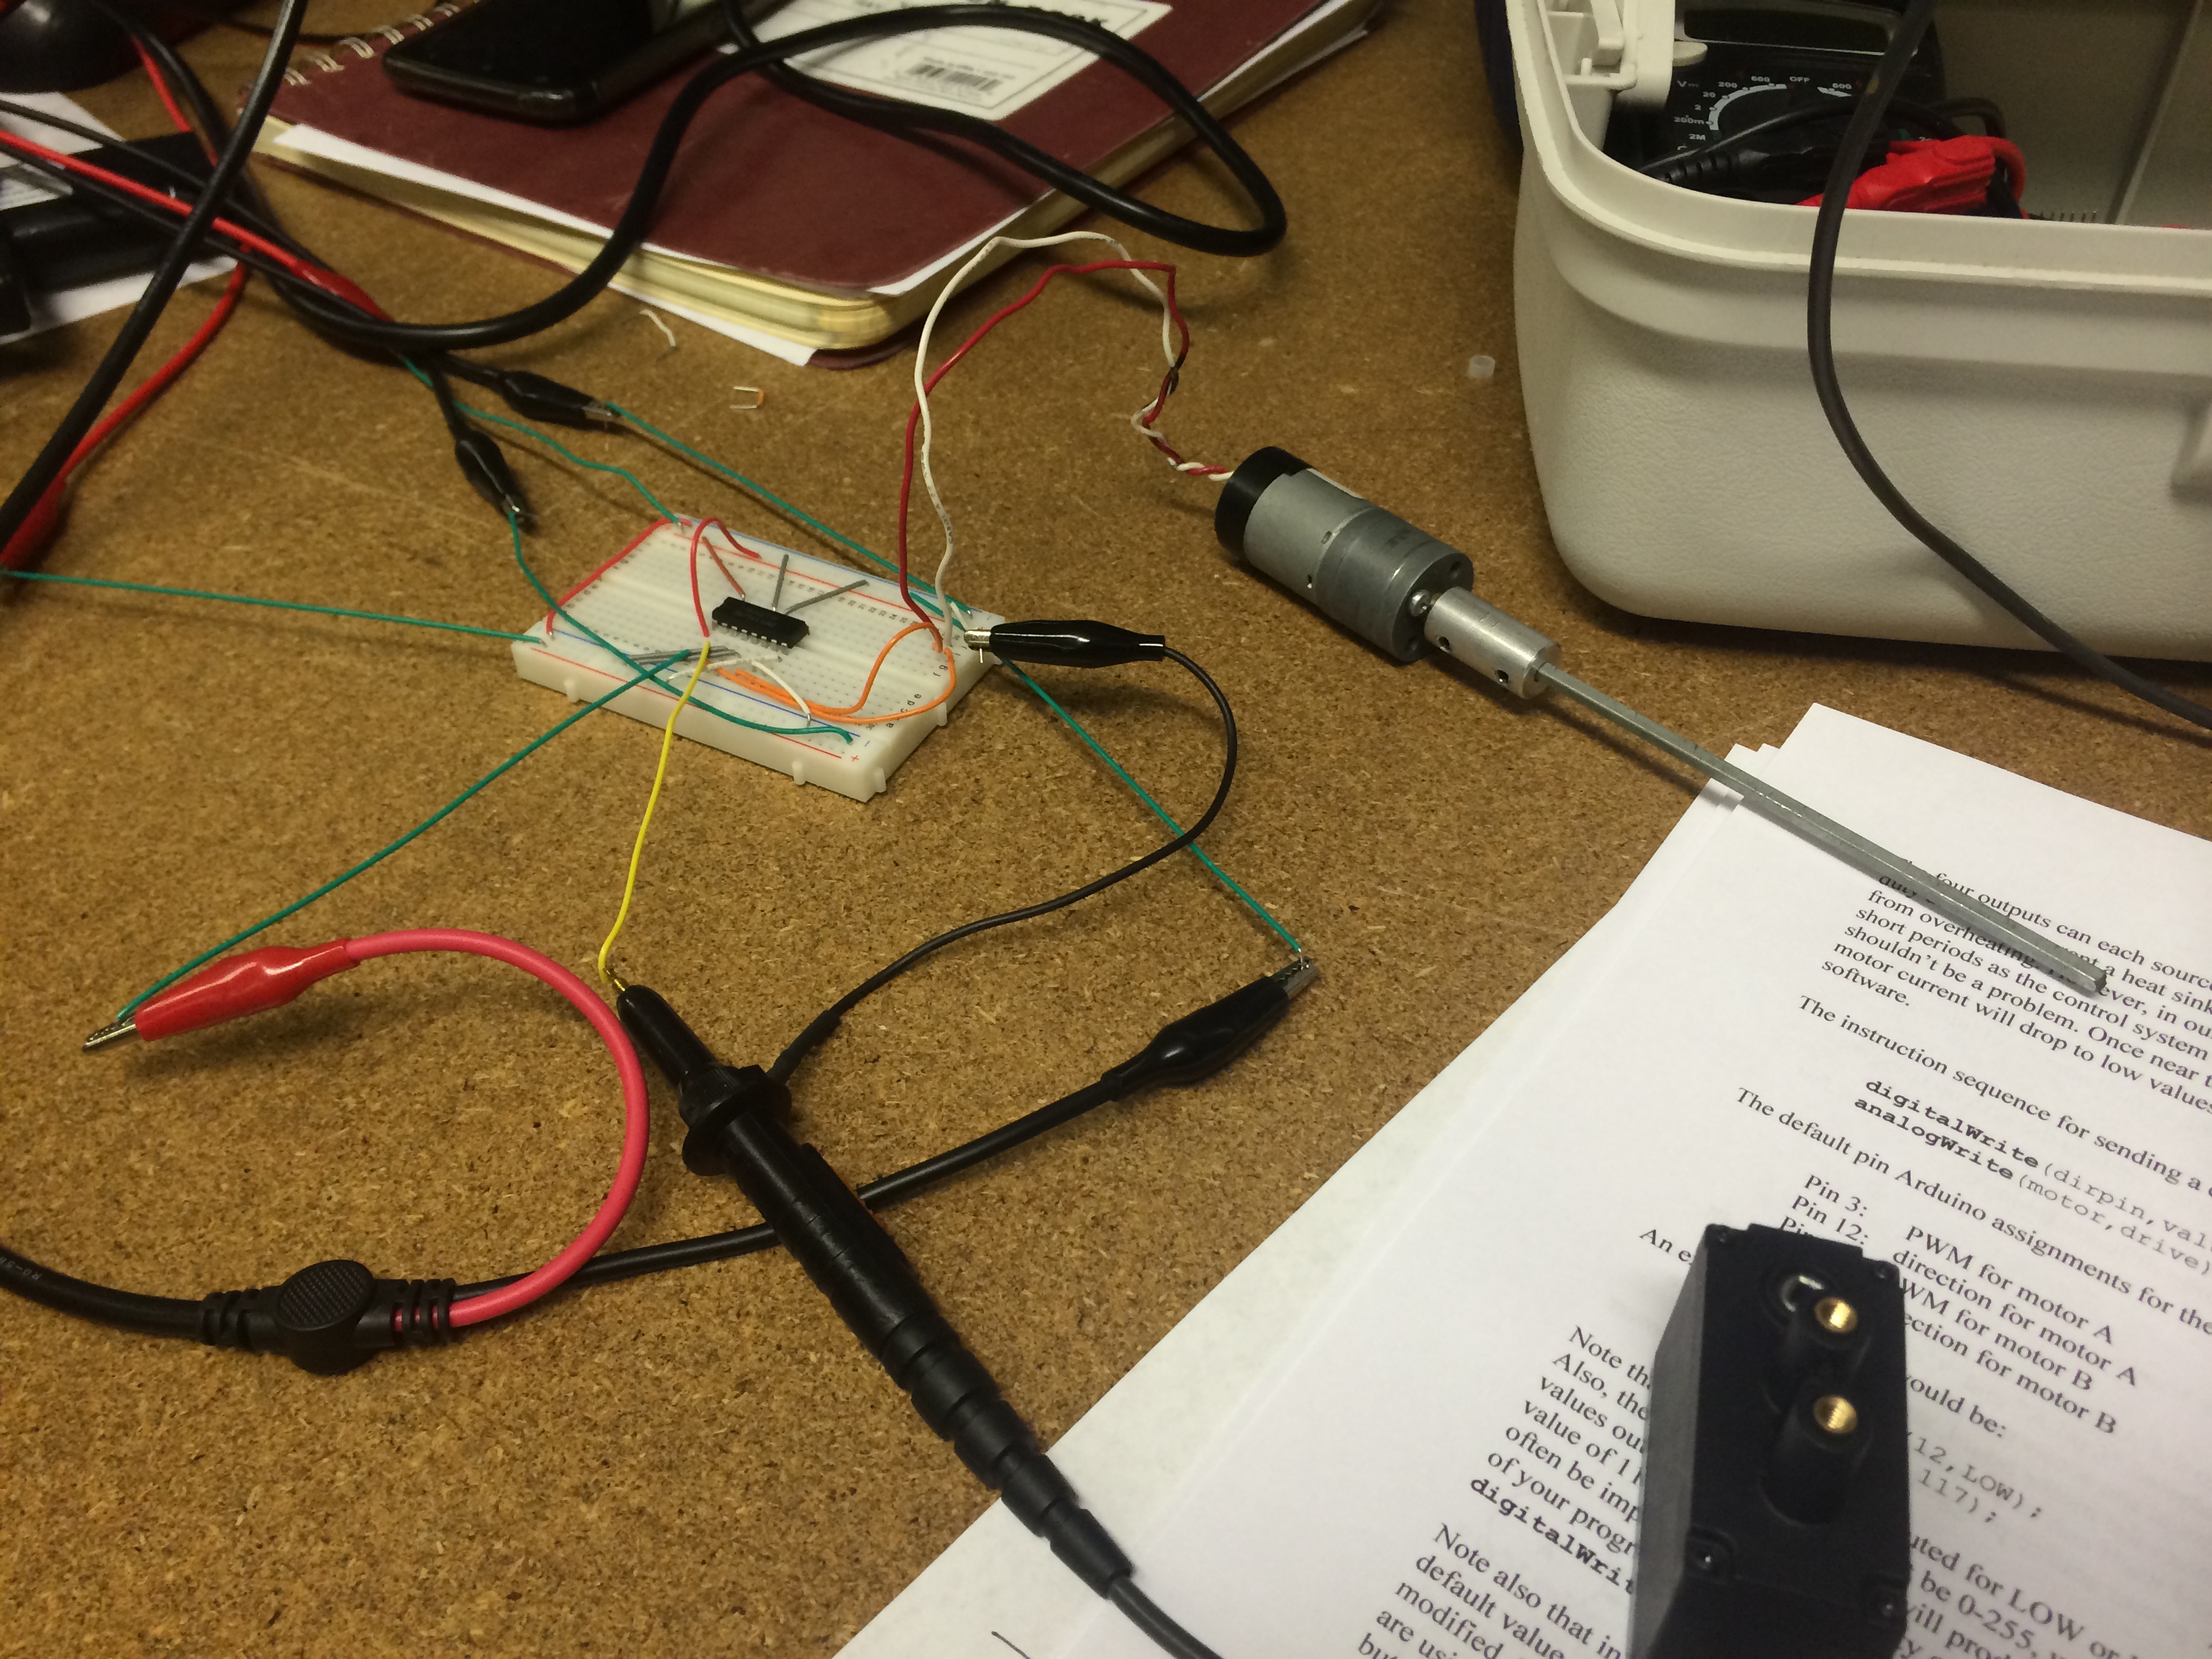
Testing an H-Bridge Motor Driver on a Breadboard with a Geared Motor.
Suspension System we implemented on our Final Project. This allows us to fine-tune the center wheel's contact with the surface.
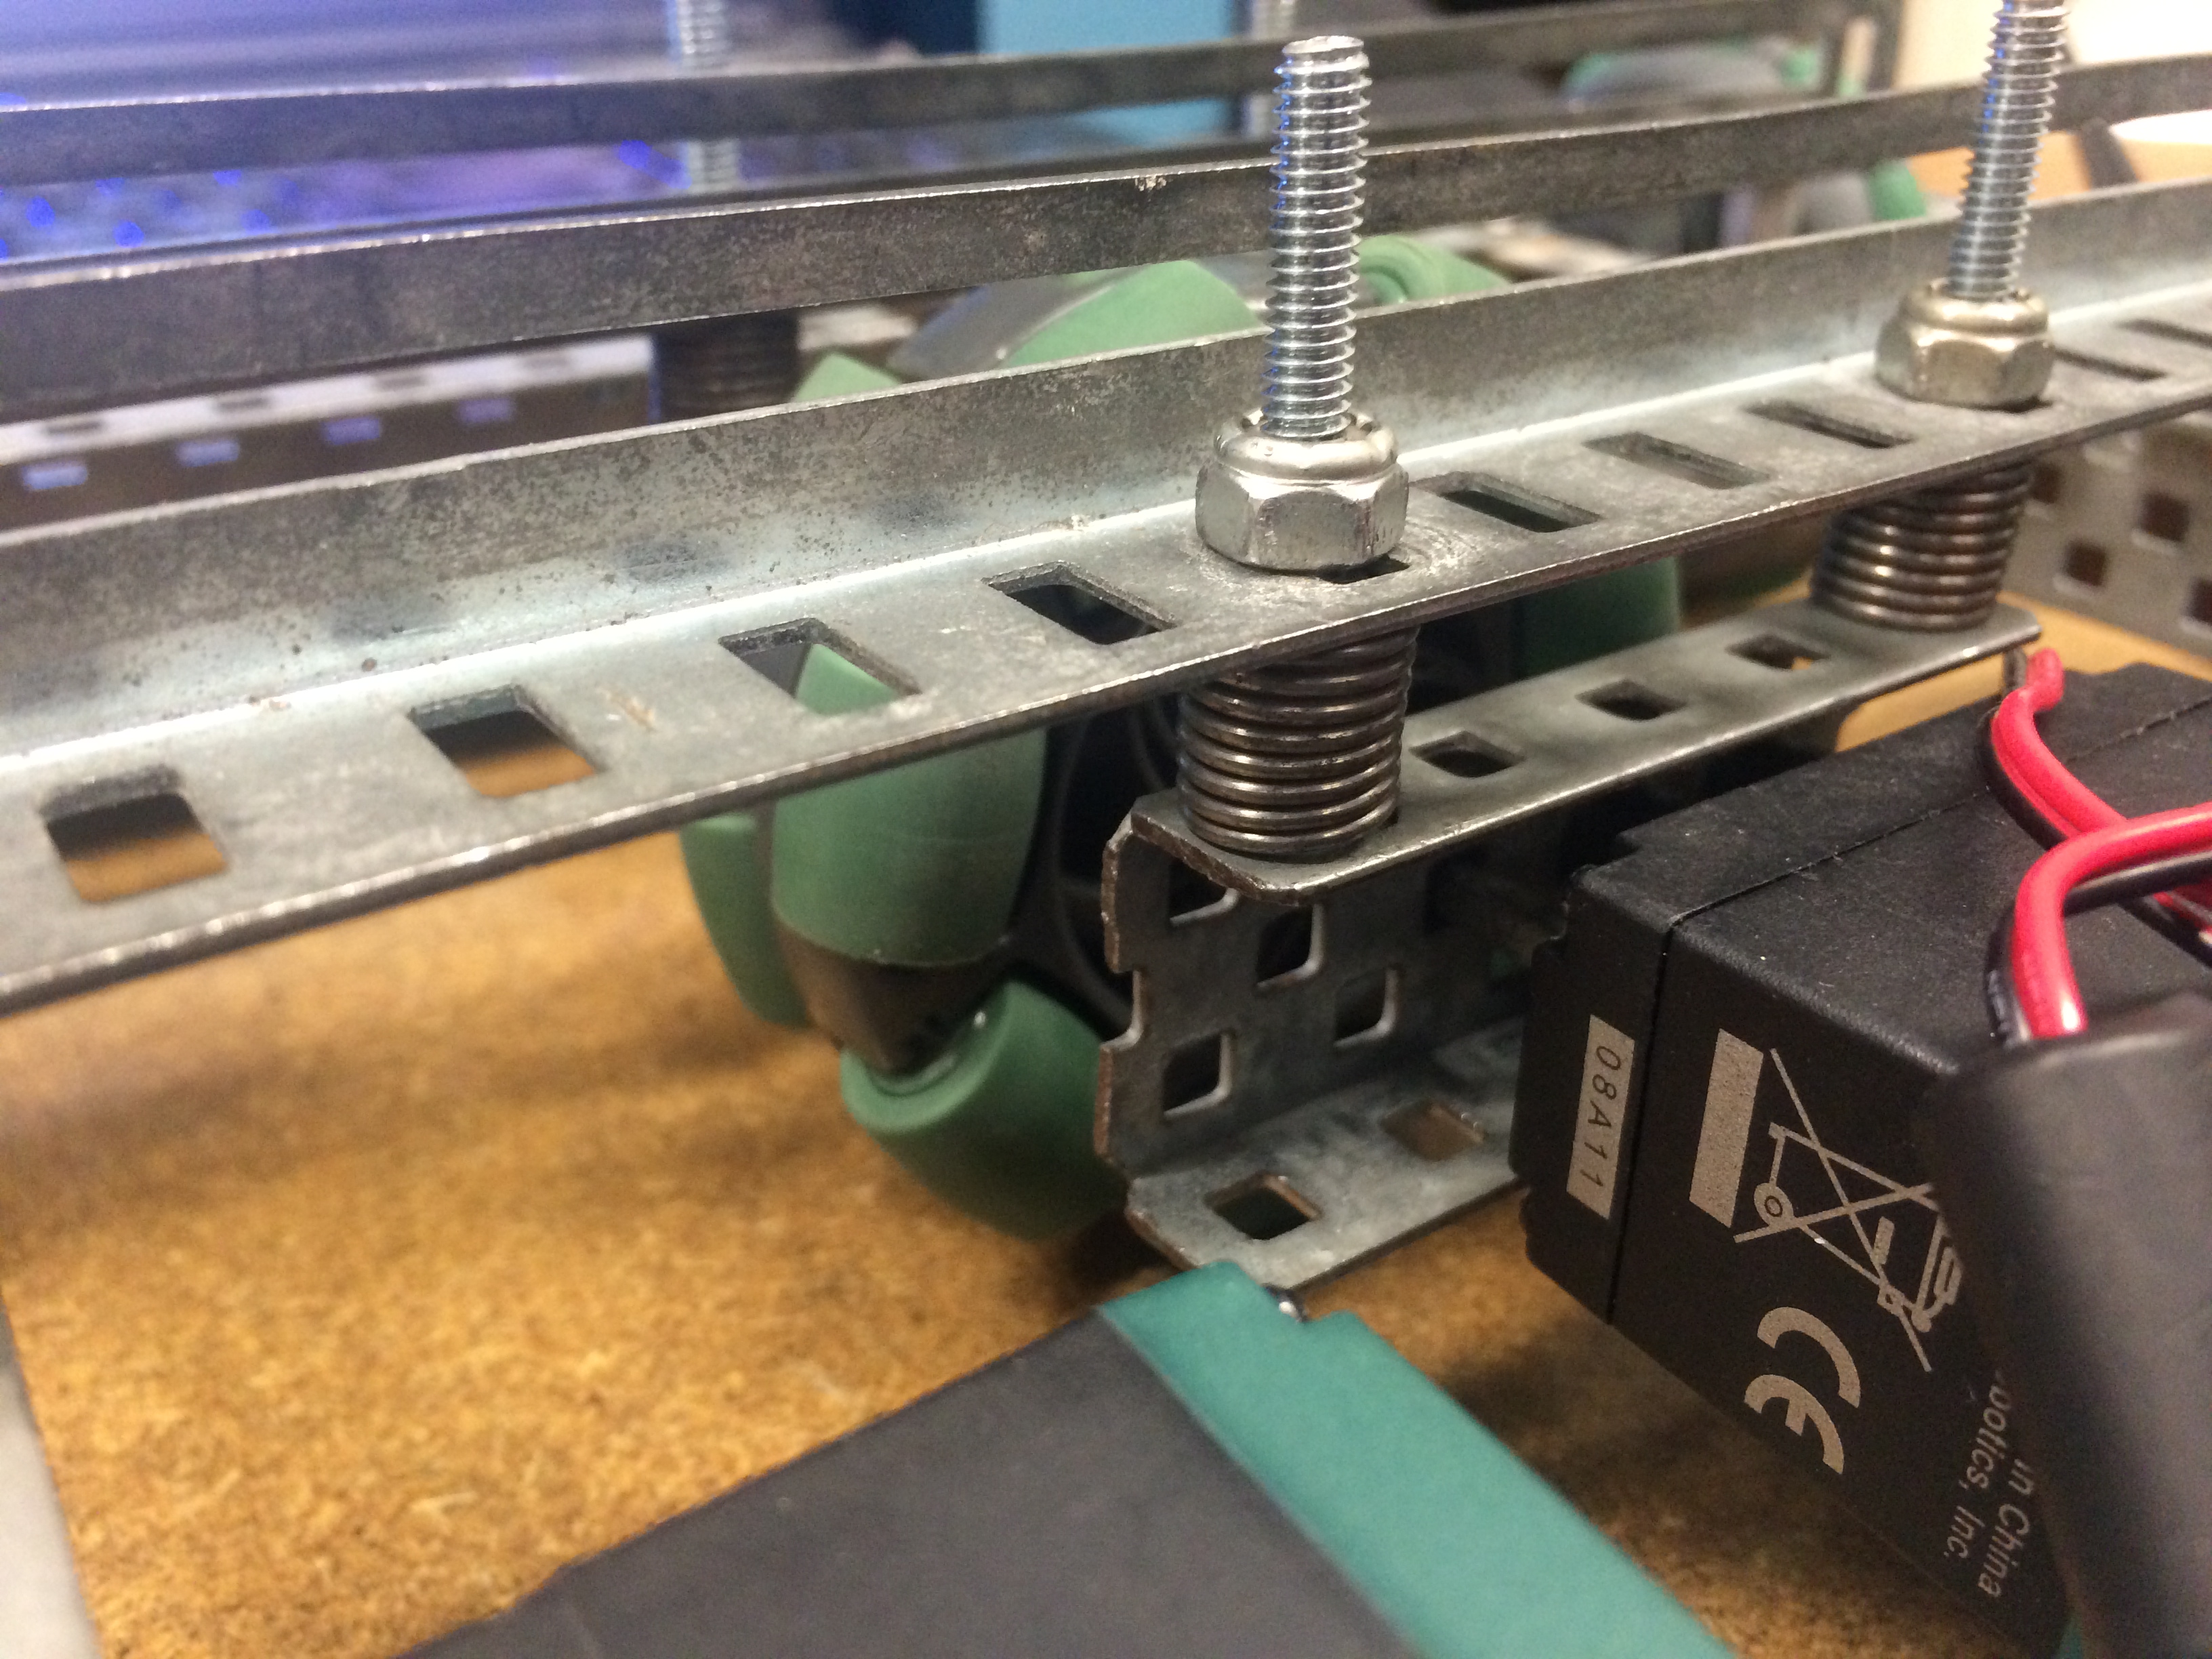
Suspension System we implemented on our Final Project. This allows us to fine-tune the center wheel's contact with the surface.
Side profile of the Omni-Directional Center Wheel in our design.

Side profile of the Omni-Directional Center Wheel in our design.
Initial AutoCAD Model of what our final project may look like.
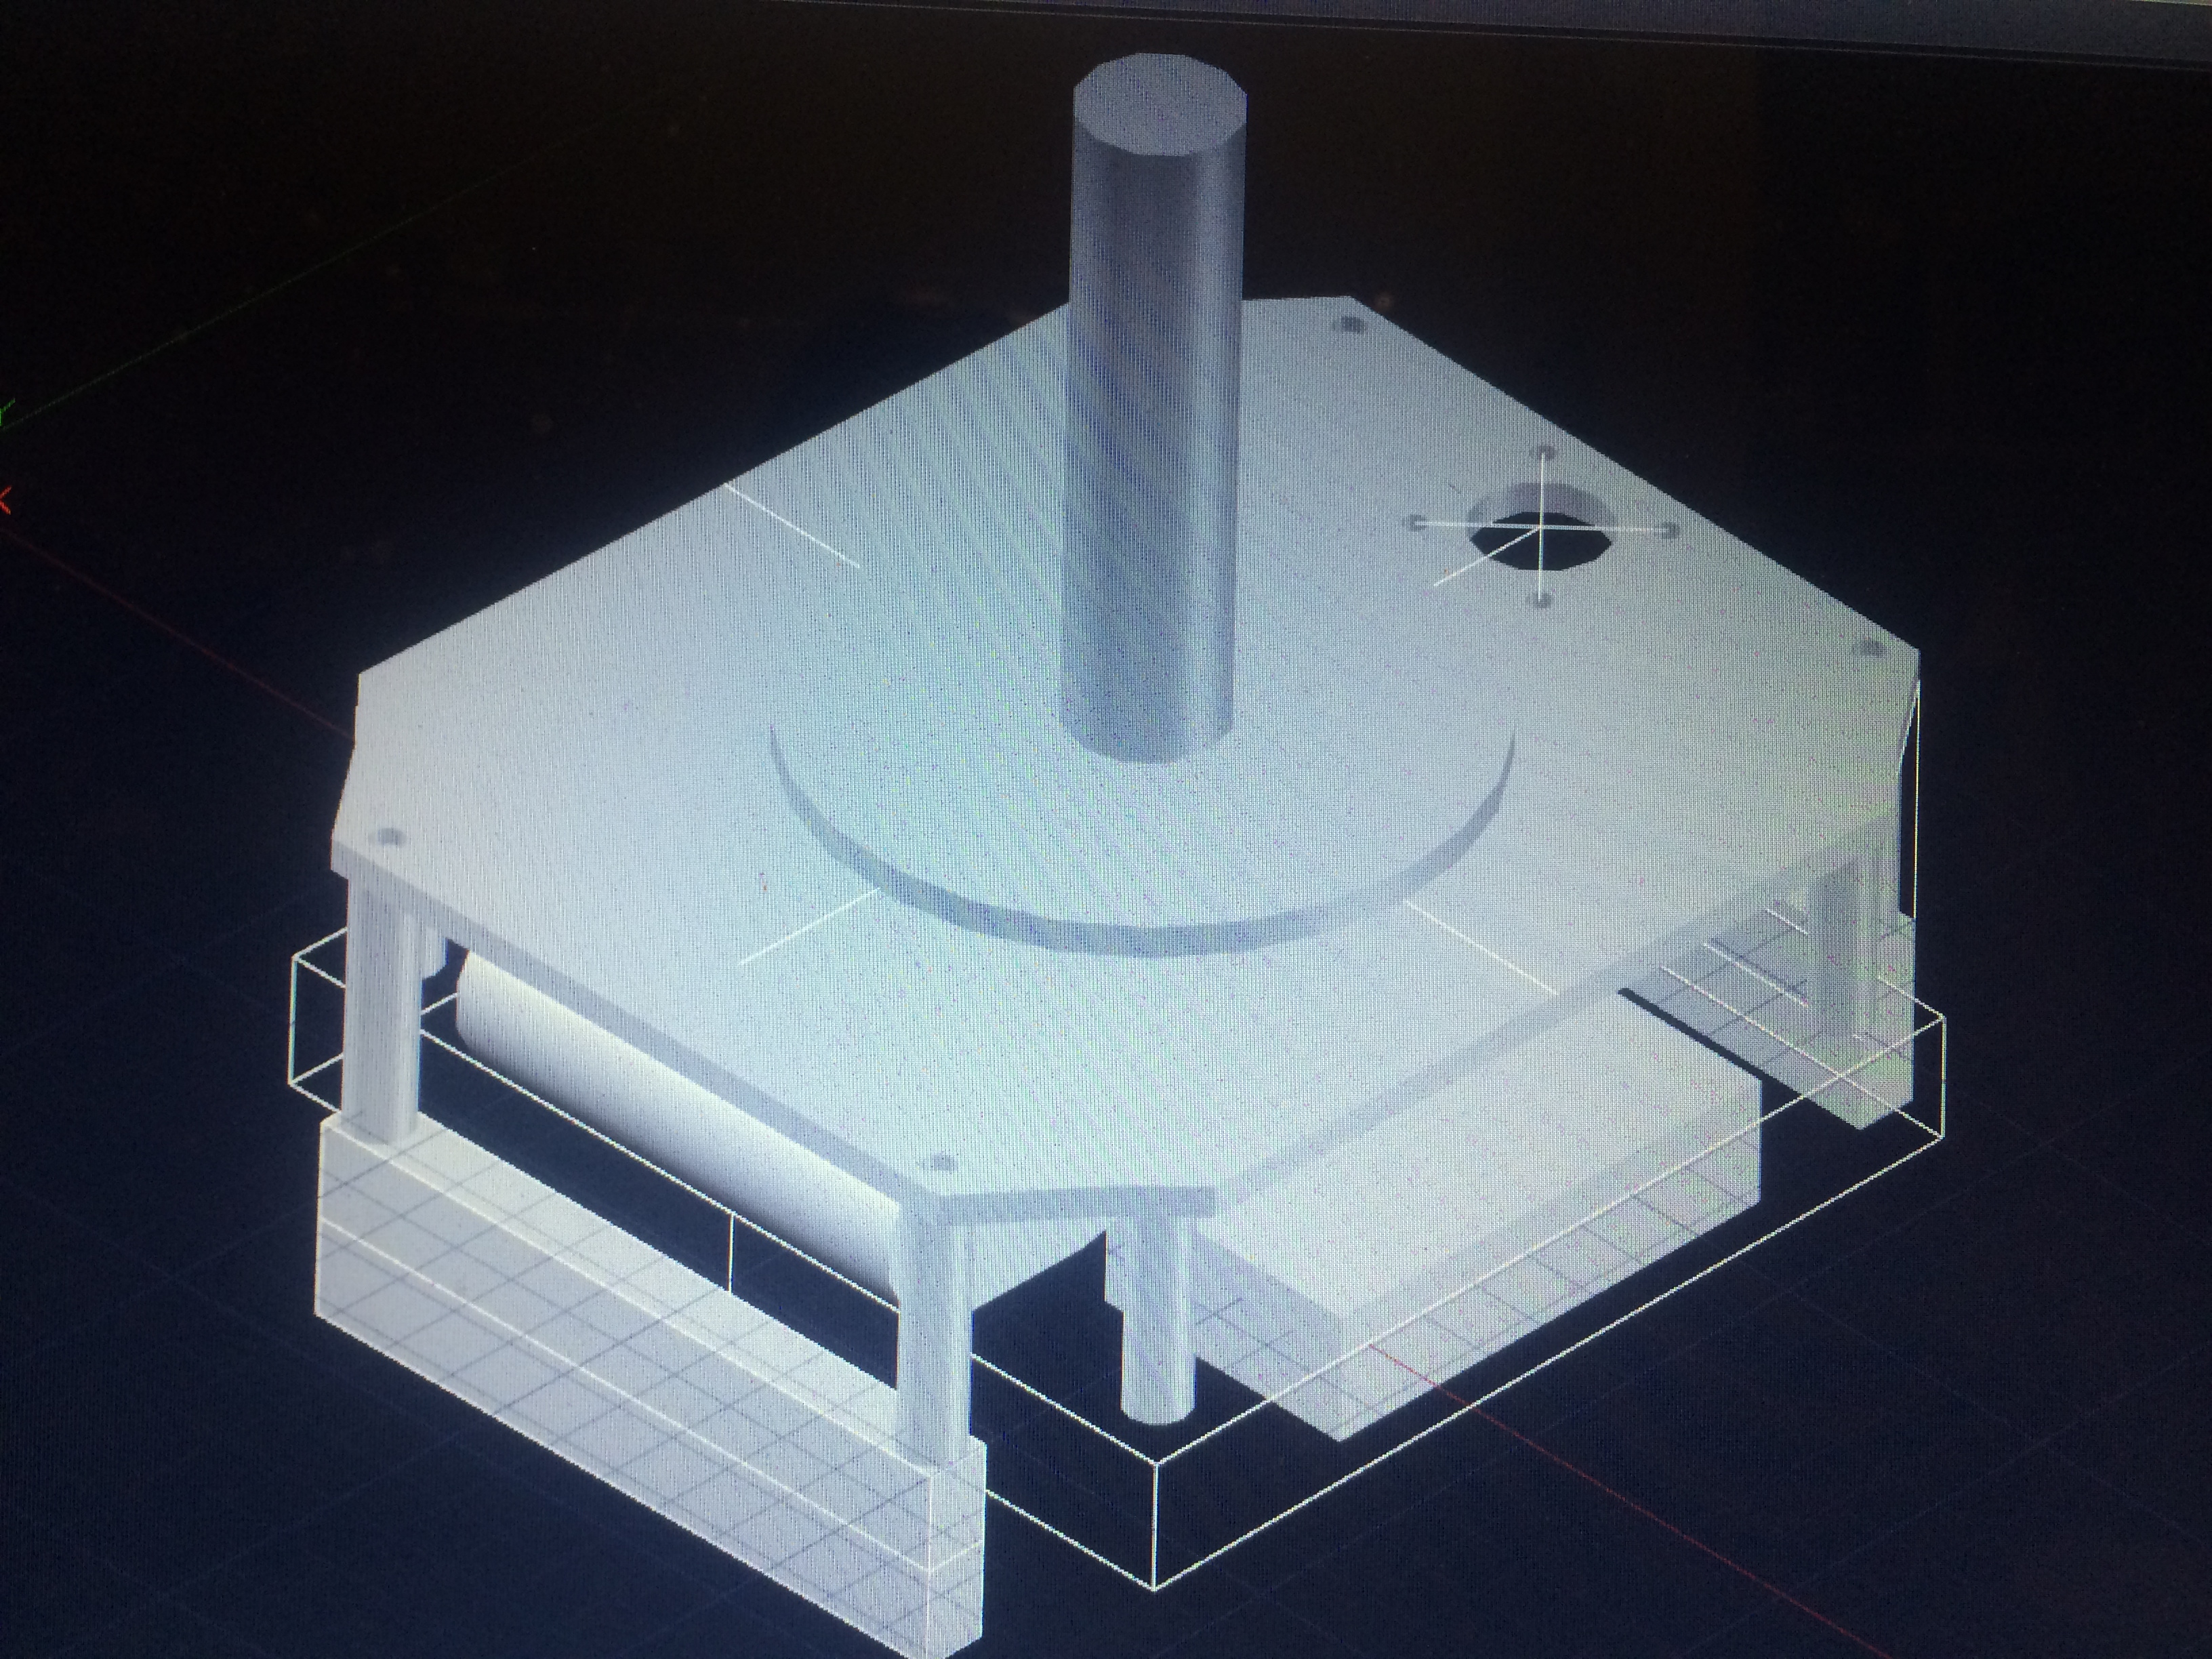
Initial AutoCAD Model of what our final project may look like.
Dimensioning various components to ensure the laser cutter properly cuts the panels at the right sizes.
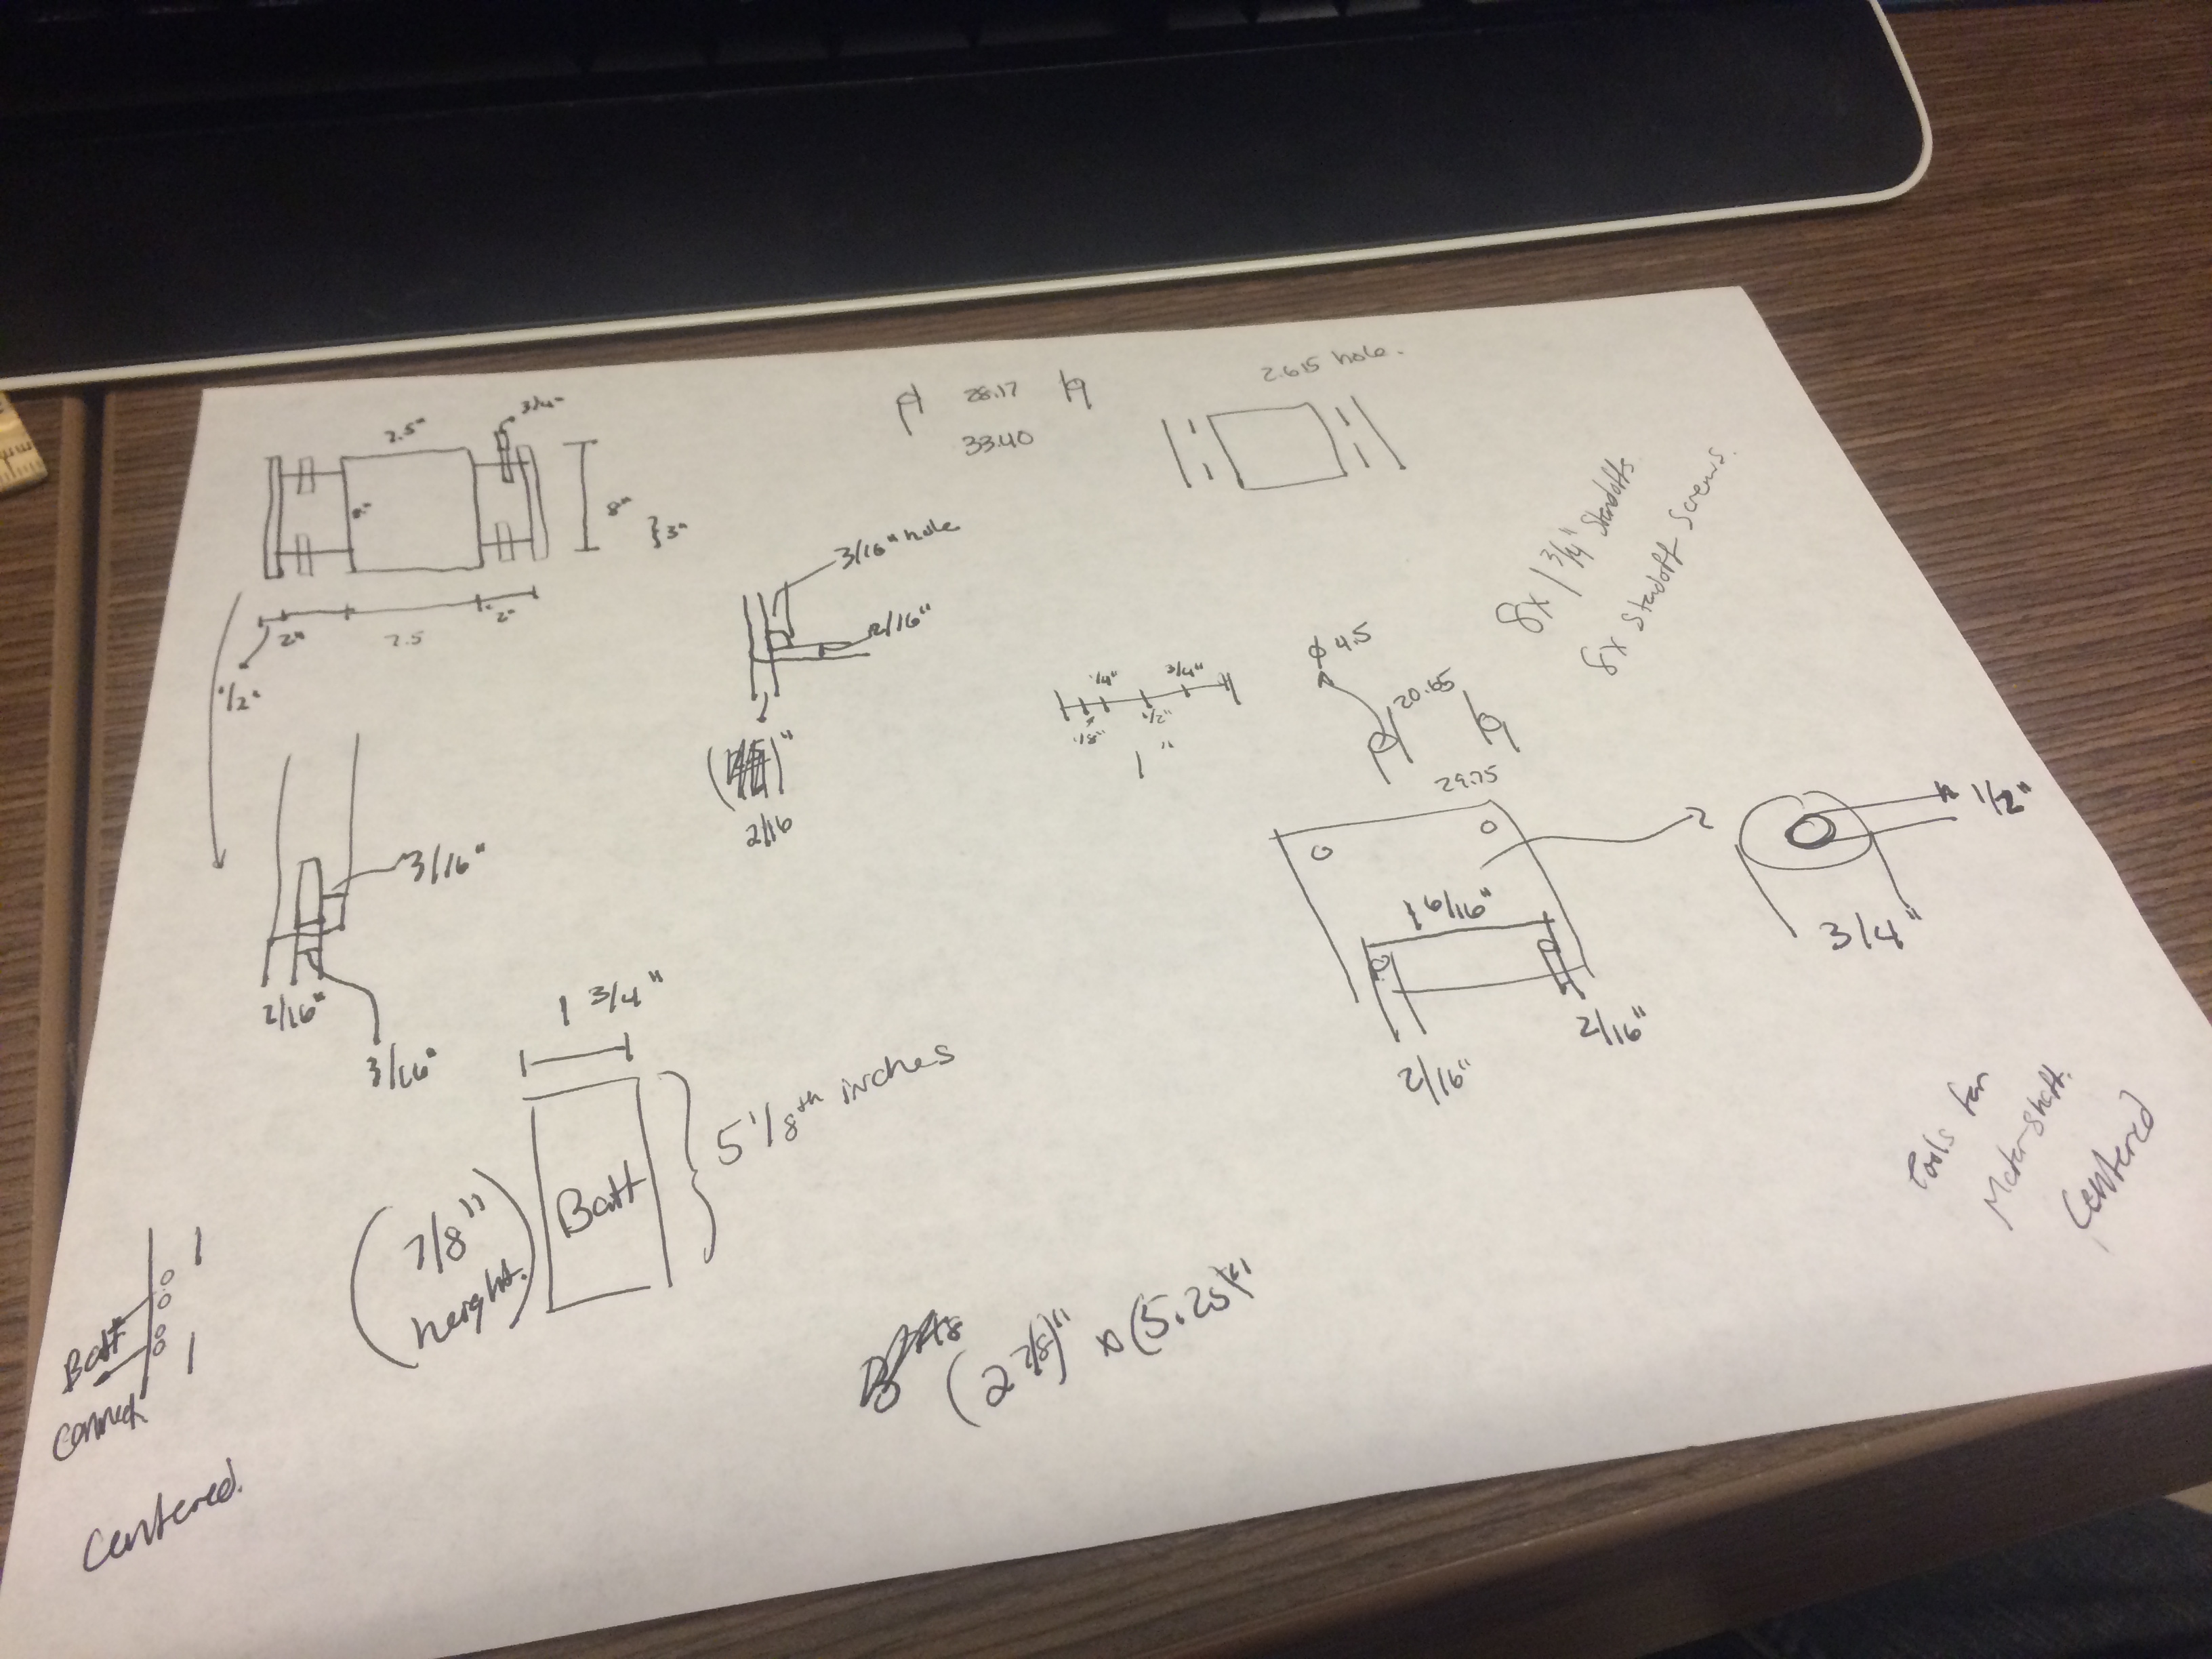
Dimensioning various components to ensure the laser cutter properly cuts the panels at the right sizes.
Laser Cutter in action cutting through the 1/4" Acrylic Panels.
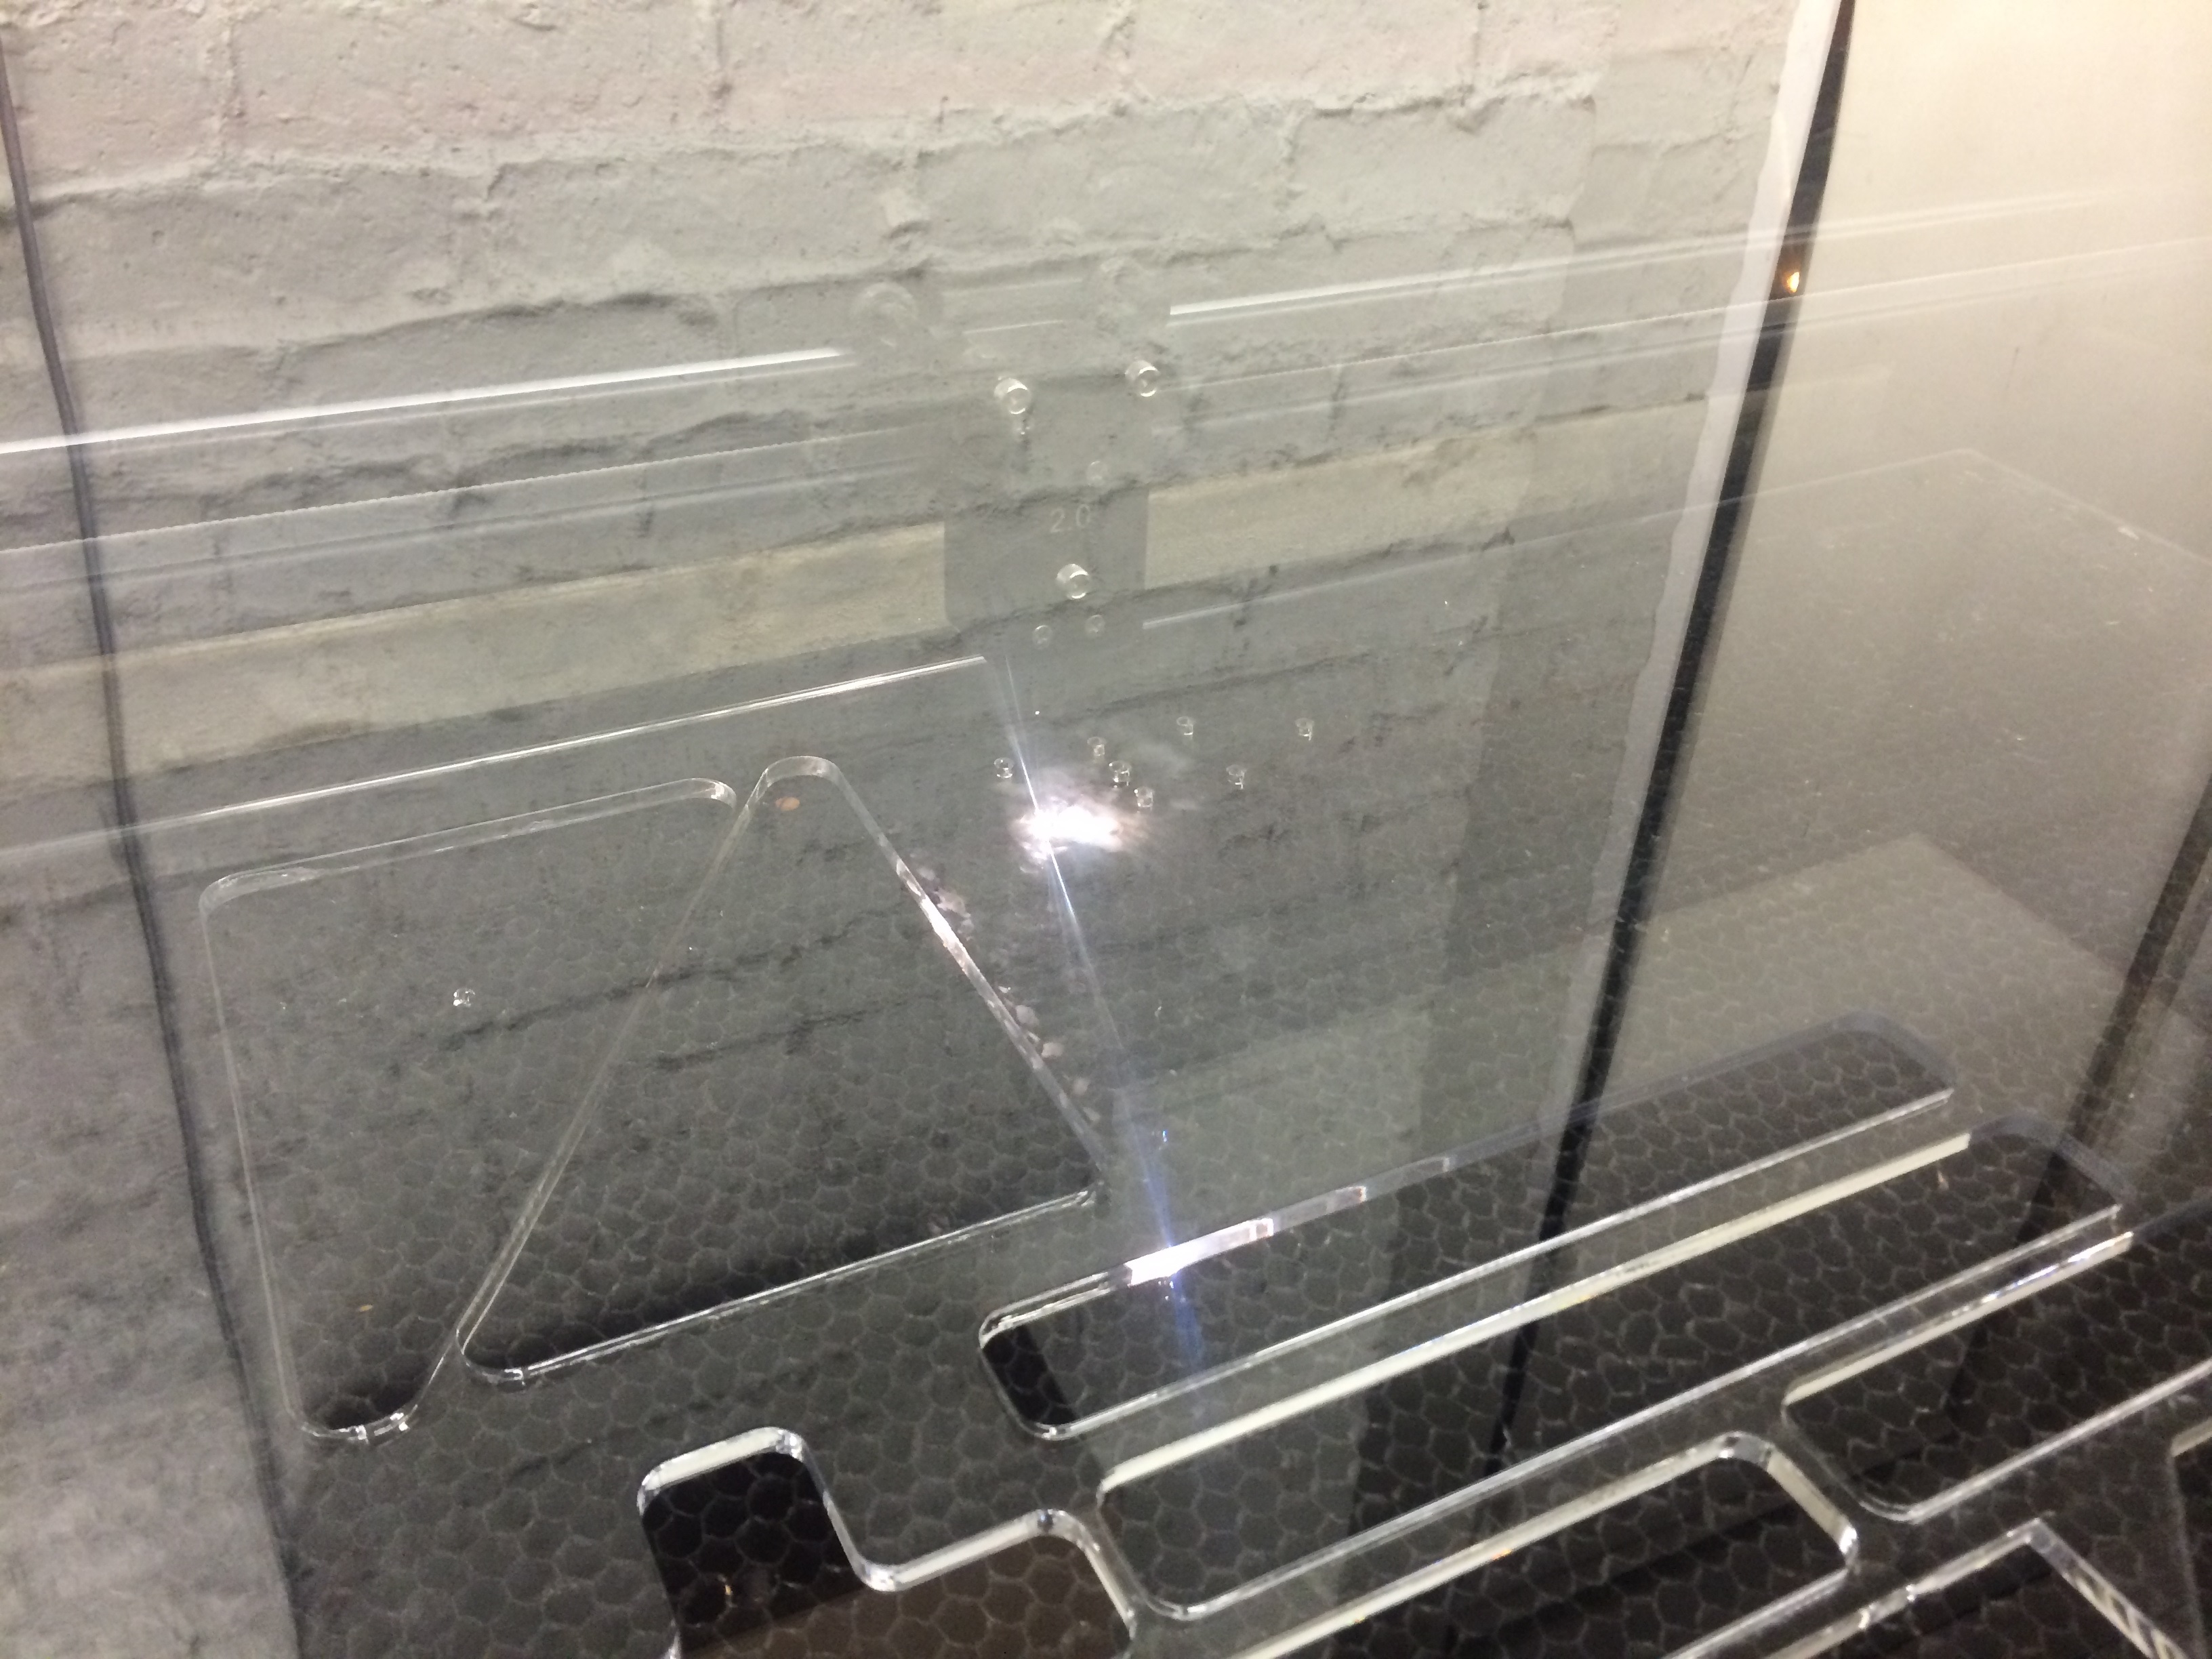
Laser Cutter in action cutting through the 1/4" Acrylic Panels.
Robot Chassis starting to take shape. Vertical posts are put in place for the structural Acrylic on top.
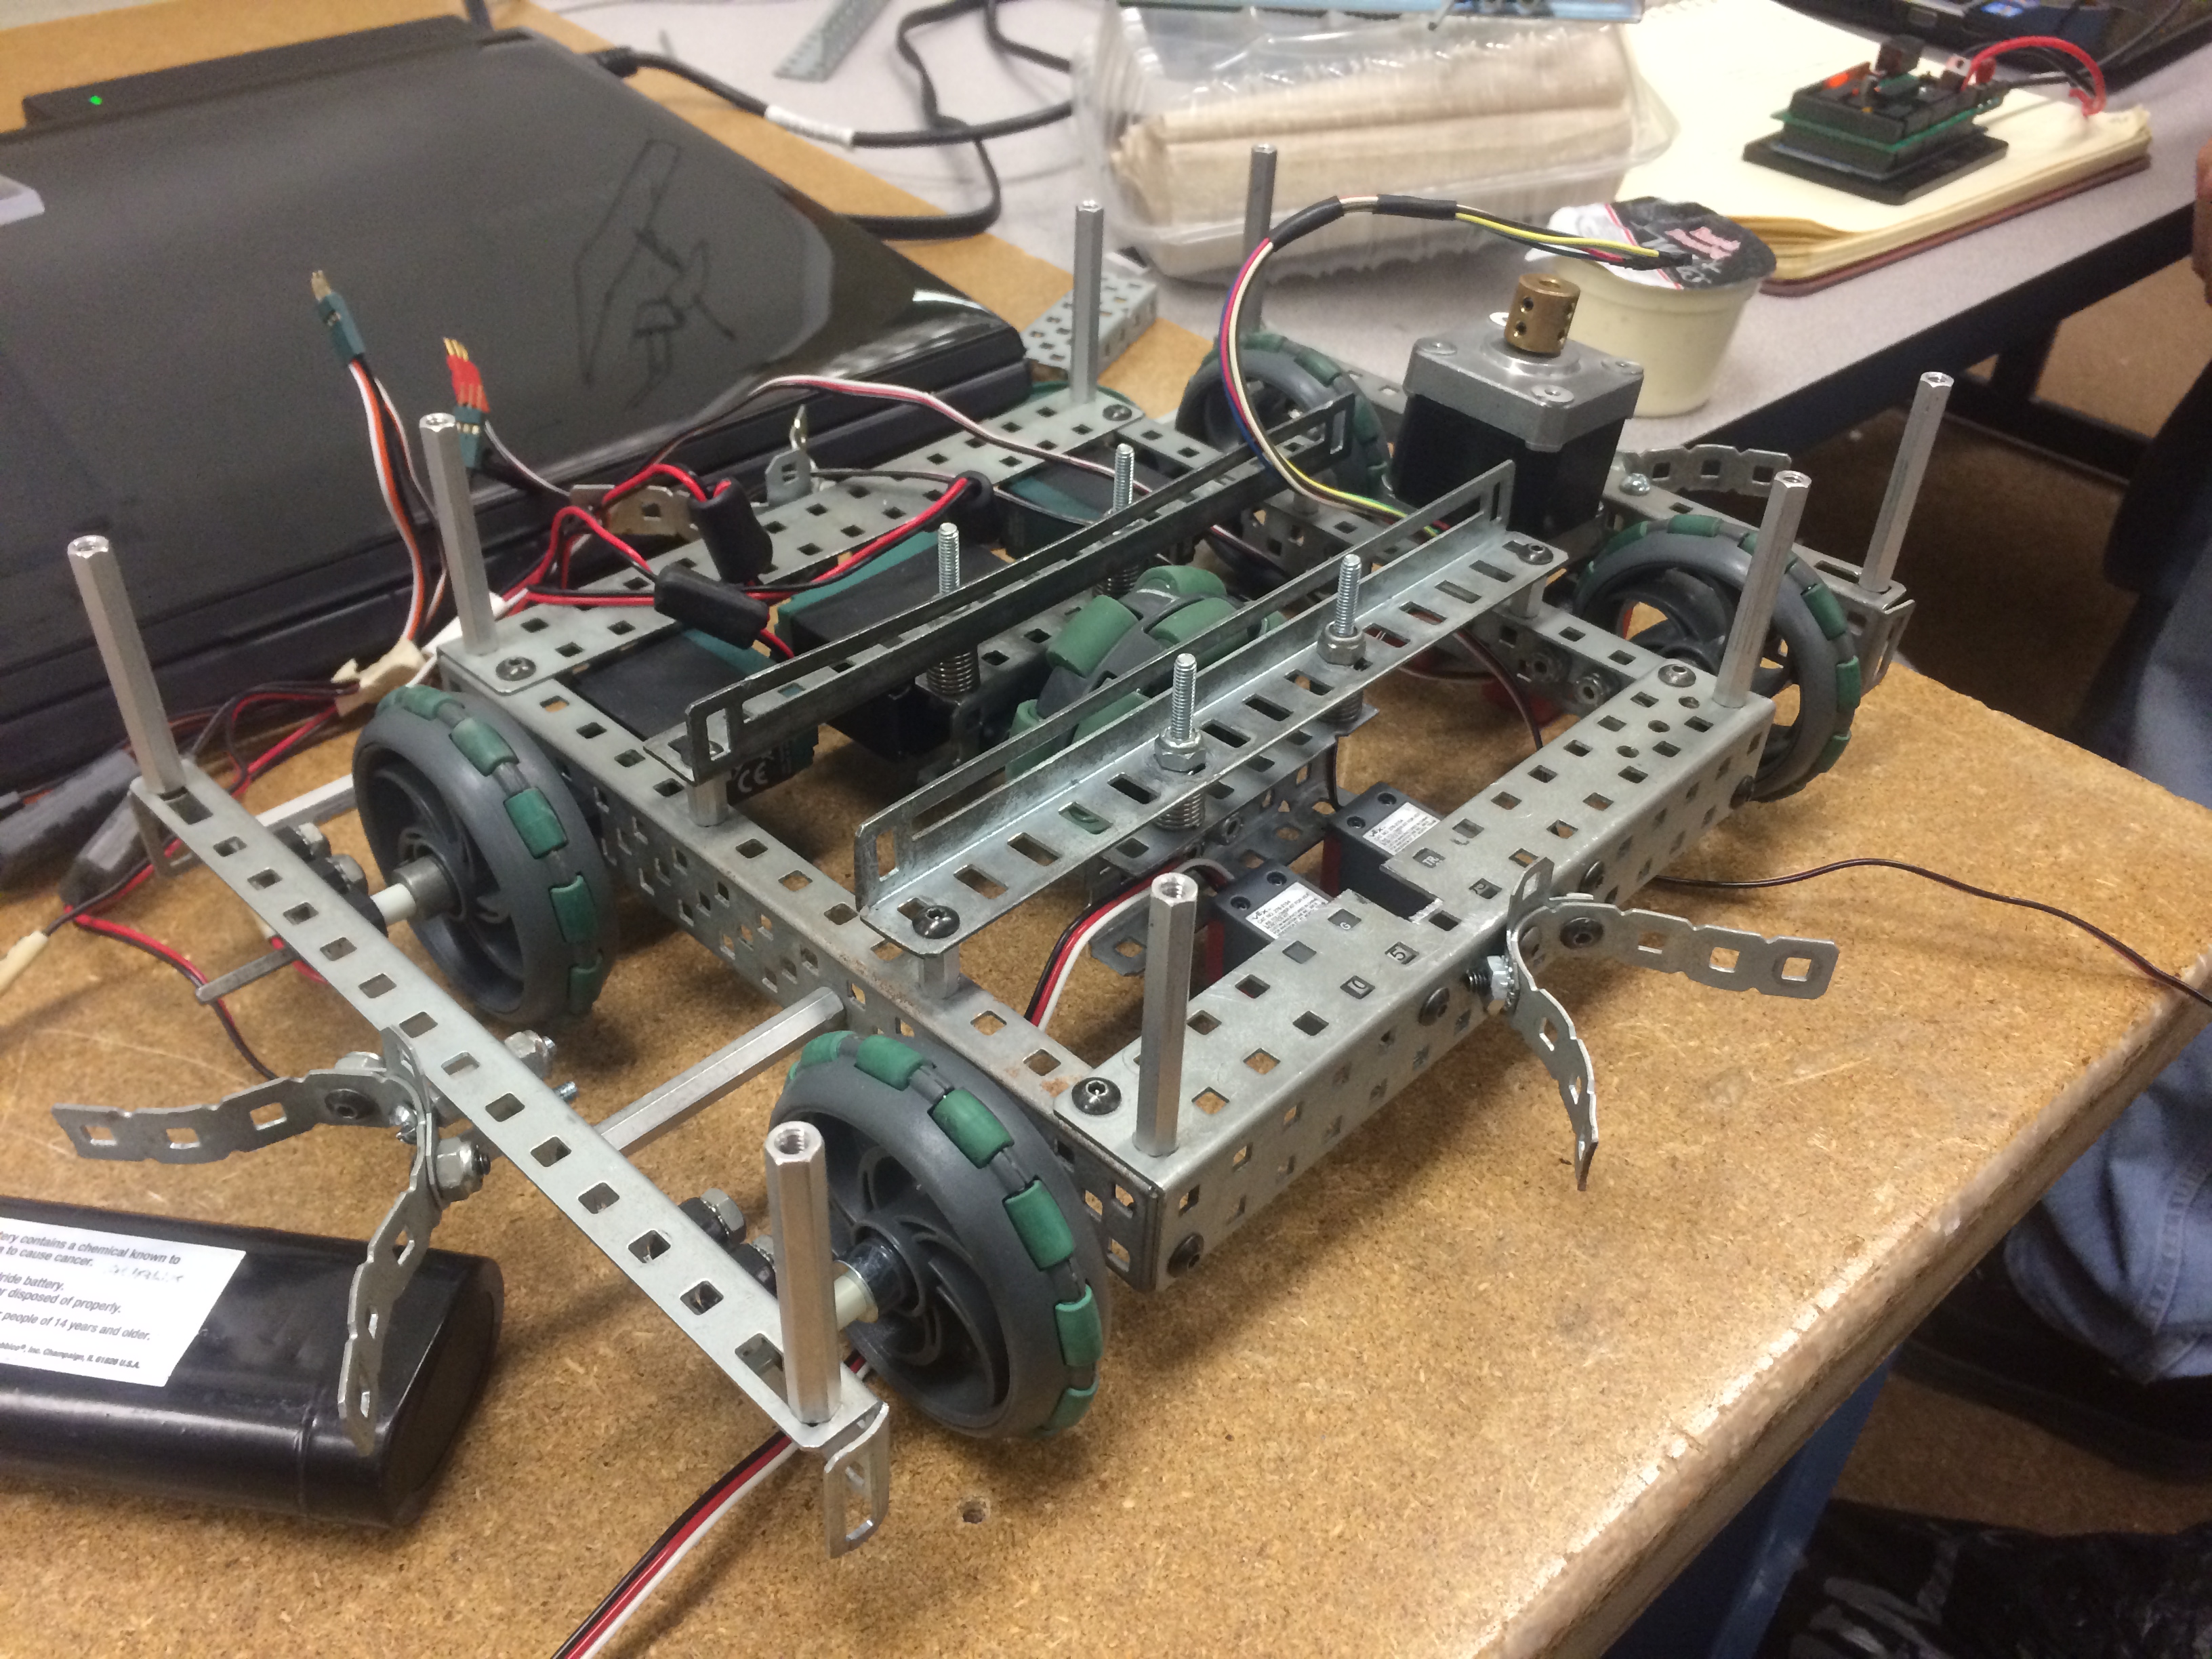
Robot Chassis starting to take shape. Vertical posts are put in place for the structural Acrylic on top.
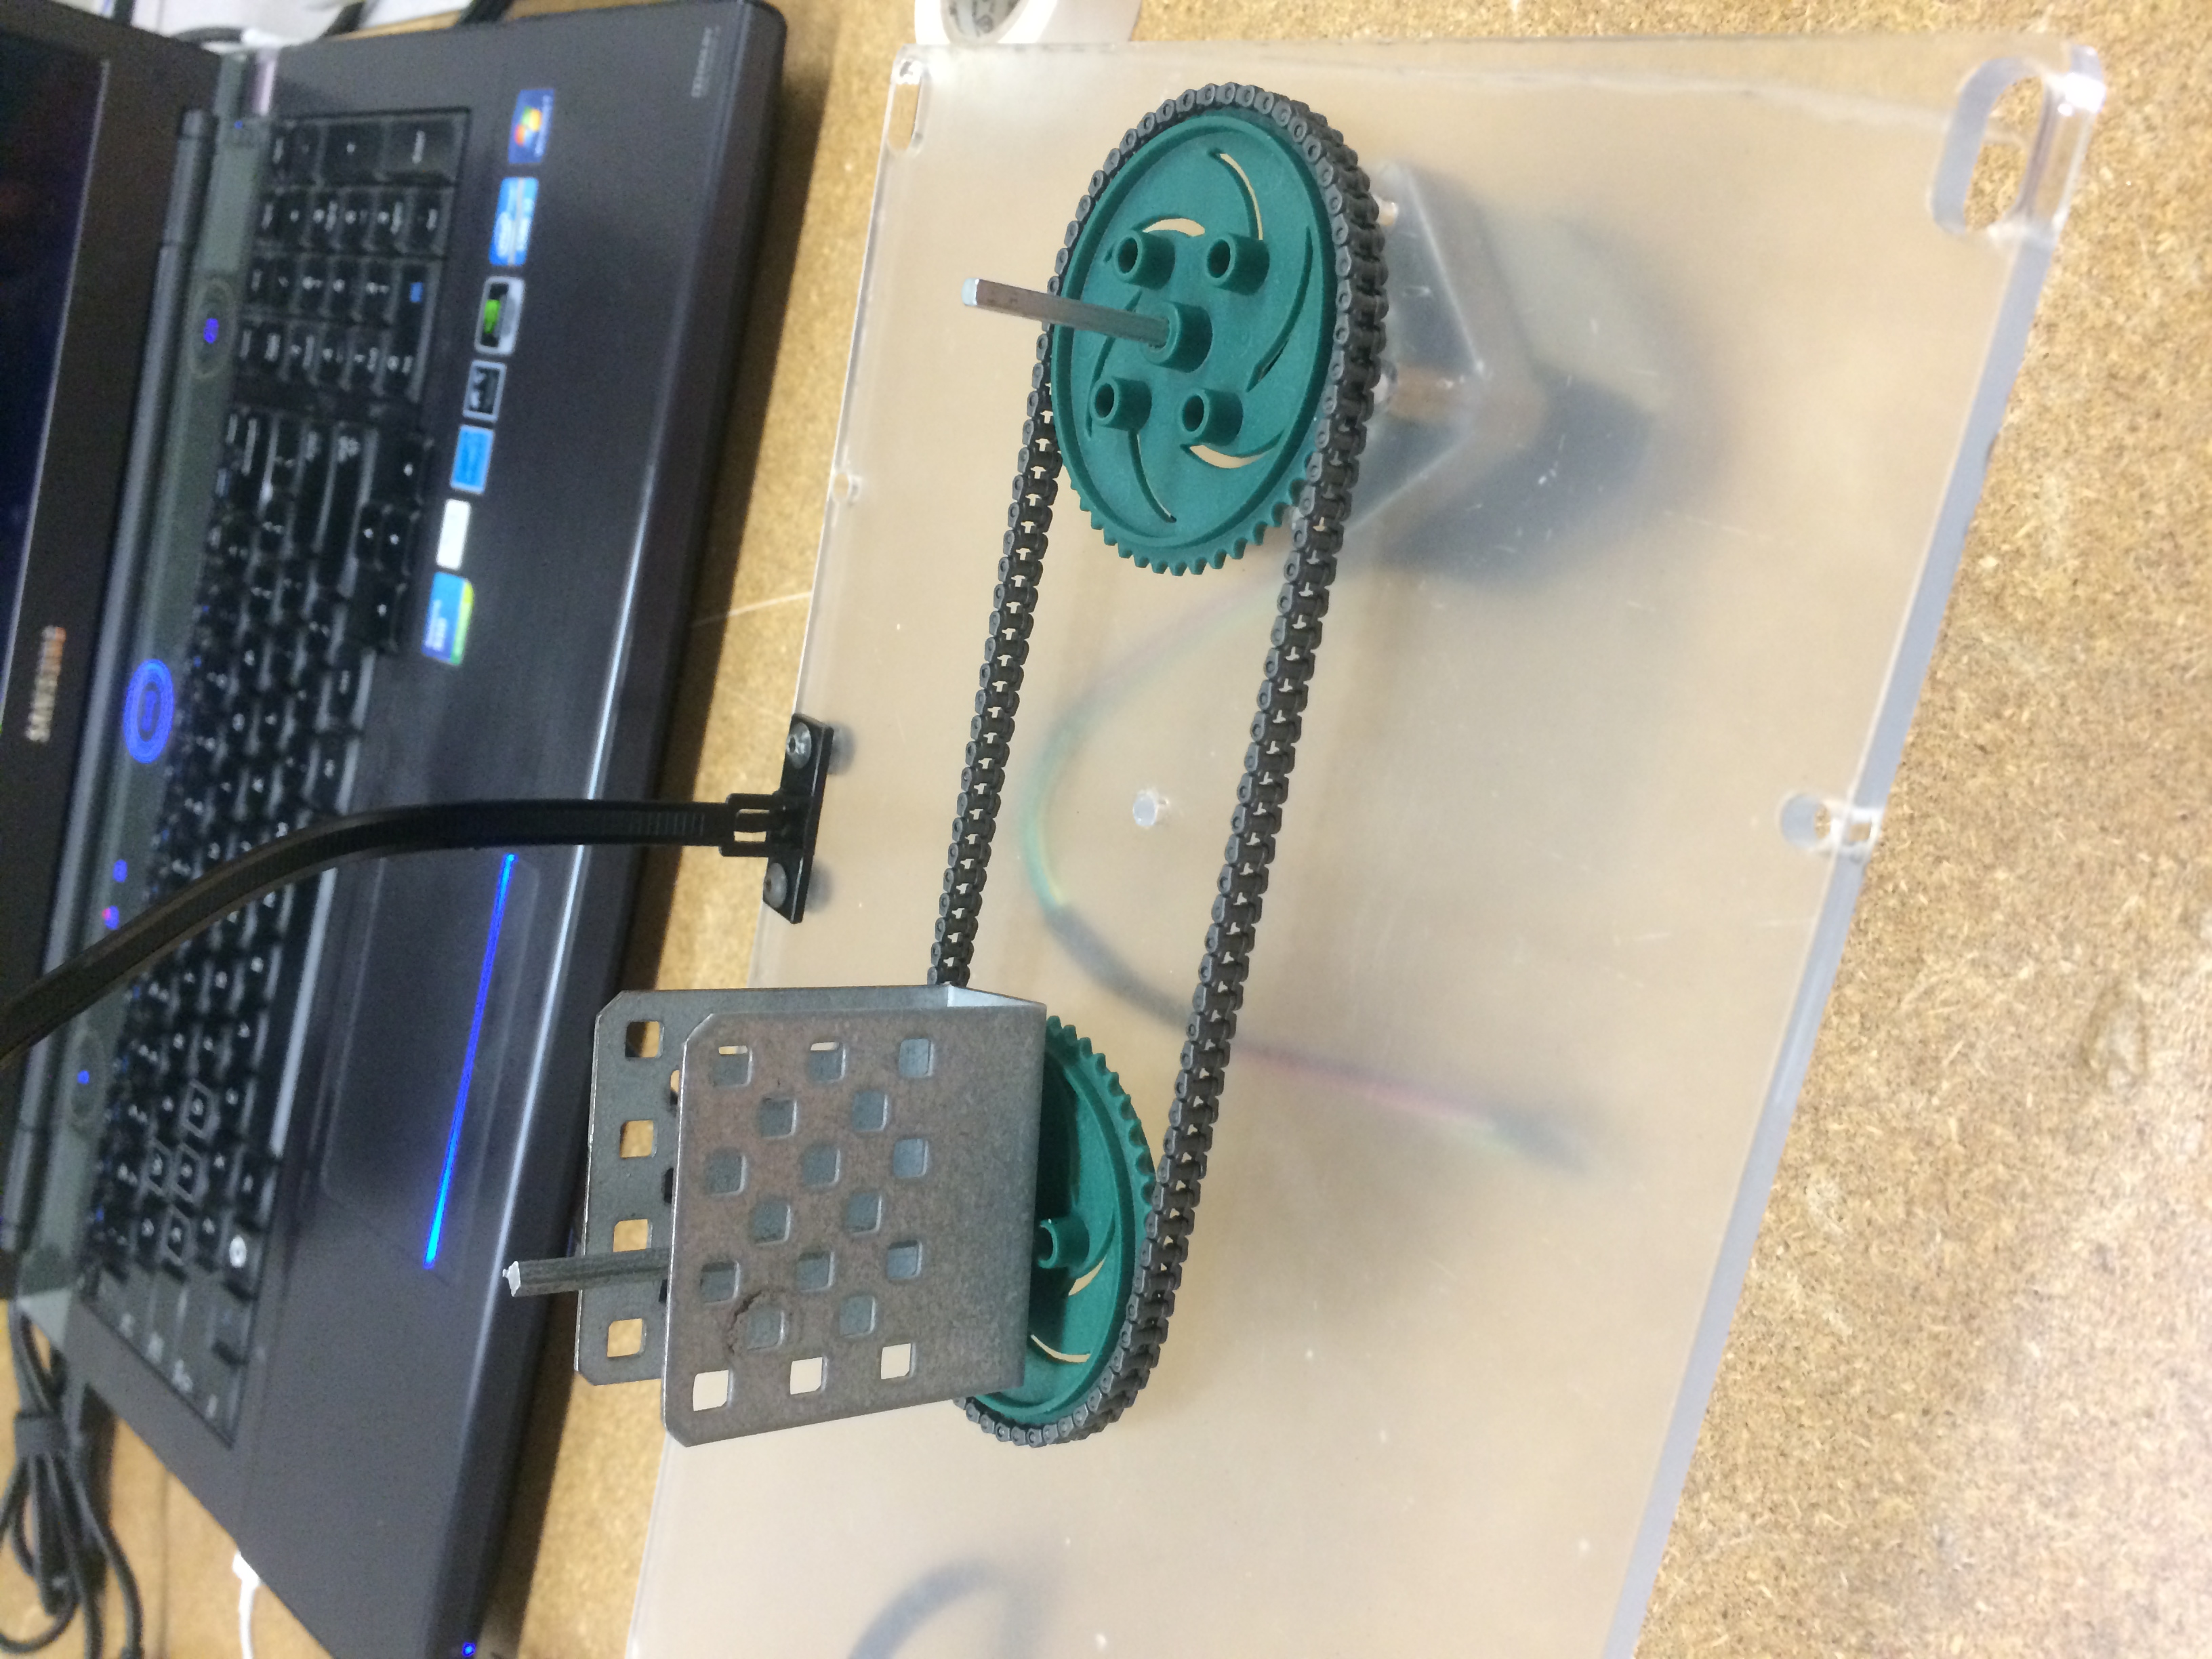
Acrylic on mtop of the robot, Battery Zip Ties mounted to the robot, Sprockets and Chains fitted onto top column.
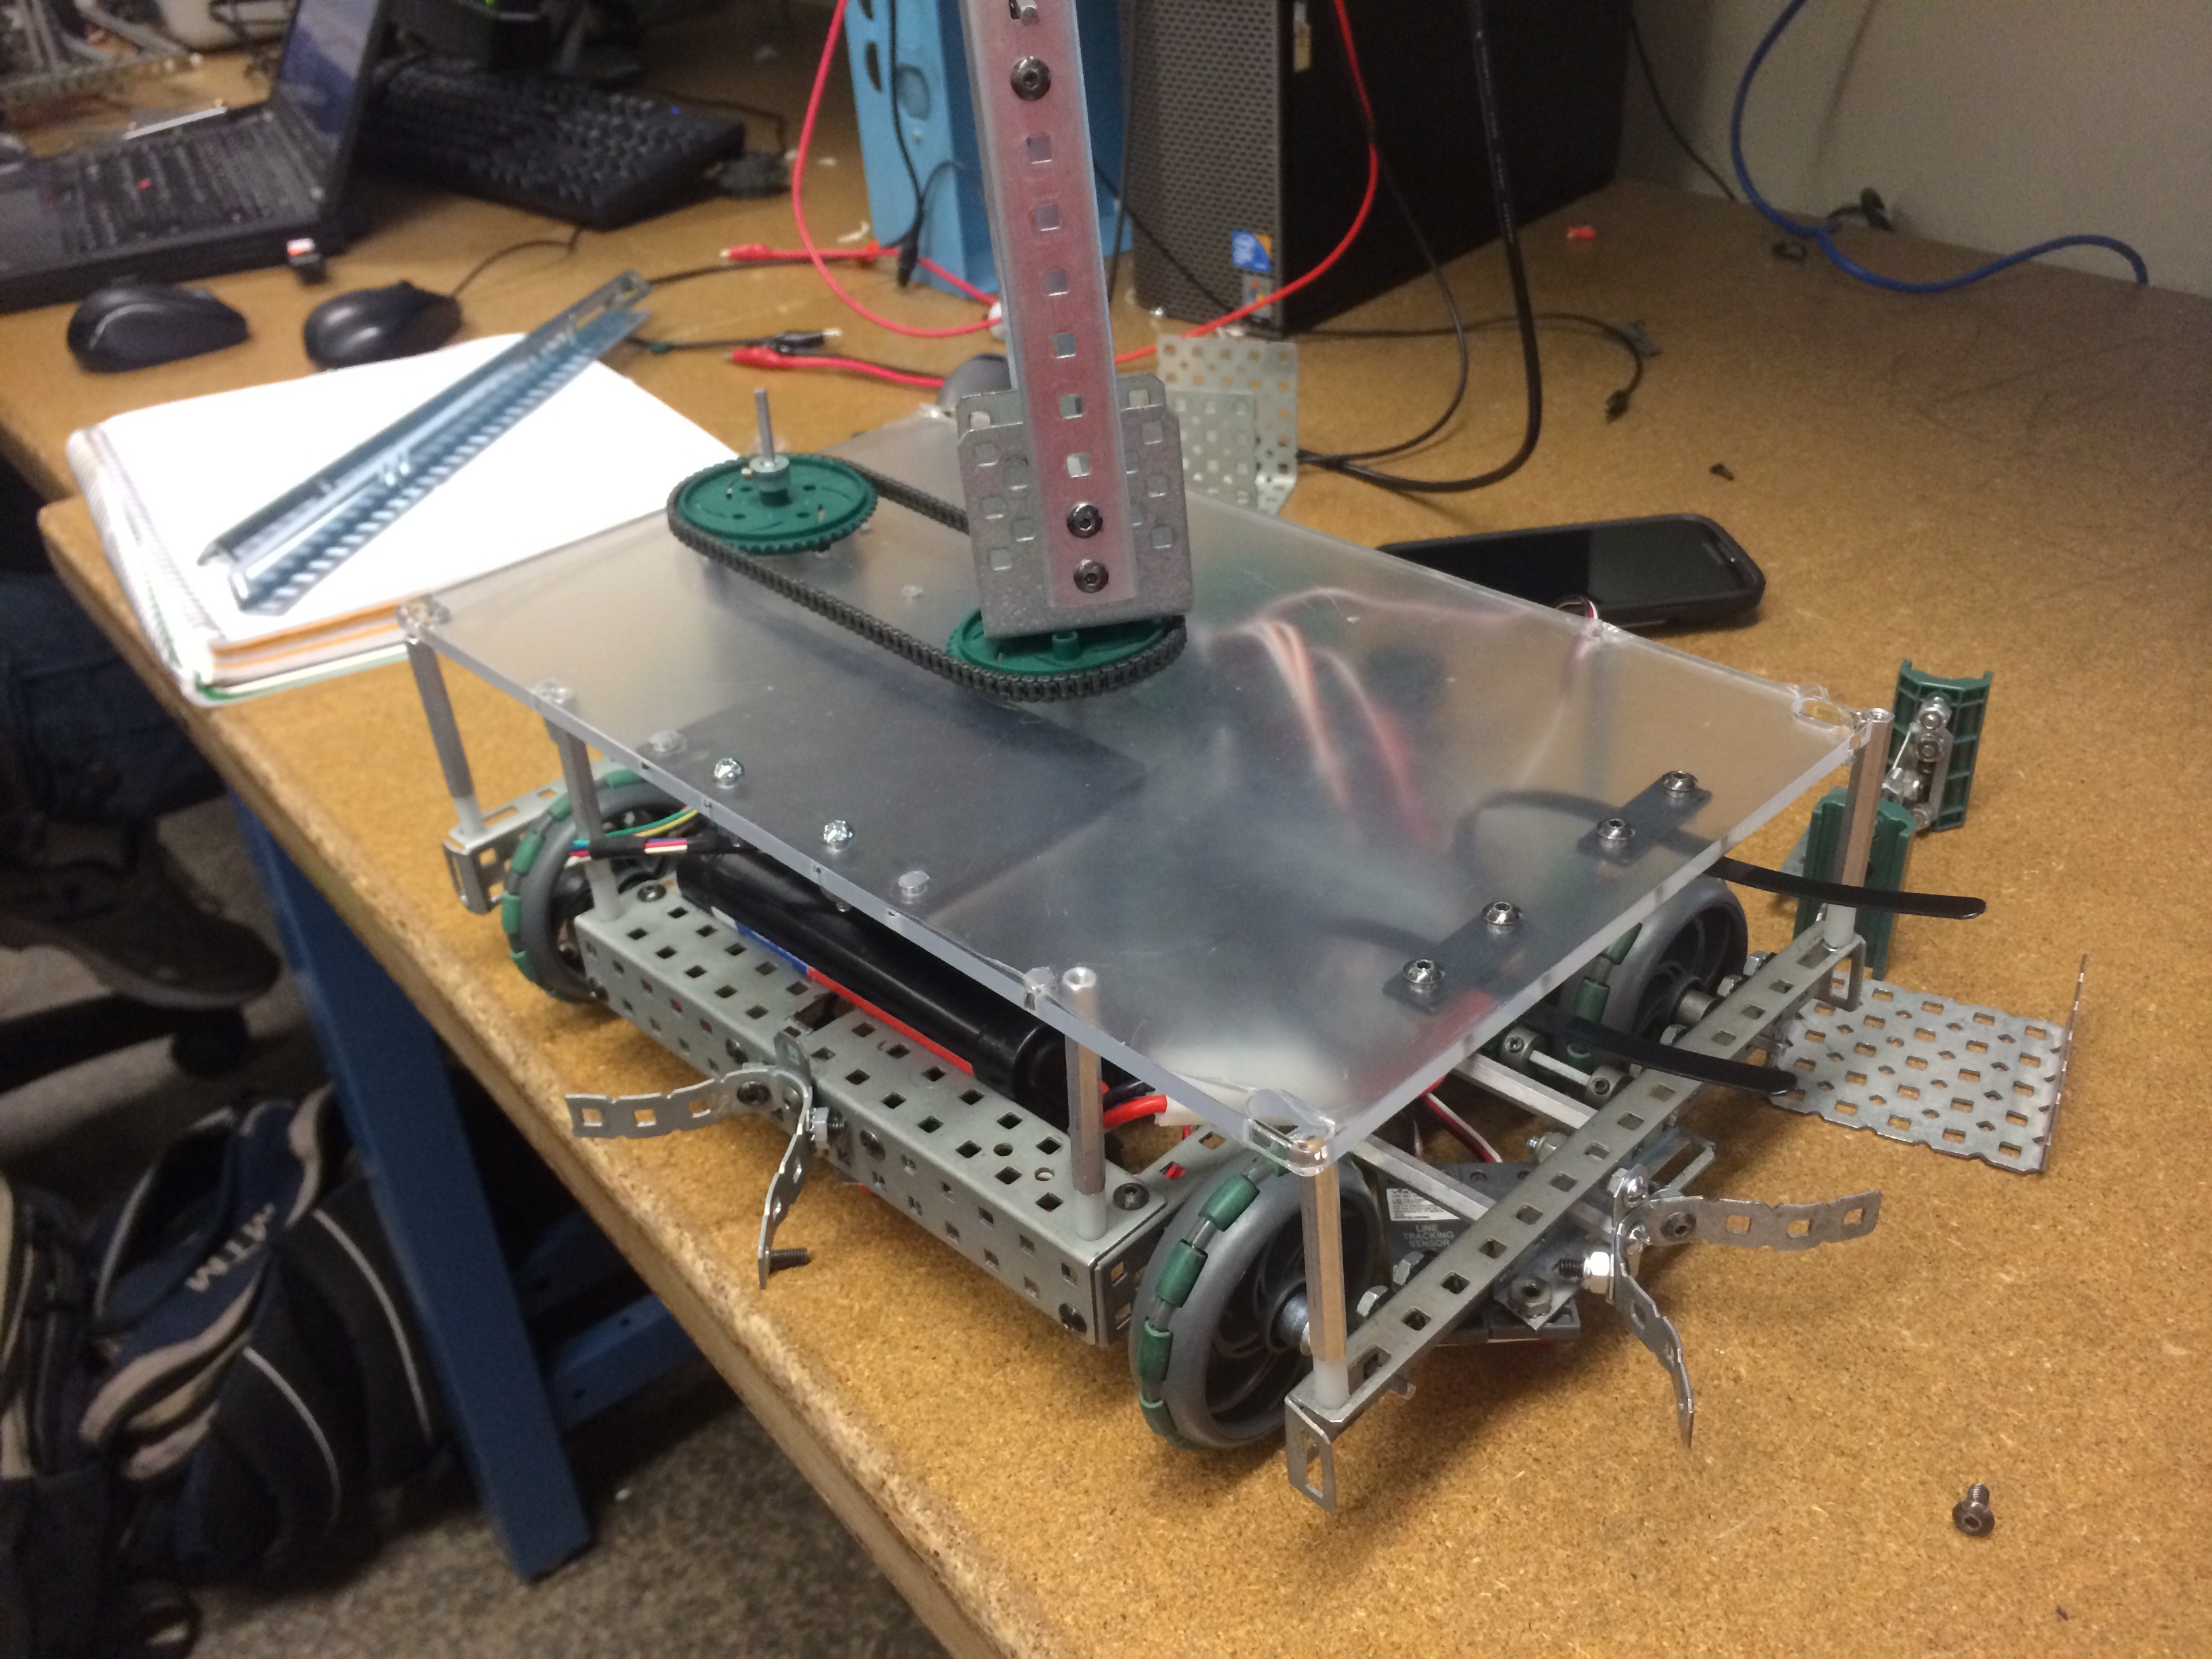
Acrylic on mtop of the robot, Battery Zip Ties mounted to the robot, Sprockets and Chains fitted onto top column.
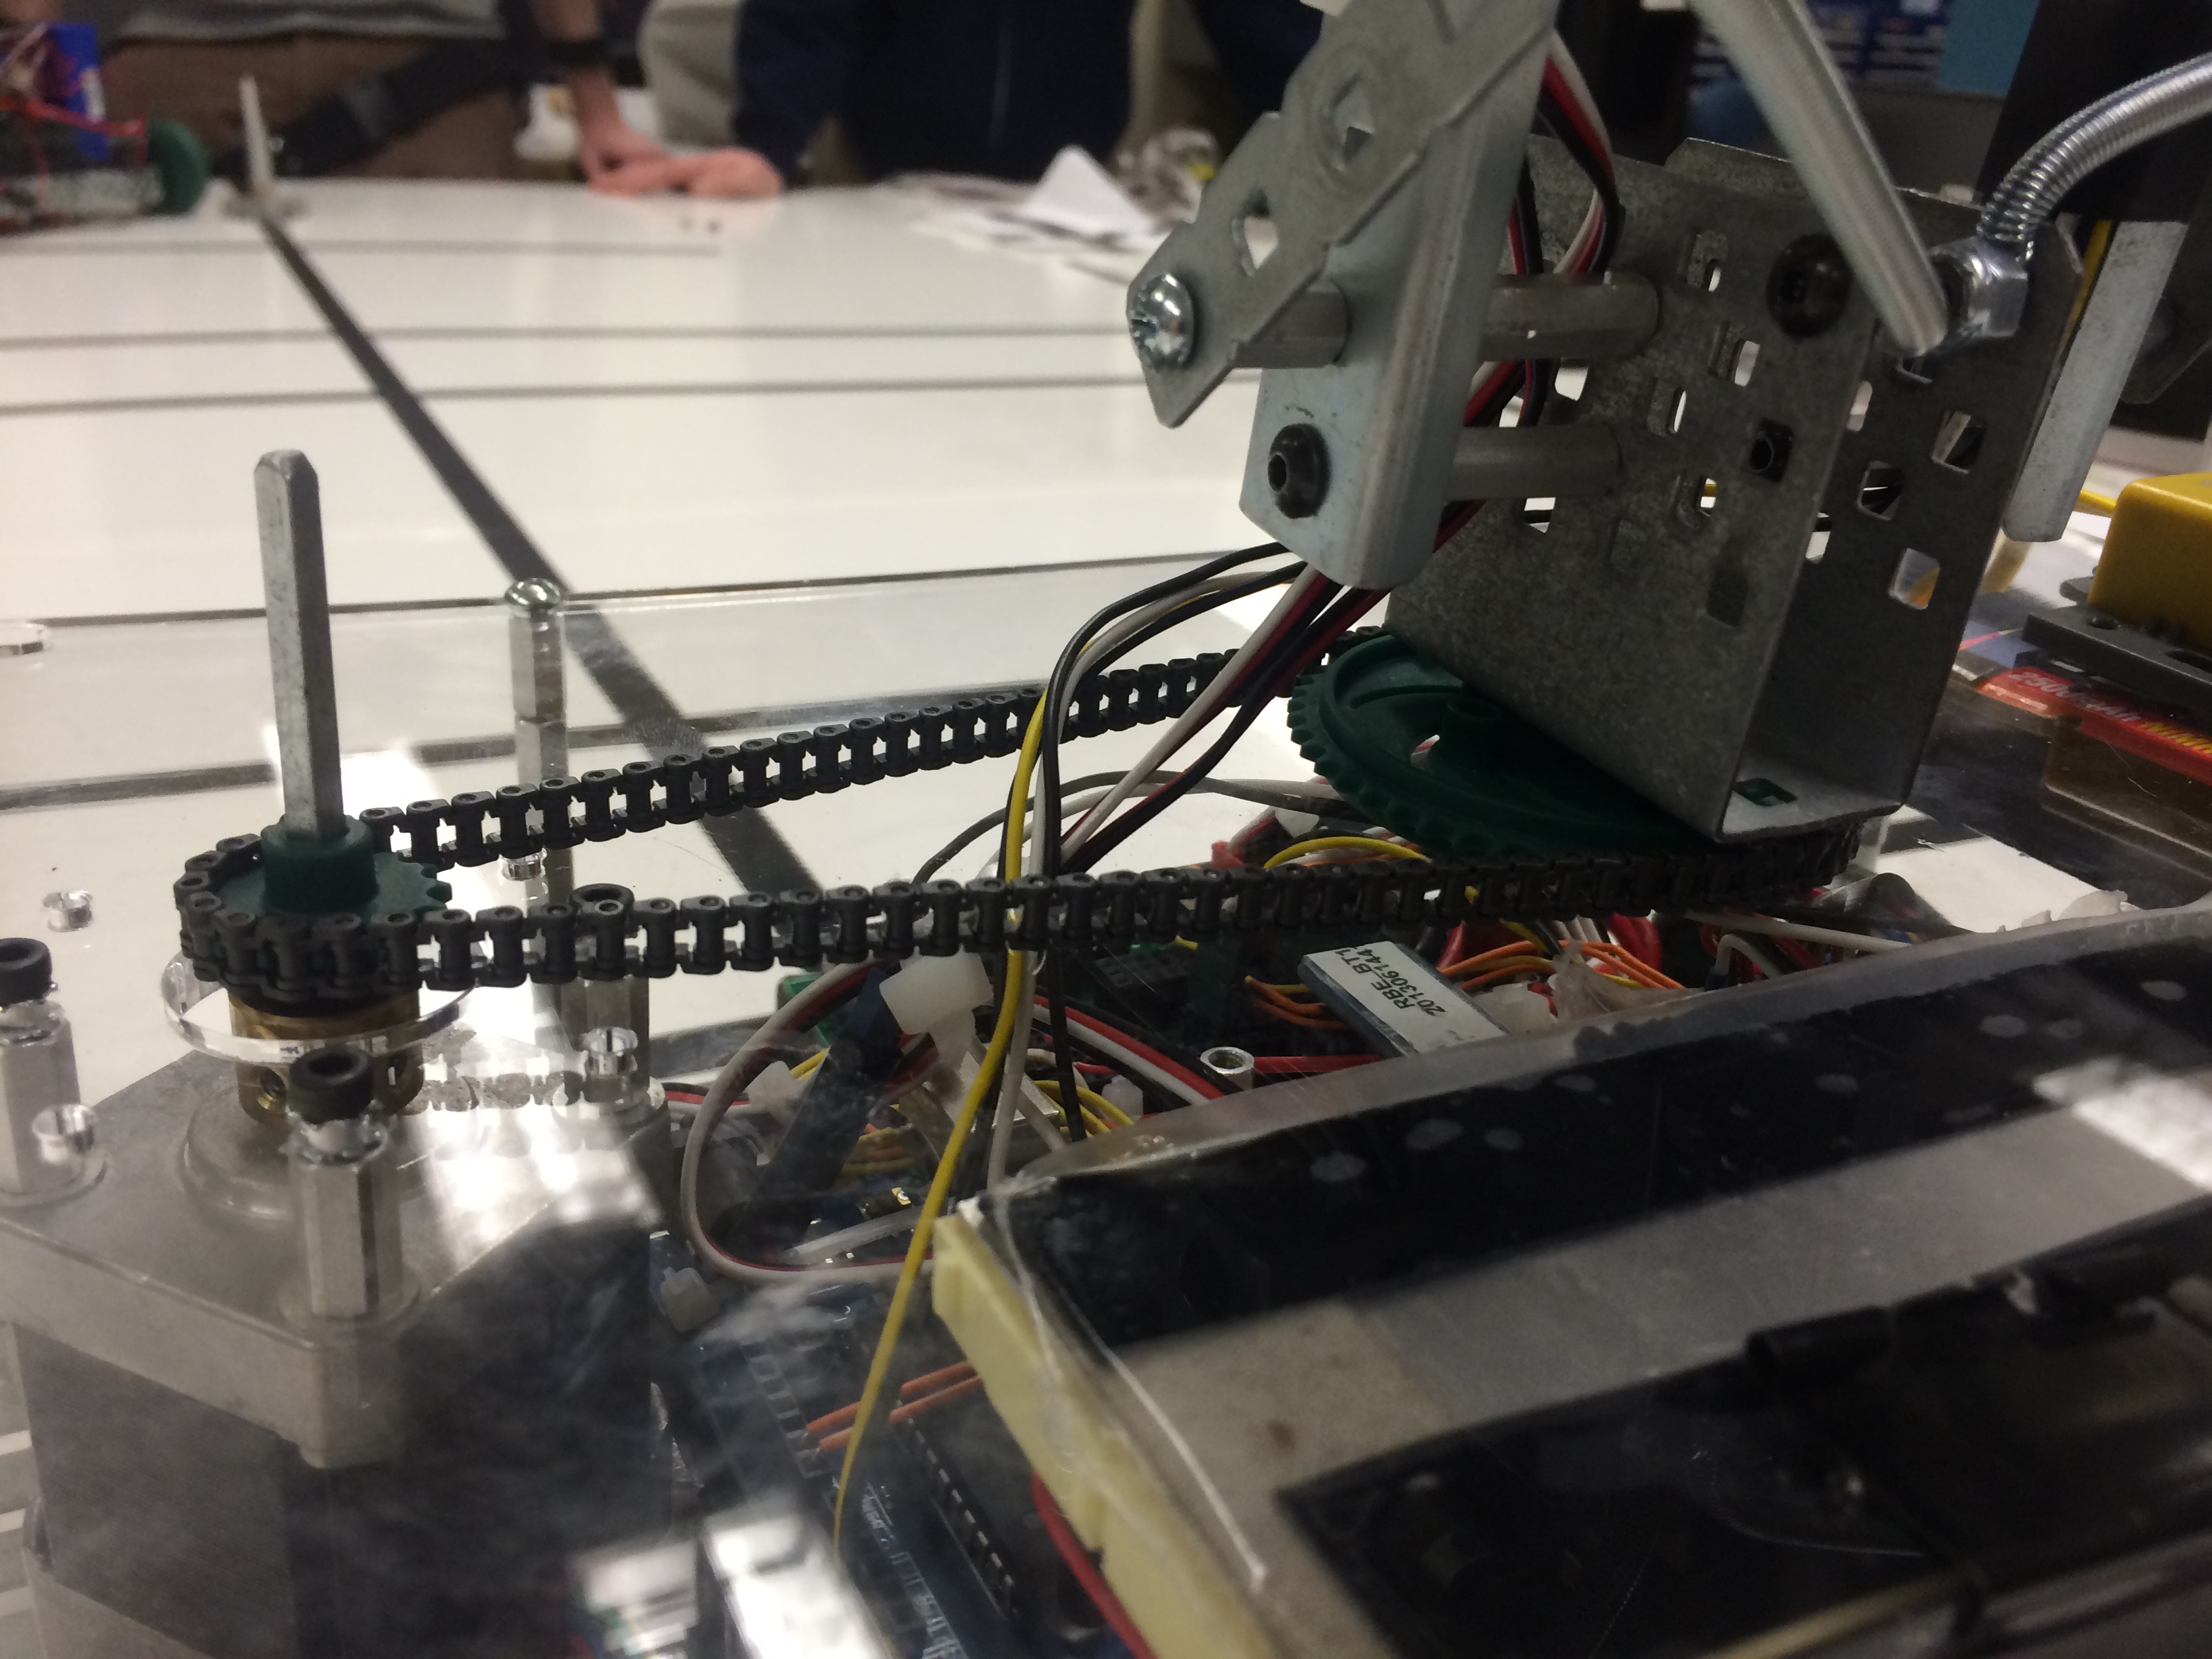
Removing the Acrylic Panel to Service the Chassis of the Robot. The Stepper Motor - Sprocket System can be seen here.
Removing the Acrylic Panel to Service the Chassis of the Robot. The Stepper Motor - Sprocket System can be seen here.
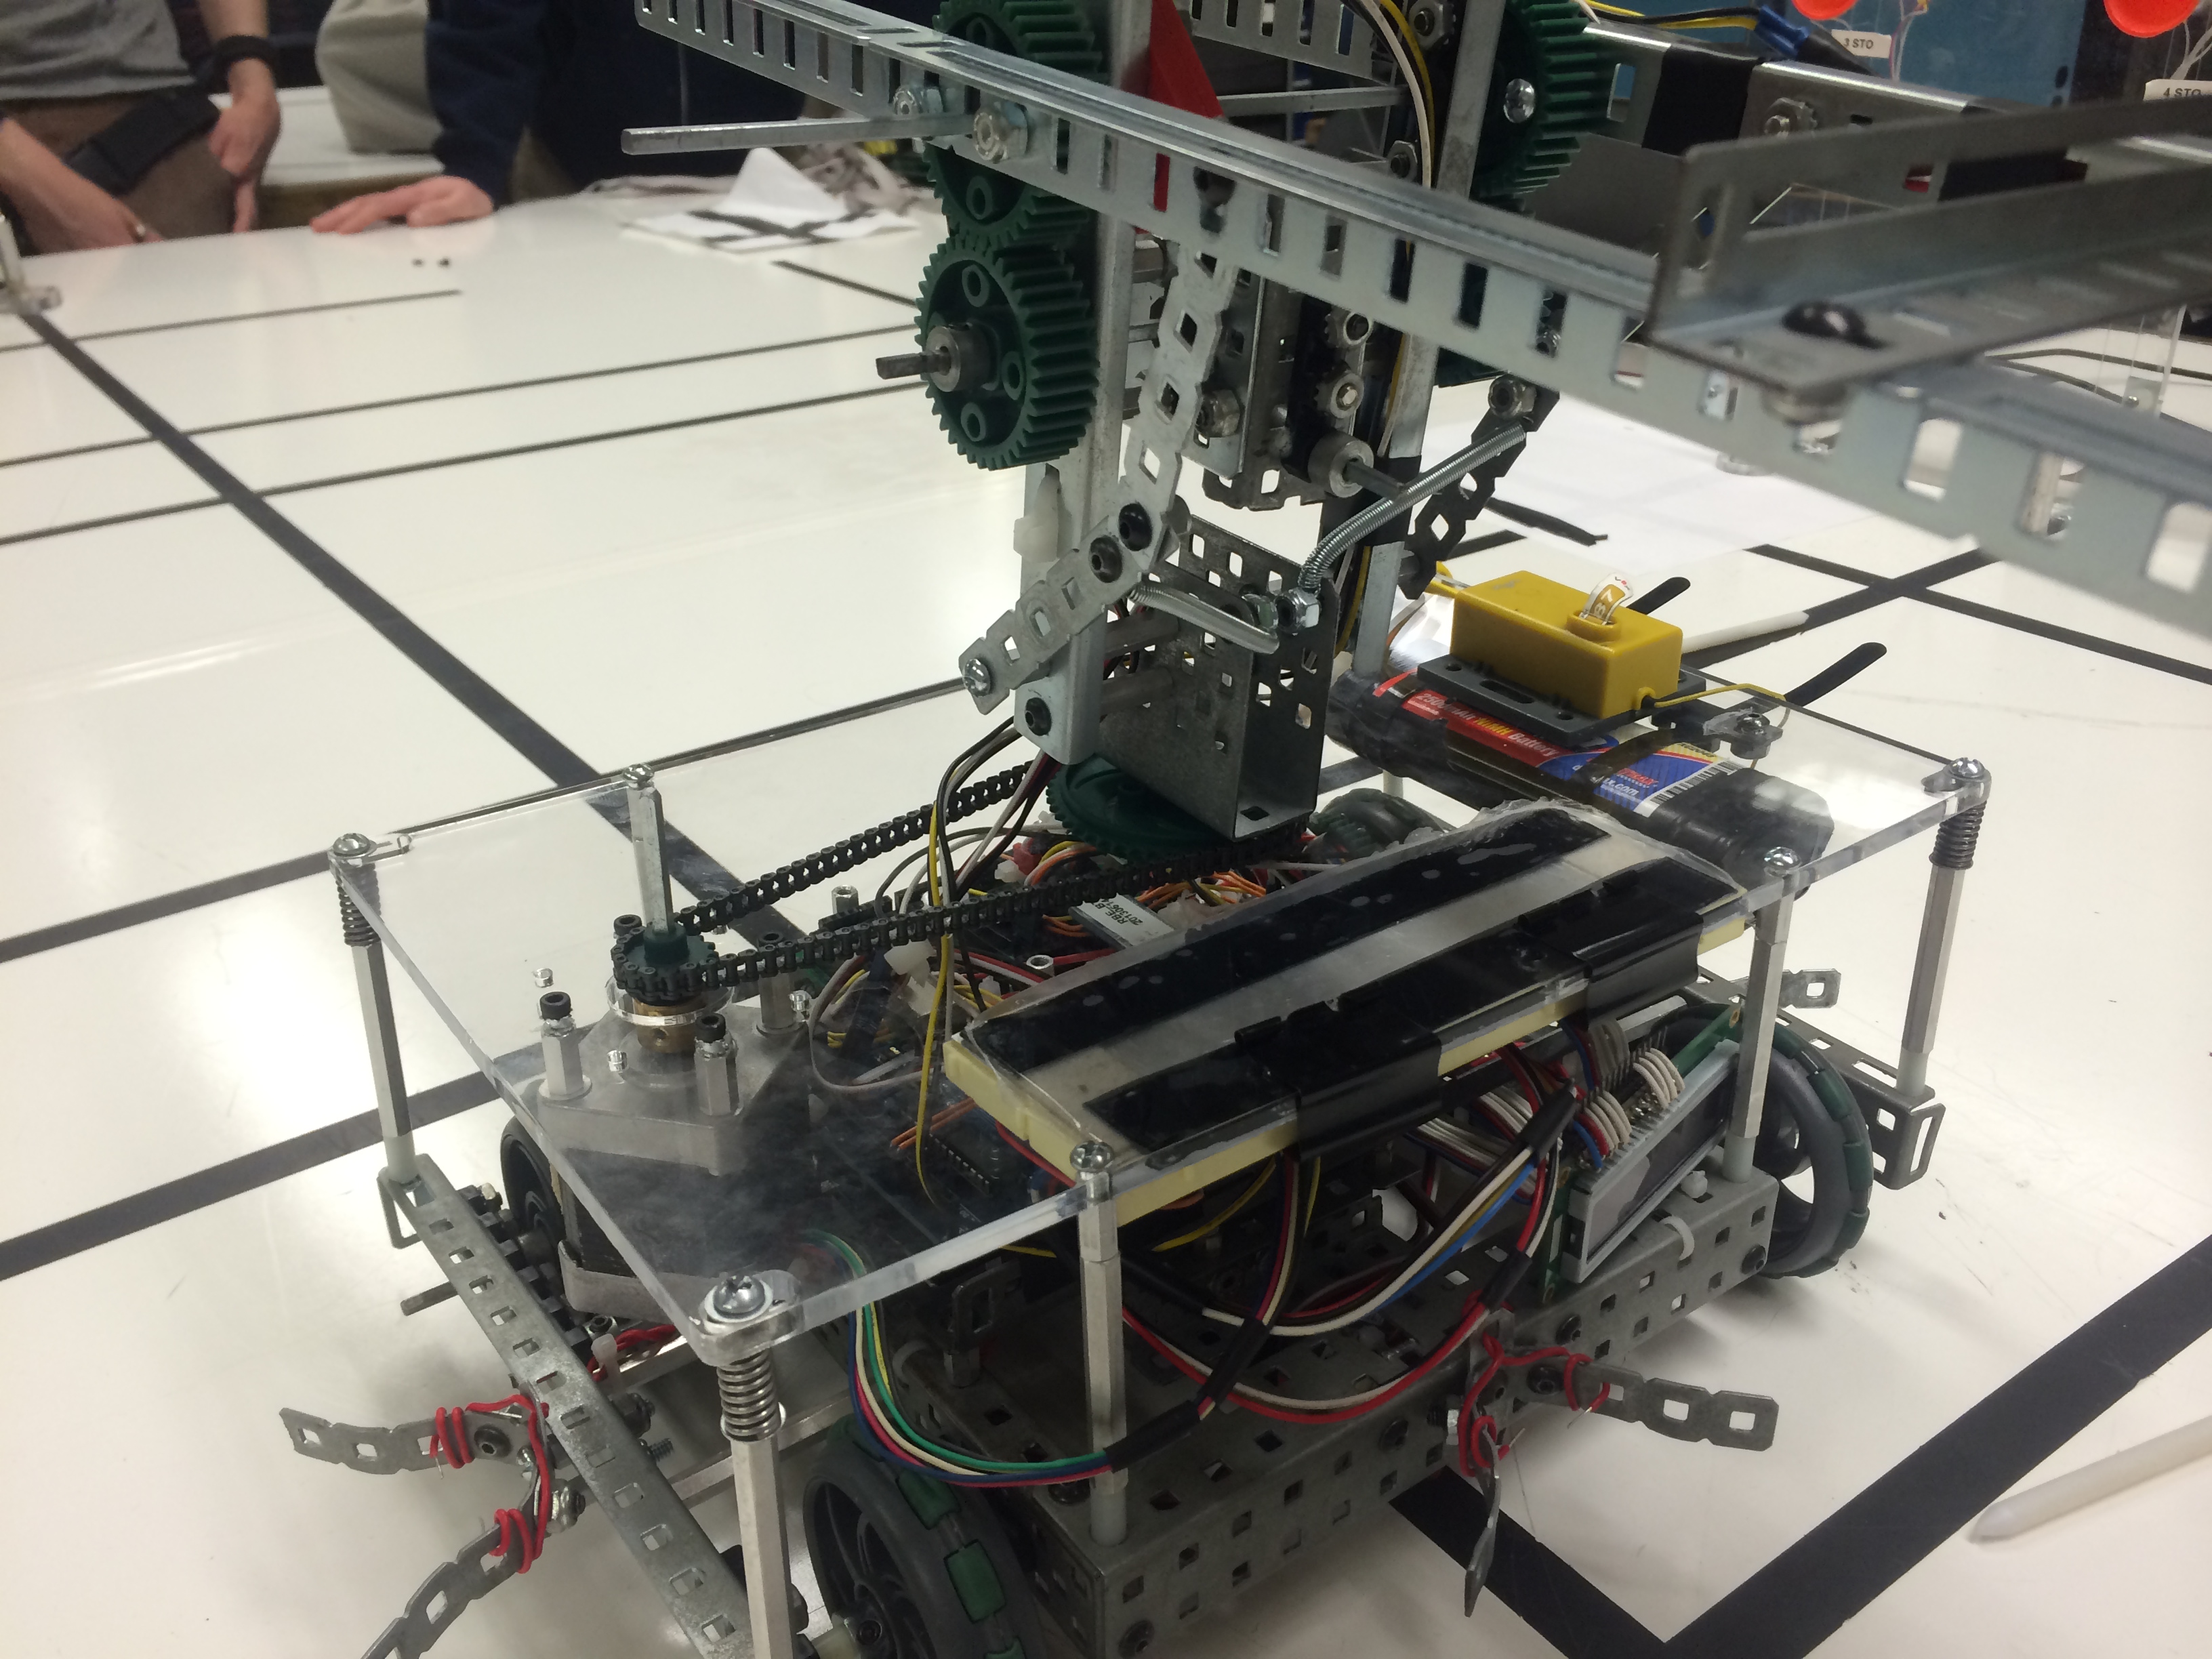
The mechanical components of the rotating arm are coming together.
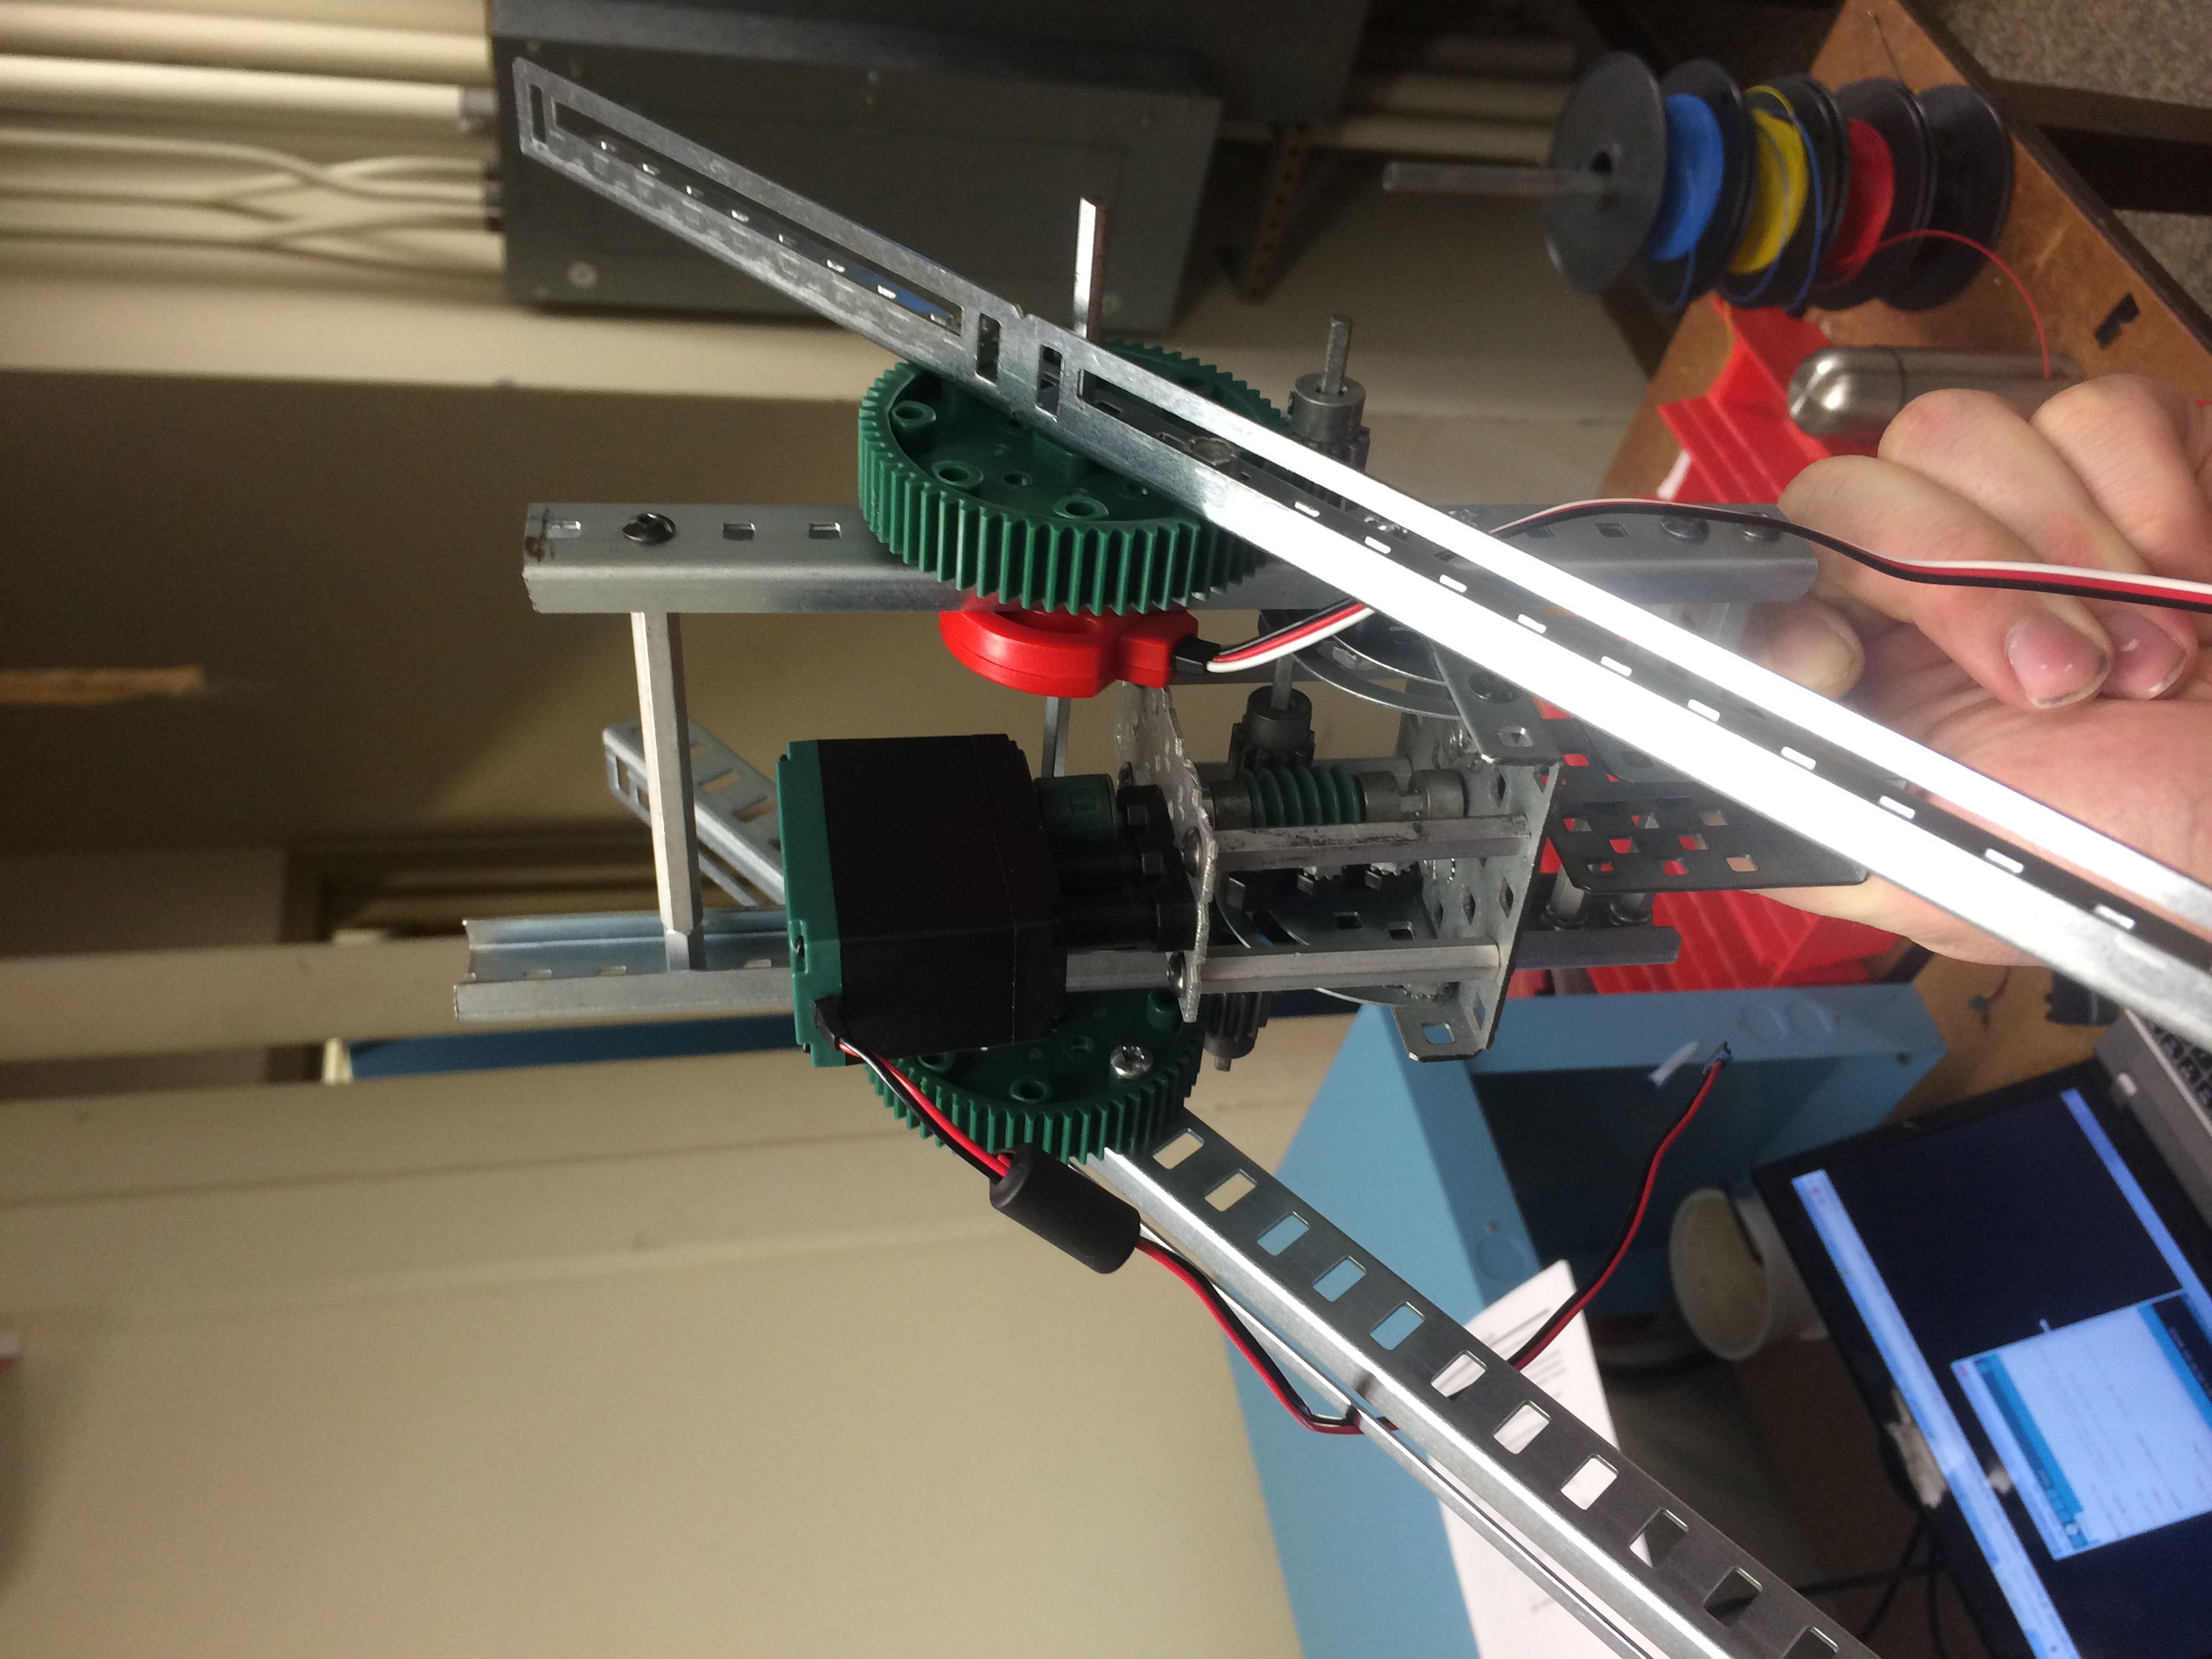
The mechanical components of the rotating arm are coming together.
Testing all of our electrical connections before tidying up the wiring.
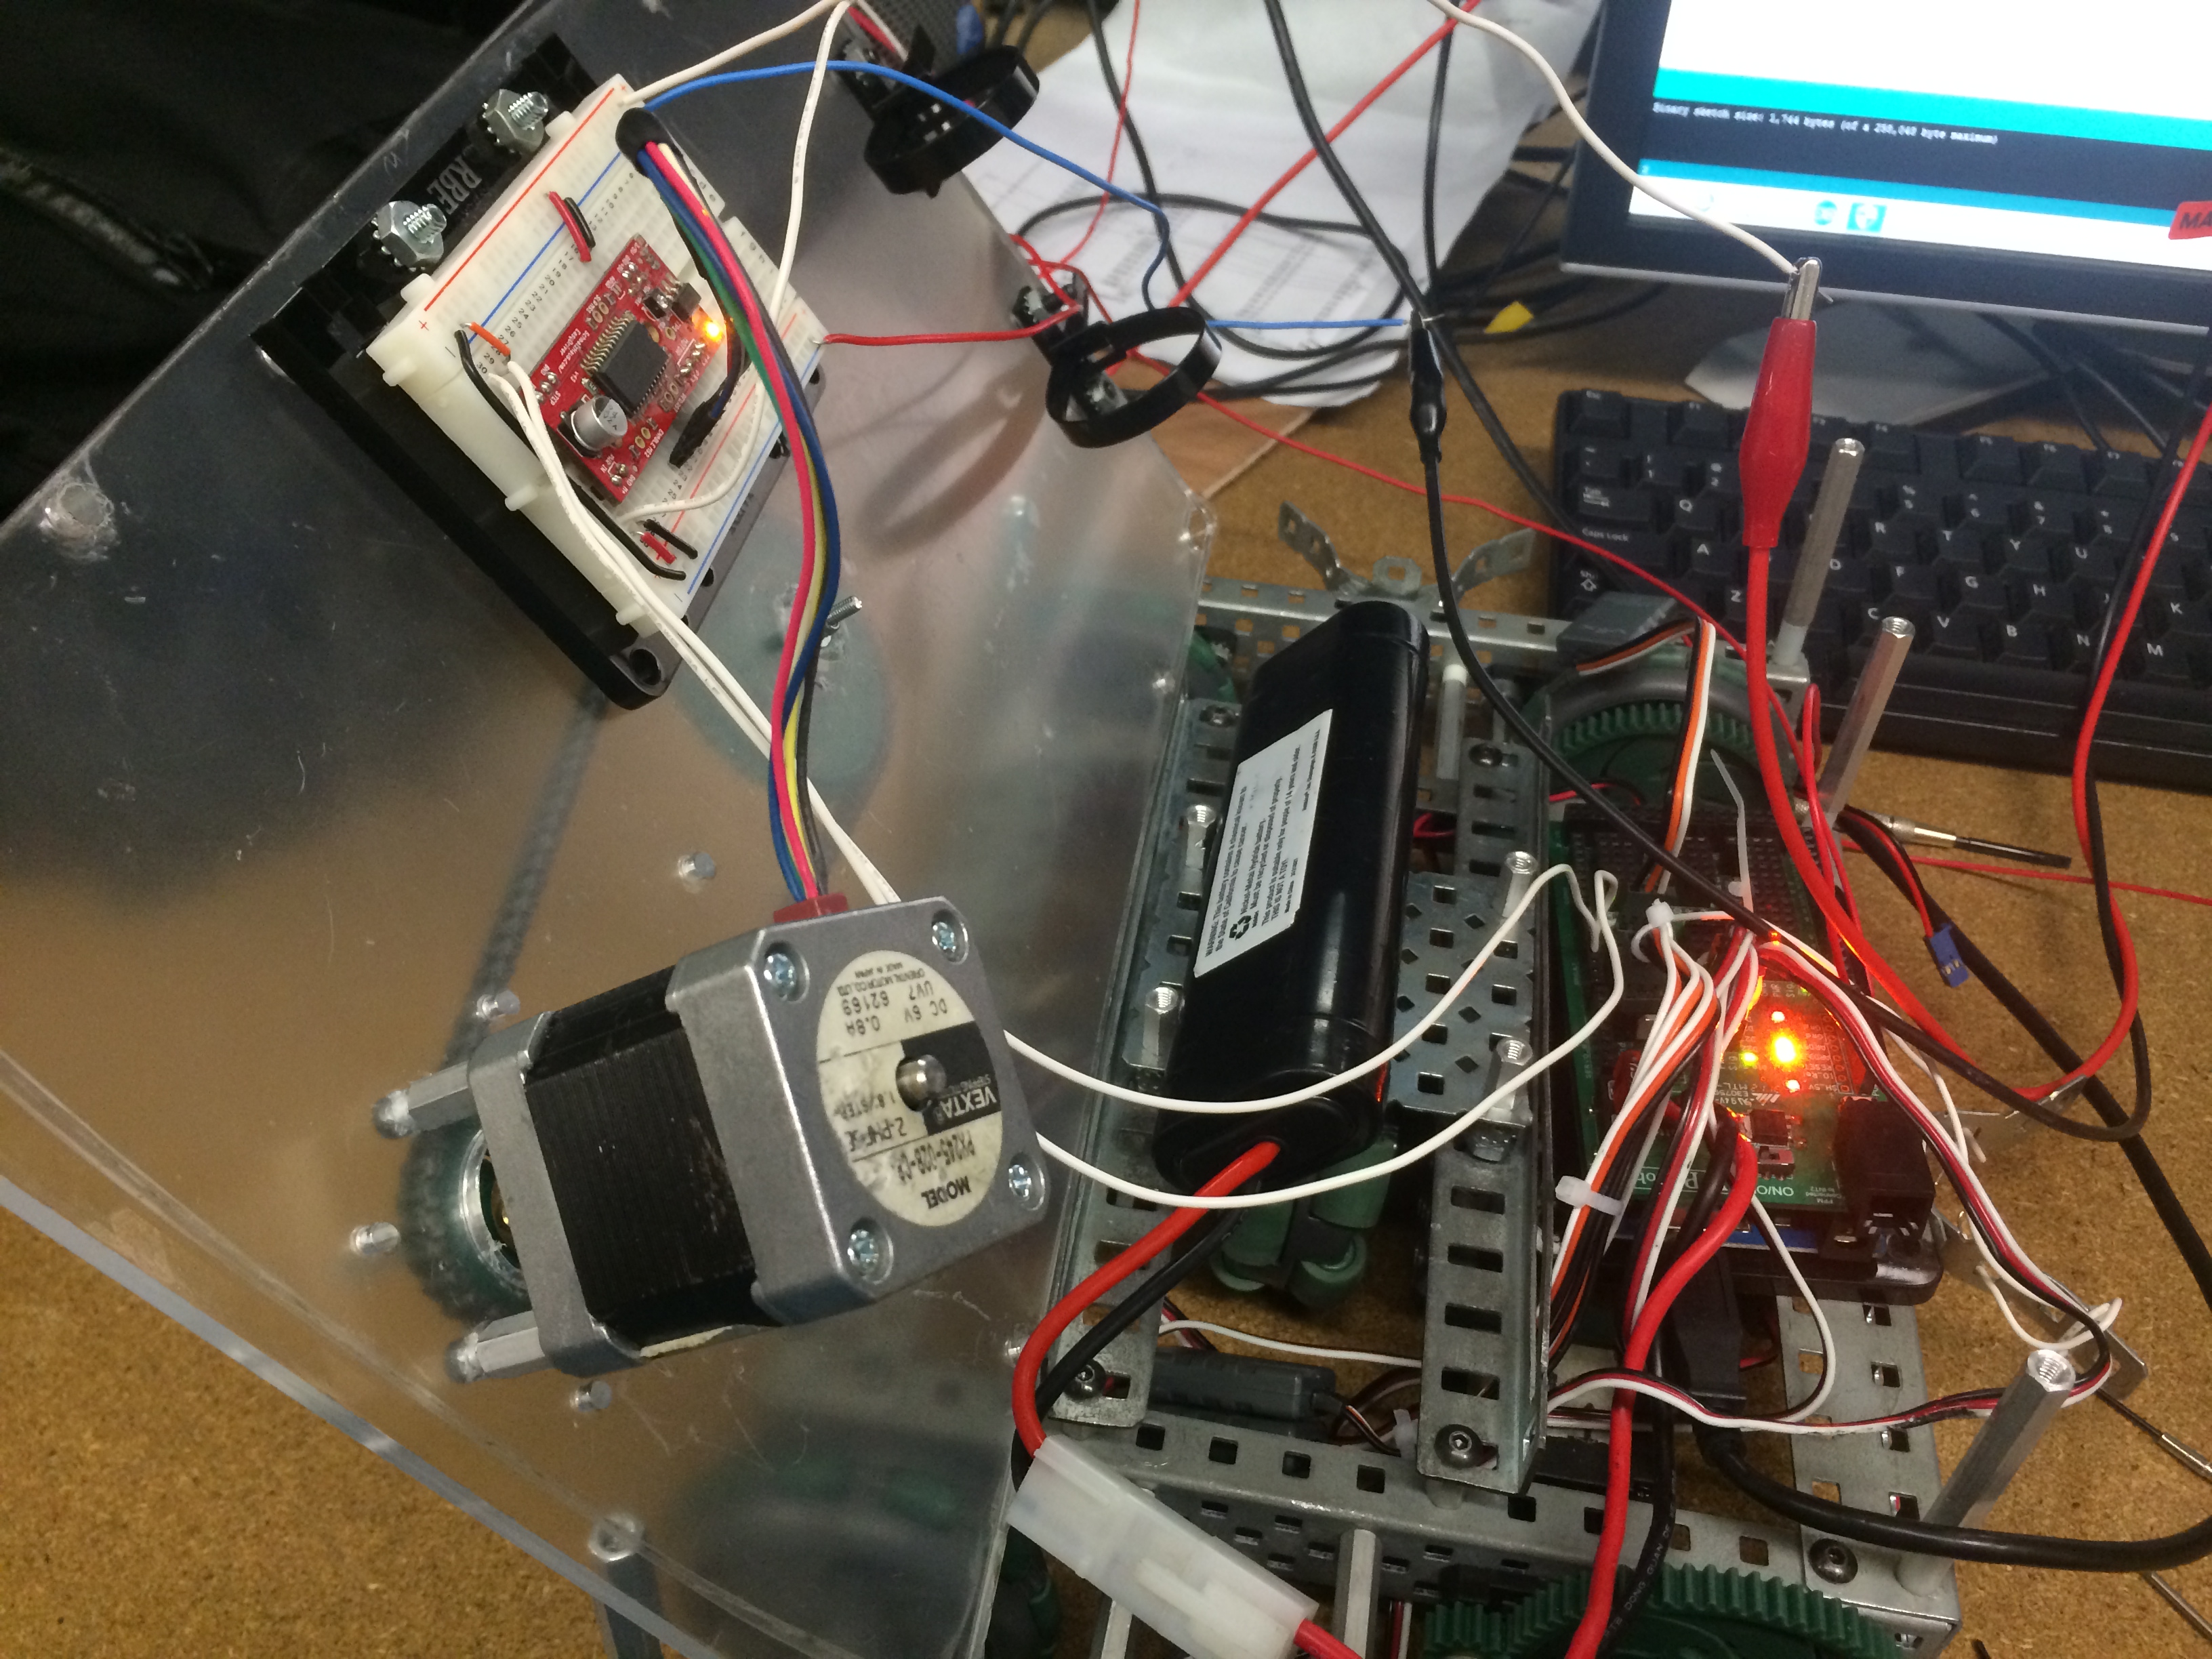
Testing all of our electrical connections before tidying up the wiring.
Top View of the wiring all cleaned up and the chassis. There are 4 Conductive Sensors on the ends for the field.
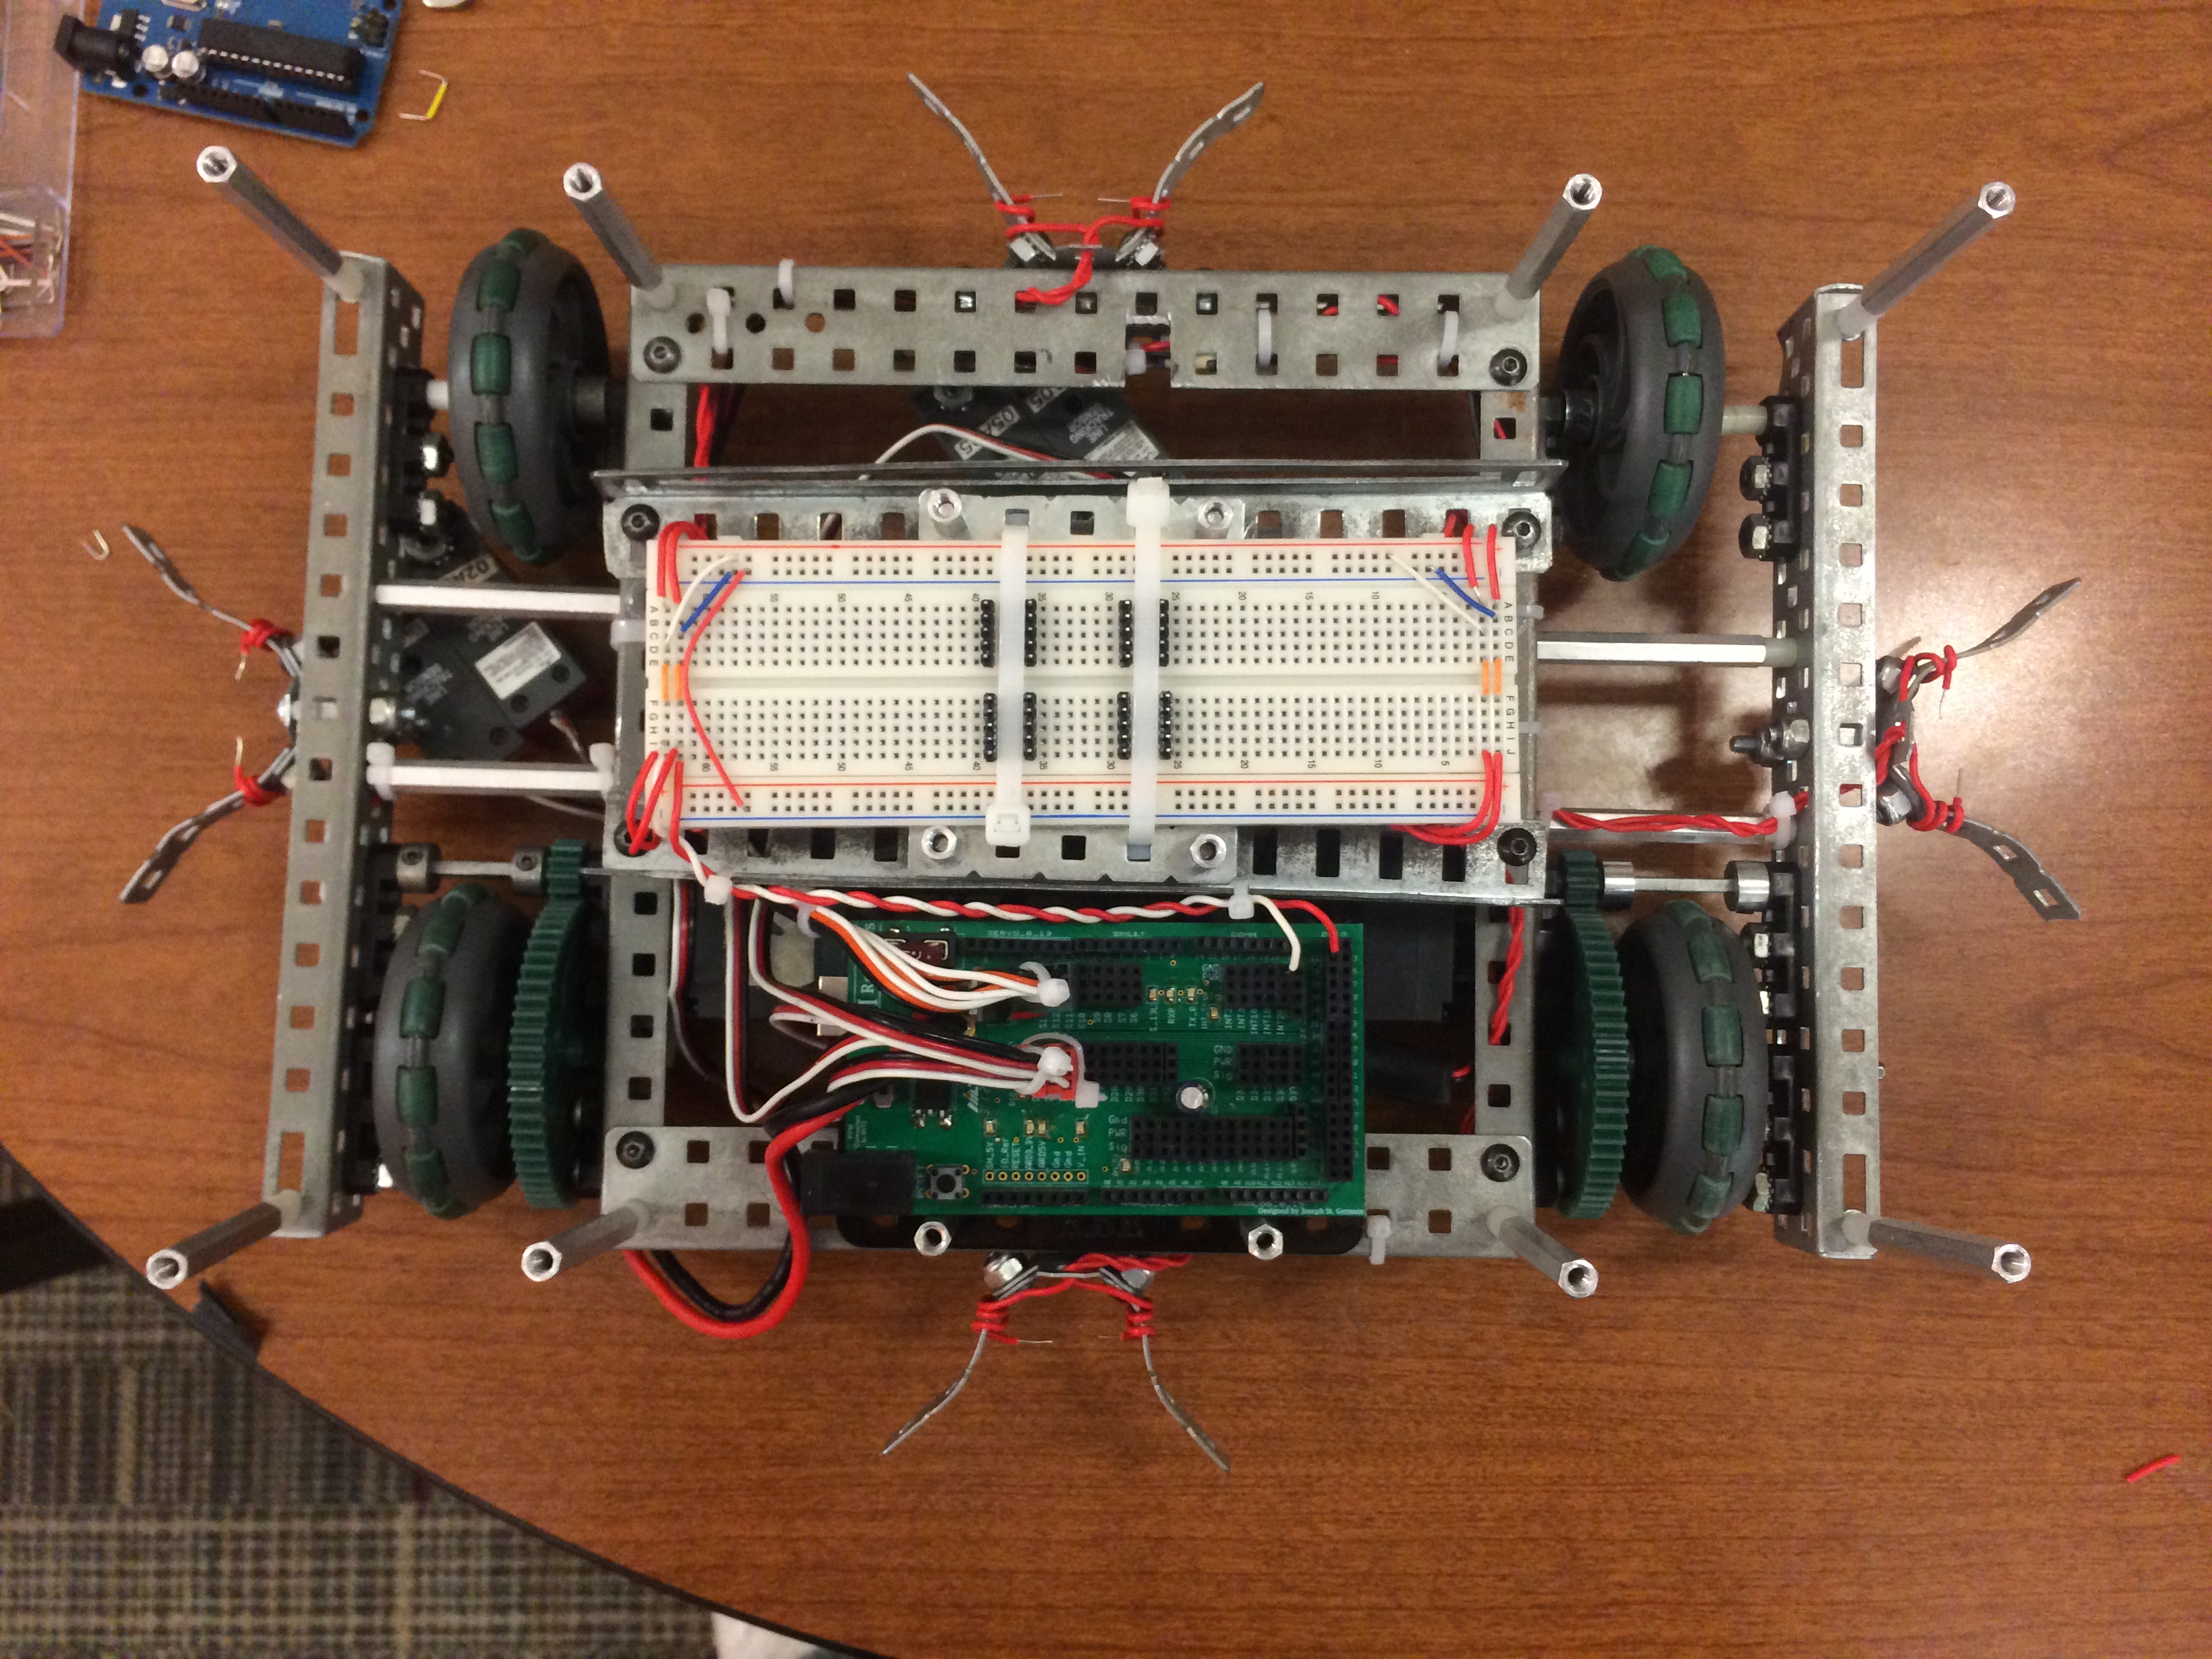
Top View of the wiring all cleaned up and the chassis. There are 4 Conductive Sensors on the ends for the field.
I'm always meticulous about wiring, so I created this ribbon cable with equal lengths of wire for our LCD Panel. This will provide feedback when testing / debugging.
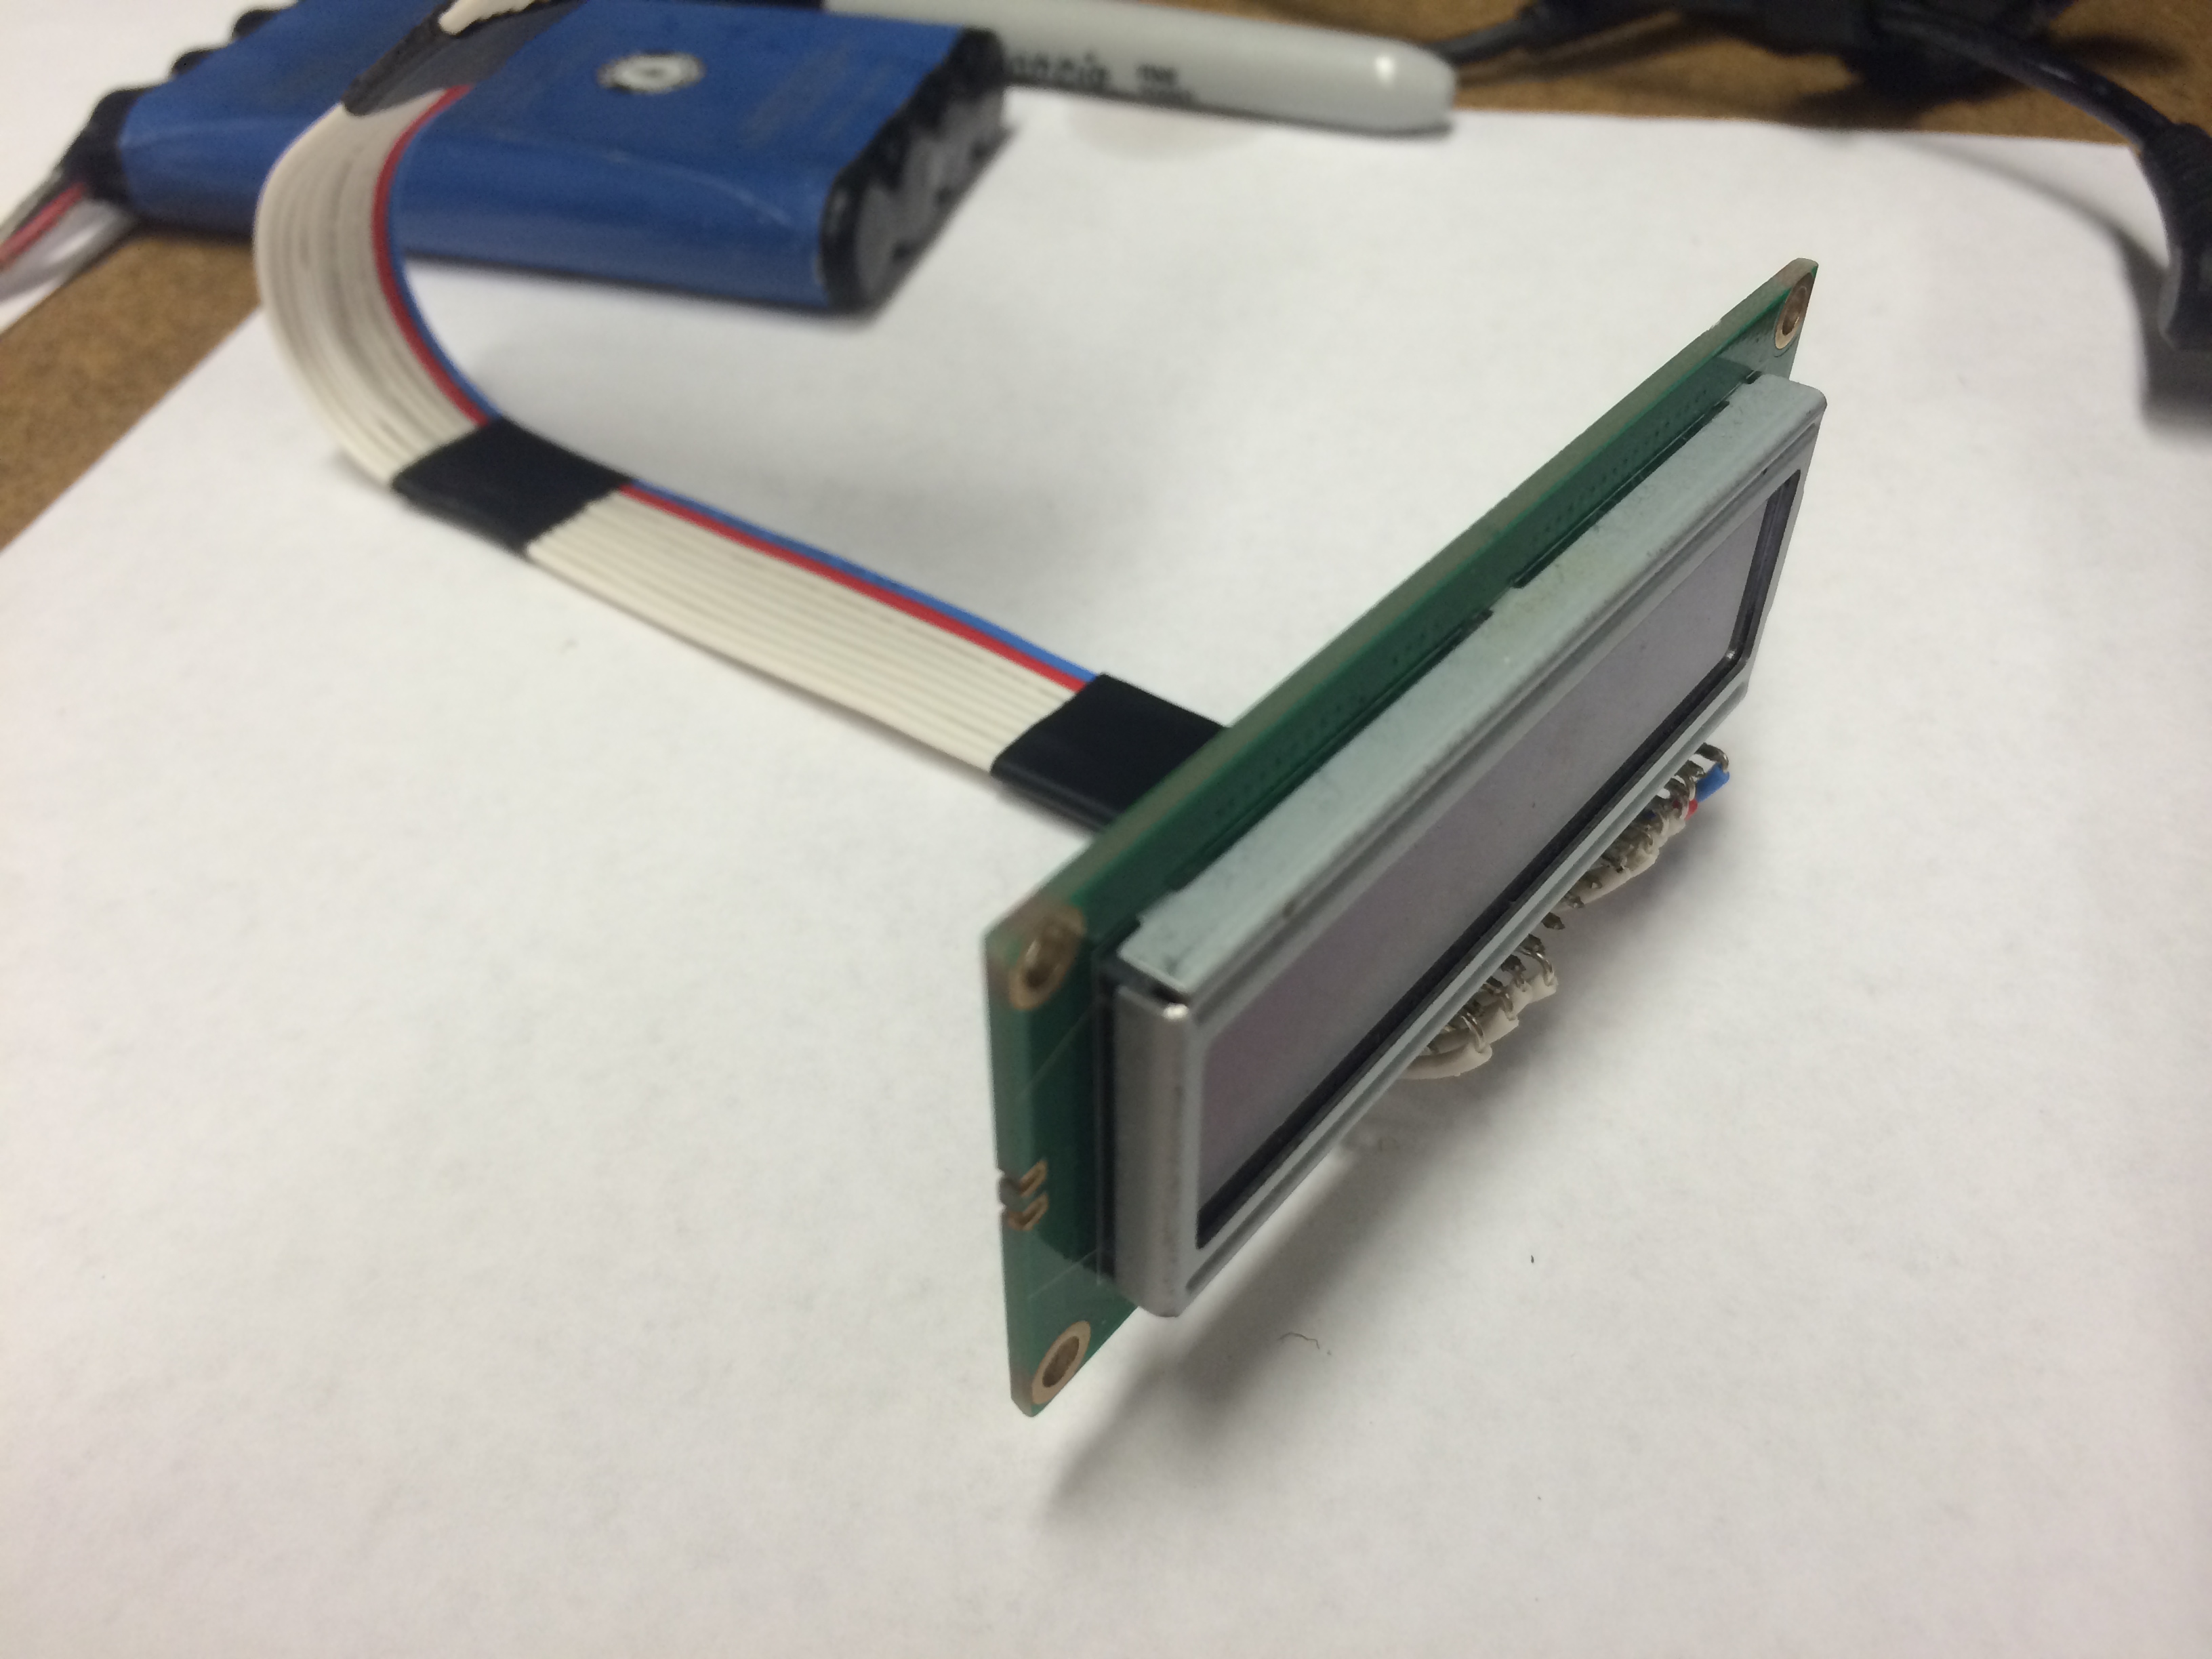
I'm always meticulous about wiring, so I created this ribbon cable with equal lengths of wire for our LCD Panel. This will provide feedback when testing / debugging.
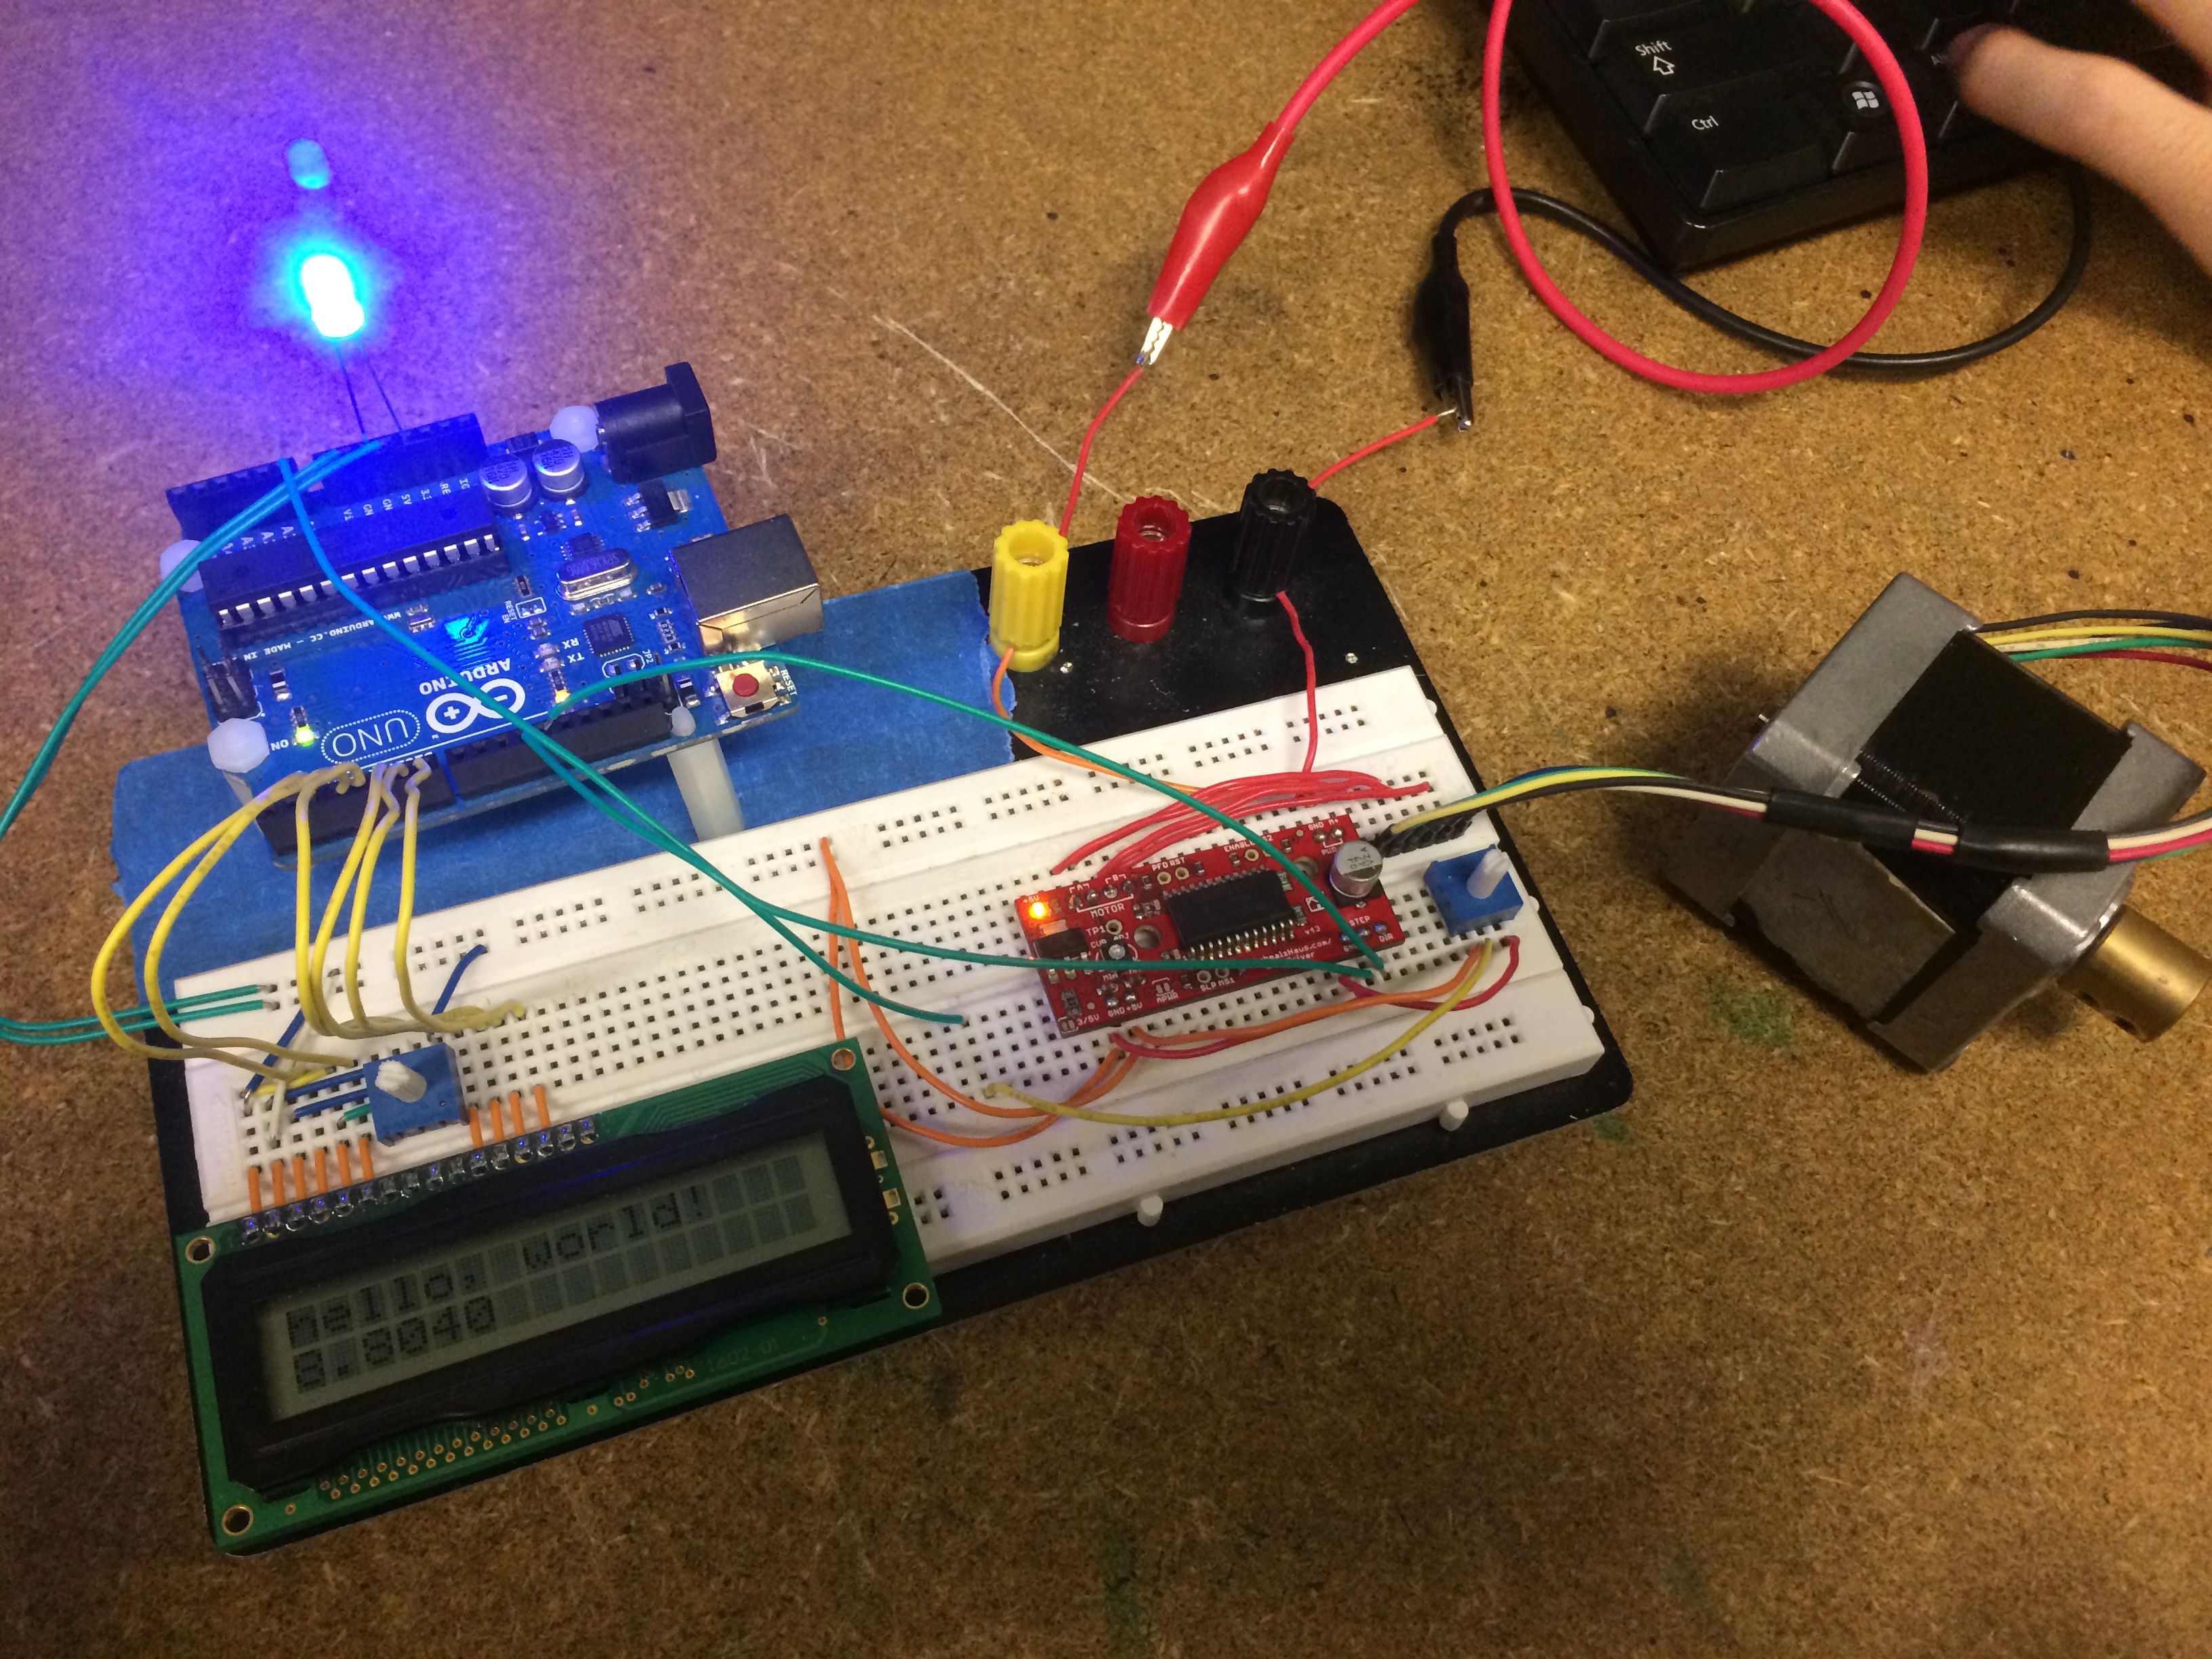
As more and more functionality is being added to the board, such as optional components like Bluetooth, we are using nearly every row of the breadboard.
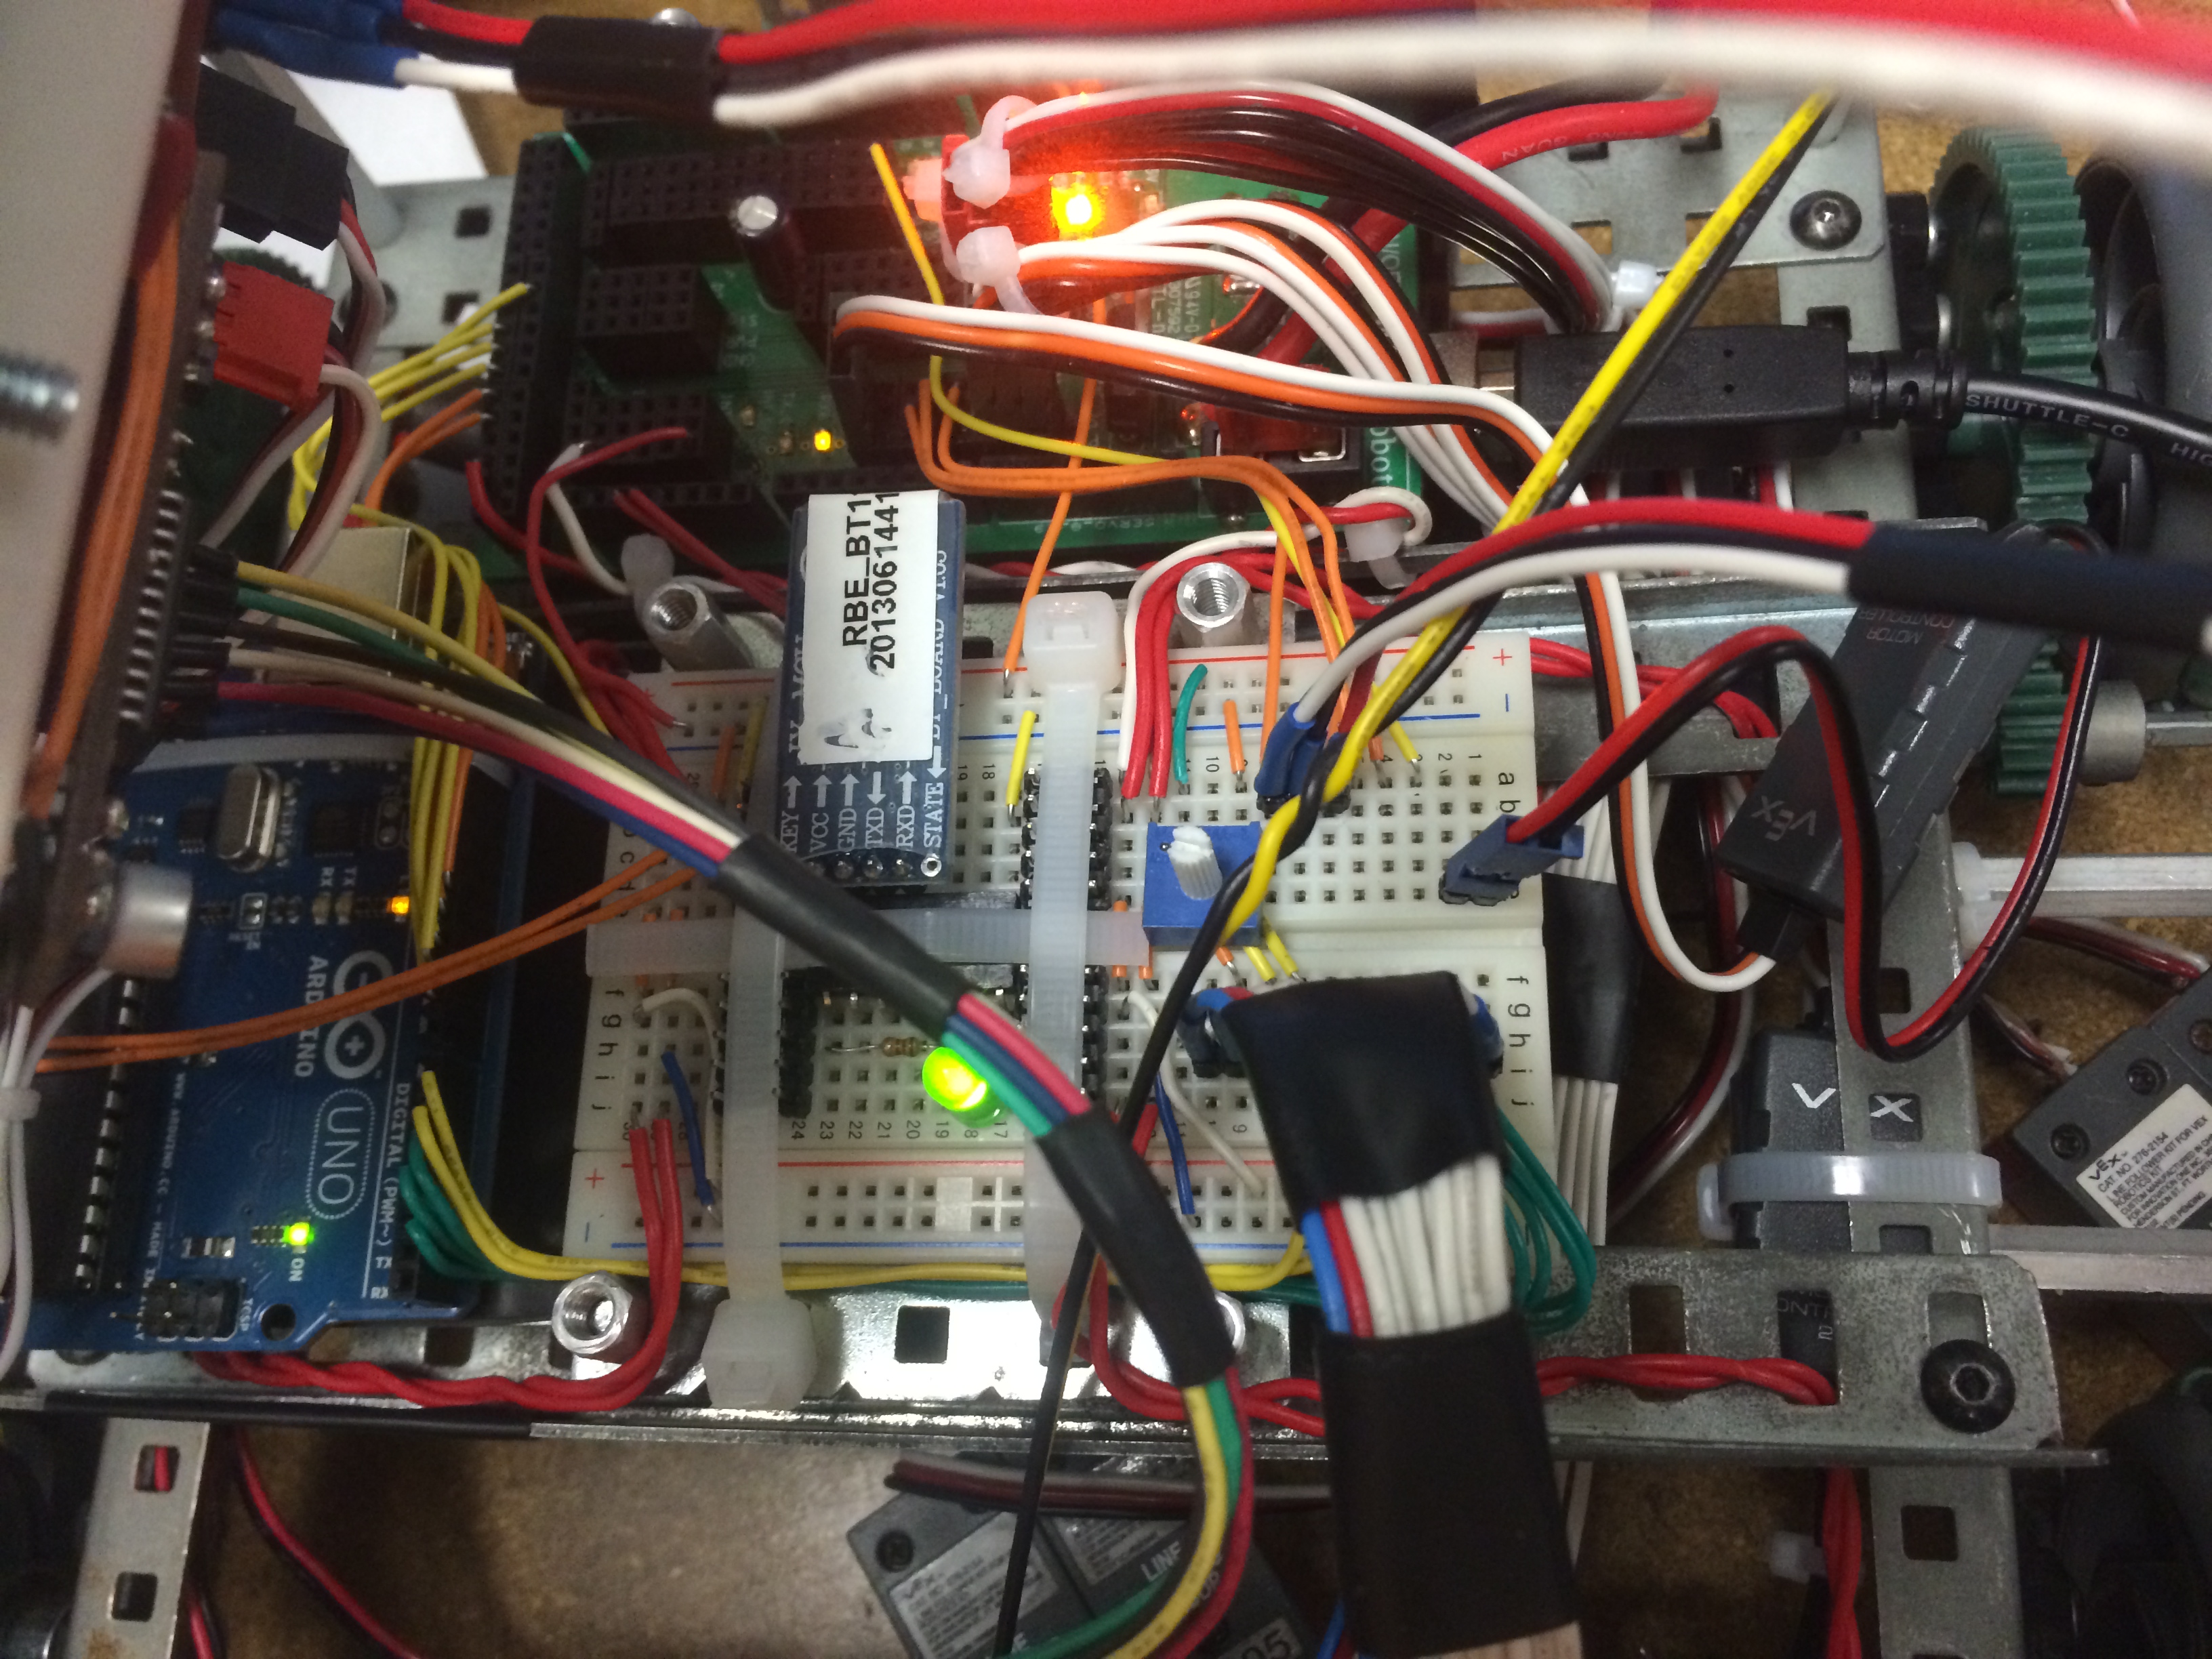
As more and more functionality is being added to the board, such as optional components like Bluetooth, we are using nearly every row of the breadboard.
The Top of the robot is reunited with the chassis with the Gripper Arm in place.
The Top of the robot is reunited with the chassis with the Gripper Arm in place.
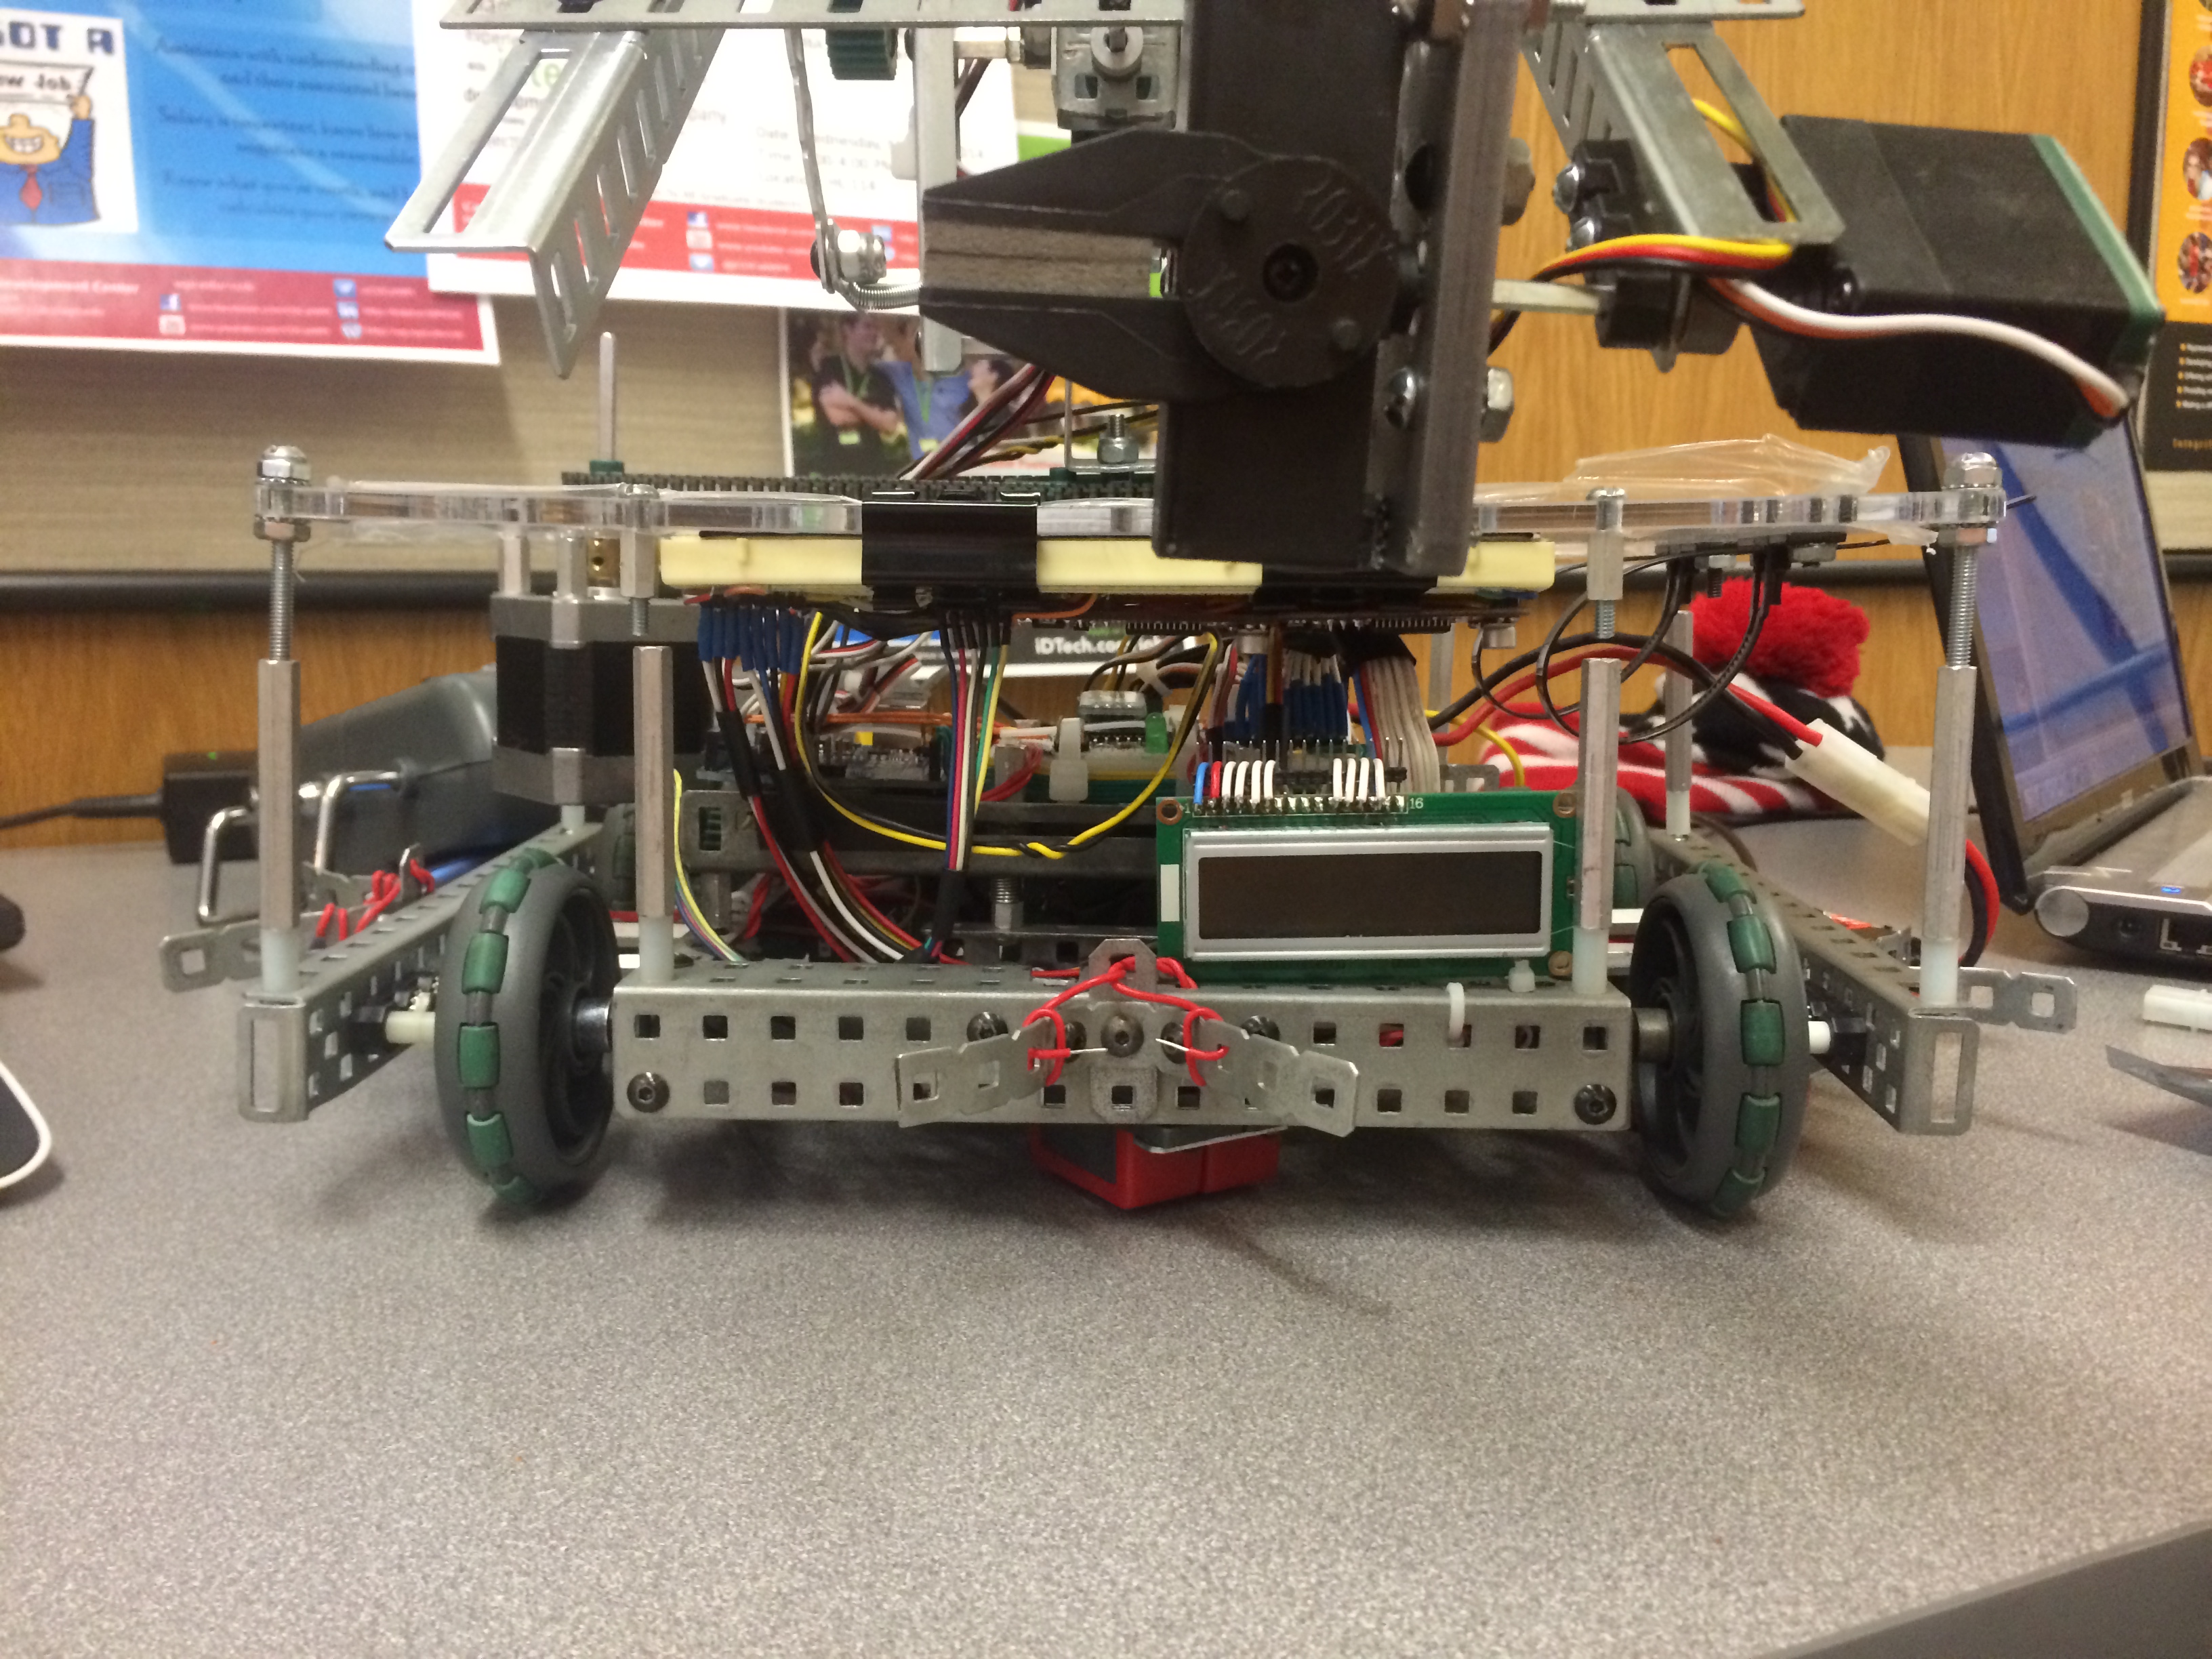
Lowest possible reach of the robotic arm.
Lowest possible reach of the robotic arm.
LCD Screen, Capacitive Sensor, and Gripper Servo all in view.
LCD Screen, Capacitive Sensor, and Gripper Servo all in view.
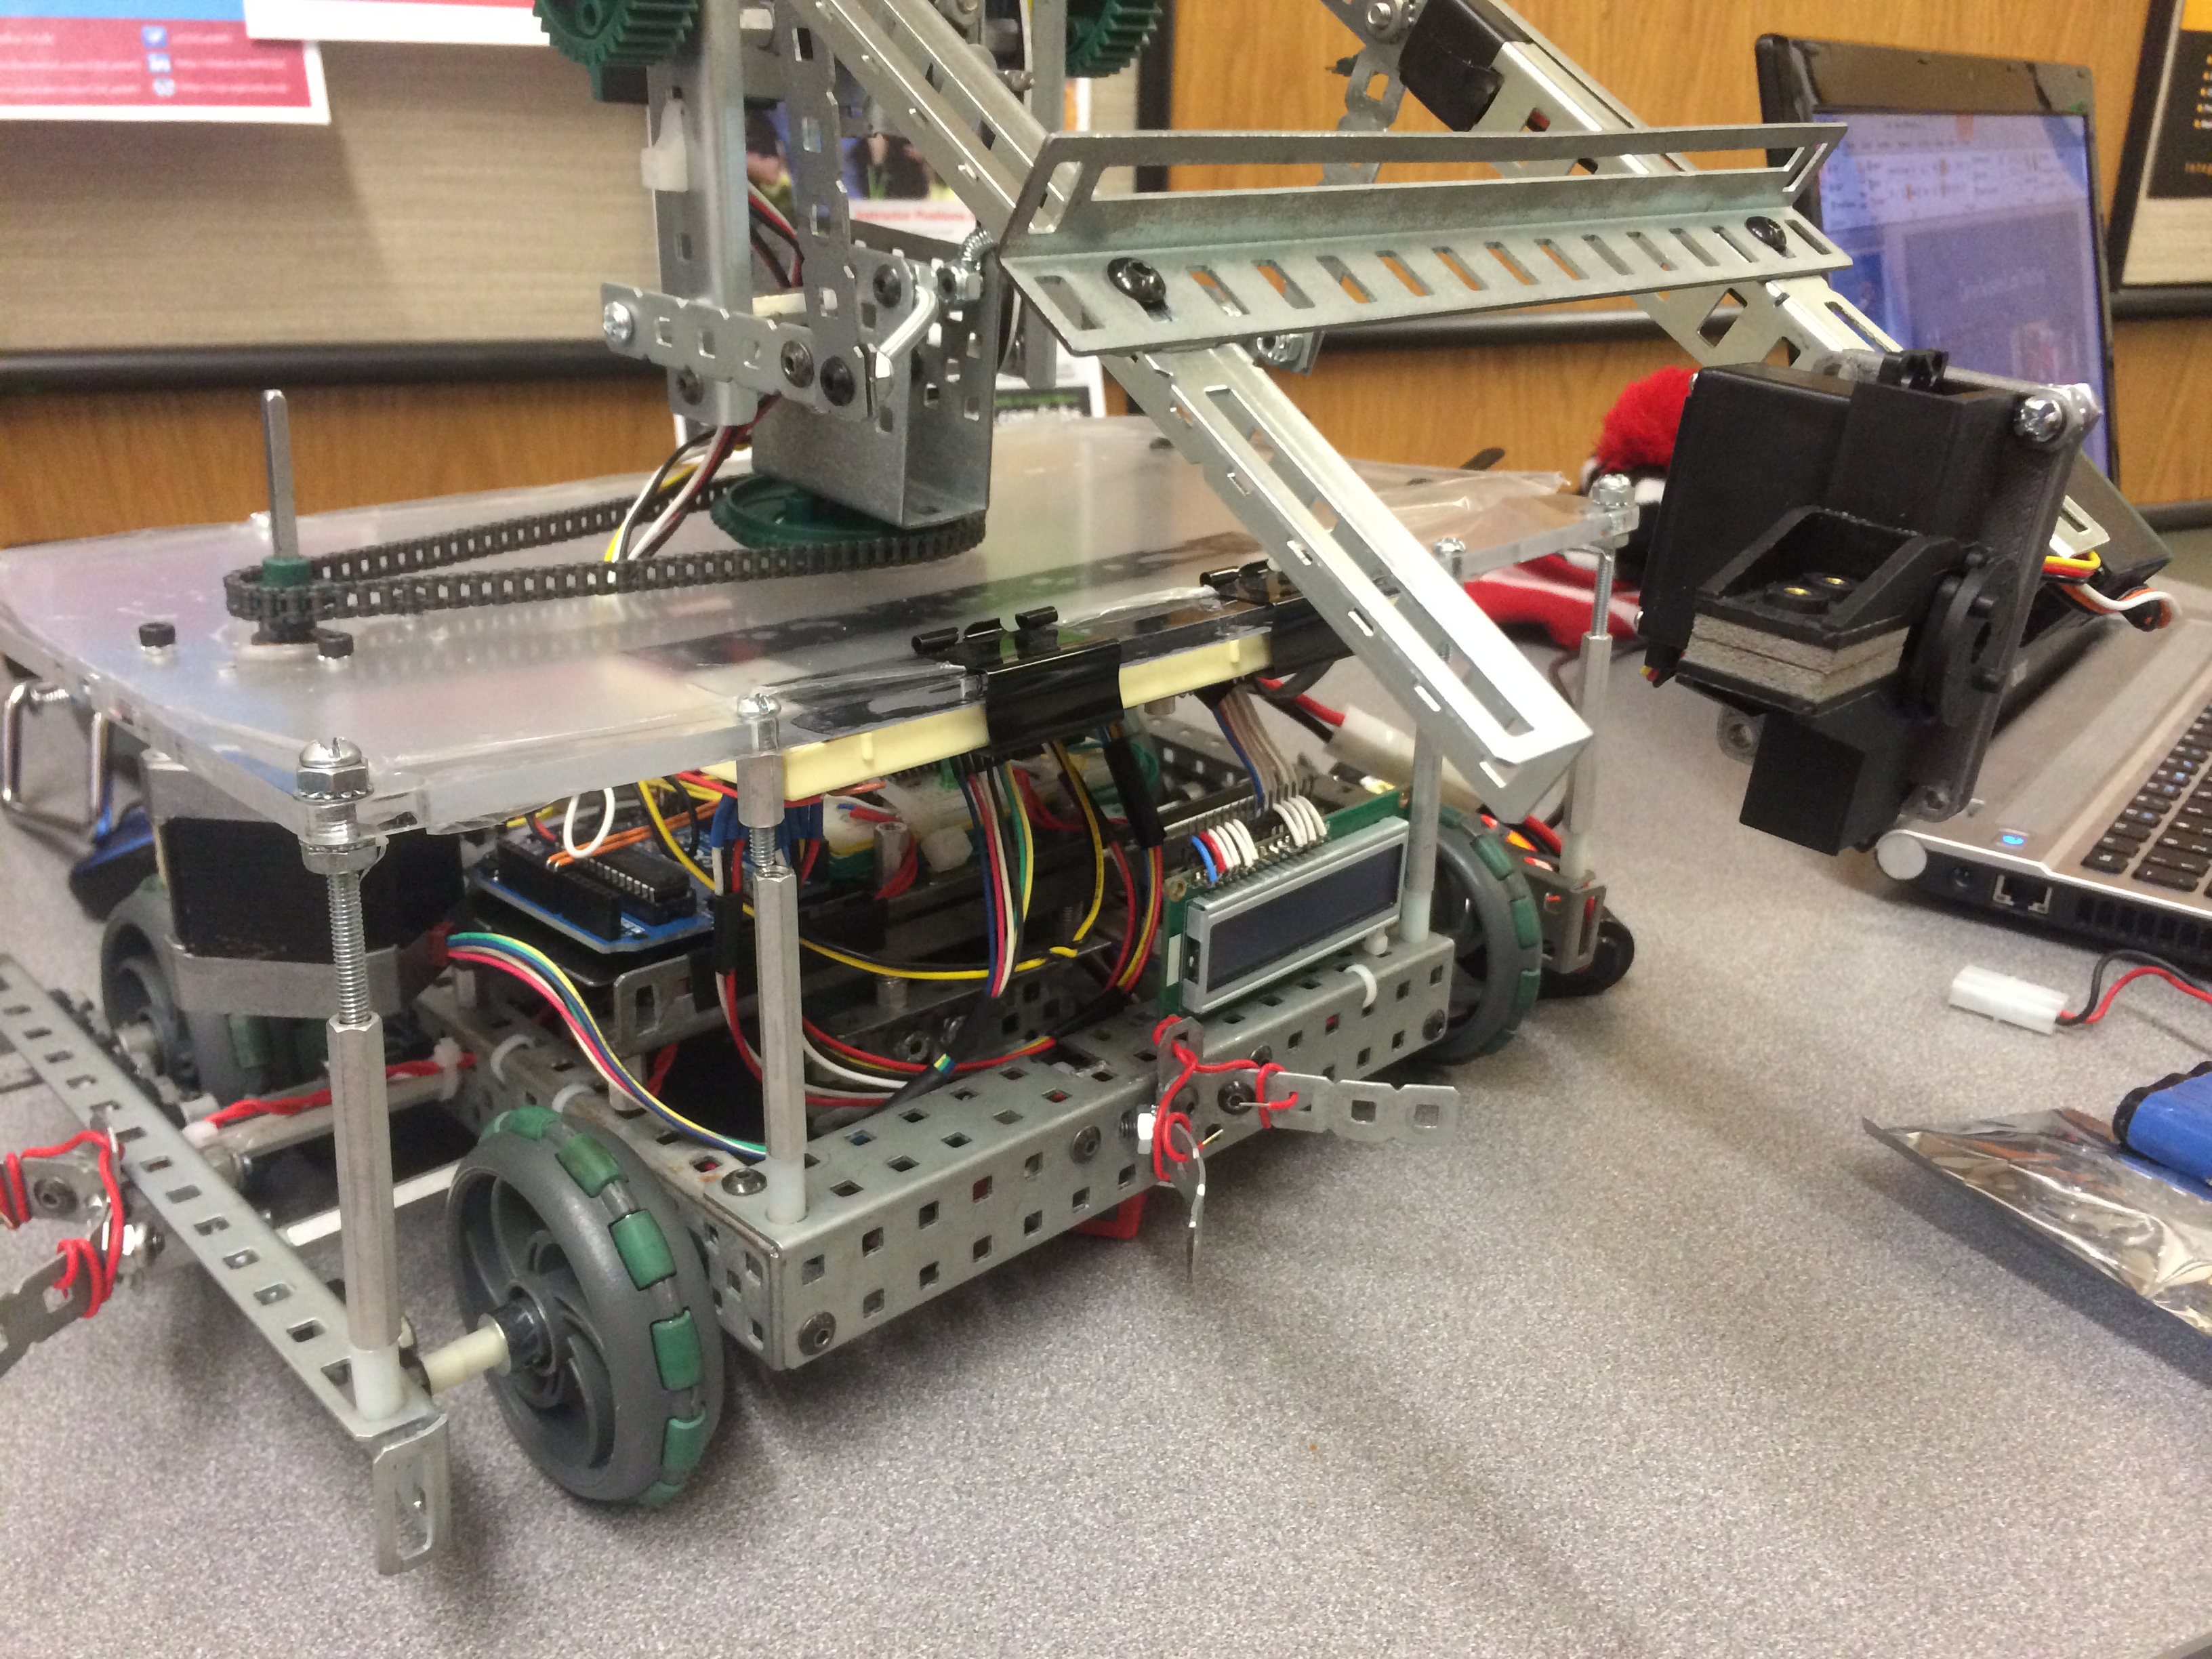
Robotic Arm at mid-height, showing a diagonal profile of the robot.
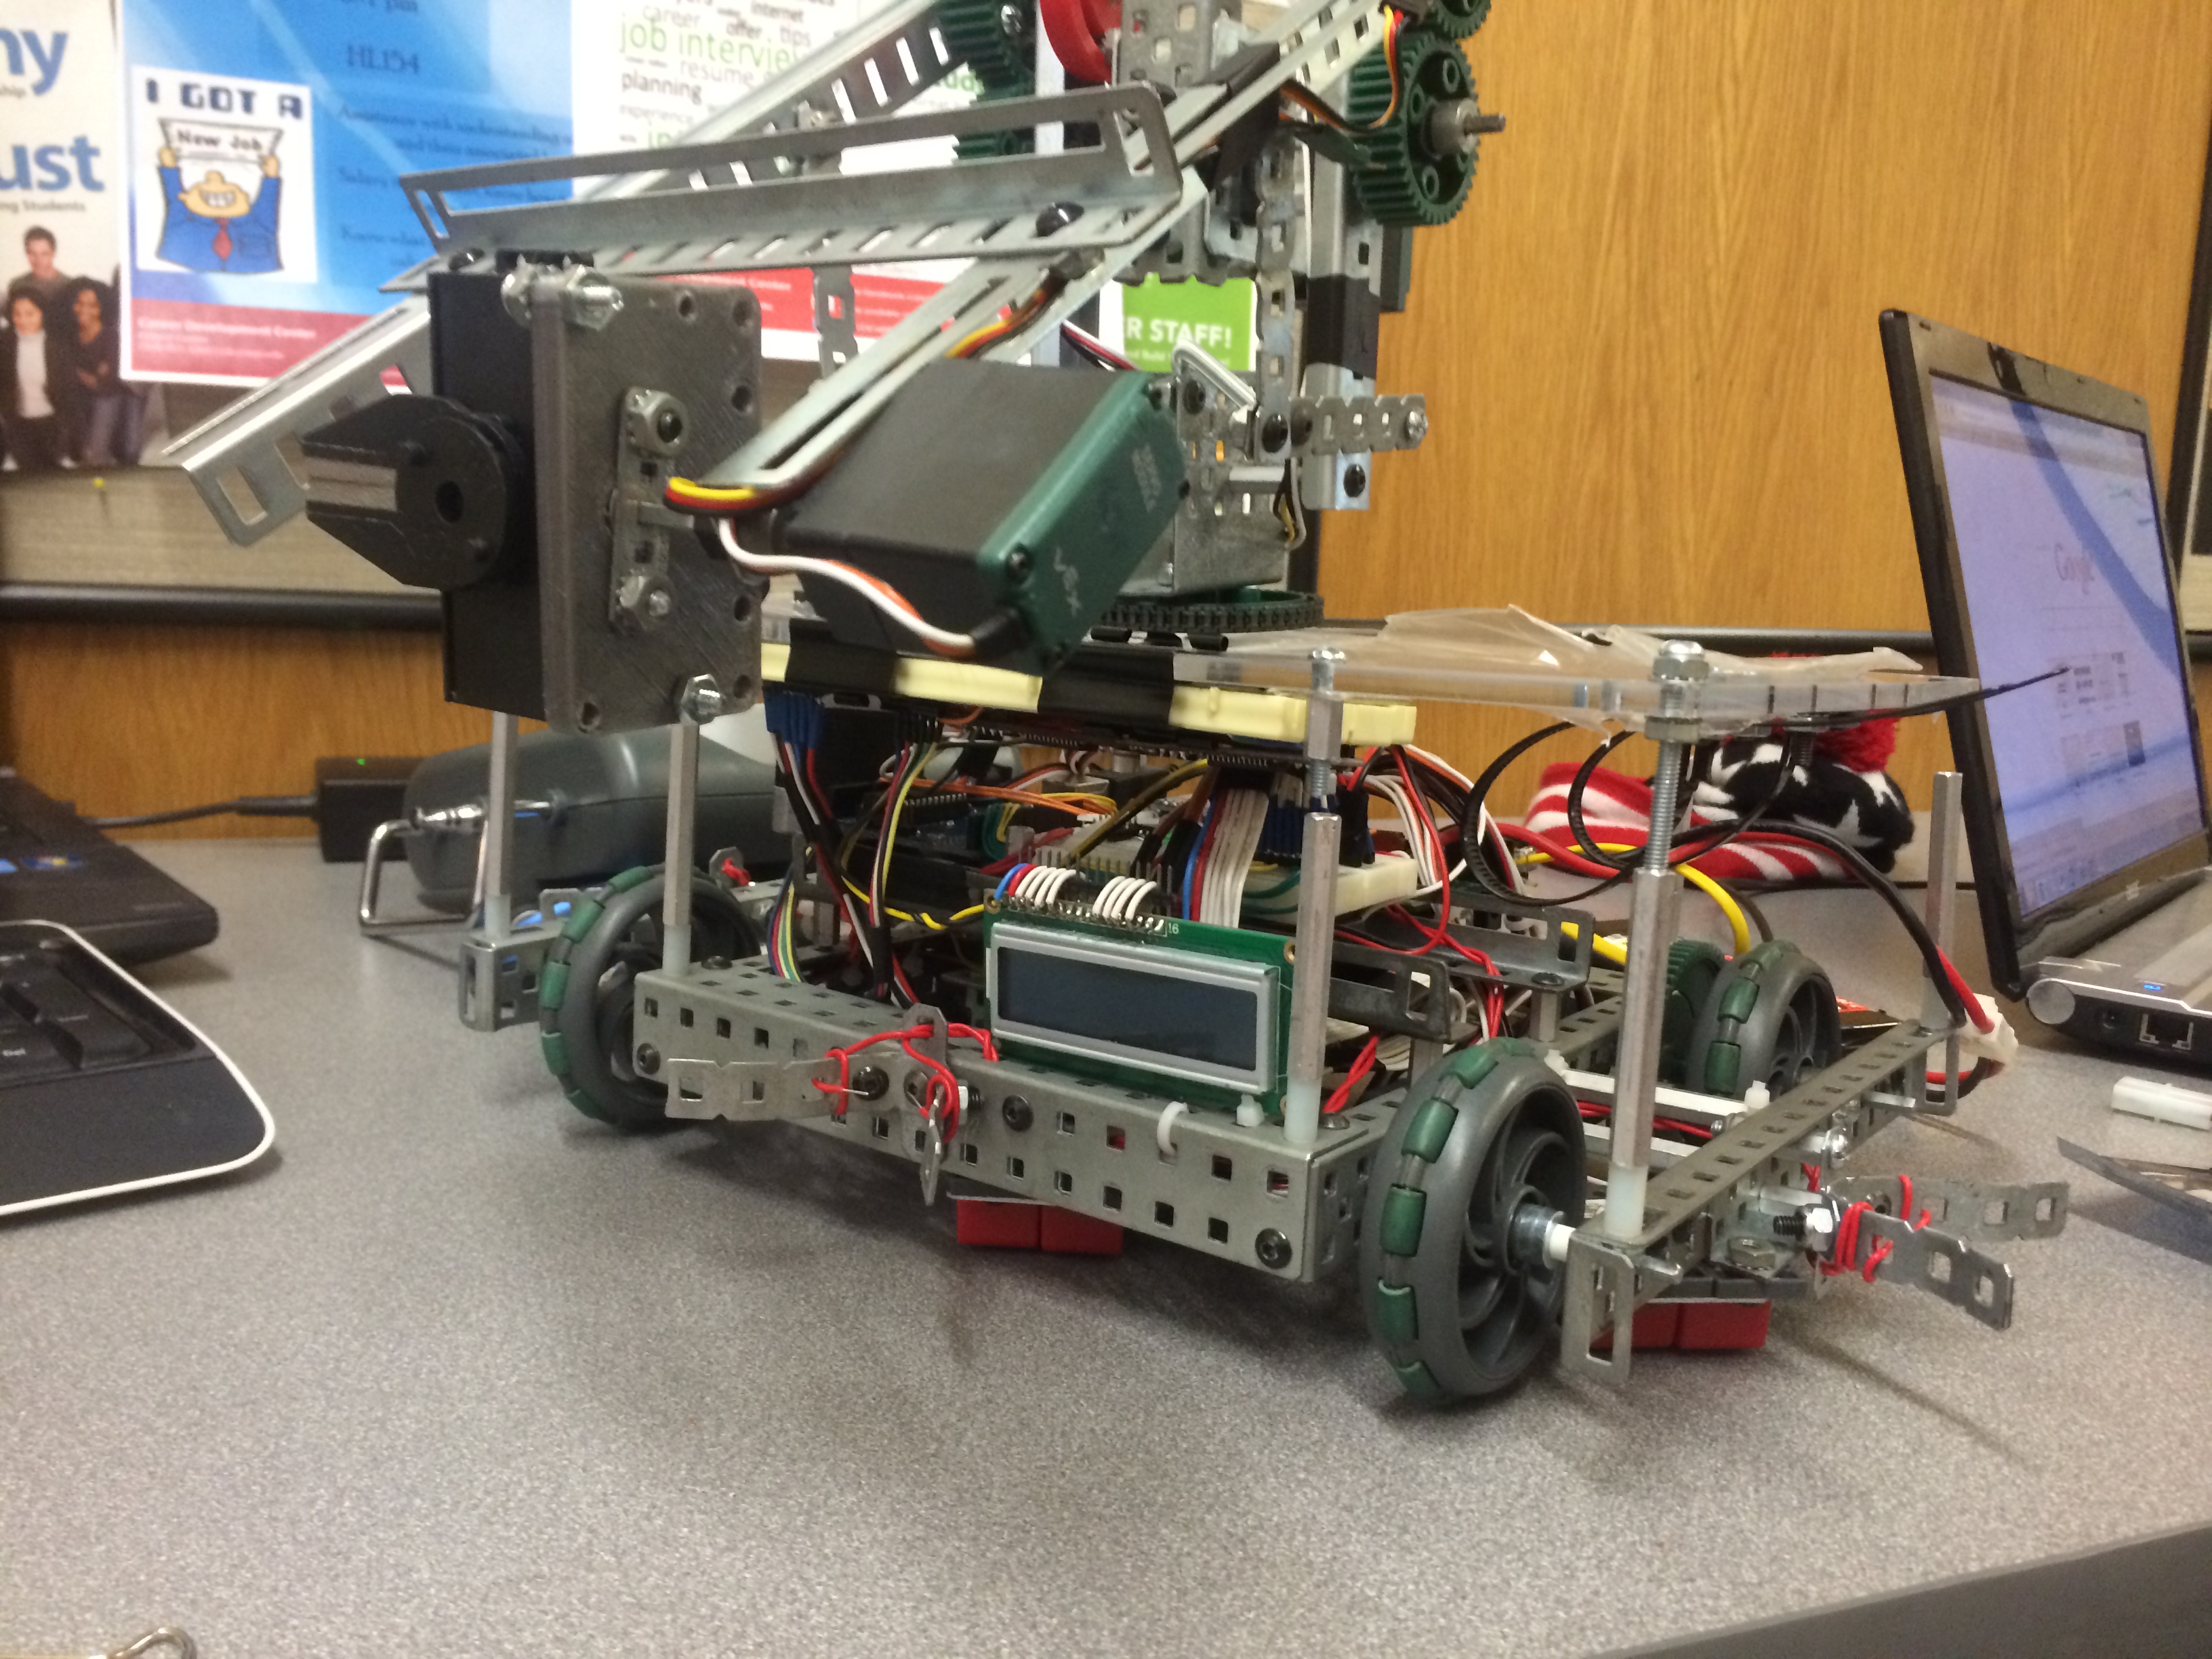
Robotic Arm at mid-height, showing a diagonal profile of the robot.
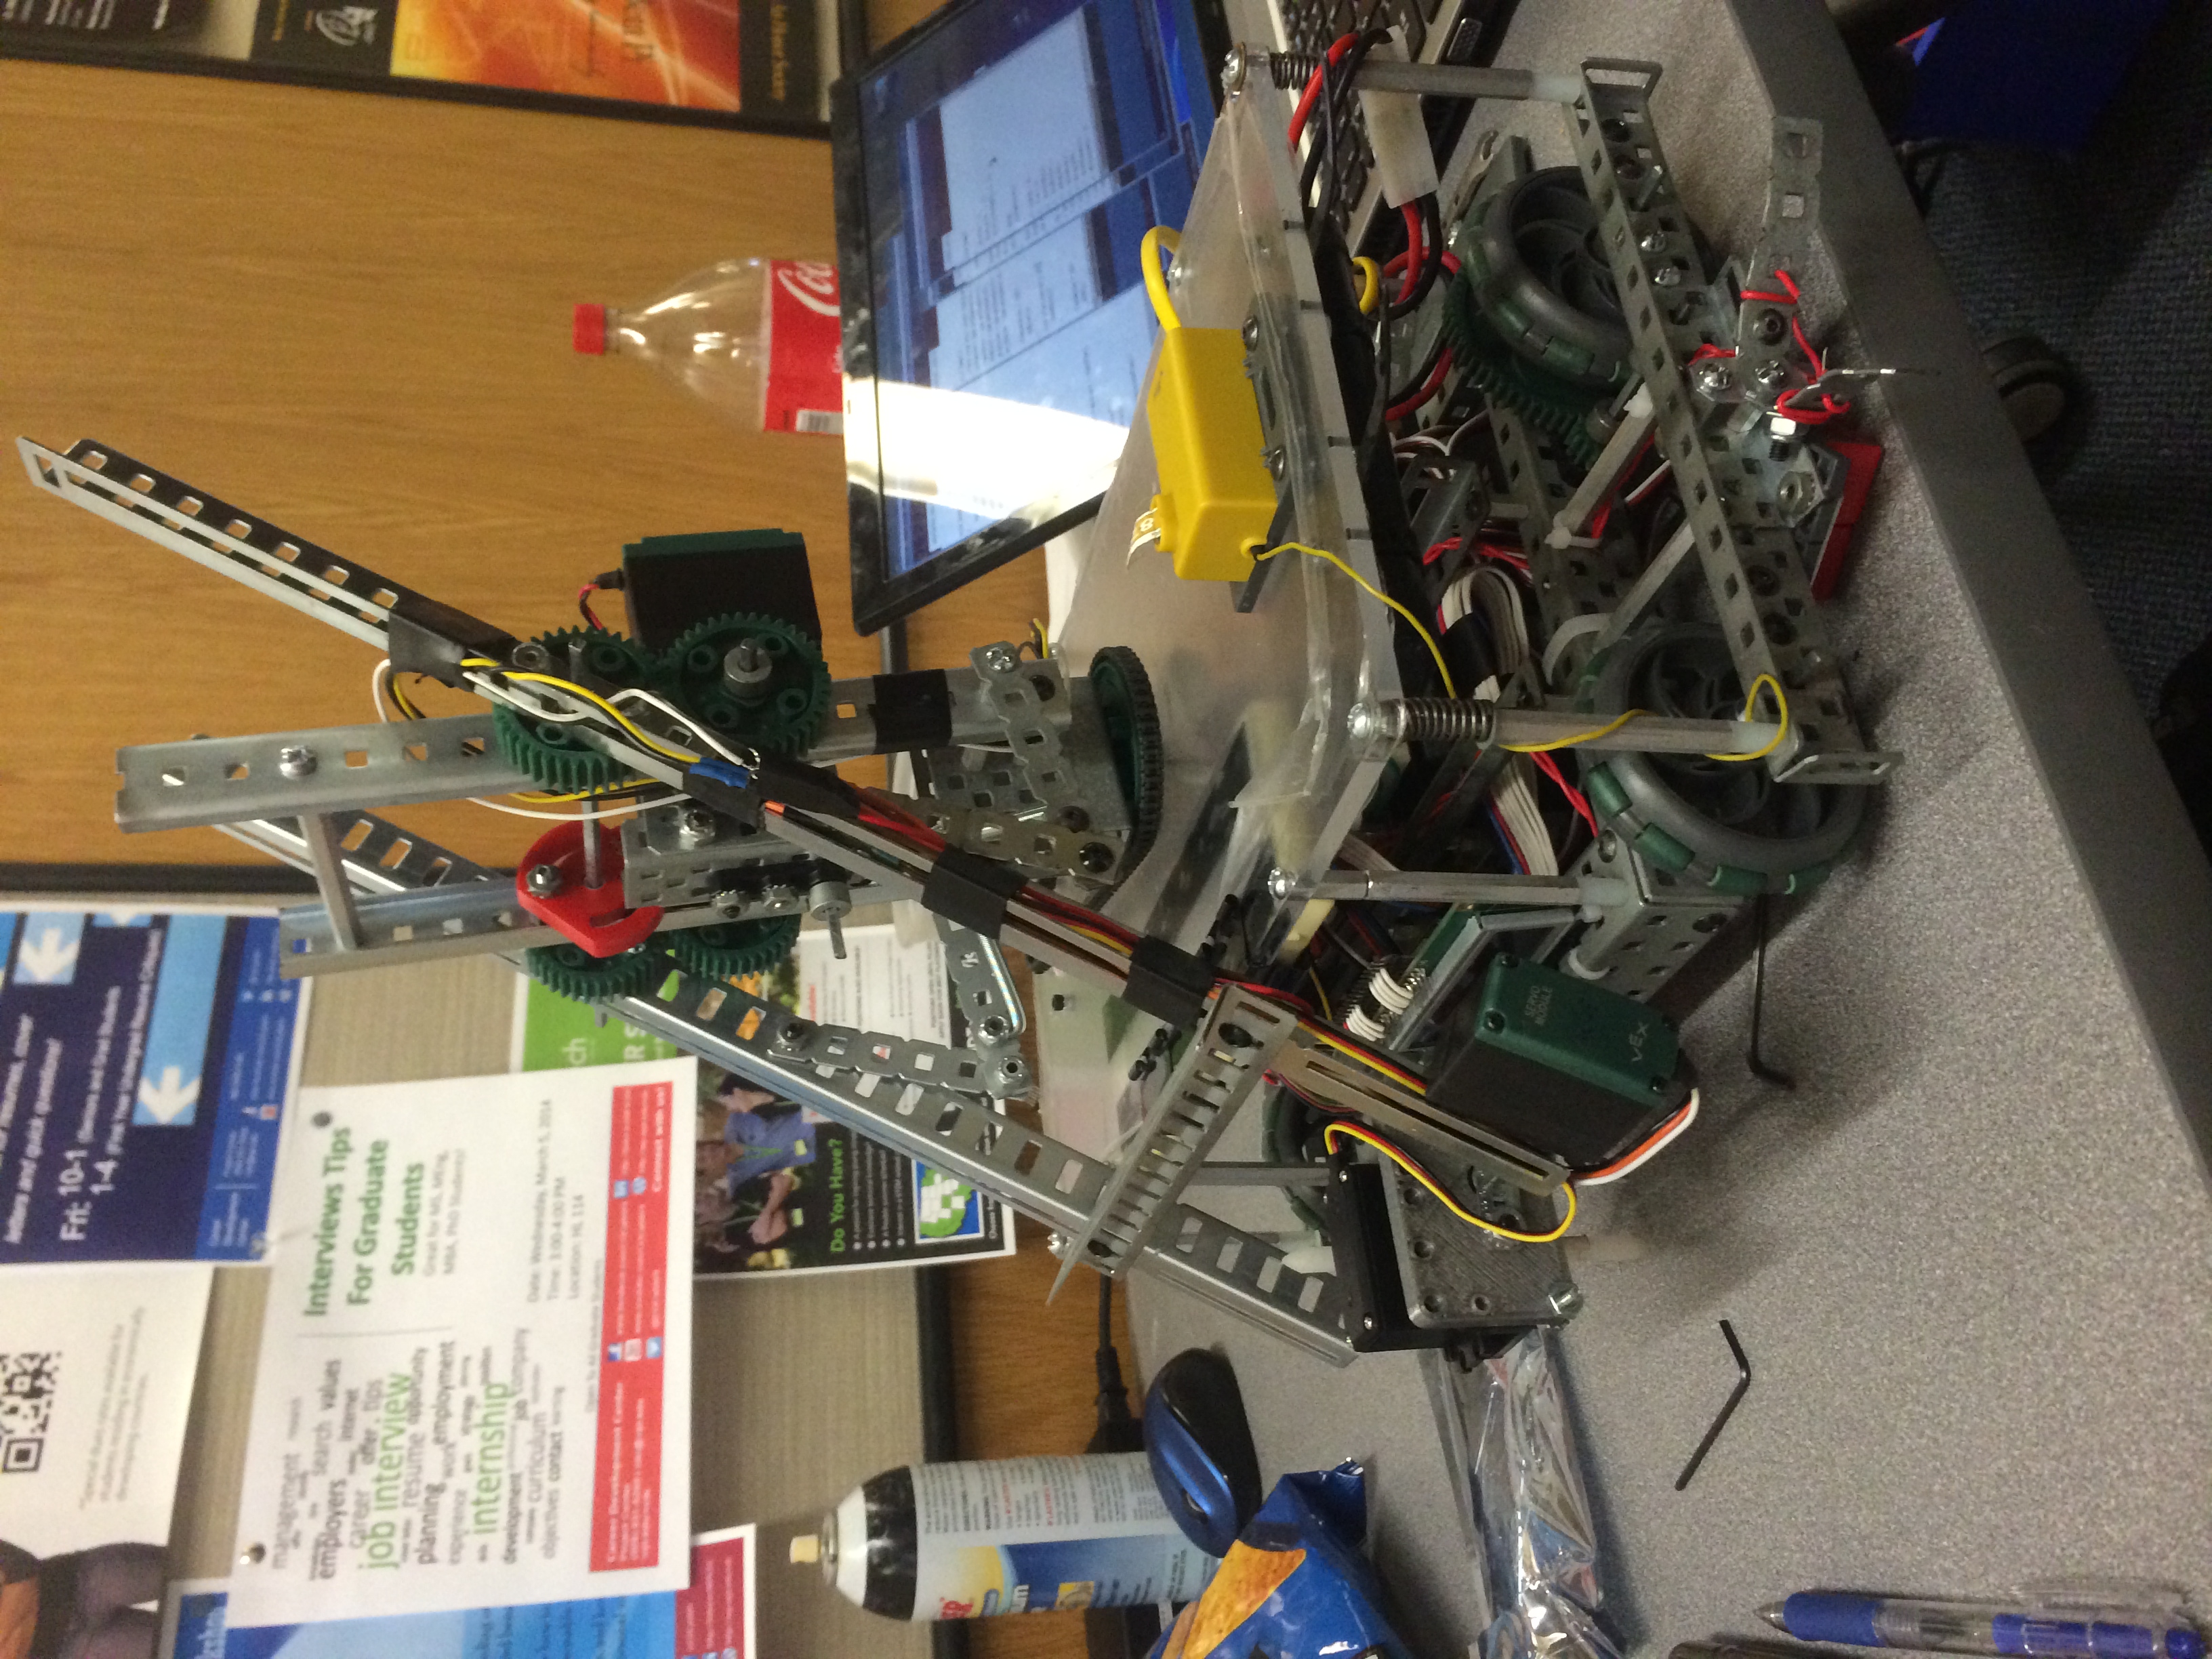
Robot Arm parallel to the play field and rotated.
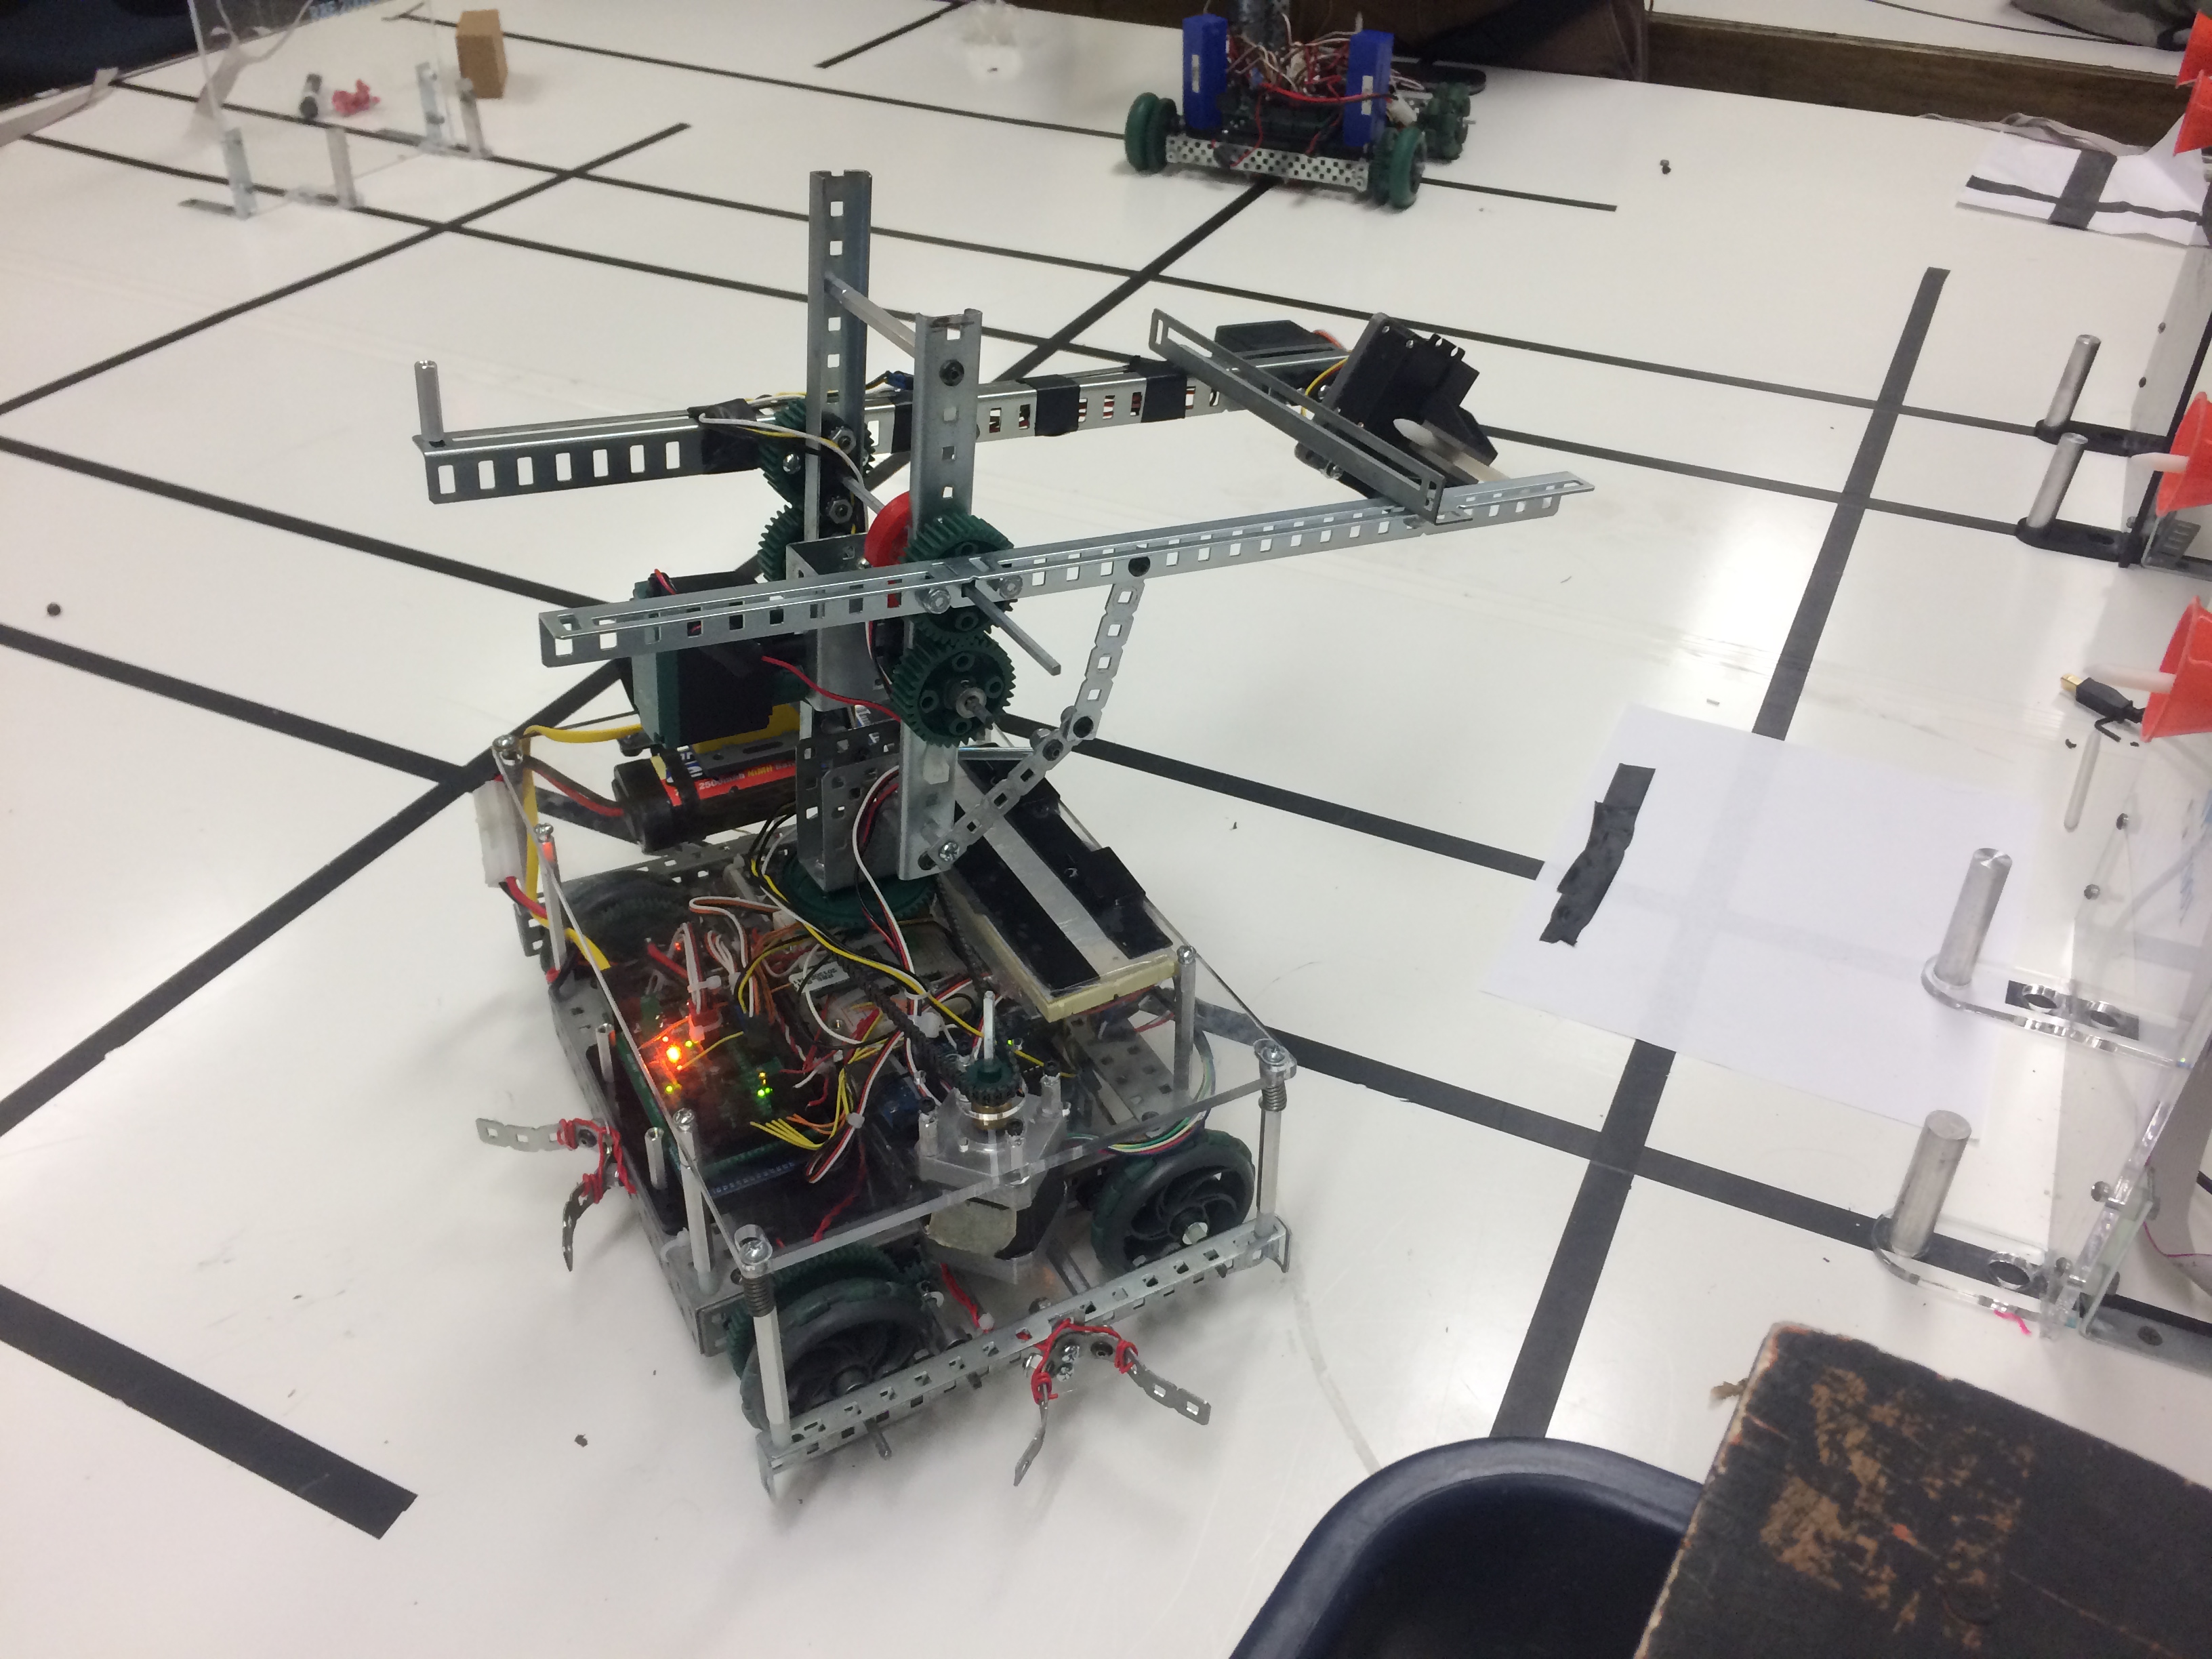
Robot Arm parallel to the play field and rotated.
Final Adjustments of the Robot before presenting it.
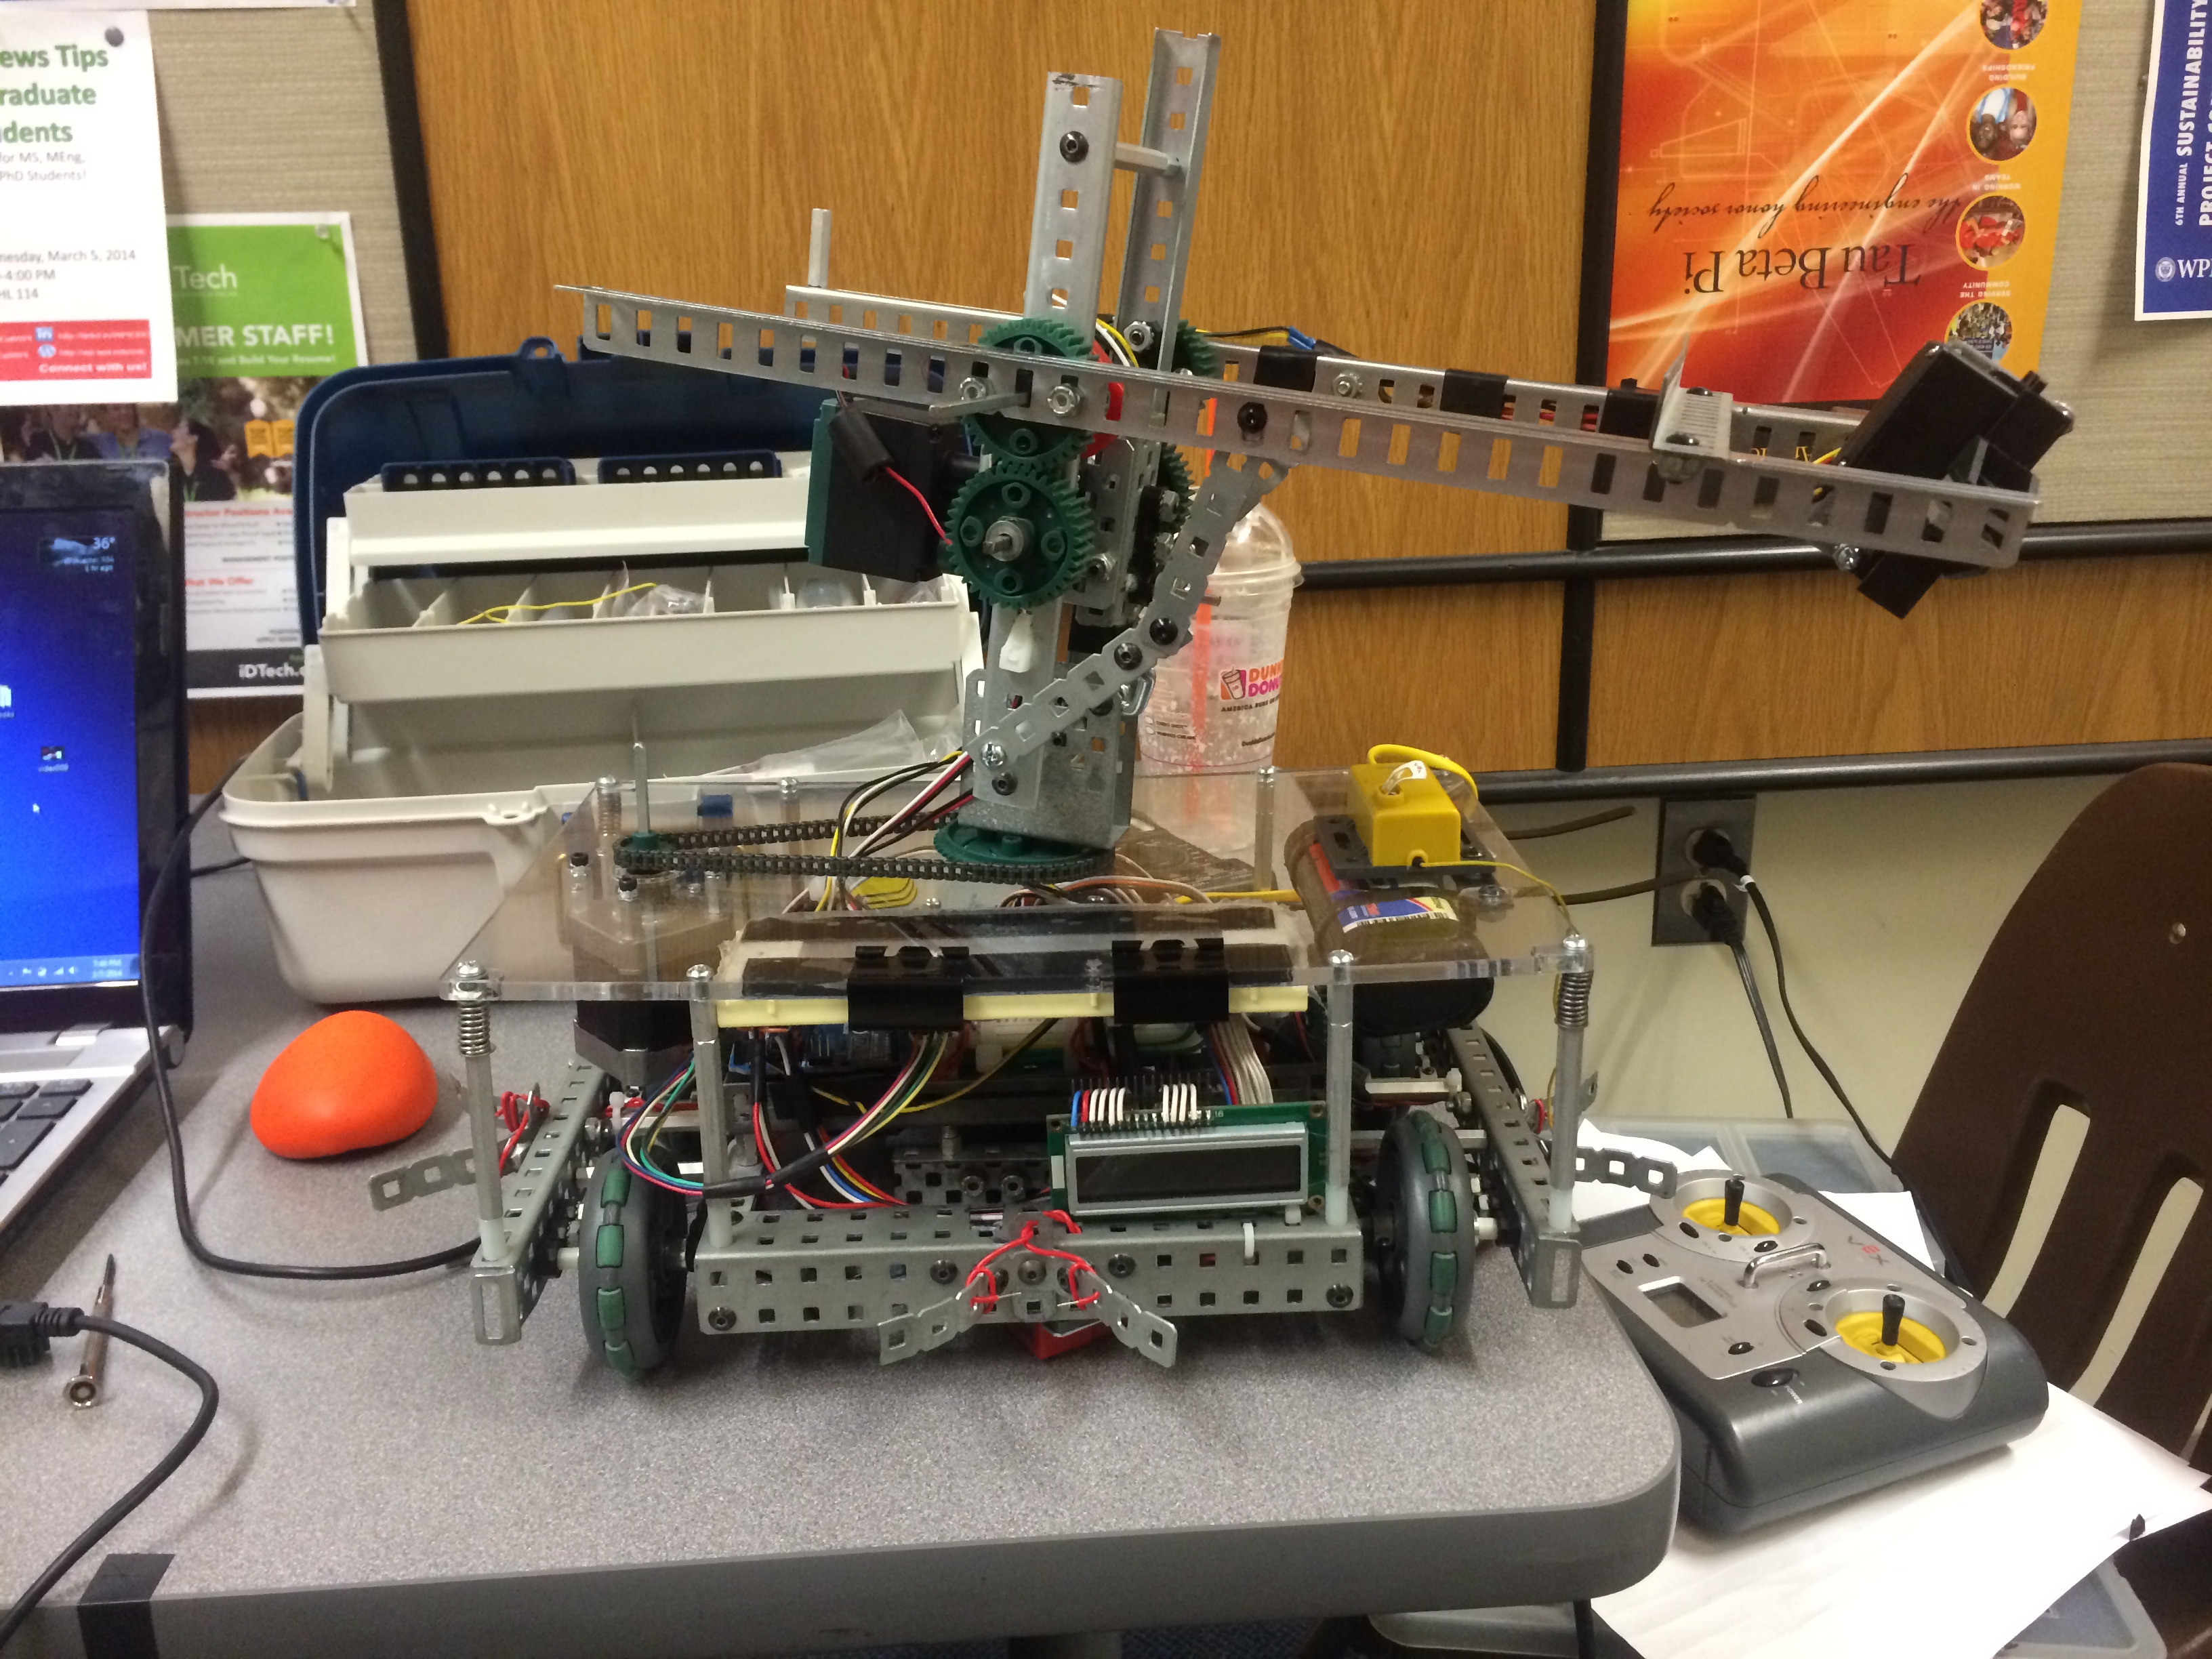
Final Adjustments of the Robot before presenting it.
Removing 1 more link from the Vex Chain to tension the stepper motor. This gives us less jitter and noise in our movement.
Removing 1 more link from the Vex Chain to tension the stepper motor. This gives us less jitter and noise in our movement.
Robot Arm horizontal to the play field inserting a nuclear fuel rod into the recepticle.
Robot Arm horizontal to the play field inserting a nuclear fuel rod into the recepticle.